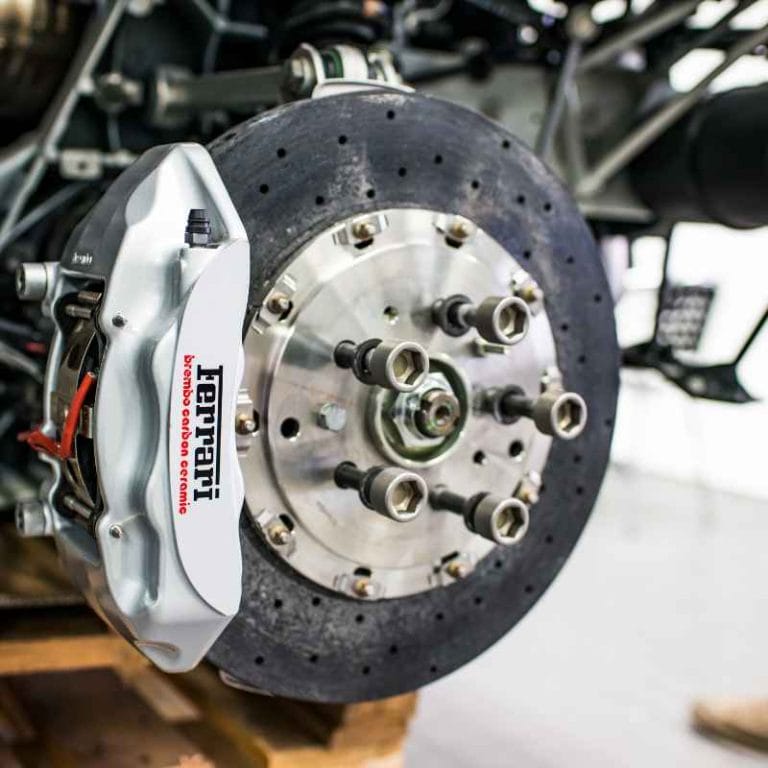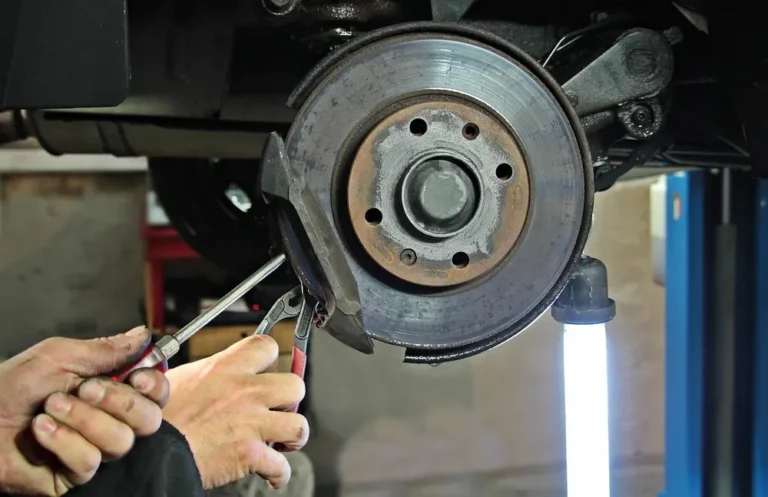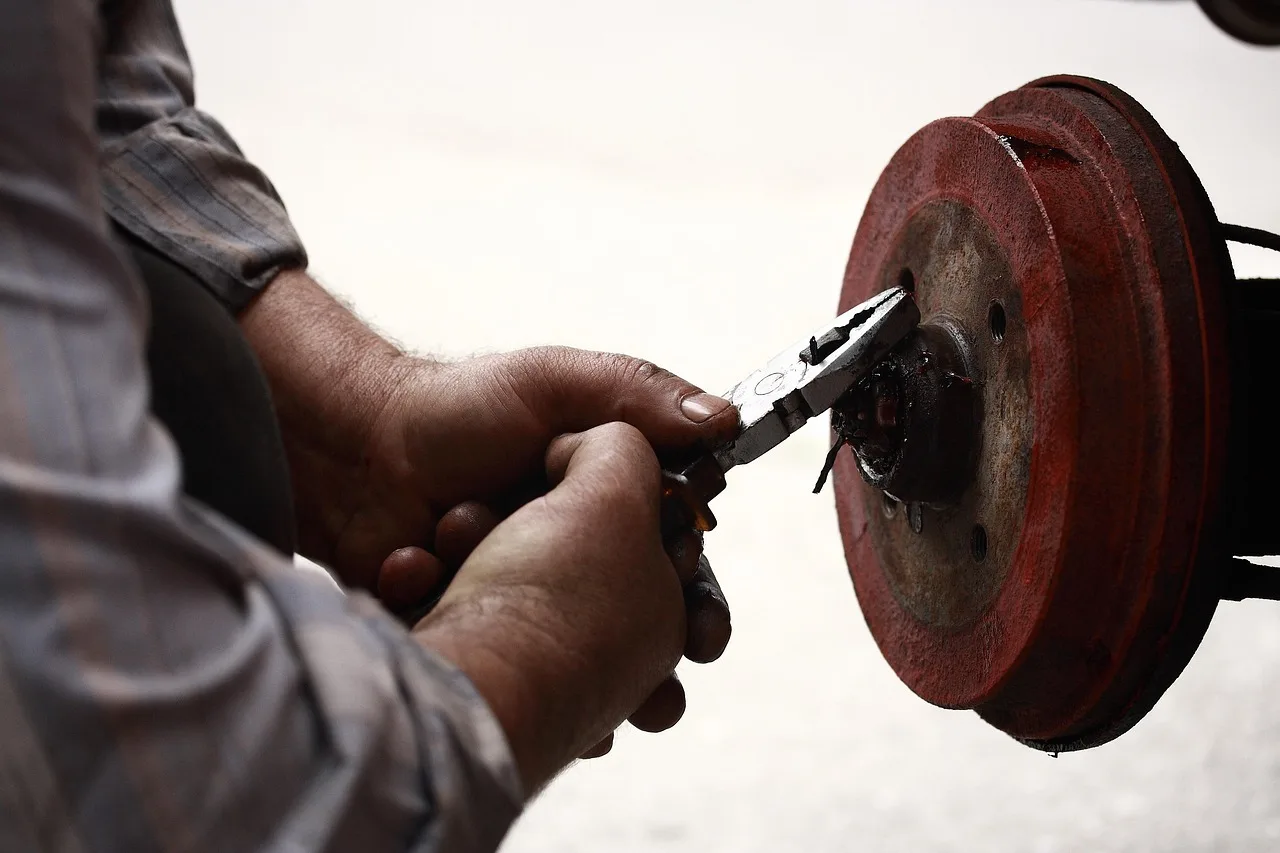
Car Brake Maintenance Guide
Inspect your car’s brakes regularly, measure pad thickness, check fluid level and color, and treat grinding, pulling, or a soft pedal as same-day service items. Ignore brake wear and a pad job can turn into rotor and caliper damage, longer stopping distances, and a possible crash. This guide covers the home checklist, symptom triage, service intervals, and the point where a driveway check stops being enough.
What brake maintenance actually includes
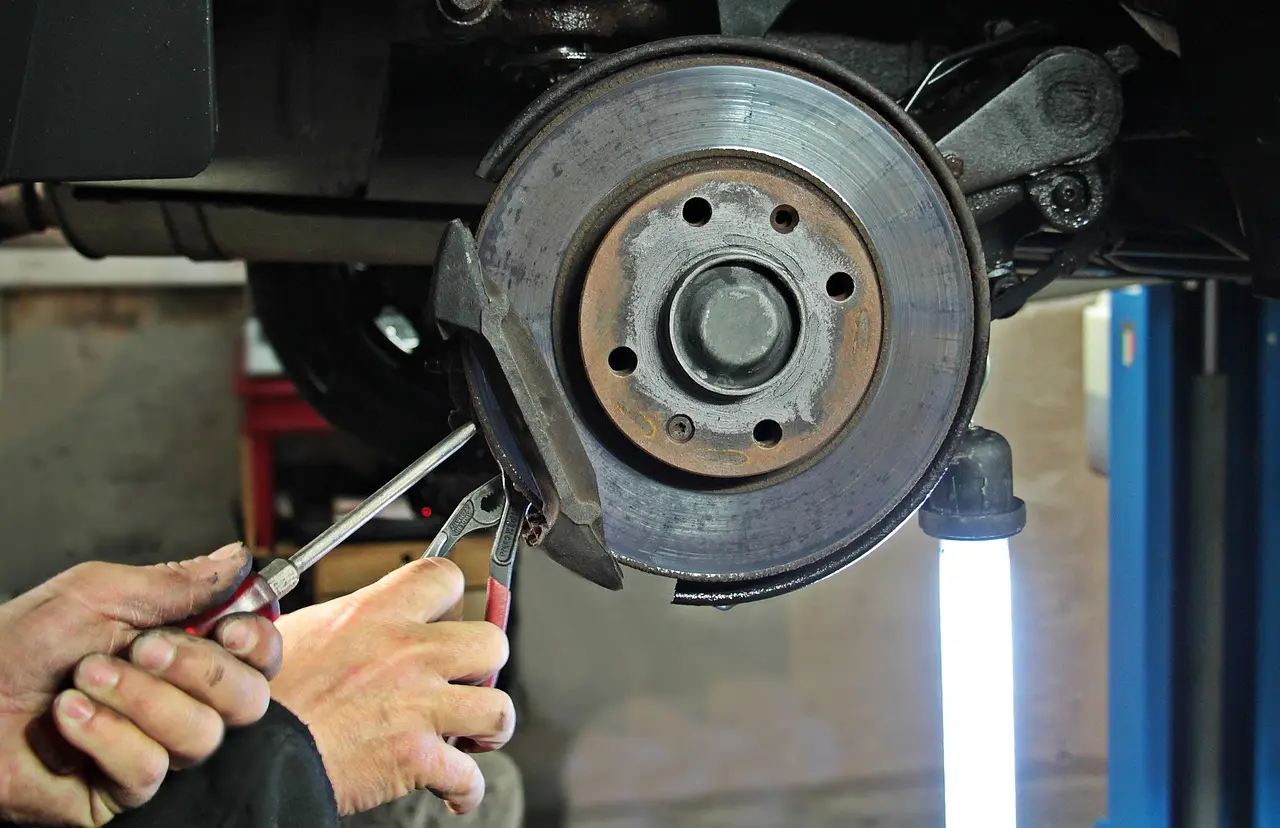


Brake maintenance is the scheduled work that keeps wear parts from eating the parts around them. In the shop, I treat it as inspection, cleaning, using the right grease at the right contact points, checking fluid, measuring wear, and replacing service parts before they score rotors, cook calipers, or leave the pedal feeling wrong.
The difference between inspection, service, and repair
Inspection is diagnosis. It covers pad thickness, rotor condition, fluid level and color, hose condition, caliper leaks, pedal feel, and parking brake operation.
Service is preventive work. That includes replacing worn pads, servicing hardware, lubricating slide pins with the right brake grease, flushing old fluid, and correcting drag or noise before parts seize.
Repair starts when something has failed or is actively failing. A leaking caliper, split hose, seized slide pin, torn caliper boot with corrosion, or a pedal that sinks under steady pressure is repair territory, not routine maintenance.
What a complete brake service should include
A complete brake service should include pad measurement at the inner and outer pads, rotor inspection on both sides and both faces, hardware inspection, caliper slide-pin movement check, caliper boot inspection, hose inspection, fluid condition check, and a road-feel review for pull, vibration, noise, and pedal travel.
If pads are replaced, they should be replaced in axle pairs. Rotor decisions should be based on condition and thickness limits, not guesswork. Hardware should be cleaned or replaced as needed, and contact points should be lubricated only where the brake design allows it.
Items low-quality brake jobs often skip
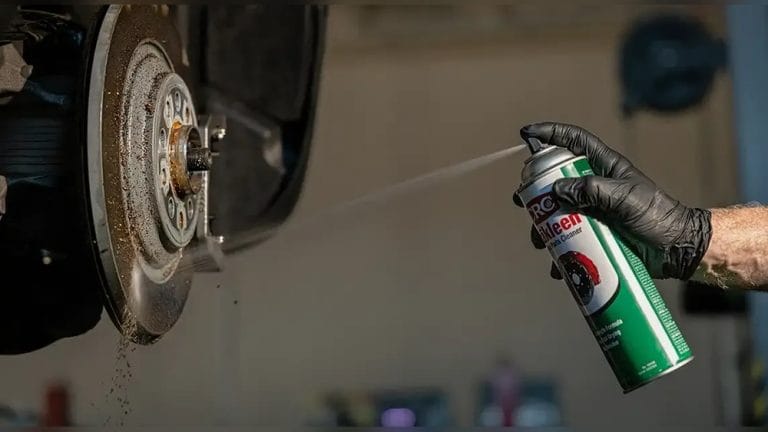
The common misses are predictable: old clips left in place, rusty abutments not cleaned, slide pins not removed and greased, dust boots not checked, and rotor faces reused without measuring wear or checking minimum thickness.
Those shortcuts show up fast in the real world: squeal on light stops, one pad worn into a wedge shape, a car that pulls after braking, a wheel that stays hot from drag, and a comeback for the same axle far too soon. Cheap brake jobs often become expensive because the labor that gets skipped is the labor that keeps pad wear even.
According to Brake Maintenance 101: What to Know and When to Act — Brake pads should be inspected every 12,000 miles or once a year.
How do I maintain car brakes at home?
A safe home brake check starts with simple, low-risk observations: pedal feel, fluid level and color, parking brake function, wheel-to-wheel differences, and visible leaks. Wheel-off inspection adds pad thickness, rotor wear, hose condition, and hardware checks. Stop the DIY process if the pedal is soft, fluid is leaking, or any component is seized.
A safe driveway inspection flow before removing any wheels
- Park on level ground and let the brakes cool.
- Check the brake fluid reservoir level without opening it yet.
- Look at fluid color through the reservoir.
- Press the pedal with the engine off, then with the engine running, and note feel and travel.
- Apply and release the parking brake.
- Walk around the car and compare wheel dust levels.
- Look behind each wheel for wetness on hoses, calipers, or backing plates.
- If removing wheels, support the vehicle correctly and inspect one axle at a time.
What to check with the wheels on
Start with the reservoir. Fluid should appear clear, golden-honey color when healthy. Brake fluid is hygroscopic and absorbs moisture over time, so color is a clue, not the whole decision. Most passenger vehicles use DOT 3 or DOT 4 brake fluid, and DOT 4 has a higher boiling point than DOT 3.
Next, check pedal feel. A spongy pedal usually points to air in the system, moisture-heavy fluid, or hose expansion. A long-travel pedal can also come from rear brake adjustment issues, pad knock-back, or worn friction material. A sinking pedal under steady pressure can point to an internal hydraulic leak or an external fluid leak.
Use the parking brake weekly. Regular movement helps prevent cable and actuator seizure, especially on vehicles that rely on a small drum-in-hat mechanism or a caliper-integrated parking brake that can stick when ignored.
A monthly brake check can include looking for dark brake dust on one wheel. One wheel that gets much darker than the others can point to drag from a sticking caliper or slide hardware.
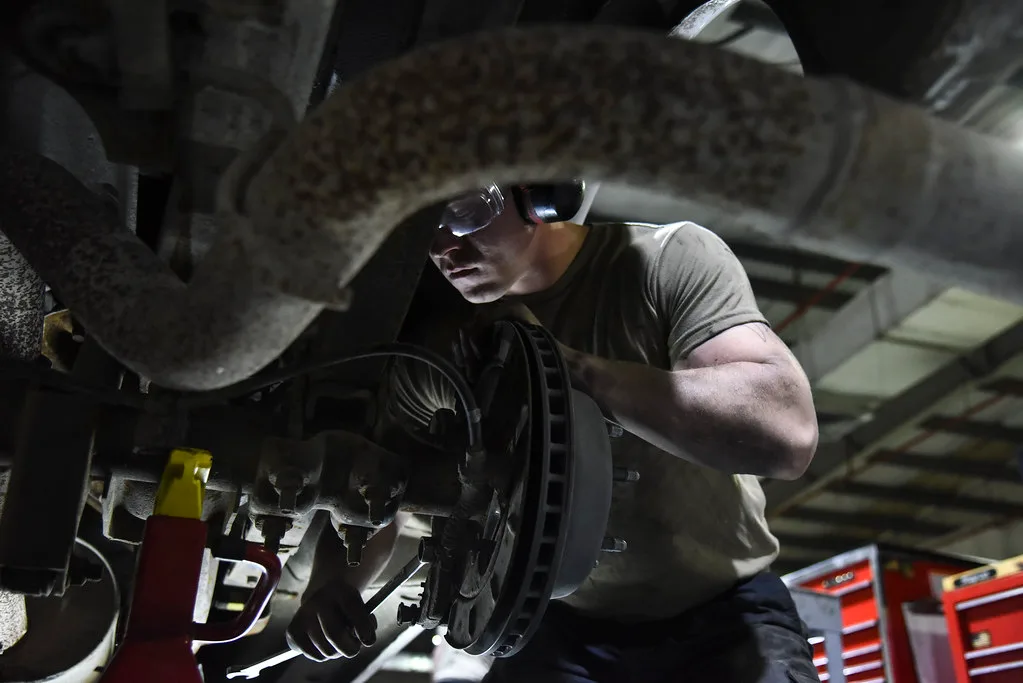
What to check with the wheels off
Brake pads should be inspected every 12,000 miles or once a year, and brake pads and rotors should be inspected every 12,000 to 15,000 miles. Pad thickness matters most at the thinnest point. Brake pads should be replaced when they reach 3mm or less.
Look at both pads on the same wheel. If the inner pad is much thinner than the outer pad, suspect a sticking caliper piston or bad slide-pin movement. If one axle shows uneven left-to-right wear, look hard at calipers, hoses, and hardware before fitting new pads.
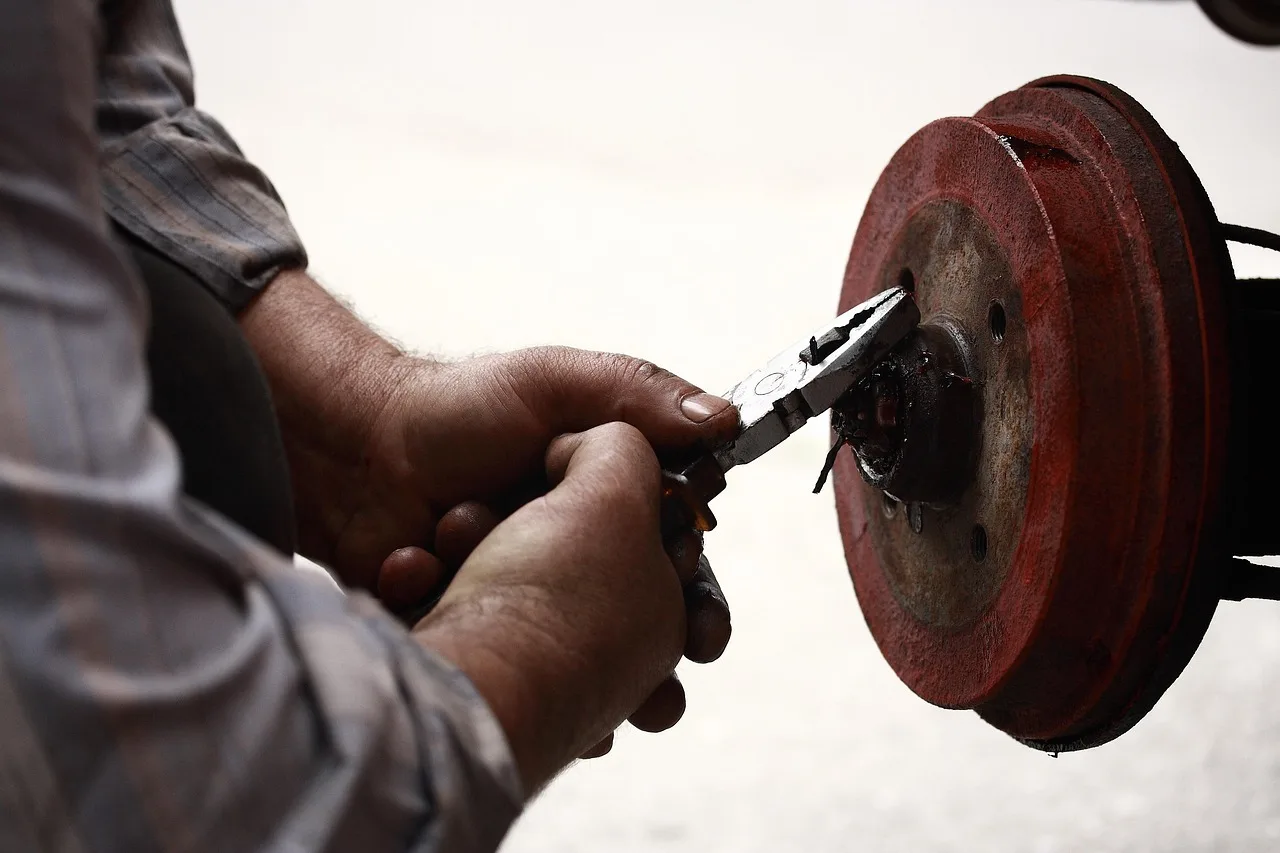
Check rotors for deep grooves, heavy outer lips, heat spots, cracking, or patchy transfer deposits. Rotor thickness should be measured against the minimum thickness cast or marked on the rotor or listed by the vehicle maker. If the rotor is already at or near minimum, replacement is the safer call than machining.
Inspect flexible rubber hoses for cracks, bulges, wet spots, or twist. A hose can look fine outside and still act like a one-way valve inside, but visible age damage is enough reason to book service.
When to stop the DIY inspection and book professional service
- Any fluid leak at a caliper, hose, line, or master cylinder area
- Pedal sinks under steady pressure
- Grinding noise during braking
- One wheel is much hotter or dirtier than the others after short driving
- Caliper slide pins will not move freely
- Rotor or pad wear is uneven and the cause is not obvious
- Parking brake will not release fully
How often should brakes be serviced?
Use a layered schedule: quick checks every 6 months or 6,000 miles, pad and rotor inspection every 12,000 to 15,000 miles, and a professional brake maintenance inspection every 12,000 miles or at least once a year. Fluid should be replaced every 2 to 3 years, with shorter timing under harder use.
Annual inspection and mileage-based service intervals
Brake pads should be inspected every 12,000 miles or once a year. Brake fluid flushing is recommended every 2 years or 30,000 miles, and brake fluid should be replaced every 2 to 3 years. Those are service baselines, not guarantees that parts will last that long.
Drivers who wait for noise are usually late. Good maintenance catches thin pads, sticky pins, and aged fluid before the pedal changes or the rotor gets damaged.
How driving style changes brake service timing
Stop-and-go commuting, steep hills, towing, mountain descents, repeated hard stops, and long storage all change brake service timing. Severe use builds more heat, dries grease out faster, and shortens pad life. Long storage creates the opposite problem: corrosion, stuck parking brake parts, and frozen slide hardware.
A car used lightly can still need fluid service on time. Fluid ages by absorbing moisture, even when pad wear is low.
A simple service schedule by use case
| Use case | What to do | Main focus |
|---|---|---|
| Daily driver, mixed roads | Check every 6 months or 6,000 miles; inspect annually | Pad thickness, fluid color, pedal feel |
| Heavy traffic commuter | Inspect closer to the 12,000-mile end of the annual window | Pad wear, rotor deposits, slide-pin movement |
| Hills or towing | Use shorter fluid and pad review intervals | Heat damage, rotor condition, fluid age |
| Stored vehicle | Use parking brake weekly if appropriate and inspect after storage | Seizing, rust, hose age, caliper boots |
What should I check on brake pads and rotors?
Check pad thickness, wear pattern, and any wear indicator contact marks first. Replace pads at 3mm or less, and replace them in axle pairs. On rotors, check both faces for grooves, lip, heat marks, and thickness against the minimum specification before deciding whether resurfacing is even possible.
Brake pad wear thresholds and wear indicators
Brake pads should be replaced when they reach 3mm or less. That is the threshold to act, not the point to start thinking about service. Many pads also use a mechanical wear indicator that squeals when the pad gets thin, but squeal alone does not always mean the pads are done.
Squeal can also come from glazing, missing shims, rusty hardware, contamination, or pad movement in the bracket. That is why visual measurement matters more than sound alone.
Pads should be replaced in axle pairs because braking balance matters. Replacing one side only creates uneven friction response and can produce pull or unstable braking feel.
Rotor grooves, lips, thickness, and vibration clues
Rotor problems are often misread. A steering shake or pedal pulsation during braking can come from rotor thickness variation, uneven pad deposits, or wheel torque issues after service. It does not automatically mean the rotor is “warped.”
Look for deep grooves, blue heat marks, cracking, heavy rust scaling, and a pronounced outer lip. Then measure thickness. If the rotor is below minimum thickness, resurfacing is off the table.
Resurface or replace
Resurfacing makes sense only when the rotor has enough remaining thickness, no major heat damage, and a clean finish can restore a proper pad bed-in surface. Replace when thickness is near minimum, grooves are deep, corrosion is severe, or the rotor has heat checking or cracking.
Rotors can cost $200 to $500 to resurface or replace. That wide spread is why inspection matters. A rotor that could have been saved earlier may need replacement later because pad wear was ignored.
How do I check brake fluid quality and pedal feel?
Check brake fluid by looking at reservoir level, fluid color, and any contamination signs, then compare that with the service interval rather than using color alone. Healthy fluid should look clear and golden-honey. Pedal feel adds context: spongy suggests compressibility, while a sinking pedal points to a hydraulic fault that needs prompt service.
Fluid level, reservoir condition, and contamination cues
Start with the reservoir exterior. Dirt around the cap can drop contamination into the system if opened carelessly. Low fluid can simply reflect pad wear, but it can also mean a leak, so level should never be judged in isolation.
Healthy fluid should appear clear, golden-honey color when healthy. Very dark fluid, cloudiness, or visible debris suggests age or contamination. Still, dark color by itself is not the only flush rule. Time and mileage matter because brake fluid is hygroscopic and absorbs moisture over time.
DOT 3 versus DOT 4: what compatibility actually means
Most passenger vehicles use DOT 3 or DOT 4 brake fluid. DOT 4 has a higher boiling point than DOT 3. That does not mean a vehicle can be switched by guesswork.
The correct rule is simple: use the DOT type specified on the reservoir cap or in the owner information. If the vehicle specification allows DOT 3 or DOT 4, follow that guidance. If it specifies one type, do not substitute casually. Mixing or changing fluid types without vehicle approval can create service problems.
Flush intervals by normal versus severe use
Brake fluid should be replaced every 2 to 3 years, and flushing is recommended every 2 years or 30,000 miles. Drivers who tow, descend long grades, or use the brakes hard should stay closer to the shorter end because heat and moisture are a bad combination in hydraulic systems.
What pedal feel usually suggests
- Spongy pedal: air in system, moisture-heavy fluid, hose expansion
- Firm pedal, poor stopping: friction issue, glazed pads, contamination, or tire traction problem
- Long-travel pedal: worn pads, adjustment issue, knock-back, or fluid displacement
- Sinking pedal: hydraulic leak or internal bypass; service promptly
What should I inspect on calipers, hoses, and hardware?
Inspect calipers for leaks, torn dust boots, stuck pistons, and poor slide movement. Inspect hoses for cracks, bulges, twists, and wet spots. Inspect hardware for rust buildup, bent clips, missing shims, and seized slide pins. These small parts often explain uneven wear, pull, drag, and repeat noise.
Caliper sticking, piston retraction problems, and boot damage
A healthy caliper applies and releases without hanging up. If a wheel gets hotter than the other side, the car pulls after braking, or one pad is much thinner than its mate, suspect caliper drag or slide-pin trouble.
Check the piston dust boot carefully. A torn boot lets water and grit reach the piston surface. That often leads to poor retraction, pad drag, and eventually a seized caliper. Any wetness around the piston or bleeder area needs professional attention.
Caliper repairs or replacements range from $300 to $800. That is why catching boot damage and sticky movement early matters.
Flexible brake hose inspection
Flexible rubber hoses should be inspected for surface cracking, bulges under pedal pressure, chafing, wet spots, and age hardening. A hose that bulges acts like a weak point. A hose that is internally restricted can hold pressure and keep a brake applied after the pedal is released.
Hardware that matters
Clips, shims, abutments, anti-rattle pieces, and slide pins are not throwaway details. Pads must move freely in the bracket without sticking or slop. Rust under clips can pinch pads and cause drag. Missing or bent shims can create noise or poor pad fit.
A complete service should include cleaning contact surfaces and replacing worn hardware where needed.
Using high-temperature silicone brake grease in the right places only
Use a high-temperature, silicone-based brake grease on slide pins and approved metal-to-metal contact points if the brake design calls for it. Follow the hardware design and lubricant compatibility, especially around rubber boots and sleeves.
Do not put grease on pad friction material, rotor faces, wheel studs unless specifically required by the vehicle maker, or rubber parts unless the product is clearly compatible. Wrong grease in the wrong place causes swelling, contamination, and brake problems fast.
Brake maintenance decision checklist
Use this table as a triage tool, then confirm with inspection. The goal is to separate “watch it,” “check it now,” and “stop driving until repaired.” The same symptom can have more than one cause, so urgency depends on pedal feel, heat, leaks, and whether the issue affects one wheel or the whole axle.
Symptom-to-action checklist
| Symptom | Likely causes | Urgency | Next action |
|---|---|---|---|
| Squeal | Wear indicator, glazed pads, rusty hardware, missing shims, contamination | DIY check soon | Inspect pad thickness, hardware fit, and rotor surface |
| Grinding | Pad friction material gone, backing plate contact, severe contamination | Professional service | Stop normal driving and inspect immediately |
| Pull during braking | Sticking caliper, seized slide pin, hose restriction, uneven pad friction | Professional service | Check heat and wear side to side; book service |
| Vibration or pulsation | Rotor thickness variation, uneven deposits, wheel torque issue, suspension issue | DIY check or professional service | Inspect rotors and lug torque history; measure before replacing |
| Spongy pedal | Air in lines, old fluid, hose expansion | Professional service | Check fluid level and leaks; bleed/flush diagnosis needed |
| Sinking pedal | Hydraulic leak, master cylinder internal bypass | Professional service | Do not delay; inspect for leaks and pressure loss |
| Burning smell near one wheel | Dragging caliper, stuck parking brake, seized hardware | Professional service | Let brakes cool, compare wheel heat, book service |
| Uneven brake dust on one wheel | Dragging pad, stuck piston, bad slide pin, hose issue | DIY check soon | Inspect that corner for heat, wear, and free movement |
How should the parking brake be maintained?
The parking brake should be used weekly, checked for smooth apply-and-release movement, and inspected whenever rear brake service is done. Regular use helps prevent cables, levers, and rear parking brake mechanisms from seizing, especially on cars that sit for long periods or see winter corrosion.
Why weekly use helps prevent seizure
Parking brake parts that never move tend to corrode in place. Weekly use cycles the cables or actuators, keeps pivots moving, and makes it easier to catch weak holding power or incomplete release before the rear brakes overheat.
What normal movement looks like
Normal operation feels consistent. The lever or pedal should apply smoothly, hold the vehicle as designed, and release fully without a dragging sensation from the rear wheels. An electronic system should apply and release without repeated motor strain or warning messages.
Signs the parking brake needs adjustment or service
- Vehicle rolls when parked on a grade
- Rear brakes run hot after release
- Lever travel suddenly increases
- Cable or actuator movement looks limited or sticky
- Grinding or scraping comes from the rear after release
What does brake maintenance cost when you break it down?
Brake costs make more sense when separated by task. Inspection is one line item. Pads, rotors, fluid service, hardware, hoses, and calipers are different jobs with different labor. That structure helps owners compare estimates and spot cheap quotes that leave out hardware service or fluid work.
Inspection, pads, rotors, and fluid
Brake pads typically cost $100 to $300 per axle. Rotors can cost $200 to $500 to resurface or replace. A brake maintenance inspection by a professional is recommended every 12,000 miles or at least once a year, even if no parts are due that visit.
Fluid service is a separate maintenance line. It should not be rolled into a pad quote unless it is actually being performed. When an estimate says “brake job,” ask whether fluid flushing, hardware replacement, and slide-pin service are included.
When hardware replacement changes the bill
Hardware kits add parts cost, but they often prevent the repeat labor that follows noise or uneven wear. Rusted clips, bent shims, and seized pins are small parts with outsized effects on pad movement and release.
When maintenance becomes repair
Hoses, calipers, and hydraulic faults move the job out of simple maintenance. Caliper repairs or replacements range from $300 to $800. If the pedal sinks, a wheel drags from a seized caliper, or a hose is bulging or leaking, the priority shifts from routine wear service to fault correction.
Frequently asked questions
how to maintain car brakes
Maintain car brakes by checking them every 6 months or 6,000 miles, inspecting pads and rotors at regular intervals, monitoring fluid level and color, using the parking brake weekly, and servicing hardware and slide pins during brake work. Stop treating noise as the first service reminder.
what is brake maintenance
Brake maintenance is the scheduled inspection and service of pads, rotors, fluid, calipers, hoses, hardware, and parking brake parts. It includes measuring wear, cleaning rusted contact areas, lubricating approved points, flushing old fluid on time, and correcting drag or uneven wear before parts fail.
how often should brakes be serviced
Use a staged schedule. Brake pads should be inspected every 12,000 miles or once a year, rotors every 12,000 to 15,000 miles, and brake fluid every 2 to 3 years, with flushing recommended every 2 years or 30,000 miles. Hard use shortens those intervals.
what are the signs of worn-out brakes
Common signs are thin pads, grinding, wear-indicator squeal, vibration during braking, pull, uneven brake dust, longer pedal travel, and burning smell from one wheel. Worn-out brakes do not always announce themselves with noise, so visual measurement and pedal feel matter as much as sound.
how do I check brake fluid quality
Check brake fluid through the reservoir for level, clarity, and color. Healthy fluid should appear clear and golden-honey. Dark or cloudy fluid suggests age or contamination, but flush timing still follows the service interval because brake fluid absorbs moisture over time even before it looks bad.
what should a complete brake service include
A complete brake service should include pad measurement, rotor inspection on both faces, minimum-thickness check, hardware cleaning or replacement, slide-pin service with the correct grease, caliper and boot inspection, hose inspection, fluid condition check, and confirmation that the parking brake releases and holds properly.
Products related to this article
Sponsored / affiliate links. As an Amazon Associate I earn from qualifying purchases. I may earn additional commission from eligible campaigns.
 Kingbolen BF200 Brake Fluid Tester High Precision Car Brake Fluid Detector
 Yekoaru 3.93 Ft Brake Fluid Bleeder Hose, Car Oil Fluid Extractor Tool, Brake Bleeding Change Hose with Adapter, Universal Replacement Tube for Car Motorcycle Braking System Repair Tool
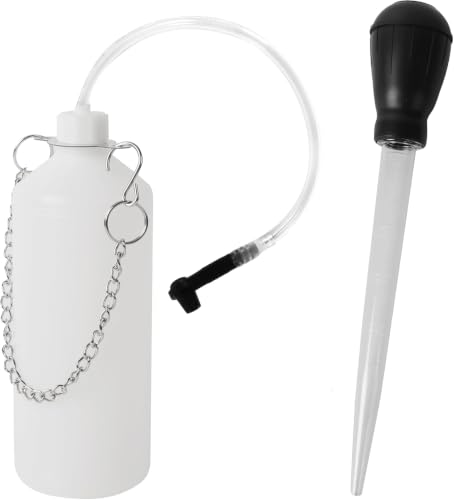 Calvana Brake Bleeder Kit with 1L Bottle for Car Motorcycle ATV Brake Fluid