How to Inspect Car Brakes at Home Before Problems Start
Check brake pads at home through the wheel opening, then look for rotor grooves, leaks, cracked hoses, and pad life; if pads are under 3 mm, the pedal sinks, or fluid is low, stop driving and get it checked. Missed wear can turn a modest pad job into rotors, calipers, and towing. This guide shows a driveway brake checklist, what each clue usually means, and when to quit driving.
What you’ll need
- Flashlight or work light
- Lug wrench
- Jack
- Jack stands
- Wheel chocks
- Gloves
- Paper towel or rag
- Small mirror, if useful
How do I inspect my car brakes at home?
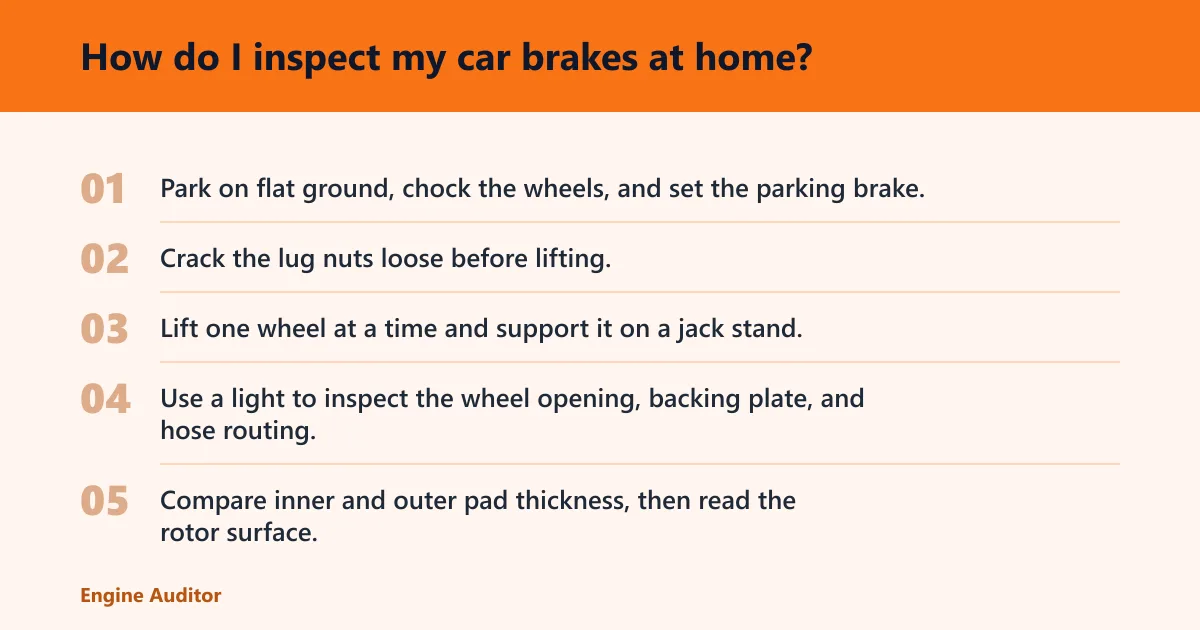
Start at the wheel opening, then move inward: pad thickness, rotor face, caliper, hose, hardware, fluid, and pedal feel. The goal is not to guess. Each clue should point to one of four actions: monitor, recheck in 500 miles, schedule service soon, or stop driving now.
Step-by-step driveway workflow
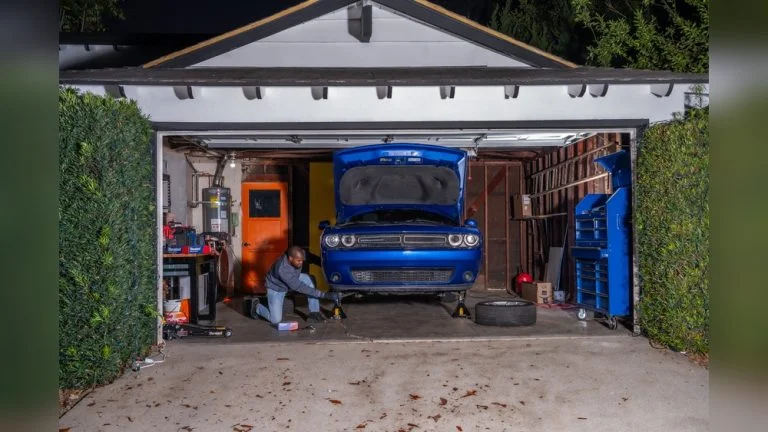
- Park on flat ground, chock the wheels, and set the parking brake.
- Crack the lug nuts loose before lifting.
- Lift one wheel at a time and support it on a jack stand.
- Use a light to inspect the wheel opening, backing plate, and hose routing.
- Compare inner and outer pad thickness, then read the rotor surface.
- Check caliper boots, slide areas, clips, and hose condition.
- Look at brake fluid level and color in the reservoir.
- Reinstall the wheel and torque the lugs after the inspection.
What to inspect first
Brake-related DIY maintenance shows up in Car and Driver’s maintenance coverage, and it treats pad replacement as common service. That matters because a home inspection usually catches wear before a failure does. A thin pad, wet hose, or blue rotor spot is a clue, not a diagnosis by itself.
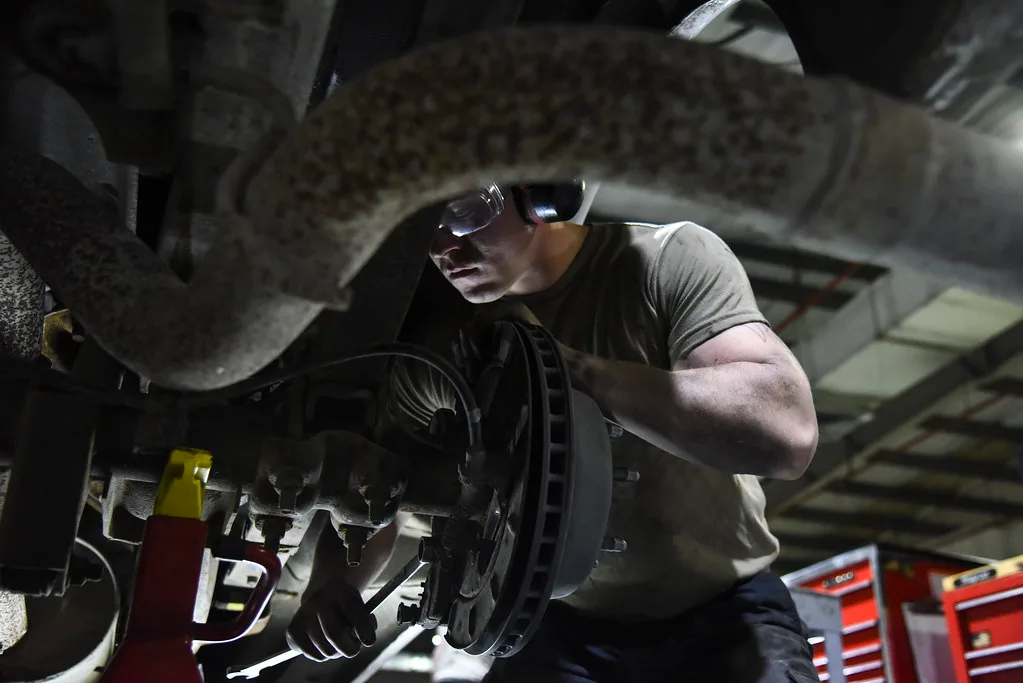
Step 1: inspect the wheel and tire area
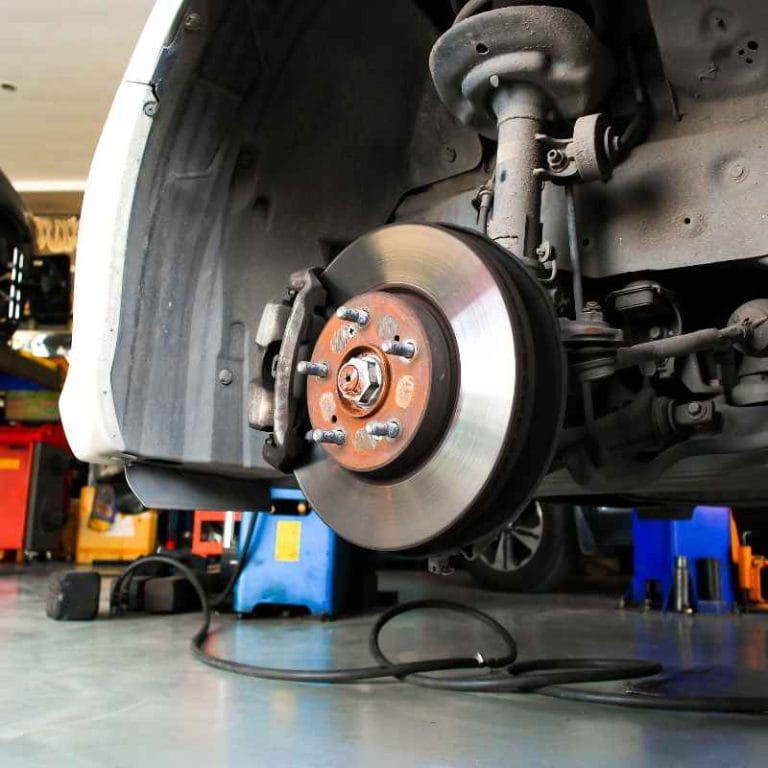
The wheel opening often gives the first warning. Brake dust should look fairly even, not caked on one side only. A wet streak on the wheel, backing plate, or suspension points to leakage. A hose rubbing on metal or a sharp bend near the caliper can turn into a failure later.
What to look for in the wheel opening
- Heavy dust on one side only
- Wetness near the caliper, hose, or backing plate
- Rub marks where the hose touches a bracket or tire
- Backing plate damage or obvious missing parts
Why the wheel area matters
Dust patterns, leak traces, and hose routing tell a story before the pads come off. A damp wheel corner often means fluid is escaping from a hose, caliper, or fitting. That moves the action from monitor to schedule service soon, or stop driving now if fluid loss is active.
Step 2: check brake pads and rotor faces
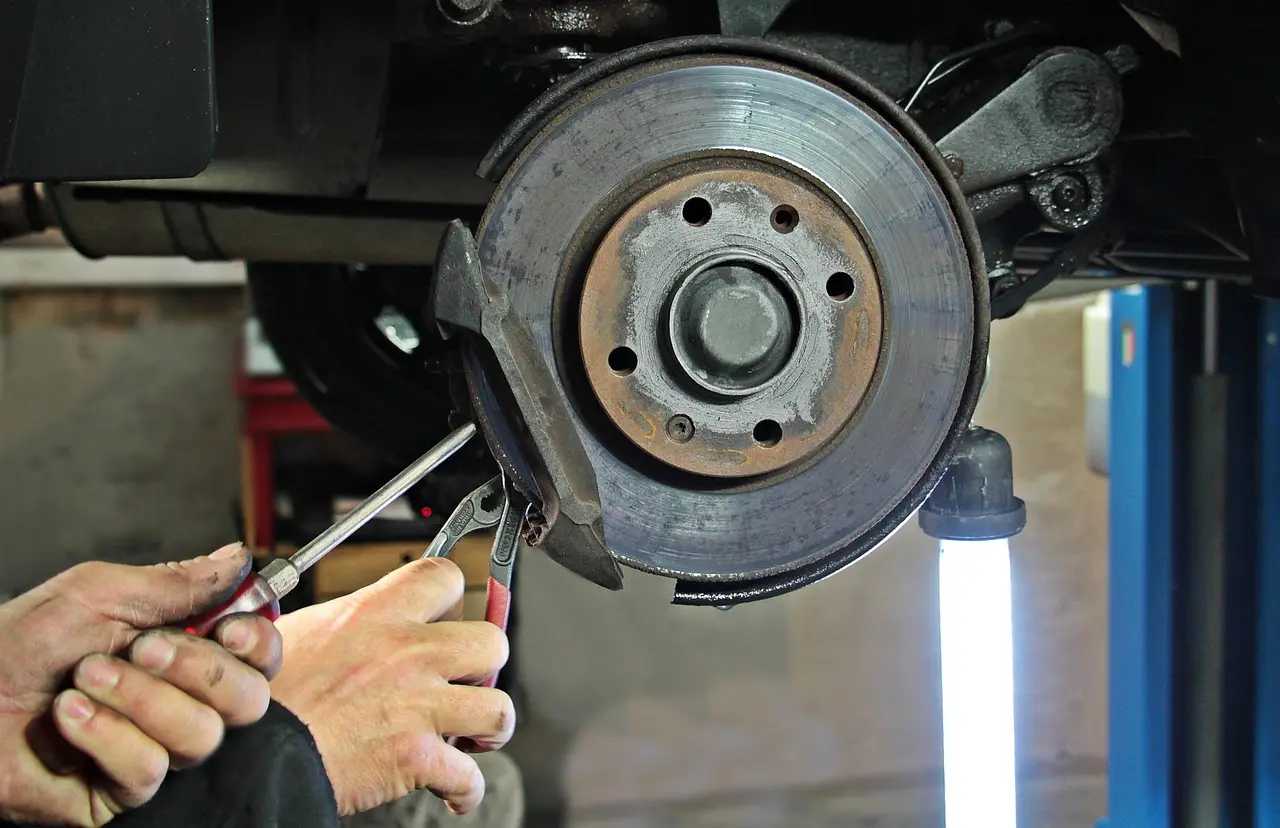
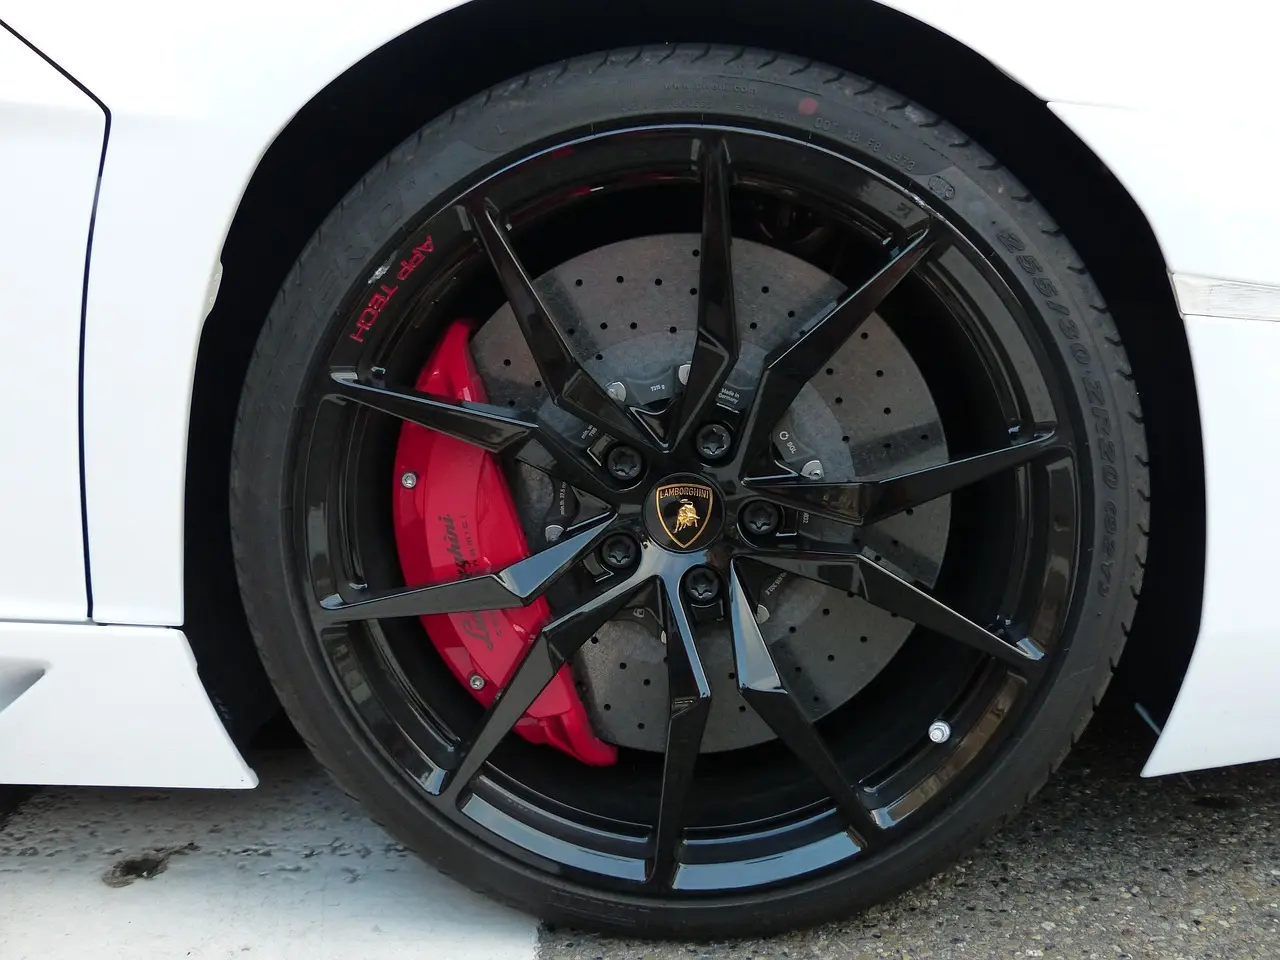
Pad wear is the core inspection. Visible friction material at roughly the low-single-digit millimeter range is close to the end of practical home monitoring, especially if the inner pad is thinner than the outer pad. Rotor surfaces should be smooth enough to read, not deeply scored, heat-spotted, or cracked.
Can I check brake pads without removing the wheel?
Yes, on many cars you can see enough through the wheel spokes to judge outer pad thickness and some rotor condition. That view is limited, though. Inner pad wear, slide-pin problems, and hardware issues often hide until the wheel comes off.
What pad wear means
- 3 mm or more and even wear: monitor
- About 3 mm with some noise or dust change: recheck in 500 miles
- Under 3 mm, or taper wear, or metal showing: schedule service soon
- Pad backing plate nearly contacting the rotor: stop driving now
What should I look for on rotors during a home inspection?
Look for light surface rust, a modest outer lip, and even wear rings first. Deep grooves, hot spots, blue discoloration, or cracks point to heat stress or contamination. Car and Driver also addresses service-life timing for braking components, which helps when the rotor face starts changing before the pads are gone.
Rotor clues and likely meaning
| Rotor clue | Likely hidden problem | Action |
|---|---|---|
| Light surface rust after sitting | Normal moisture exposure | Monitor |
| Small outer rust lip | Normal wear at the edge | Recheck in 500 miles |
| Deep grooves or hot spots | Pad material wear, debris, or uneven contact | Schedule service soon |
| Blue spots or visible cracks | Overheating or serious stress | Stop driving now |
Step 3: look at calipers, hoses, and hardware
Caliper issues often show up as uneven pad wear, pull, or a wheel that runs hotter than the others. Slide pins should move freely when serviced. Boots should stay intact and dry. Missing clips, dry shims, or worn abutment points let the pad chatter and wear unevenly.
How do I know if a brake hose is cracked or leaking?
Look for surface cracks, bulges, wetness, or chafing where the hose passes near the suspension or wheel. Age-related wear shows up as hardening, fine cracking, and a dull surface. If the hose looks swollen or wet, that is a stop-driving issue until a shop inspects it.
Caliper, hose, and hardware symptom matrix
| Visible finding | Likely cause | Best next action |
|---|---|---|
| Outer pad much thicker than inner pad | Sticking slide pins or caliper piston | Schedule service soon |
| Pad taper wear | Caliper not floating freely | Schedule service soon |
| Wet boot or fluid around caliper | Leak at piston seal or hose fitting | Stop driving now |
| Missing clip or dry contact point | Hardware wear or poor pad support | Recheck in 500 miles |
What do brake pedal feel and noise tell you?
Pedal feel is the fastest screening tool. A spongy or low pedal can suggest air, fluid loss, or a hydraulic problem. Pulling under braking often points to uneven pad contact or a caliper issue. Vibration usually comes from rotor thickness variation or heat damage.
What warning signs mean the system needs attention
- Spongy pedal: inspect fluid level and leaks immediately
- Low pedal: stop driving now if it drops far toward the floor
- Pulling left or right: compare inner and outer pad wear
- Vibration during light braking: check rotor face and wheel torque history
- Squeal, grind, or click: inspect hardware, pad thickness, and rotor contact
How do I inspect brake fluid condition at home?
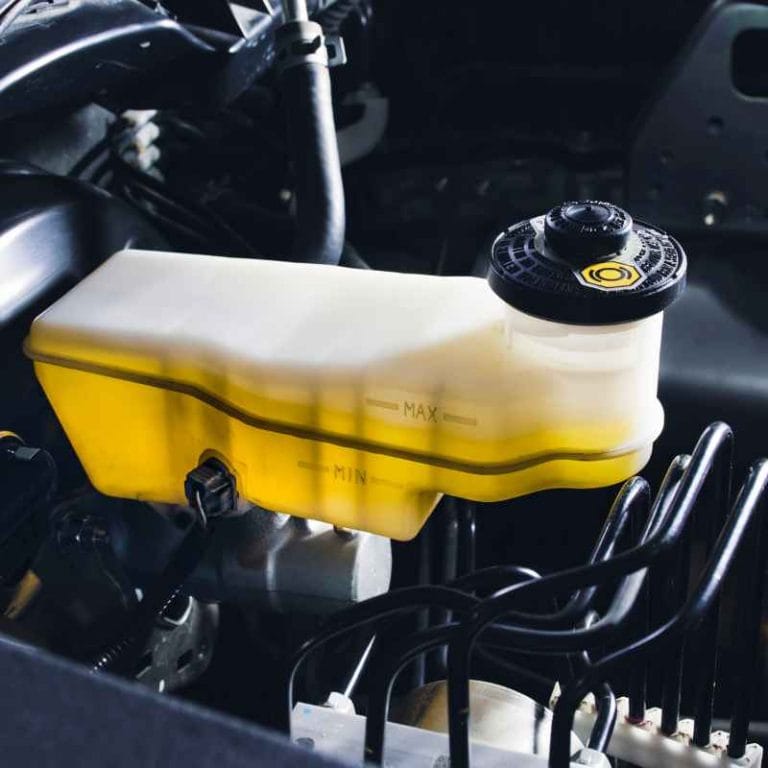
Check the reservoir level against the marks, then read the fluid color and clarity. Fresh fluid is usually clearer; dark, cloudy, or sludgy fluid points to contamination or moisture risk. If the level is low, look for a leak before adding fluid. A flush may be needed when fluid looks contaminated.
Use the driveway decision checklist
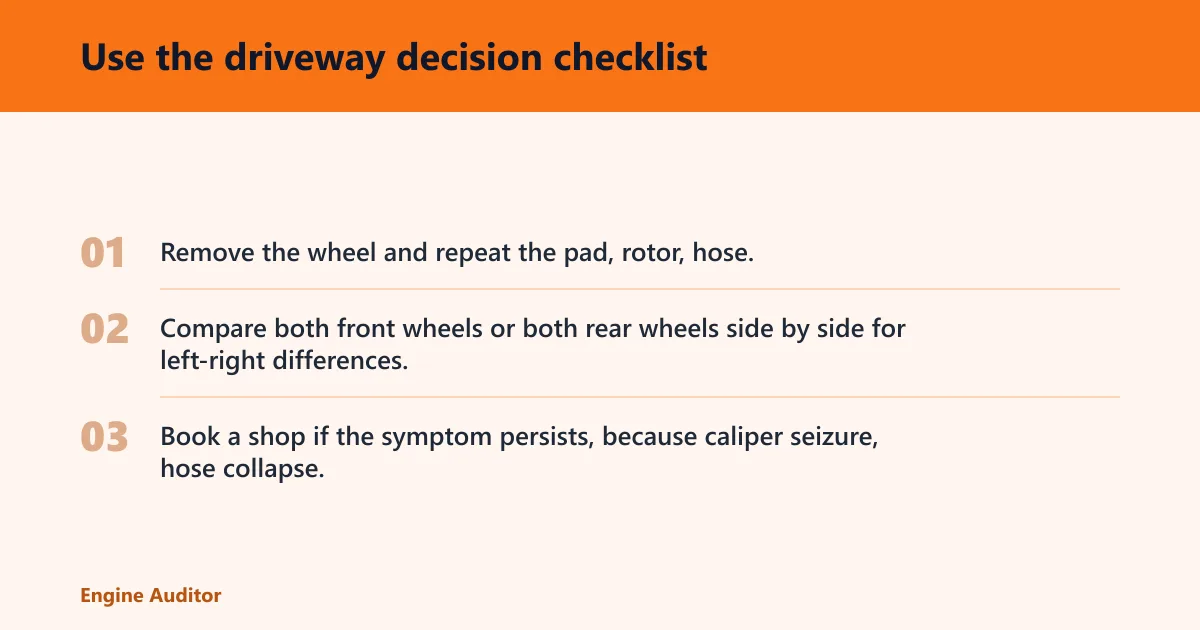
This is the failure-prevention decision tree. Take the most serious clue you find, then choose one action only. Car and Driver’s coverage of brake maintenance and pad replacement cost is useful here, because delay often turns a pad job into more parts and more labor.
| Finding | Most likely hidden problem | Action |
|---|---|---|
| Pads 4 mm or thicker, even wear, dry hoses, normal pedal | No immediate fault visible | Monitor |
| Pad wear near 3 mm, light lip on rotor, no leaks | Normal wear nearing service window | Recheck in 500 miles |
| Inner pad thinner than outer pad, taper wear, dry-but-sticky hardware | Slide pin or caliper movement problem | Schedule service soon |
| Fluid wetness, cracked or bulged hose, pedal sinking, blue rotor spots, visible cracking | Hydraulic fault or severe heat damage | Stop driving now |
If that didn’t work, try this next
- Remove the wheel and repeat the pad, rotor, hose, and hardware inspection with direct access.
- Compare both front wheels or both rear wheels side by side for left-right differences.
- Book a shop if the symptom persists, because caliper seizure, hose collapse, or rotor runout needs proper measurement tools.
Common mistakes when checking brakes at home
One-sided inspection is a common miss. Inner pads wear first on a sticking caliper, so outer pad thickness alone can look fine. Another mistake is calling every rusty rotor bad; a light rust film after rain is often normal after rain. Skipping a torque recheck after reinstalling the wheel can create a false brake symptom later.
How to avoid the usual errors
- Inspect both sides of the same axle, not just one wheel.
- Compare inner pad to outer pad every time.
- Separate surface rust from scoring, cracks, and blue heat marks.
- Do a torque recheck after wheel installation.
- Stop the home inspection if fluid is wet, the pedal is low, or the car pulls hard.
When should I stop driving and get brakes checked?
Stop driving now if the pedal sinks, fluid is visibly leaking, a hose is bulged or wet, a rotor is cracked, or braking pull is severe enough to affect lane tracking. Schedule service soon for pad taper, one-sided dust, or a thin pad that is past the useful home-inspection range.
Frequently asked questions
How much brake pad thickness is safe?
About 4 mm is a practical point for monitoring, while 3 mm is close to the end of useful driveway inspection. Below that, plan service soon. If one inner pad is thinner than the others, treat that as a clue to a caliper or slide-pin issue rather than simple pad wear.
What tools do I need to check brakes in the driveway?
Use a flashlight or work light, lug wrench, jack, jack stands, gloves, and a rag. A small mirror helps behind spokes or around calipers. The wheel should be off the ground only while supported by a stand, and the inspection should stay one wheel at a time.
What are the warning signs my brakes are wearing out?
Thin pads, deep rotor grooves, blue heat marks, vibration, pulling, squeal, and a low or spongy pedal are the main signs. Uneven inner-versus-outer pad wear is especially useful because it often points to a sticking caliper or seized slide pins before a total failure.
Can I check brake pads without removing the wheel?
Yes, if the wheel design leaves enough opening to see the pad edge and rotor face. That view is good for spotting obvious wear, but it will miss many inner-pad and hardware problems. If the outer view looks borderline, remove the wheel for a better look.
How do I inspect brake fluid condition at home?
Open the reservoir, check the level, then inspect color and clarity under good light. Cloudy, dark, or dirty fluid can sometimes mean contamination or moisture risk. If the level is low, do not just top it off and forget it; find the leak before driving farther.
How do I inspect my car brakes at home?
Lift one wheel at a time on level ground, inspect pad thickness, compare inner and outer wear, read rotor condition, and check hoses, calipers, hardware, fluid, and pedal feel. If any sign points to fluid loss, pad backing contact, or a sinking pedal, stop driving and book service.
Prevention
Recheck pad thickness at regular short intervals once wear starts to show, and look at both wheels on the same axle. That catches one-sided wear early, before a sticking caliper or dry hardware turns into rotor damage.
Products related to this article
Sponsored / affiliate links. As an Amazon Associate I earn from qualifying purchases. I may earn additional commission from eligible campaigns.