How to Break in New Brake Pads the Right Way
New brake pads need a controlled heat cycle so pad material transfers to the rotor surface in a thin, even layer. Skip that, and the first hard stops can feel weak, noisy, or grabby because the pad and rotor are working against fresh surfaces instead of matched ones.
The goal is not to wear them in by brute force. It is to build a stable transfer layer, avoid glazing, and catch fitment or rotor problems before the first hard stop. Front pads usually do more work than rear pads, so they often show bedding issues first.
What bedding-in does

Transfer layer basics
During bedding-in, a small amount of pad material bonds to the rotor face. That layer is what the pad rubs against on later stops. If the transfer is patchy, the brake can pulse, squeal, or pull to one side.
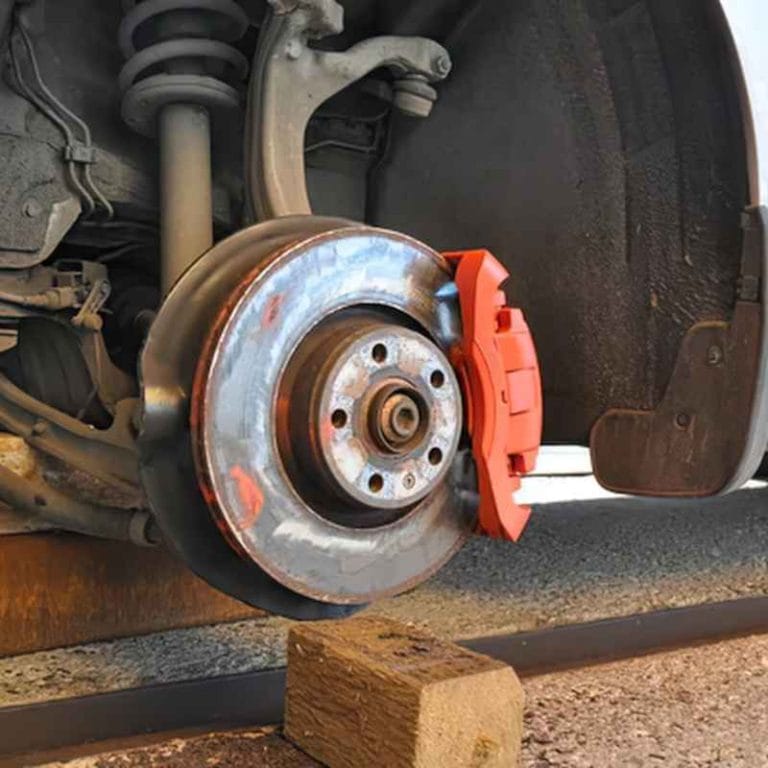
Rotor surface condition matters here. Clean, flat, compatible rotors bed more predictably than rotors with old deposits, heavy scoring, rust, or heat spots. If the rotor already has uneven pad material on it, the new pads can copy that pattern instead of correcting it.
Why fresh pads can feel weak at first
Fresh pads often have a thin surface film from manufacturing and installation. Until that film is scuffed and a transfer layer forms, the initial bite can feel soft. That does not always mean the pads are defective, but it does mean the first drive should be calm and deliberate.
Pad compound type changes the process. Organic pads usually bed sooner and run quieter, while semi-metallic and some ceramic compounds can need more heat cycles. OEM and aftermarket pad compounds can behave differently too, even when the shape fits the caliper correctly.
What you’ll need
- Jack, jack stands, and a wheel wrench
- Basic hand tools for the caliper or pad hardware
- Allen keys; hex size varies by brake design
- Brake cleaner and a clean lint-free cloth
- Gloves and eye protection
- Torque wrench if your vehicle uses fasteners with a specified torque
- Replacement pad hardware if the design calls for new clips, pins, or springs
- For bicycle rim brakes: new brake block cartridges, retaining bolt, washers, and the correct order of washers for the brake design
- A safe test route with light traffic and several clear stops
Bedding-in checklist
| Step | Action | Target | Red flag |
|---|---|---|---|
| 1 | Verify pad and rotor condition before moving off | Clean rotor face, pads centered, hardware secure | Scoring, contamination, loose caliper, uneven pad contact |
| 2 | Make progressive stops from moderate speed | Repeated medium stops, not panic braking | Pedal goes long, wheel pull, harsh squeal, burning smell |
| 3 | Space stops so heat can move out | Cool air between stops, no full stop with hot pads clamped on the rotor | Glazing, fade, hot spotting |
| 4 | Finish with a calm cooldown drive | 10 to 15 minutes with no hard braking | Parking immediately after a hard stop |
Stop-by-stop sequence
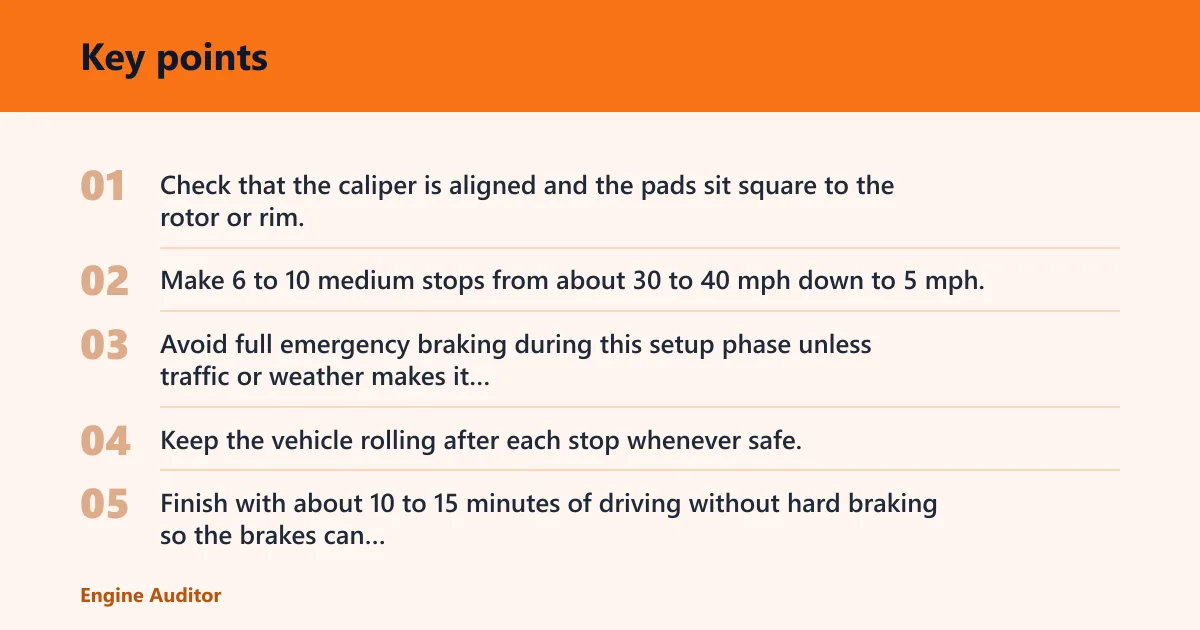
- Check that the caliper is aligned and the pads sit square to the rotor or rim, with pad centering correct and pad-to-rotor clearance even on both sides.
- Make 6 to 10 medium stops from about 30 to 40 mph down to 5 mph, leaving a short gap between stops so the brakes cool between applications.
- Avoid full emergency braking during this setup phase unless traffic or weather makes it unavoidable.
- Keep the vehicle rolling after each stop whenever safe, because holding hot pads against the rotor can sometimes imprint material unevenly.
- Finish with about 10 to 15 minutes of driving without hard braking so the brakes can cool evenly.
Cool-down rules
Use light airflow and rolling distance to let the rotor shed heat. Do not sit at a stoplight with the pedal clamped hard after a heavy stop if you can avoid it. That is where glazing and uneven deposits often start.
If the brakes smell hot after the fourth stop and the pedal feels shorter but not stronger, stretch the gap between stops, cruise for a few minutes, and end the sequence early rather than forcing more heat into the pads.
Red-flag symptoms
- Sharp squeal that does not fade after a few gentle stops
- Pull to one side under braking
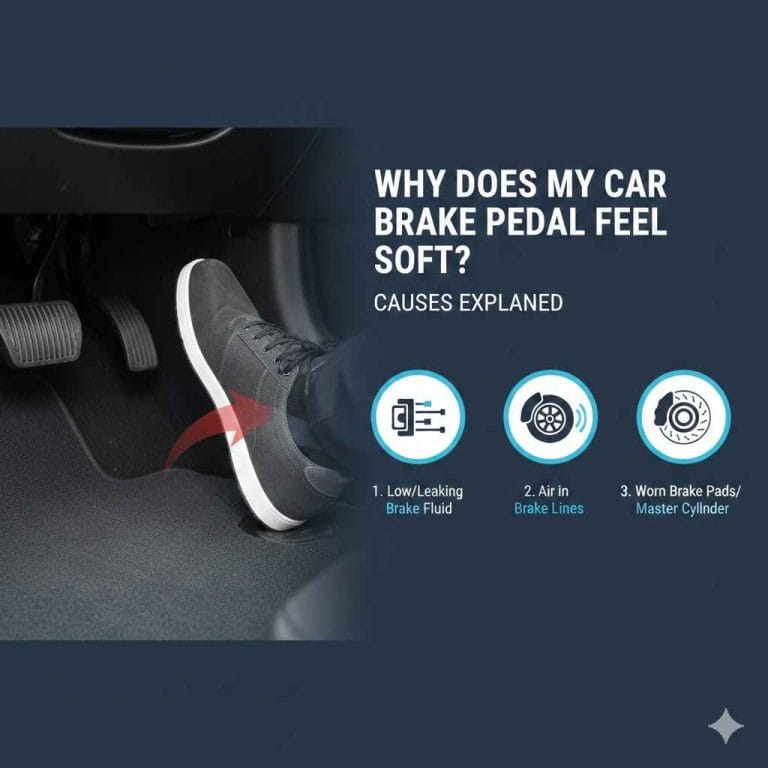
- Pedal feel that suddenly goes soft or long
- Judder or pulse from the first drive
- Visible blueing, glazing, or uneven pad material on the rotor
How do you bed in new brake pads?
Start with a clean install, then run a short series of moderate stops so pad material transfers to the rotor face evenly. After that, cool the brakes with steady driving. That sequence matters more than raw force, because even deposit is what gives you predictable bite.
Step 1: Verify pad and rotor condition
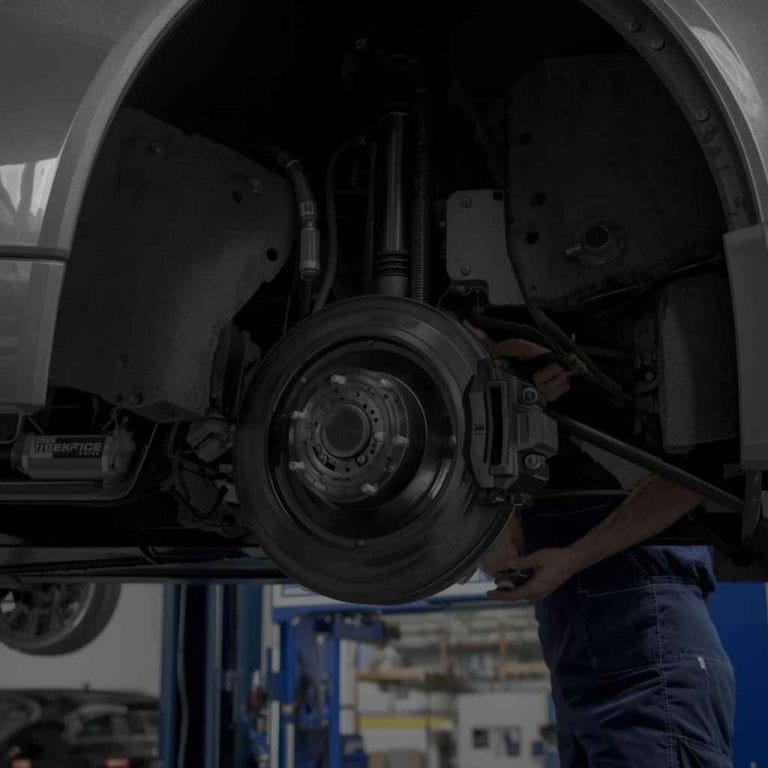
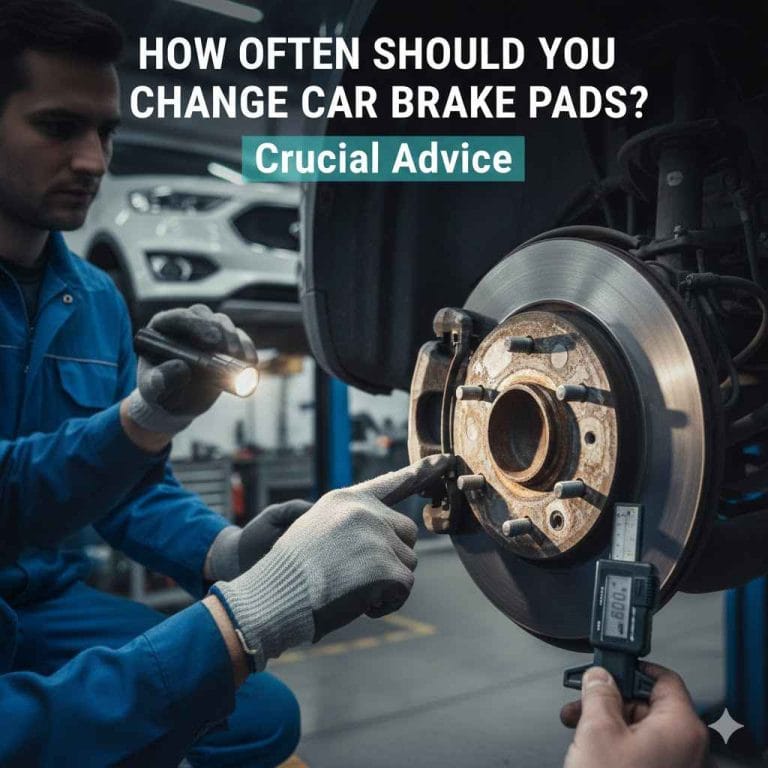
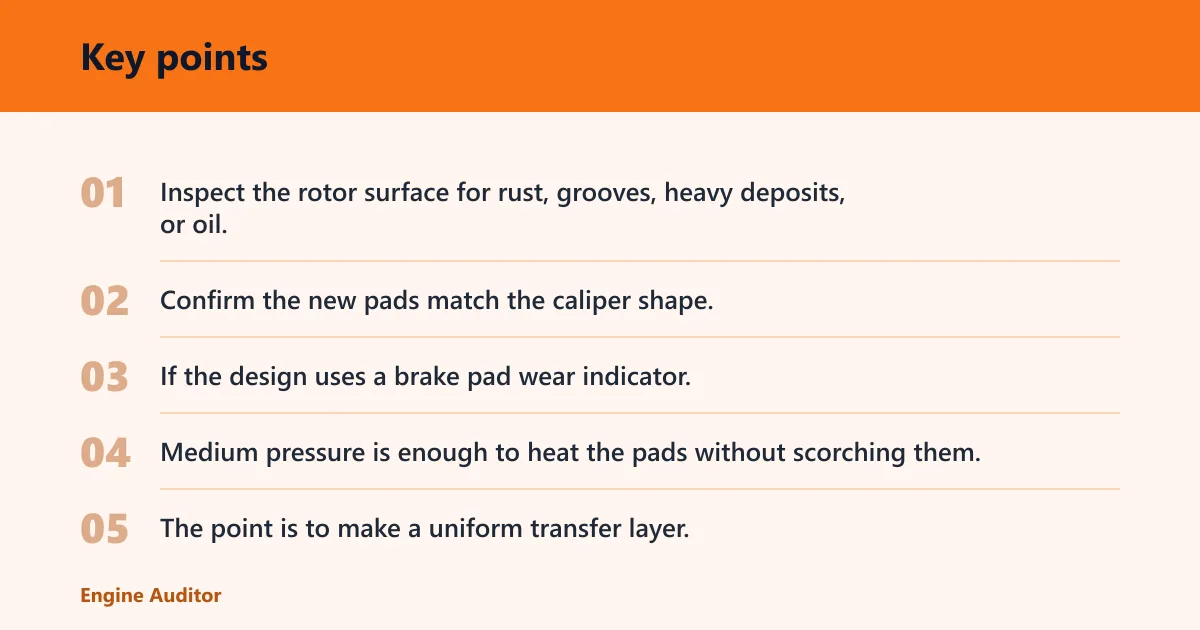
Inspect the rotor surface for rust, grooves, heavy deposits, or oil. Confirm the new pads match the caliper shape, and check front versus rear fitment if the vehicle uses different pad sets. If the design uses a brake pad wear indicator, make sure it is not already near the wear limit reference before you start.
Step 2: Make a series of moderate stops
Use the same stop pattern on each pass. Medium pressure is enough to heat the pads without scorching them. The point is to make a uniform transfer layer, not to force a full panic stop that can leave patchy material on the rotor.
Step 3: Space out the stops for cooling
Leave enough time between stops for the pads and rotor to breathe. If the brakes begin to smell sharp, the pedal changes character, or noise gets louder with each stop, back off. That is the point where glazing starts to become likely.
Step 4: Finish with a calm cooldown drive
Drive 10 to 15 minutes without hard braking. Then park only after the brakes have cooled enough that the rotors are no longer heat-soaked. Do not clamp hot pads against the rotor while stationary if you can avoid it.
How many stops should you do?
Use the pad maker’s range first. As a practical default, 6 to 10 medium stops is common for passenger vehicles, but pad compound type changes the feel and the heat tolerance. If the pedal changes sharply, stop the sequence and inspect the setup before doing more.
Adjust for use case
Daily driving usually calls for the gentlest bedding pattern. Towing, mountain descents, and repeated high-load braking need more caution because heat builds faster and uneven transfer can show up sooner. Front pads usually take the heavier load, so they may show symptoms before the rears.
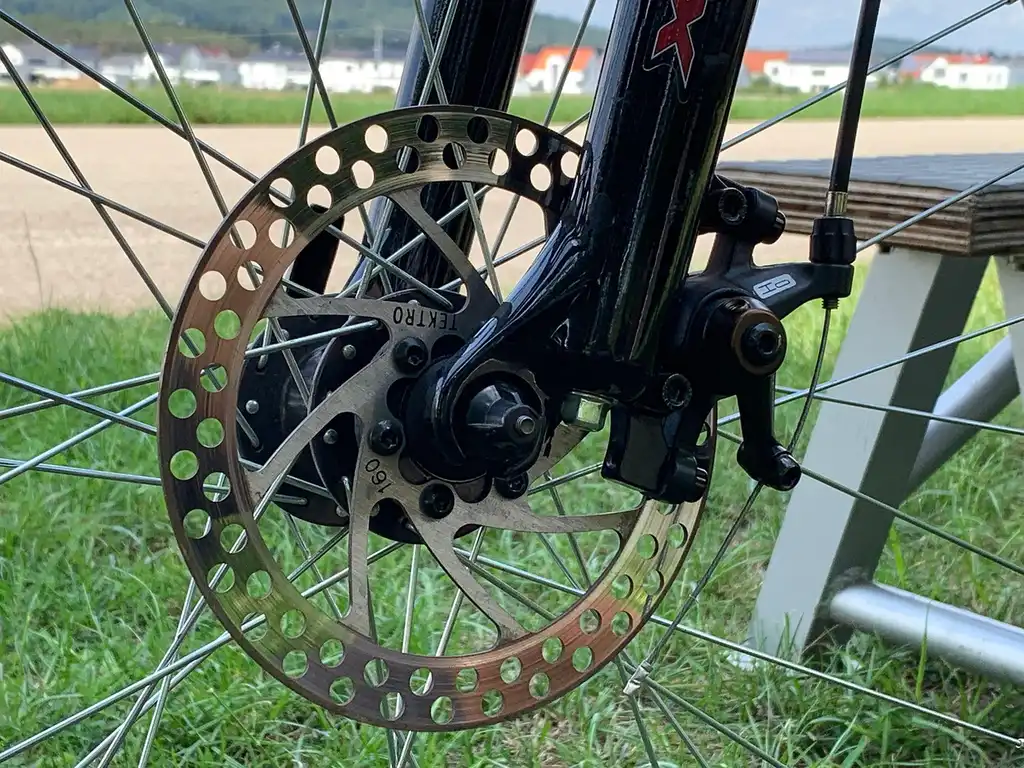
For bicycles with rim brakes, the quick-release is lifted first so the blocks move away from the rim, and a selection of Allen keys is needed. The brake block should sit so there is 1mm of rim visible above the block, the gap should be uniform along its length, and the block should hit the rim squarely or slightly front end first.
What should you check before the first drive?
Before you roll, confirm caliper alignment, pad centering, rotor condition, and hardware order. On the first drive, weak braking often comes from setup problems as much as from bedding-in. A clean visual check now can save a second teardown later.
Fitment and hardware checks
Make sure the pad ears sit correctly in the caliper, pins or clips are seated, and any retaining bolt is secure. On cartridge-style bicycle brakes, washers must go back in the right order. If the pad is cocked in the bracket or the caliper sits off-center, the pad can touch one edge first and make noise before bedding can help.
Check brake pad wear indicator position too. If the indicator sits close to the wear limit reference, replace the pad set rather than trying to bed in a part that is already too thin for stable use.
Rotor and clearance checks
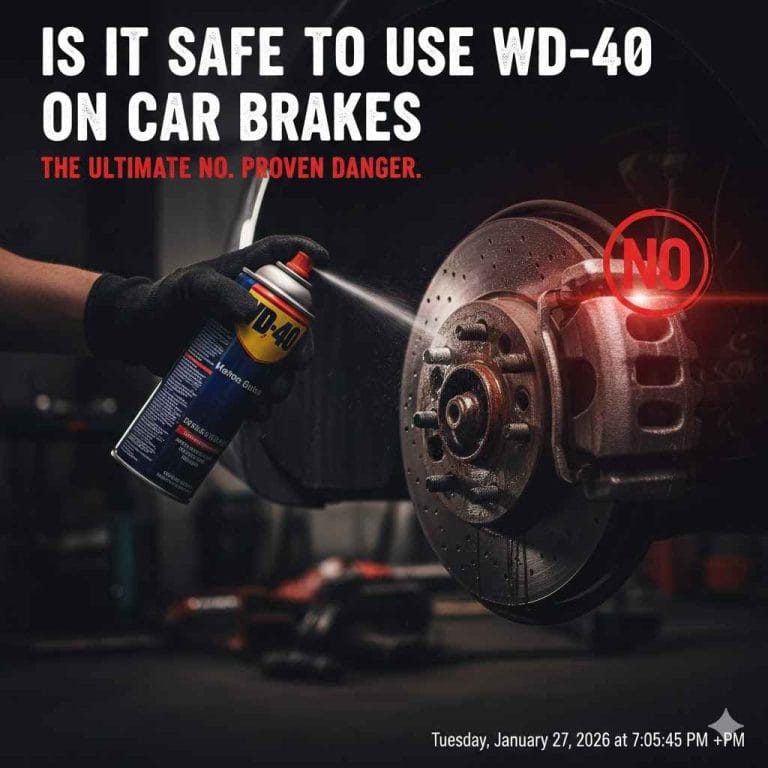
Look for contamination from grease, spray lubricant, or fingerprints on the rotor surface. Confirm there is clearance on both sides and that the rotor is not dragging. Uneven clearance can produce alignment-related noise and can also make the transfer layer uneven.
Common mistakes
- Hard braking from the start: This can overheat the surface before the transfer layer forms. Use medium stops first.
- Holding the vehicle still with hot pads: This can imprint material onto one spot on the rotor. Roll a little if it is safe to do so.
- Ignoring squeal after install: A brief noise can happen during bedding, but persistent squeal after a proper sequence points to alignment, contamination, or pad/rotor mismatch.
- Skipping rotor inspection: Old deposits or scoring can undo the bedding process before it starts.
- Assuming all pad compounds behave the same: OEM and aftermarket pads, and front and rear pads, may need different heat input and different stop counts.
Say your new front pads squeal on every light stop after the first drive and the wheel pulls left. The next check is not more bedding. It is caliper alignment, pad centering, and rotor surface condition on the noisy side.
If the brakes feel normal at first but fade after the third stop and leave a shiny patch on the rotor, that points to overheating and glazing. Let the brakes cool fully, clean the rotor if contamination is present, and repeat with fewer, gentler stops.
How do you bed in new brake pads without glazing them?
Use medium stops, space them out, and end with a cool-down drive. Glazing usually comes from too much heat too soon or from holding hot pads against the rotor after a stop. Clean rotors and correct pad alignment lower the risk further.
If the pads are already glazed, bedding alone may not fix them. Lightly scuffed pads and rotors can recover, but badly glazed surfaces often need replacement or resurfacing depending on the brake design and rotor thickness.
What happens if you don’t bed in new brake pads correctly?
You can get weak first stops, uneven deposit on the rotor, squeal, vibration, and a brake that feels inconsistent from one application to the next. In severe cases, glazing raises the pedal effort and cuts the pad’s ability to bite cleanly.
If that happens after installation, inspect the rotor for hot spots and contamination, check caliper alignment, and confirm the pad compound matches the vehicle and use case. A bad first bedding session can often be corrected, but only if the underlying issue is found.
Frequently asked questions
How many stops should you do after a brake pad change?
A common starting point is about 6 to 10 medium stops, with cool-down time between each stop and a calm drive afterward. If the pedal feel changes sharply or the brakes smell overheated, stop early and inspect rather than pushing through more stops.
How long do new brake pads need to bed in?
The first bedding run can often be completed in one drive, but the transfer layer may keep stabilizing over several normal trips. A controlled stop sequence plus 10 to 15 minutes of cool-down is the practical starting point for most passenger vehicles.
How to bed in new brake pads road bike
Set the blocks so there is 1mm of rim visible above the block, keep the gap uniform, and aim for square contact or a slight front-first angle. Lift the quick-release first so the blocks move away from the rim, then recheck alignment before the first ride.
Products related to this article
Sponsored / affiliate links. As an Amazon Associate I earn from qualifying purchases. I may earn additional commission from eligible campaigns.