How to Check Brake Hoses for Cracks, Leaks, and Damage
Inspect each brake hose wheel by wheel: replace it if you find cracks, wetness, blistering, or chafing, and suspect internal collapse if one brake drags or releases slowly with no outside leak. Ignoring a damaged hose can cause brake pull, longer stopping distance, or sudden line failure. This guide shows how to inspect the hose, fitting, and brake behavior so you can tell external damage from a likely internal blockage.
Brake hose inspection guide
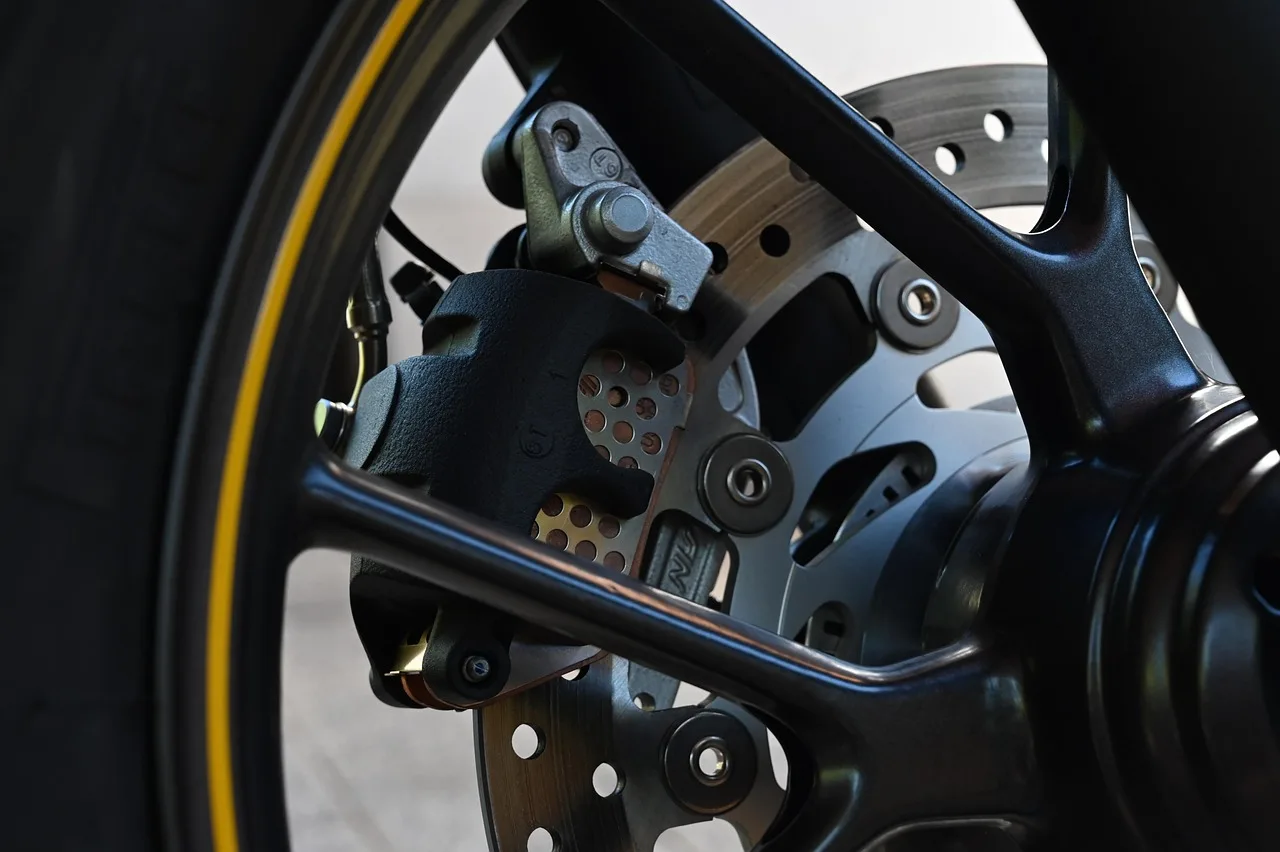
A flexible brake hose carries pressurized brake fluid from the rigid brake line to the moving caliper or wheel cylinder. It should stay firm under pedal pressure, not balloon outward, and it should not crack, bulge, kink, twist, or leak. A rigid brake line, by contrast, runs along the body and is more likely to rust or pit.
Use the same order at every corner. That keeps you from missing one wheel, and it makes side-to-side comparisons meaningful when one hose looks normal outside but behaves wrong under braking.
What this check can and cannot tell you
This inspection can identify visible hose damage, fitting leaks, nearby rigid-line corrosion, and clues that point to internal hose collapse. It cannot prove every hidden failure with certainty. If a corner shows wetness, a bulge, or a dragging brake with no obvious external leak, treat that hose as suspect and classify it accordingly.
What you’ll need
- Flashlight
- Gloves
- Eye protection
- Jack
- Jack stands
- Wheel chocks
- Paper towel or clean rag
- Access to the brake fluid reservoir
How do you inspect each wheel?
Raise the vehicle, then set it down on rated jack stands at the factory lift points before you crawl under it. A floor jack can move or bleed down. Trace the hard brake line to the flexible hose, then follow that hose to the caliper or wheel cylinder. Check each corner in the same order so one damaged hose does not hide beside three clean ones.
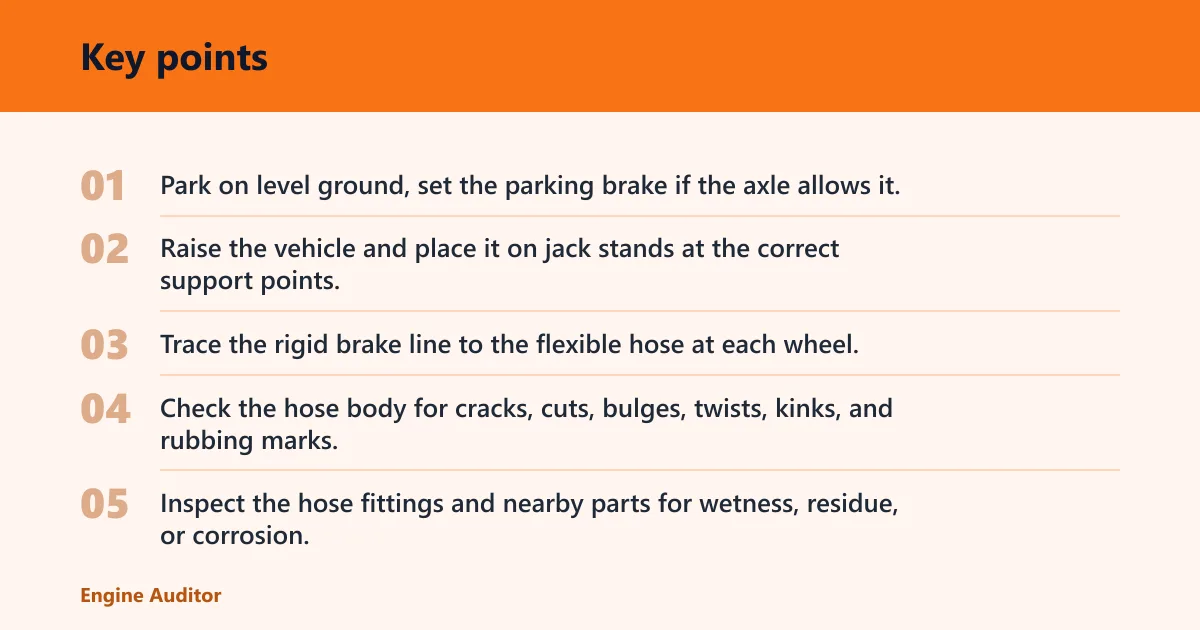
- Park on level ground, set the parking brake if the axle allows it, and chock the wheels that stay on the ground.
- Raise the vehicle and place it on jack stands at the correct support points.
- Trace the rigid brake line to the flexible hose at each wheel.
- Check the hose body for cracks, cuts, bulges, twists, kinks, and rubbing marks.
- Inspect the hose fittings and nearby parts for wetness, residue, or corrosion.
- Check the brake fluid reservoir level and note whether the fluid is clear to amber or dark and cloudy.
How do I check for cracks or bulges?
Look closely at the outer rubber, especially near the ends where the hose flexes most. Fine hairline cracks often start near the fittings. A healthy hose stays round and firm; a damaged hose may swell into a sausage-like shape or show blistering, chafing, or a twist that changes its normal path.
Picture a front hose that curves toward the steering knuckle. If the outer jacket is split and the braid or inner layers show, replace it now. If the hose only shows light rubbing but no swelling or wetness, monitor it and recheck at the next service interval.
How do you spot a hose leak?
Look first at the common leak points: banjo bolts, crush washers, and threaded connections. Dampness, sticky residue, or brake-fluid staining around those joints points to a leak, while rust around the fitting can point to long-term seepage. Also check the rigid brake line above the hose so you do not blame the wrong part.
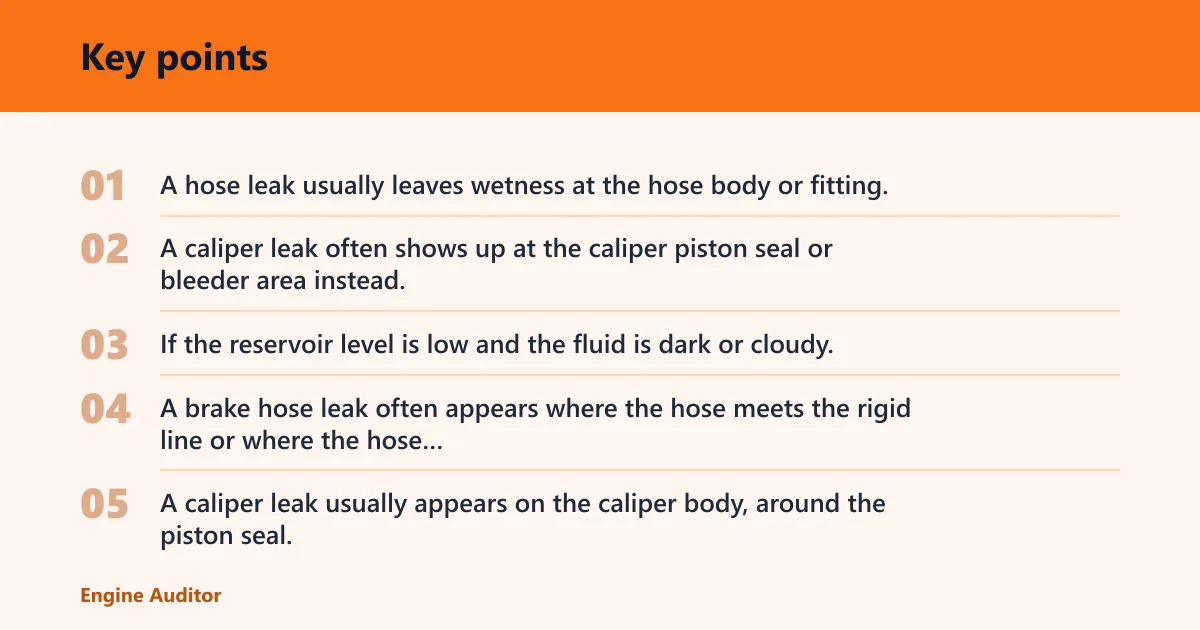
A hose leak usually leaves wetness at the hose body or fitting. A caliper leak often shows up at the caliper piston seal or bleeder area instead. If the reservoir level is low and the fluid is dark or cloudy, that does not prove a hose leak by itself, but it raises concern about contamination and internal damage.
How do I tell a brake hose leak from a caliper leak?
A brake hose leak often appears where the hose meets the rigid line or where the hose meets the caliper. A caliper leak usually appears on the caliper body, around the piston seal, bleeder screw, or dust boot area. Clean the area with a rag, then recheck after a short brake application.
When is a hose failing inside?
Internal hose failure can look normal outside. A failed hose can act like a one-way valve and cause brakes to drag. Watch for a soft or spongy pedal, a slow-sinking pedal, or a wheel that stays hotter than the others after a short drive. Pulling to one side during braking also fits this pattern.
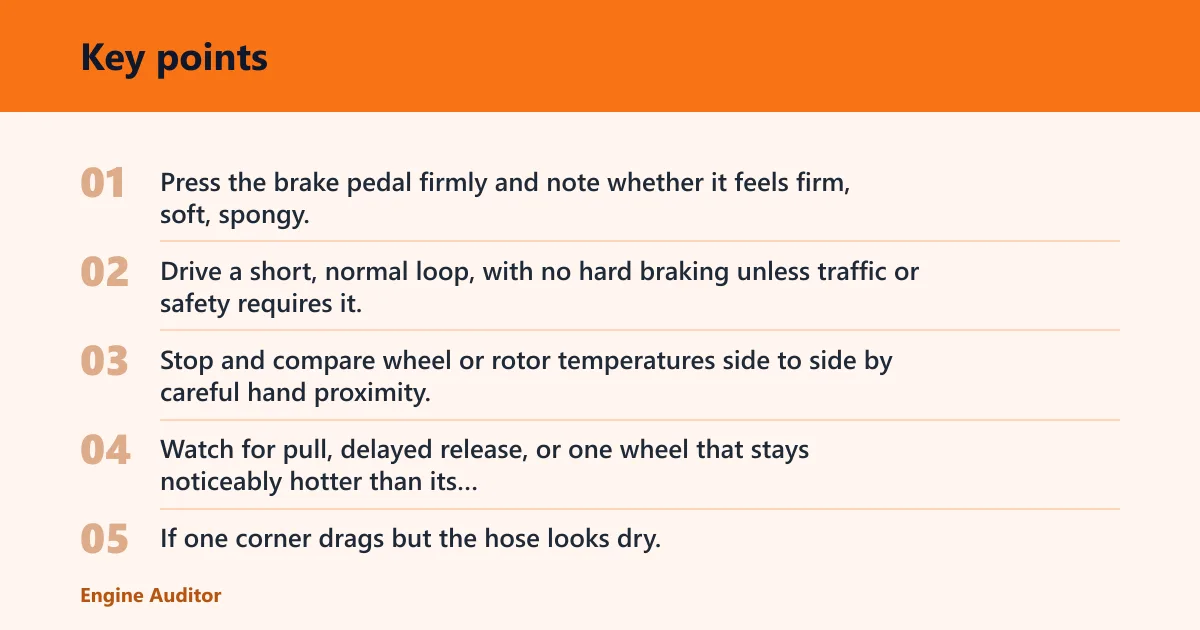
Suppose the left front wheel is much hotter than the right front after a short drive, but the hose exterior is dry. That corner deserves suspicion for a restricted hose, not just a caliper issue. A hose that releases slowly can leave the pad dragging even when no fluid is leaking out.
- Press the brake pedal firmly and note whether it feels firm, soft, spongy, or sinks toward the floor.
- Drive a short, normal loop, with no hard braking unless traffic or safety requires it.
- Stop and compare wheel or rotor temperatures side to side by careful hand proximity, not by touching hot parts.
- Watch for pull, delayed release, or one wheel that stays noticeably hotter than its opposite side.
- If one corner drags but the hose looks dry, classify that hose as replace now and inspect the matching side too.
What symptoms suggest an internal brake hose failure?
Look for a brake that releases late, a wheel that drags after pedal release, a hot rotor on one corner, or a pull to one side during braking. A spongy pedal can also point to brake-line trouble more broadly. If the pedal goes to the floor, do not keep driving.
Brake hose scorecard
Use this table to record each wheel separately. A single corner can be OK while the opposite side needs replacement. That is why wheel-by-wheel notes matter more than a quick glance across the axle.
| Wheel position | Hose condition | Fitting wetness | Crack, bulge, or kink status | Pedal feel | Rotor temperature difference | Likely fault classification |
|---|---|---|---|---|---|---|
| Left front | Firm, dry | None | None visible | Firm | Normal vs right front | OK |
| Right front | Light chafe mark | Light residue | No bulge, no kink | Firm | Warm, not much hotter | Monitor |
| Left rear | Swollen near fitting | Wet | Sausage-like bulge | Soft | Hotter than right rear | Replace now |
| Right rear | Dry, aging hose | None | Fine cracks near ends | Firm | Normal vs left rear | Monitor |
Classify each corner this way: OK if the hose is firm, dry, and free of damage; monitor if the hose shows light aging, minor chafe, or borderline residue without a leak; replace now if you see wetness, swelling, cracks, kinks, or a heat or pedal symptom that points to restriction.
Common mistakes
Do not trust a hose that looks normal outside if the wheel drags or the pedal sinks. Internal collapse can hide in plain sight. Do not call every wet fitting a caliper leak either; hose ends and banjo connections are common leak points and need separate inspection.
A common first-timer mistake is replacing only one cracked front hose while the matching side is the same age and condition. If one hose is failing from age or climate exposure, the other side often deserves close attention too.
Do not drive with a floor-going pedal or obvious fluid loss. That is a stop-now condition.
How often should brake hoses be inspected?
Inspect brake hoses every oil change or at least once a year. Another common guide puts brake line checks at 12,000 to 15,000 miles or once a year. Add an extra inspection before long trips and after off-road driving, where flex hoses can be rubbed, twisted, or packed with debris.
Brake hoses are not lifetime parts. Competitor guidance commonly places replacement around 6-8 years, sooner in harsh climates, salt exposure, or high-heat use. If one hose shows age and the others are close behind, replacing in pairs or all four is the cleaner repair.
Should I replace brake hoses in pairs or all four?
Replace in pairs when one side is aged, damaged, or restricted and the matching side is close in condition. Replace all four when age, climate exposure, or widespread cracking makes the whole set suspect. That approach reduces the chance of chasing the next failure one corner later.
Frequently asked questions
What does a swollen brake hose look like?
A swollen hose may look rounder than normal and may bulge near the fitting or midspan. It should not balloon outward when someone presses the pedal. If the hose looks puffy, soft, or uneven compared with the matching side, replace it rather than waiting for it to split.
Can a bad brake hose cause pulling or dragging?
Yes. A restricted hose can act like a one-way valve, which can keep pressure trapped at one wheel. That can make the vehicle pull during braking or leave one brake dragging after release. A hotter rotor on one side after a short drive is a strong clue.
How do I check brake hoses for cracks or bulges?
Raise the vehicle and support it on jack stands, trace each hose from the rigid line to the caliper, and inspect the full length with a flashlight. Look especially near the ends where flexing is greatest. Fine cracks, a bulge, kinks, or rubbing marks mean the hose needs attention now or soon.
Is it safe to keep driving with a cracked brake hose?
No. A cracked hose can leak, burst, or worsen quickly under pressure. If the crack is paired with wetness, spongy pedal feel, or fluid loss, the vehicle should not be driven. If the pedal goes to the floor, stop using the vehicle and arrange repair.
Can a brake hose look fine but still be bad inside?
Yes. Internal collapse may leave the outside looking normal while the inside acts like a restriction. Watch for delayed release, pull to one side, or a wheel that runs much hotter than the others after a short drive. Those symptoms can point to a bad hose even without visible damage.
What tools do I need to inspect brake hoses safely?
Use a flashlight, gloves, eye protection, wheel chocks, a jack, jack stands, and a clean rag. You do not need specialized diagnostic equipment for a basic check. The most important tool is a safe setup that keeps the vehicle fully supported before you reach under it.
Products related to this article
Sponsored / affiliate links. As an Amazon Associate I earn from qualifying purchases. I may earn additional commission from eligible campaigns.