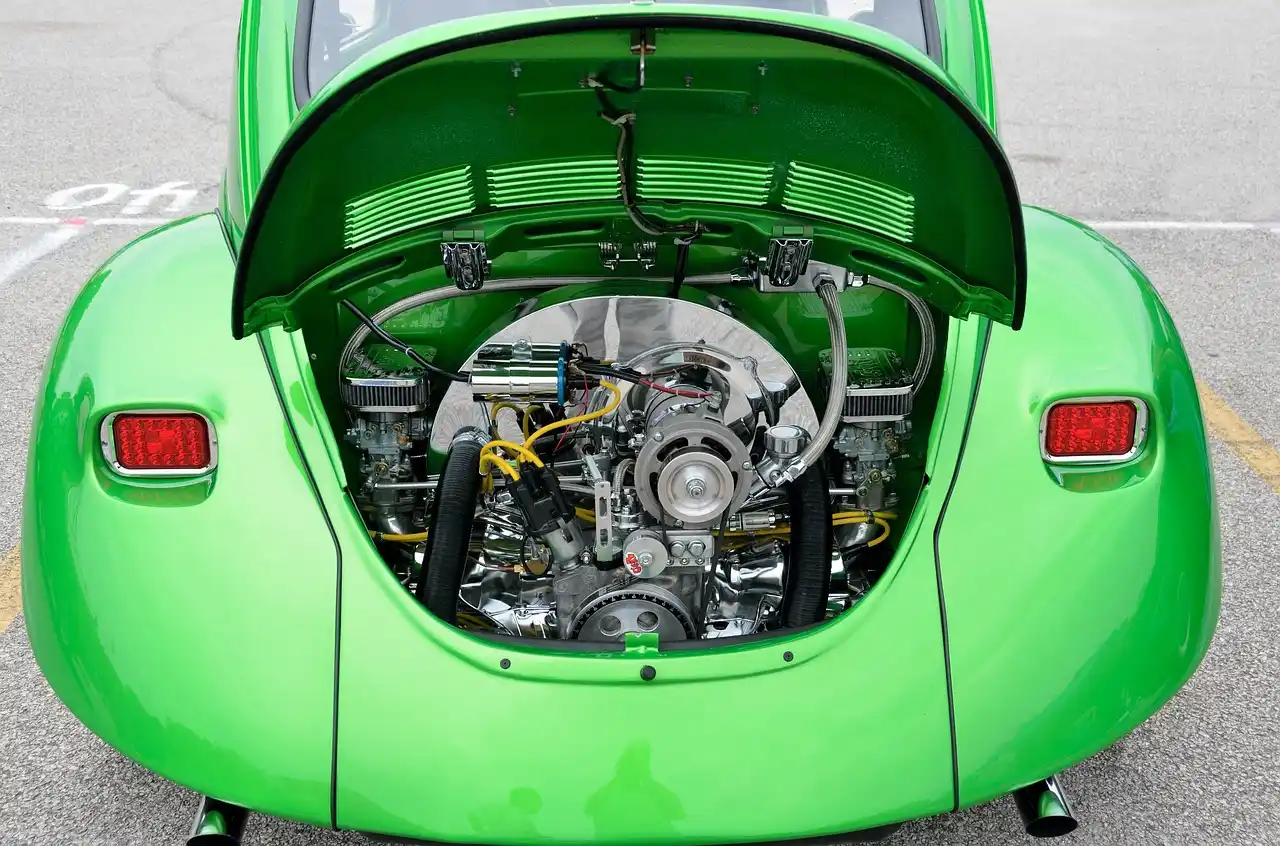
Carburetor Repair Guide
A carburetor repair guide should start with symptoms: idle-only problems point to the pilot or idle circuit, mid-throttle issues to the needle or transition circuit, full-throttle bogging to the main jet, and fuel leaks to the float, needle, or seat. If you guess wrong, you burn money, foul plugs, wash cylinders with fuel, or hurt the engine with a lean run. This guide maps symptoms to circuits, shows when to clean, rebuild, or replace, and ends with checks that prove the fix.
Start with symptoms, not parts
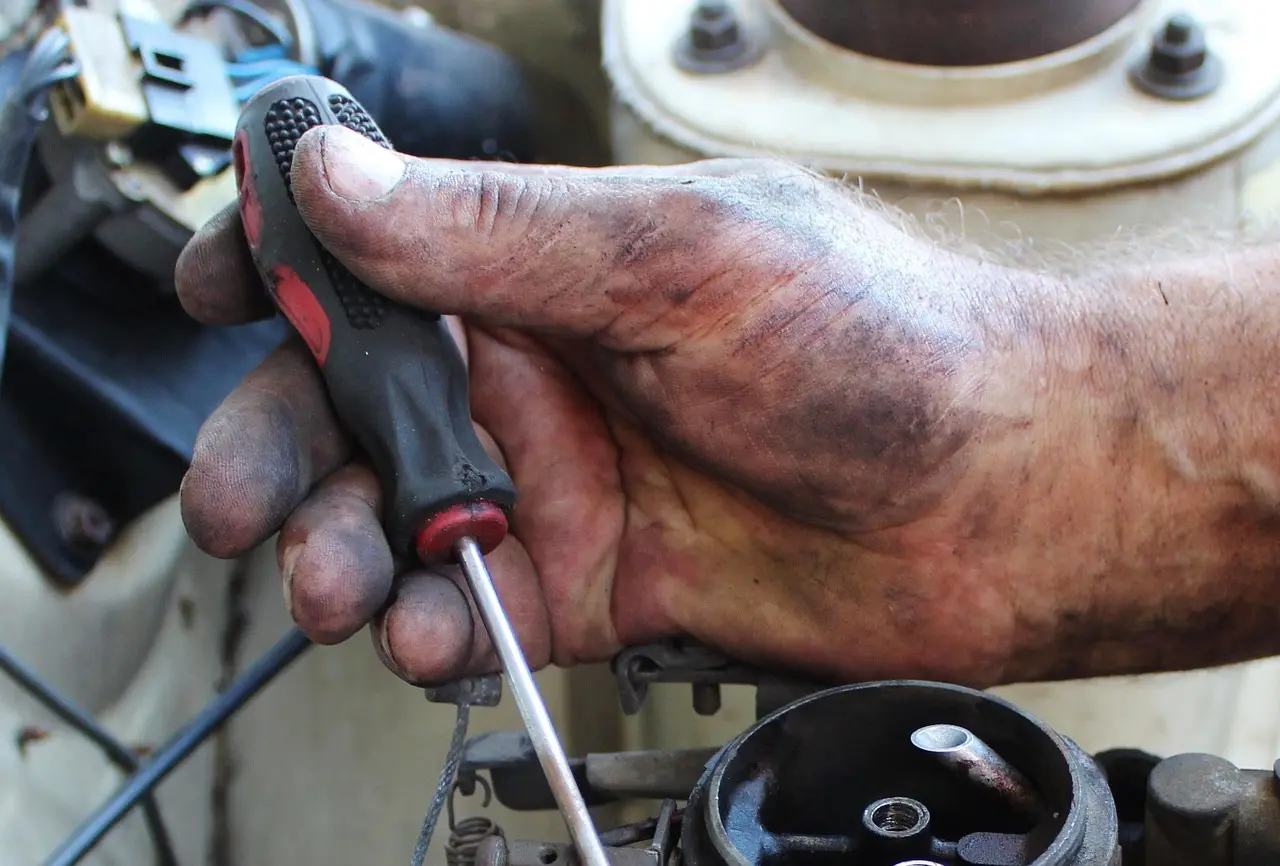


The five-minute triage before touching the carburetor
A carburetor meters gasoline into the airstream by pulling fuel through calibrated passages as air speeds up through a venturi, then varying that flow with the float chamber, choke valve, throttle valve, idle circuit, main jet, and often an accelerator pump. In practice, each section feeds the engine in a different operating range, from cold start and idle to snap throttle and full load (Haynes Carburettors Manual; Bosch Automotive Handbook).
Do not pull the carburetor first. I separate carb faults from ignition, valve, and compression problems with a few quick checks: spark quality, plug condition, fuel freshness, fuel flow to the carburetor, and whether the engine responds to choke and throttle in a consistent way.
If the engine will not fire at all, confirm spark and basic compression before blaming the carburetor. If it starts but only runs with the choke partly on, that usually points to a lean condition from a blocked idle jet, transition passage, or vacuum leak.
Sort the symptom by circuit
Idle problems usually trace to the idle system, which supplies mixture at closed throttle and low engine speed, often below roughly 800 to 1,000 rpm on many small engines and older automotive carbureted engines, though the exact target depends on the application and service manual (Haynes Carburettors Manual; manufacturer service data). A stumble right off idle often points to the transition slot or accelerator pump. Full-load power loss usually sends me to the main jet, emulsion passages, fuel level, or upstream fuel delivery.
Cold-start trouble points toward the choke system or low fuel level. Rich cold running with black smoke points toward a choke stuck closed, high float level, or needle-seat leakage. A hot restart problem may be flooding, percolation, or a fuel-soaked intake path rather than a dirty jet.
What rich, lean, flooded, and vacuum-leak behavior feels like
A lean mixture has too much air for the amount of fuel entering the engine, and a rich mixture has more fuel than the available air can burn cleanly. Stoichiometric mixture for gasoline is about 14.7 parts air to 1 part fuel by mass, but at the bench I diagnose by engine behavior, not by chasing that number (Bosch Automotive Handbook; EPA emissions training references).
Lean engines often need choke to stay running, sneeze back through the carburetor, hang at idle, or hesitate on light throttle. Rich engines load up, smell of raw fuel, leave dark plugs, and may puff black exhaust on throttle blips. Flooded engines drip fuel, wet the plugs, and may only restart with the throttle held open.
Vacuum leaks usually make mixture screws seem unresponsive. Idle wanders. Spraying a non-flammable diagnostic product or using smoke testing around the base gasket, manifold joints, and throttle shaft can change engine speed if a leak is present; avoid open flames and use aerosol products only with ventilation and eye protection (OSHA shop chemical-safety guidance; manufacturer service procedures).
When upstream fuel delivery is the real problem
Many supposed carburetor failures start before the carburetor. A restricted fuel filter, weak fuel pump, contaminated tank, or rust in the line can mimic a clogged main jet or an empty float chamber.
Check for steady fuel delivery into a container, inspect the filter for debris, and verify pump pressure against the engine maker’s specification before disassembly. Excessive fuel pressure can overpower the float needle and seat and create flooding even when the carburetor itself is clean; that is why factory service information treats fuel pressure and float control as a matched system rather than separate guesses (manufacturer service manuals; Bosch Automotive Handbook).
Cars and trucks have used fuel injection in place of carburetors for the most part since the 1990s, because injectors meter fuel more precisely across temperature, load, and emissions requirements. Carburetors are still common on small engines, motorcycles, and smaller outboard engines, and on those machines stale fuel and tank debris still cause a lot of the trouble I see.
Reputable service references agree on the basics: carburetors meter fuel by airflow through a venturi, float level directly affects mixture strength, excess pump pressure can override a good needle and seat, and carburetor cleaning must be done with ventilation and eye protection (Bosch Automotive Handbook; Haynes Carburettors Manual; OSHA chemical-safety guidance; Briggs & Stratton and Kohler service literature).
How do I know if my carburetor needs cleaning or rebuilding?
A carburetor needs cleaning when contamination is the main problem, and it needs rebuilding when wear or sealing failure is the problem. In other words, clean varnish and debris; rebuild leakage, shaft play, torn diaphragms, and repeat flooding.
Signs a cleaning is usually enough
Choose cleaning first when the fault follows storage, stale fuel, or visible contamination and the carburetor is dry on the outside. Typical examples are a clogged idle jet, light varnish in emulsion passages, or an accelerator pump discharge nozzle partly blocked by residue.
Small engines often fall into this category after seasonal storage. Motorcycles with clean bowls but blocked pilot jets do too, especially when they ran acceptably before sitting.
Signs a rebuild is the better call
Rebuild when inspection shows compressed gaskets, torn diaphragms, worn needle tips, a grooved seat, saturated float material, or throttle shaft side play. Those are wear problems, not dirt problems, and spraying cleaner through the passages will not fix them.
Repeated flooding after cleaning is a strong rebuild signal. So is an idle mixture screw that will not respond because the throttle shaft bushings leak air. On older motorcycle racks, I regularly find one carb body with a clean pilot jet but a visibly worn shaft seal that only shows up once the engine is hot and the idle starts hanging.
When replacement makes more sense than repair
Replace the carburetor when the body is warped, major threads are stripped, castings are cracked, or corrosion has eaten away metering passages. Multi-carb motorcycle racks with severe shaft wear across several bodies can also cross the line where replacement or professional restoration makes more sense than piecemeal repair.
Decision tree: clean, rebuild, or replace
- Confirm spark, compression, and upstream fuel supply.
- Identify the symptom by circuit: idle, transition, main, choke, accelerator pump, or float control.
- Inspect externally for leaks, shaft play, missing plugs, and damaged linkage.
- If there is no wear and no leakage, remove bowls or tops and check for varnish or debris.
- If contamination is the only fault, clean jets and passages, then verify fuel level and operation.
- If wear, leaks, torn diaphragms, or recurring flooding are present, rebuild with the correct kit parts.
- If the casting or shafts are beyond repair, replace the unit.

The carburetor diagnosis matrix
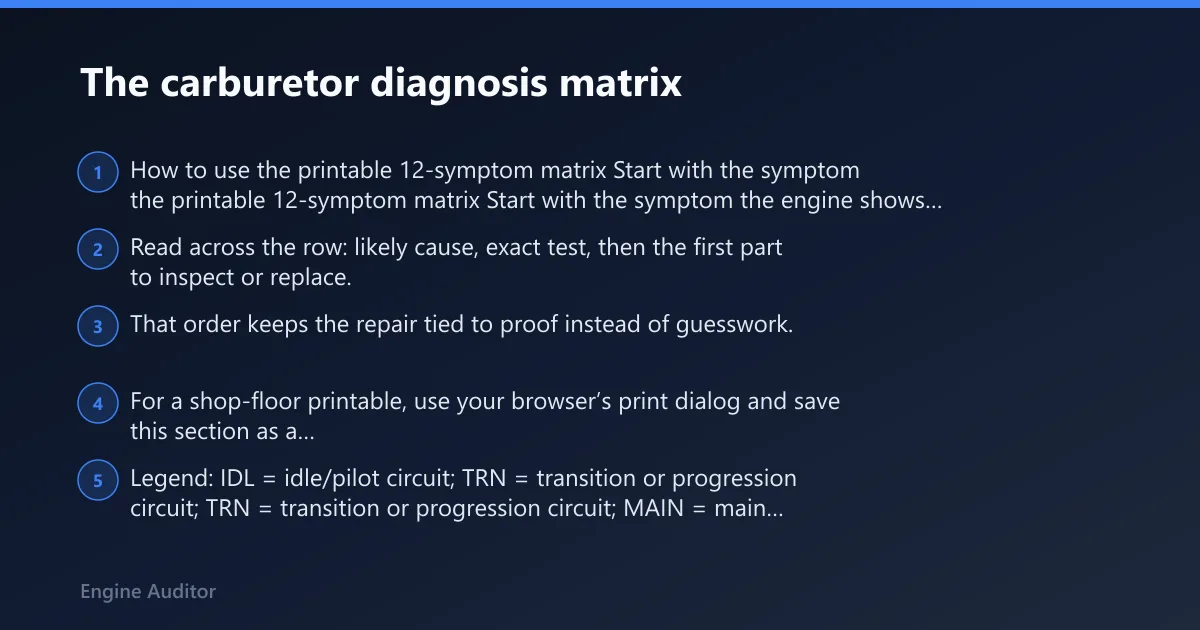
How to use the printable 12-symptom matrix
Start with the symptom the engine shows first, not the one it shows after repeated failed starts. Read across the row: likely cause, exact test, then the first part to inspect or replace. That order keeps the repair tied to proof instead of guesswork. For a shop-floor printable, use your browser’s print dialog and save this section as a PDF.
Legend: IDL = idle/pilot circuit; TRN = transition or progression circuit; MAIN = main jet/emulsion circuit; CHK = choke or cold-start enrichment; FD = fuel-delivery or float-control side.
Printable symptom-to-cause-to-fix matrix
Print title: Carburetor symptom-to-cause-to-fix matrix
Scan tip: Start in the left column, confirm with the test column, then touch only the first listed part or circuit. Circuit tags for quick marking: IDL, TRN, MAIN, CHK, FD.
| Symptom | Likely cause | Exact test to confirm | First part to inspect or replace |
|---|---|---|---|
| Starts only with choke on | Blocked idle jet or vacuum leak | Open choke gradually; if rpm drops sharply, spray-test base gasket and shaft, then inspect idle jet for varnish | Idle jet |
| Hard cold start | Choke stuck open or low fuel level | Verify choke plate closes cold; inspect bowl level and float action | Choke linkage or float |
| Hard hot restart | Flooding from needle-seat leak or high float level | Check for wet boosters, fuel smell, and bowl overflow after shutdown | Float needle |
| Rough idle only | Idle passage blockage or throttle shaft air leak | Adjust mixture screw slightly; if no response, test shaft and idle passages | Throttle shaft bushings or idle passage |
| Idle hunts or hangs | Lean vacuum leak | Spray-test manifold, base gasket, and shaft ends while idling | Base gasket |
| Off-idle stumble | Weak accelerator pump shot or blocked transition slot | Look for immediate fuel discharge on snap throttle with engine off | Accelerator pump diaphragm |
| Mid-throttle hesitation | Needle or transition circuit issue | Hold steady mid-throttle; improvement with slight choke points lean | Jet needle or transition passage |
| Full-throttle bogging | Main jet restriction or weak fuel supply | Load test; then verify tank flow, filter condition, and main jet cleanliness | Main jet |
| Black smoke and fuel smell | Rich mixture from choke fault or high fuel level | Confirm choke opens fully warm; inspect plug color and bowl level | Choke pull-off or float setting |
| Fuel dripping from vent or overflow | Needle-seat leak, saturated float, or high pump pressure | Watch fuel level rise with bowl off or sight method; verify pump pressure | Needle and seat |
| Backfire through carburetor | Lean mixture, pump lag, or intake leak | Snap throttle; inspect pump shot and test for manifold or shaft leaks | Accelerator pump circuit |
| Exhaust popping on decel | Lean idle circuit or exhaust leak mimicking carb fault | Check closed-throttle mixture response; inspect exhaust joints for leaks | Idle mixture circuit |
How the matrix maps to circuits
A carburetor commonly includes a fuel storage chamber, choke, idling jet, main jet, venturi-shaped restriction, and accelerator pump. The matrix ties each symptom to one circuit first, then to the wear item or contamination point most likely to fail there.
That order matters. Flooding points to float control or FD before mixture screws. An off-idle stumble points to TRN or the pump shot before a full teardown. A no-response idle mixture screw points to IDL blockage or a vacuum leak before any random adjustment.
What are the most common carburetor problems and what causes them?
The most common carburetor problems are blocked idle and main circuits, flooding from float-control faults, vacuum leaks at gaskets or throttle shafts, choke malfunctions, and accelerator pump failures. The cause is usually either contamination, wear, wrong adjustment, or an upstream fuel problem that mimics a carb fault.
Jets and passages
Idle jets often clog early because their passages are very small and stale fuel can leave varnish there. Main jets and emulsion passages usually show up under load, where the engine starves only at larger throttle openings. Dirt can also lodge at the bowl inlet and mimic a jet problem by lowering fuel level.
Clean with carb cleaner, compressed air, and soft brushes. Use jet sizing tools only for checking size and shape. Do not poke jets with drill bits, torch tip cleaners, or hard steel wire, since the metering size may change; that caution appears again and again in manufacturer service literature because even slight enlargement alters flow calibration (Haynes Carburettors Manual; Briggs & Stratton service information).
Float needle and seat faults
The float needle and seat control fuel level in the float chamber. Wear on the needle tip, grooves in the seat, or debris caught between them can cause leak and flood failure. A saturated float sinks. A bent tab or incorrect float height can raise the fuel level and richen the circuits (Holley tuning literature; Kohler service manuals).
Look for polished wear rings, contamination, overflow stains, and fuel inside hollow or porous float material. Repeated wet plugs after sitting often point here. In teardown, one of the most common failed parts I find is a Viton-tipped needle with a visible witness ring that still looks acceptable until you hold it under bright light next to a new one.
Throttle shaft, bushings, gaskets, and diaphragms
Throttle shaft wear creates a vacuum leak right where idle fuel metering is most sensitive. Side play lets outside air bypass the intended idle path, causing unstable idle and making mixture tuning erratic. Base gaskets and manifold gaskets can do the same.
Diaphragm carburetors on small engines and some pumps within carburetors can fail from tears or compression set. Gaskets can seep externally or leak internally between passages, which is harder to spot but just as disruptive. If you are working in that repair family, the sibling guide on how to change a carburetor like a pro is the one I would use when the diagnosis has already crossed from cleaning into replacement.
Segment notes: small engines, motorcycles, multi-carb setups
Small engines often suffer from stale fuel, plugged idle circuits, and diaphragm stiffness. Motorcycles commonly show pilot jet blockage, float valve contamination, and vacuum leaks at carb boots. Multi-carb racks add one more variable: synchronization. One carburetor slightly out of sync can mimic a jetting problem across the whole engine.
How do I repair a carburetor step by step?
Repair a carburetor in a strict order: confirm the symptom, rule out upstream fuel and non-fuel faults, document every setting, clean only what inspection proves dirty, replace only what inspection proves worn, then verify leak control, idle quality, and throttle response after reassembly. That sequence avoids chasing new problems created during repair.
Tools, solvents, and safety
Use carb cleaner, compressed air, soft brushes, screwdrivers that fit the jets correctly, a float gauge or ruler that suits the carburetor, any needed jet sizing tools, and personal protective equipment. Eye protection matters because carb cleaner and compressed air can force solvent and debris back out of passages, and OSHA guidance on aerosol solvents and compressed air supports treating this as a splash hazard, not a casual wipe-down job.
Work on a clear tray. Keep small check balls, clips, and springs in order. Photograph linkage and hose routing before removal. Ventilate the work area, keep ignition s away from drained fuel and solvent, and use only the service method specified for checking float height because the carb body angle changes the reading on many designs (OSHA guidance; manufacturer service manuals).
Removal and baseline documentation
- Shut off fuel or drain the bowl safely.
- Remove the air cleaner and note gasket condition.
- Record choke and throttle linkage positions.
- Count mixture screw turns to lightly seated, if applicable, and record them before removal.
- Record idle speed screw position or exposed thread length for a baseline.
- Remove the carburetor and keep hardware grouped by section.
Disassembly, cleaning, and inspection
Open the float bowl and inspect sediment, varnish color, and water separation. Remove jets carefully and inspect their openings against good light. Check emulsion tubes for side-hole blockage. Inspect the accelerator pump cup or diaphragm for tears and stiffness.
Check the float for damage or saturation, then inspect the needle tip and seat. Move the throttle shaft laterally; visible side play is a red flag for air leakage. Inspect every gasket for crush, shrinkage, or fuel tracking.
Spray cleaner through each passage until flow is visible where it should exit, then follow with compressed air. Passages that do not flow after proper cleaning deserve closer inspection for hard deposits or corrosion. On small-engine carbs that have sat with ethanol fuel, I often find a chalky white deposit under the welch plug area or in the idle feed drilling; once corrosion gets there, cleaning alone is not always enough.
Reassembly and baseline setup
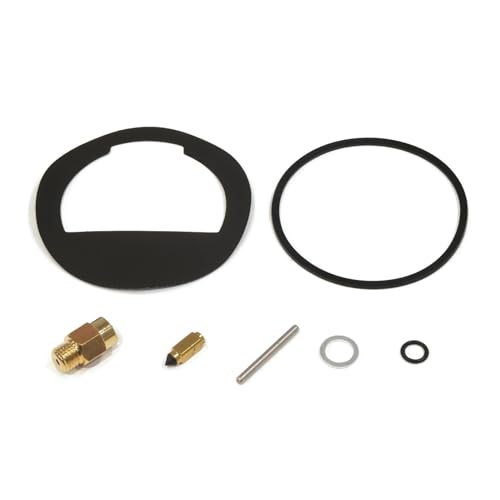
Reassemble with new gaskets, O-rings, and diaphragm parts from the correct kit. The important lesson is straightforward: swapping parts is not enough unless you verify the result with fuel-level, leak, and running checks.
Set float height to the engine maker’s specification. Install mixture screws gently, then return them to the recorded baseline or the manual’s starting point. Set the idle speed screw to the recorded baseline so the engine will start for final tuning. Float-height procedure is especially sensitive to carb orientation, because some manuals specify measuring with the float just touching the needle but not compressing a spring-loaded tip (Holley, Keihin, Briggs & Stratton, and Kohler service procedures all make this distinction on applicable models).
How do I fix a carburetor that is flooding gas?
Fix flooding by proving where the extra fuel comes from before replacing parts. In most cases the fault is float height, a worn or contaminated needle and seat, a saturated float, or fuel pressure that exceeds what the inlet valve can hold back.
Confirm overflow versus rich running
Real flooding leaves evidence: wet boosters, fuel dripping from a vent, raw fuel at the throttle plate, or a plug soaked after cranking. Rich running without overflow usually points more toward choke faults or high fuel level than a seat that cannot seal at all.
Check float height, float condition, and needle-seat sealing
Remove the bowl and inspect float movement through its full travel. A sticking hinge pin can mimic a bad needle. Check for fuel inside the float if its design allows that failure mode. Inspect the needle tip for a wear ring and the seat for scoring or debris.
With the carburetor oriented per the service method, verify float height. If fuel pressure is available from a pump, confirm it is within specification; too much pressure can force past a good needle and seat. That is why flooding diagnosis should include both the carb internals and the supply side instead of assuming the seat is bad (Bosch Automotive Handbook; manufacturer service manuals).
Repair sequence and post-repair leak checks
Replace the needle and seat first if wear or contamination is present. Correct float height next. Replace a saturated or damaged float. Confirm the choke opens as it should when warm. Then run a leak check with the engine off and the fuel on, followed by a running check at idle and after shutdown.
How do I diagnose a clogged jet or vacuum leak?
Diagnose a clogged jet by matching the failure to a throttle range, and diagnose a vacuum leak by checking for unstable idle and poor mixture-screw response, then confirming at the shaft, base, or manifold with spray or smoke testing. One affects a circuit; the other bypasses the circuit.
Idle jet and main jet failure patterns
A clogged idle jet causes hard starting, rough idle, and a need for choke. A clogged main jet shows up when the engine is asked to pull under load. Emulsion passage blockage can create a flat midrange that feels like a weak main circuit even though the jet itself is open.
Safe cleaning methods
Use solvent soak as needed, then compressed air and soft brushes. Inspect the jet opening rather than scraping it. Any hard tool that changes the opening also changes fuel metering.
Finding vacuum leaks at the shaft, base, and manifold
Test around the throttle shaft ends, carb base gasket, insulator blocks, and manifold boots. If idle changes when test fluid reaches one point, inspect that area more closely. Shaft wear is common on older automotive carburetors and high-mileage motorcycle carbs.
When bushings are worn, mixture tuning becomes inconsistent because unmetered air changes with shaft position and vibration. Cleaning will not solve that. If your symptoms line up more with replacement than repair, the companion piece on how to change a carburetor like a pro fits this exact next step better than a generic carb overview.
How do I adjust the idle and mixture screws on a carburetor?
Adjust idle and mixture screws only after float level, choke action, ignition condition, and vacuum leaks are confirmed. The direct answer is simple: start from a known baseline, warm the engine fully, adjust in small steps, and stop if the screw has little effect because that usually means the fault is elsewhere.
Find and preserve the baseline
Before removal, count each mixture screw to lightly seated and write it down. On multi-carb setups, record each screw separately. Random screw turning hides the original fault and can send one cylinder rich while another stays lean.
Correct adjustment order
Warm the engine, make sure the choke is fully off, and set the idle speed high enough to run steadily. Turn the mixture screw in small increments to find the best idle quality, then reset idle speed. Repeat until both settings agree.
If turning the screw has almost no effect, stop and look for a blocked idle passage, wrong screw parts order, or a vacuum leak. Do not force the screw against its seat; service manuals consistently call for gently seating mixture screws to avoid damaging the tapered tip and the metering bore.
Differences by segment
Small engines may use fixed jets with limited external adjustment. Motorcycles often need equal attention to pilot screws and carb synchronization. Multi-carb setups must be synchronized after mixture and idle settings are close, or one cylinder can mask the behavior of another.
Why is my carburetor backfiring and how do I stop it?
Carburetor backfiring stops when you identify whether the noise is happening through the intake or through the exhaust, because those point to different faults. Intake backfire usually means lean delivery or pump lag; exhaust popping usually means decel lean-out, an exhaust leak, or a non-carb problem mimicking one.
Intake sneeze versus exhaust pop
An intake sneeze on tip-in often comes from accelerator pump lag, a blocked transition circuit, or a vacuum leak. Exhaust popping on closed-throttle decel fits a lean idle circuit, air leak downstream, or sometimes ignition and valve issues that mimic carburetor faults.
Quick checks before reopening the carburetor
Check for a visible accelerator pump shot, full choke release when warm, and any fresh gasket leaks. Confirm ignition timing and valve condition if carb tests do not support a fuel fault. Reopening a clean carburetor without those checks often wastes time.
Verification after the repair
Leak, start, idle, and throttle checks
With the engine off, turn fuel on and watch for seepage at the bowl gasket, inlet fitting, accelerator pump cover, and overflow. Start the engine cold, confirm the choke behavior, and see whether it accepts throttle without sag.
Let it reach full temperature, then check hot restart. Snap the throttle and watch for clean response. If the engine still needs choke warm, the mixture is lean or fuel delivery is weak.
Load test and final sanity check
Test the engine under the load that originally exposed the problem. Full-throttle bogging after a clean carburetor often means the main circuit was never the issue and the real fault is a filter, pump, tank vent, or falling fuel level.
Read the plugs, smell the exhaust, and watch for black smoke or lean sneeze. Revisit float level, mixture setting, or upstream supply only if the symptom still maps there after the test sequence. If the machine still floods after a verified seat, verified float level, and verified pump pressure, I stop assuming dirt and start looking for a warped body, a damaged seat bore, or heat-related percolation.
Frequently asked questions
What causes hard starting and rough idle in a carburetor?
Hard starting and rough idle usually come from a blocked idle jet, vacuum leak, low fuel level, or a choke that is stuck in the wrong position. Cold-start trouble points harder at the choke or bowl level, while a warm rough idle points harder at the idle circuit or throttle shaft leakage.
When should I rebuild a carburetor instead of cleaning it?
Rebuild when inspection finds worn needle-seat parts, leaking gaskets, torn diaphragms, throttle shaft play, or recurring flooding after a proper cleaning. Cleaning handles dirt and varnish. Rebuilding handles wear, compressed sealing parts, and internal leakage that cleaning cannot fix.
How do I tell if a carburetor is running too rich or too lean?
Lean running often shows as choke dependence, idle hang, intake sneeze, and hesitation. Rich running usually shows as fuel smell, dark plugs, black exhaust, soggy throttle response, and possible flooding. The difference matters because lean faults usually come from blocked passages or leaks, while rich faults often come from fuel level or choke problems.
What are the most common carburetor problems?
The most common problems are clogged idle jets, blocked main jets or emulsion passages, needle-seat leakage, wrong float height, stuck chokes, accelerator pump failure, and vacuum leaks at gaskets or throttle shafts. Upstream contamination and fuel pressure faults also mimic carburetor trouble often enough to deserve an early check.
How do I diagnose a clogged carburetor jet or vacuum leak?
Match the bad behavior to throttle range first. Idle-only trouble points to the idle circuit, load-only trouble points to the main side, and broad unstable idle points to a vacuum leak. Then confirm with spray or smoke testing for leaks and visual flow checks through jets and passages for blockage.
How do I fix a carburetor that is flooding gas?
Confirm true overflow, then inspect the float, needle, seat, choke position, and pump pressure. Replace worn needle-seat parts, correct float height, replace a saturated float, and verify pressure upstream. Finish with an engine-off leak test, a running check, and a hot restart check.
Sources
- Bosch, Automotive Handbook, sections covering air-fuel ratio, carburetion basics, and fuel-system diagnosis.
- John Haynes, Carburettors Manual, for venturi operation, idle/main/transition circuits, mixture adjustment, and service cautions.
- Briggs & Stratton service manuals and carburetor service bulletins, for small-engine float setting, cleaning limits, and safety procedures.
- Kohler engine service manuals, for float-level procedure, needle-and-seat inspection, and governor/idle setup context.
- Holley technical and tuning literature, for float adjustment, flooding diagnosis, and fuel-pressure interaction with needle-and-seat sealing.
- OSHA guidance on flammable liquids, aerosol solvents, and eye protection in repair work, for ventilation and personal-protective-equipment practices.
- EPA and standard technician-training references covering stoichiometric gasoline combustion and emissions-related mixture concepts.
Products related to this article
Sponsored / affiliate links. As an Amazon Associate I earn from qualifying purchases. I may earn additional commission from eligible campaigns.
 Smaeti Pilot Screw Adjustment Tool, 16.34" Carburetor Repair Repair Tool with Rotatable Blade Tip for Easy Adjustments Designed for Carb ATV UTV Snowmobile
 QAZAKY Pack of 5 Carburetor Rebuild Repair Kit Compatible with K10-WAT WA WT 2-Cycle Carb String Trimmer Leaf Blower Chainsaw Poulan Weedeater Ryobi Ryan IDC Homelite Lawnboy Toro McCulloch Craftsman