How to Clean a Carburetor Without Damaging It: Steps
Clean a carburetor by matching the method to the fault: use spray cleaner for varnish and idle circuits, soak only removed metal parts, and replace brittle gaskets before reassembly. Wrong cleaners, poking jets with wire, or soaking assembled parts can warp castings, swell seals, and turn a dirty running engine into a no-start. This guide shows how to clean the carburetor, which parts to remove first, and when to stop short of a full teardown.
This guide is part of our Carburetor repair guide series.
What you’ll need



- Carburetor cleaner spray for metal passages and external deposits
- Soak-type cleaner only for removed metal parts, never for assembled rubber or plastic parts
- Compressed air with a narrow nozzle
- Basic hand tools for air filter, bowl, and carburetor removal
- Safety glasses and gloves
- Ventilation in an open or well-ventilated area
- Replacement gaskets, seals, fuel line clamps, or fuel line if damaged
- Clean rags and a small tray for parts
- Shut off the fuel supply, then let the engine cool fully.
- Remove the air filter so you can reach the carburetor throat.
- Inspect the outside, throttle plate, and choke for sticky deposits.
- Spray cleaner on exposed metal only, then let it loosen varnish.
- Use compressed air to clear the loosened debris from each passage.
- Remove the float bowl if symptoms point to fuel contamination or stale fuel clog.
- Inspect the bowl, jets, and needle valve; replace damaged parts.
- Reassemble with sound gaskets, reconnect fuel lines, and check for leaks.
- Start the engine and set idle adjustment only after the carburetor runs cleanly.
How do you know whether cleaning is enough?
Start with the symptom, then match it to the likely circuit. A rough idle often points to the idle circuit or throttle plate deposits, while a hard start can come from a dirty choke, stale fuel, or a blocked jet. If the bowl has a lot of sediment or the needle seems to stick, cleaning may not be enough.
Use the symptom-to-cleaning-method decision table
| Symptom | Likely circuit or part | Safest cleaning method | Stop and rebuild if you see |
|---|---|---|---|
| Hard start | Choke mechanism, idle circuit, stale fuel clog | Spray cleaner on accessible metal parts, then blow out passages with compressed air | Choke still sticks, fuel bowl is corroded, or the engine will not fire after clearing passages |
| Rough idle | Idle circuit, throttle plate, gasket leak | Clean the throttle plate and idle passages; check gaskets and vacuum leaks | Idle stays unstable after cleaning and leak checks |
| Flooding | Needle valve, float, bowl level | Remove the bowl and inspect the needle valve and float for sticking or wear | Fuel keeps overflowing or the float is damaged |
| Hesitation | Main jet, acceleration circuit, restricted passage | Clear the jet and passages fully with solvent and air | Jet remains restricted or the engine bogs under load after cleaning |
| Stale-fuel clog | Bowl, jets, passages | Full removal and deep cleaning with disassembly | Heavy varnish, sediment, or pitted metal |
Know the red flags that mean stop and rebuild
If the gasket is swollen, the float leaks, the needle is grooved, or the bowl is full of rust, stop. A clean spray path will not fix a worn metering part. Picture a small-engine generator that starts only on choke and dies as soon as the lever opens; that points beyond surface dirt and toward a blocked circuit or air leak.

Can I clean a carburetor without removing it?
Yes, if the problem is light varnish on accessible passages or a dirty throttle plate. Spray cleaning through the carburetor throat can clear light deposits, and removing the air filter gives you access to that throat. If the bowl, jets, or needle valve are involved, removal is the safer path.
Clean the easy access points first
- Remove the air filter assembly to expose the throat.
- Move the throttle plate by hand only as far as it moves freely.
- Spray cleaner on the throttle bore and plate edges.
- Let solvent sit long enough to soften the deposit, then blow it out with air.
- Check the choke for sticking, then clean the visible linkage without forcing it.
What to avoid spraying into the carburetor
Do not flood rubber parts, seals, or plastic pieces with harsh solvent. Do not shove the nozzle hard into jets or passages. Do not force a stuck throttle or choke lever. Aerosol cleaner is flammable, so keep it away from heat, sparks, and a hot exhaust.
How do I clean a carburetor without damaging the gaskets or jets?
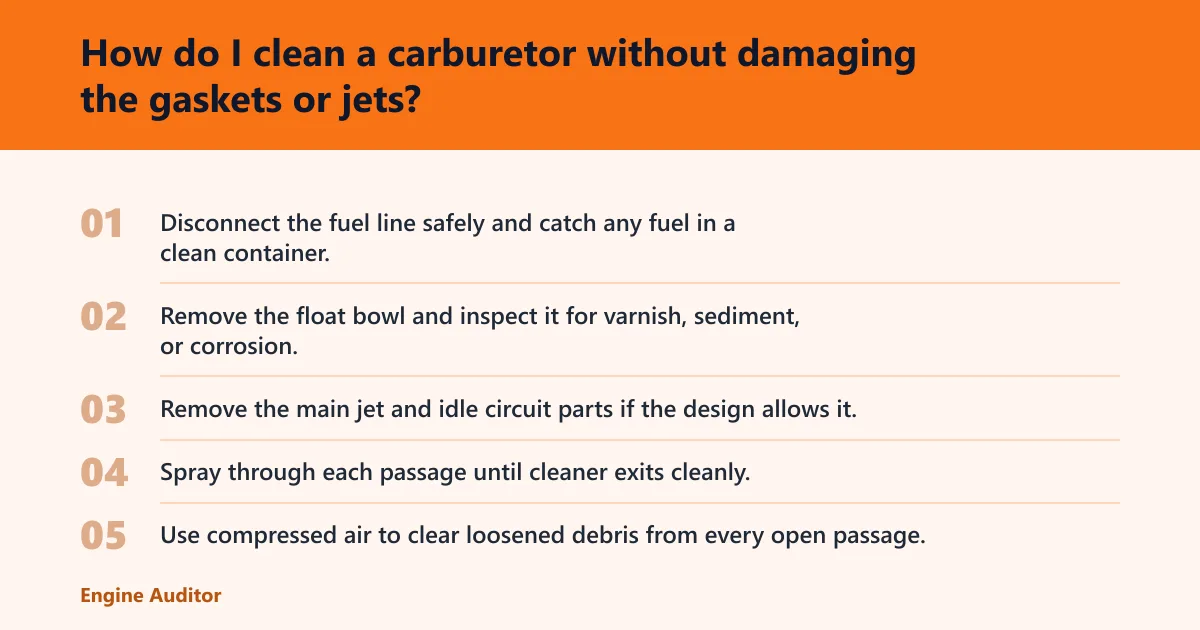
Use cleaner on metal passages, not on swollen or brittle gaskets, and never probe jets with wire. Jets have very small orifices that should be cleared thoroughly, not widened. If a gasket tears, hardens, or swells, replace it rather than trying to save it with more solvent.
Remove and clean the bowl, jets, and needle valve
- Disconnect the fuel line safely and catch any fuel in a clean container.
- Remove the float bowl and inspect it for varnish, sediment, or corrosion.
- Remove the main jet and idle circuit parts if the design allows it.
- Spray through each passage until cleaner exits cleanly.
- Use compressed air to clear loosened debris from every open passage.
- Inspect the needle valve for sticking, wear, or contamination; do not bend it.
How long should carburetor cleaner sit before rinsing or blowing it out?
Let the solvent sit only long enough to soften varnish, then move to compressed air. Do not let it soak on gaskets, seals, or plastic parts. If a passage still blocks after a short dwell and air blast, remove the part and inspect it instead of adding more solvent.
What cleaner is safe for carburetor rubber parts and seals?
Most harsh carburetor cleaners are meant for metal, not rubber parts and seals. Use the mildest cleaner that will remove the deposit, and keep it off diaphragms, O-rings, and soft seals whenever possible. If a seal is already hardened, cracked, or swollen, replacement is safer than cleaning.
Replace parts instead of cleaning them
Replace gaskets that are torn, flattened, hardened, or swollen. Replace fuel lines that crack, leak, or no longer route correctly. Replace a float that is fuel-logged or a needle valve that sticks after cleaning. Those parts control fuel level and sealing; solvent will not restore wear.
Do I need compressed air to clean a carburetor properly?
Yes. Cleaner dissolves deposits, but compressed air removes the loosened debris from jets and passages. Without the air blast, loosened residue can stay lodged in the idle circuit or main jet and cause the same fault again. Keep the nozzle near the opening, not jammed into it.
Use compressed air after solvent loosens deposits
- Open each cleaned passage to the air source.
- Blow through the idle circuit, main jet, and bowl passages.
- Watch for clean solvent exit from the opposite opening.
- Stop if pressure forces debris into another passage or blows a gasket loose.
How do I know if my carburetor is dirty or just out of adjustment?
A dirty carburetor usually shows symptom change after cleaning, while an adjustment issue changes with idle setting or linkage position. If the engine smooths out after spray cleaning, the carburetor was likely dirty. If it still races, stalls, or surges, look for vacuum leaks, float problems, or worn parts.
When to adjust idle speed after cleaning
Set idle adjustment only after the carburetor is clean and leak-free. A stable idle at the specified setting tells you the passages are open and the throttle plate is not hanging up. If you need a very high idle screw setting just to keep the engine running, the real fault is still present.
If that didn’t work, try this next
- Check every gasket surface for leaks.
- Verify the float moves freely and closes the needle valve.
- Confirm fuel line routing is correct and not pinched.
- Reinspect the main jet and idle circuit for a hidden blockage.
When is cleaning not enough and a rebuild is better?
Cleaning stops being enough when wear or corrosion is part of the fault. A rebuild is the better path if the float leaks, the needle valve sticks after cleaning, the bowl is corroded, or the gaskets will not seal. Old fuel can create varnish and deposits that cleaning cannot fully reverse.
Check fuel lines, routing, and leak points
Disconnect fuel lines carefully and reinstall them in the original routing. After assembly, check for seepage at the inlet, bowl gasket, and any line connection. A tiny leak can mimic a dirty carburetor by leaning the mixture and causing rough idle or hesitation.
Common mistakes
Forcing the throttle plate or choke linkage bends parts and turns a cleaning job into a repair job. Poking jets with wire can enlarge the orifice and change fuel flow. Reusing a swollen gasket can create an air leak that looks like a tuning problem. Skipping a leak check after reassembly leaves the same fault in place.
Say your lawn mower starts only with the choke closed and dies at half throttle. That pattern points to a clogged idle circuit or bowl contamination, not a need to soak the whole carburetor. Clean the access points first, then move to bowl removal if the symptom stays.
A common first-timer mistake is spraying cleaner into every opening and calling the job done. If the main jet and idle circuit were not fully cleared, the engine may still surge at idle or stumble under load. Spray, then air, then test. Stop when the fault changes.
Frequently asked questions
How do I clean a carburetor without damaging the gaskets or jets?
Use carburetor cleaner only on metal passages, and replace any gasket that is hard, torn, or swollen. Do not poke jets with wire or drill bits. Let solvent loosen varnish, then clear the passages with compressed air so you do not force debris deeper into the carburetor.
Can I clean a carburetor without removing it?
Yes, for light varnish on the throat, throttle plate, or visible choke parts. Remove the air filter, spray the accessible metal surfaces, and blow them out. If the bowl, jets, or needle valve are involved, remove the carburetor instead of trying to fix it from the outside.
What cleaner is safe for carburetor rubber parts and seals?
Use the gentlest cleaner that will do the job, and keep harsh carburetor solvent off rubber parts and seals whenever possible. Soak cleaner is for removed metal parts only. If a seal is already cracked, swollen, or hardened, replace it rather than trying to clean it back into shape.
How long should carburetor cleaner sit before rinsing or blowing it out?
Only long enough to soften the deposit. Then use compressed air to clear the passage. Do not leave cleaner sitting on gaskets, soft seals, or plastic parts. If the blockage remains after a short dwell and air blast, remove the part and inspect it.
Do I need compressed air to clean a carburetor properly?
Yes. Cleaner dissolves deposits, but compressed air clears the loosened material from jets and passages. Without air, residue can stay in the idle circuit or main jet and cause the same running problem again. Keep the nozzle close, and do not jam it into small orifices.
When is cleaning not enough and a rebuild is better?
Choose a rebuild when the float leaks, the needle valve sticks, the bowl is corroded, or the gaskets will not seal after cleaning. Those faults involve wear or damage, not just dirt. If the engine still runs poorly after a full clean and leak check, replacement parts are the next step.
Products related to this article
Sponsored / affiliate links. As an Amazon Associate I earn from qualifying purchases. I may earn additional commission from eligible campaigns.