How to Replace a Carburetor Gasket Correctly
Replace a carburetor gasket by cleaning both mating surfaces, checking the gasket orientation, and tightening fasteners evenly to spec. If the flange is warped or the surfaces are damaged, the new gasket will likely leak again. Poor sealing can cause fuel leaks, hard starting, lean running, and fire risk. Repeat leaks can come from a slightly raised old-gasket imprint, a bent carburetor mounting flange, or an intake manifold that was not checked with the same care as the carburetor body. This guide covers surface prep, gasket placement, torque order, and the common reasons a fresh gasket still leaks.
What you’ll need



- Carburetor gasket or carburetor rebuild kit matched to the carburetor model or part number
- Gasket scraper or plastic razor blade for removing old material without gouging aluminum
- Carburetor cleaner and clean rags or shop towels
- Correct screwdriver, socket, or nut driver for the carburetor fasteners
- Torque specification from the engine or carburetor service manual
- Fuel-safe catch pan, if the bowl or feed line must be drained
- Thread-cleaning brush or compressed air for bolt holes and passages, used carefully
- Fuel line caps or clamps, if the system allows them
How do you replace a carburetor gasket correctly?

Shut off fuel, remove the carburetor or cover, clean both mating surfaces, confirm the gasket matches the carburetor, install it dry unless the manual allows sealant, and tighten fasteners evenly to spec. If the flange is warped, pitted, or bent, the gasket may not seal no matter how carefully you install it. Check both the carburetor mounting flange and the intake manifold surface for warping or erosion before deciding the gasket itself is the problem.
- Shut off fuel and depressurize if applicable. Close the tank valve, pinch the line only if appropriate, and relieve pressure from any pressurized fuel system before loosening fittings.
- Remove the carburetor or cover. Disconnect the fuel line and throttle/choke linkage, then set the parts out in order so reassembly is straightforward.
- Lift off the old gasket without gouging the surface. Use a plastic razor blade or gasket scraper held flat. Hard steel tools can score soft aluminum and create a permanent leak path.
- Clean both mating surfaces. Remove old gasket material, varnish, fuel residue, and debris with carburetor cleaner and a lint-free rag. Keep incompatible cleaner off rubber diaphragms and seals.
- Inspect the flange and intake surface. Look for warping, pitting, corrosion, cracked ears, or a raised ridge where the old gasket sat. A straightedge helps confirm whether the carburetor mounting flange and the intake manifold are flat enough to seal.
- Match and orient the new gasket. Align all port cutouts, bolt holes, and asymmetrical edges with the carburetor family or bowl pattern. A wrong cutout can block idle, vent, or fuel passages.
- Reassemble and tighten evenly. Start all fasteners by hand, then tighten in a cross pattern where applicable. Finish at the manual’s torque specification, not by feel.
- Reconnect linkages and fuel lines. Make sure throttle and choke parts move freely and that fuel hoses show no cracks, kinks, or seepage.
Carburetor gasket replacement checklist
Use this as a final check before starting the engine. It covers the parts most often missed: surface condition, gasket fit, torque order, sealant choice, and the first leak test. A gasket can be new and still fail if the flange is dirty, bent, or mismatched.
| Checkpoint | What to confirm | Pass condition |
|---|---|---|
| Surface cleanliness | Old gasket material, varnish, fuel residue, and debris removed from both mating faces | Clean metal or clean gasket surface with no loose residue |
| Flatness and wear | No obvious warping, pitting, dents, cracks, or bent mounting ears | Straightedge contact stays even; no visible gap or rocking |
| Gasket orientation | Port cutouts, bolt holes, and asymmetrical edges matched to the carburetor | Every opening lines up with the correct passage |
| Fastener tightening | Fasteners started by hand and tightened evenly in the proper sequence | Torque matches the service manual, no cross-threading, no distortion |
| Sealant decision | Manual permission checked before using any sealant | Dry install unless the manual specifically allows a sealant |
| Post-install leak test | Fuel seepage, air leaks, idle quality, and throttle response checked after reassembly | No wetness, no fuel smell, stable idle, smooth linkage movement |
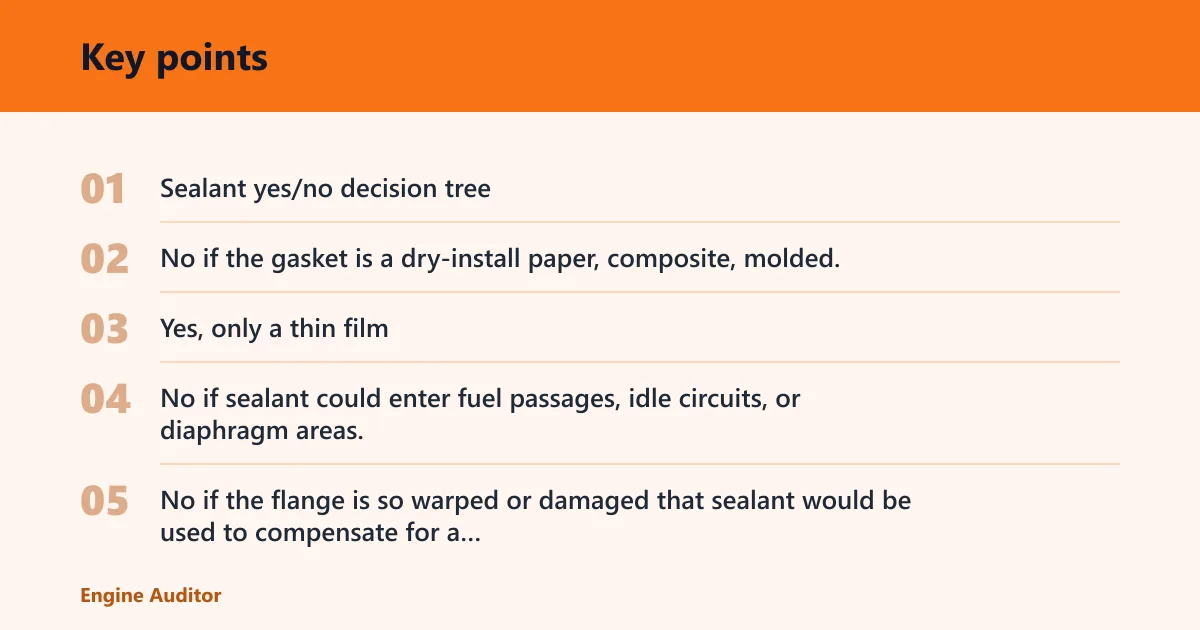
- Sealant yes/no decision tree.
- No if the service manual does not specifically allow sealant on that gasket face.
- No if the gasket is a dry-install paper, composite, molded, or kit-supplied seal designed to compress without added compound.
- Yes, only a thin film if the manual names a fuel-safe sealant for that exact joint and amount.
- No if sealant could enter fuel passages, idle circuits, or diaphragm areas.
- No if the flange is so warped or damaged that sealant would be used to compensate for a mechanical defect; repair the surface instead.
- Post-install leak test steps.
- Visually inspect the gasket perimeter, fuel inlet, bowl seam, and throttle shaft area for wetness before starting.
- Start the engine and let it idle long enough to stabilize, then recheck all gasket edges with a dry towel.
- Watch for fuel odor, drips, or sheen around the carburetor base and any hose connection.
- Check idle speed and mixture behavior for hunting, surging, or an over-lean stumble that can indicate an air leak.
- Move the throttle through its range and confirm the linkage does not bind or tug the carburetor out of alignment.
- Shut the engine off and inspect again immediately for seepage that appears only after fuel pressure decays or heat soak begins.
- Torque guidance by common carburetor family.
- Small two-screw lawn and snow carburetors commonly fall in the 20 to 35 in-lb range for cover and bowl screws.
- Many engine-mounted carburetors and insulator-mount fasteners are commonly specified around 35 to 65 in-lb, depending on bolt size and gasket style.
- Larger automotive-style carburetor mounting nuts are often in the 60 to 90 in-lb range, but the exact value depends on the carburetor and manifold design.
For torque confirmation, use the OEM manual rather than guessing: Briggs & Stratton service literature, Kohler engine service manuals, and Holley installation guidance all specify model-dependent torque values and warn against overtightening. See Briggs & Stratton Service Manuals, Kohler service documentation, and Holley’s technical support materials for application-specific values and tightening practices. Briggs & Stratton, Kohler Engines, and Holley are good starting points for OEM or manufacturer-backed guidance.
Can you reuse carburetor gaskets?
Reuse is usually off-limits if the gasket has been compressed, fuel-soaked, torn, hardened, or embossed into a permanent shape, as a common rule of thumb. A carburetor gasket is cheap compared with the cost of repeated leaks, hard starting, or a carburetor that has to come back off a second time.
When reuse is off-limits
If the gasket is paper-thin, brittle, swollen, crushed around bolt holes, or missing material at a port opening, replace it. A reused gasket often leaks at the same spot because the sealing face has already taken a set.
When a rebuild kit is the safer call
If the bowl gasket, base gasket, needle, and other soft parts are all aged or brittle, a carburetor rebuild kit is often the better choice. Match the kit to the carburetor part number, not just the engine family.
Why old gaskets often fail after reinstall
Old fuel exposure, heat cycles, and compression flatten the sealing bead or compress paper fibers. Even if the gasket looks usable, it may not rebound enough to seal a flange that already has minor wear. That is especially true when the intake manifold surface has a groove or the carburetor mounting flange is slightly bowed from overtightening.
Do you need gasket maker on a carburetor?
Usually no. Use gasket sealant only when the service manual allows it, because excess material can squeeze into passages, contaminate jets, or break off and move through the carburetor. Many carburetor gaskets are made to go on dry and seal correctly without added compound.
When the manual allows sealant
If the service manual specifically calls for a thin sealant film on one side, apply only the amount specified. Keep it away from fuel passages, idle circuits, and any diaphragm surface.
When a gasket should go on dry
Dry installation is common for carburetor base gaskets, bowl gaskets, and kit-supplied seals that are already shaped for the flange. A clean, flat surface matters more than extra sealant.
How excess sealant causes new problems
Too much sealant can block a passage, create an uneven clamping surface, or shed cured bits into the carburetor. Suppose a bowl gasket is installed with a heavy bead around a fuel passage; the engine may start, then run poorly because the passage is partially blocked. OEM guidance from engine and carburetor manufacturers consistently warns against using sealant as a substitute for flat, clean surfaces. See the service information linked above for manufacturer-backed installation limits.
Common mistakes
Most bad installs come from mismatch, poor surface prep, or uneven tightening. A new gasket cannot compensate for the wrong part, a warped flange, or a fuel line that is already cracked and seeping.
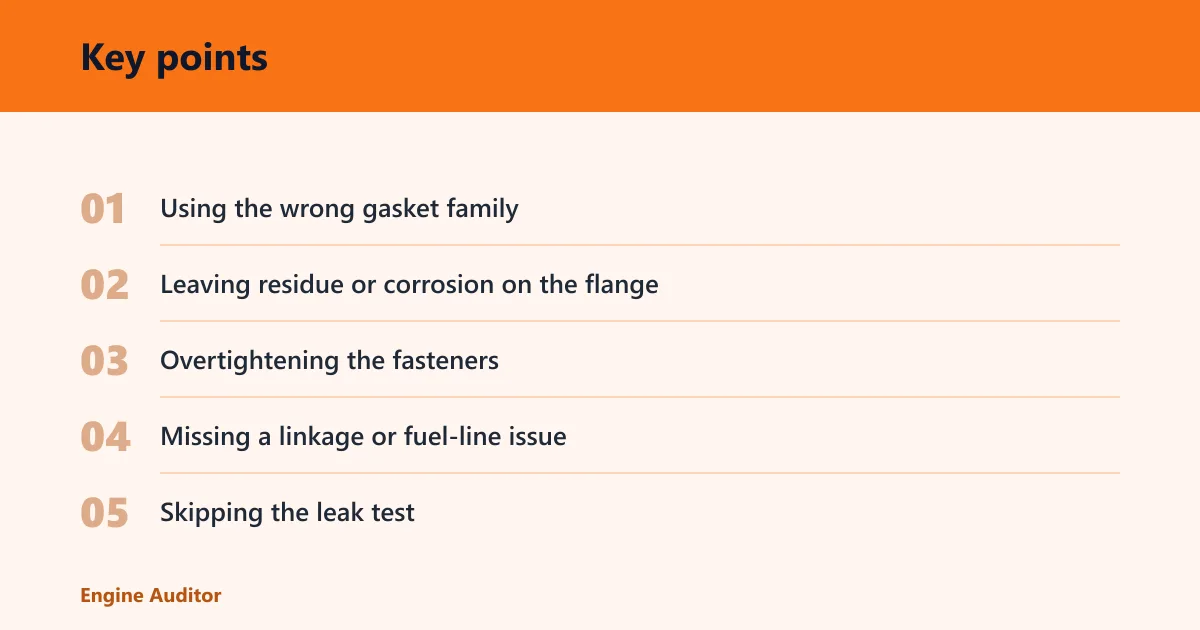
- Using the wrong gasket family. Match the gasket to the carburetor model, flange pattern, or rebuild kit part number, if available. Similar-looking cutouts are not always interchangeable.
- Leaving residue or corrosion on the flange. Even a thin ring of old material can hold the gasket off the surface and create a leak path.
- Overtightening the fasteners. Too much force can warp a flange or crush the gasket so it leaks again after a heat cycle.
- Missing a linkage or fuel-line issue. A binding throttle shaft, kinked hose, or cracked line can look like a gasket failure.
- Skipping the leak test. Start the engine, check the base, bowl, and fuel fittings, and confirm idle quality before putting the engine back into service.
Say your small-engine carburetor has a paper base gasket that leaves a fuel smell after reassembly. If the flange is flat and the gasket is the correct part, check whether a fuel line is cracked or the bowl screws were tightened unevenly. The leak may not come from the gasket at all.
Picture a car carburetor with a warped mounting flange and a new gasket that still weeps at one corner. In that case, changing the gasket again will not fix the root problem. The surface needs repair, replacement, or machining if the manual allows it. The same logic applies to an intake manifold with a low spot or corrosion around the sealing land.
Frequently asked questions
How do I tell if the carburetor gasket is leaking?
Look for wet fuel around the base, bowl seam, or cover, then confirm with a dry wipe and a short idle test. Hard starting, rough idle, or a fuel smell around the carburetor often points to a leak, but a cracked hose or vacuum leak can produce similar symptoms.
How tight should carburetor bolts be?
Use the service manual torque value, and tighten in stages in a cross pattern where the fastener layout allows it. Small carburetor screws are easy to strip, so stop at spec rather than trying to “snug it until it feels right.” For common carburetors, that usually means the low tens of inch-pounds on small bowl or cover screws, and somewhat higher values on mounting fasteners; the exact spec comes from the OEM manual or the carburetor maker’s installation sheet.
What should I clean before installing a new carburetor gasket?
Clean both mating surfaces until old gasket material, fuel residue, varnish, and loose debris are gone. Use carburetor cleaner on metal parts only, and keep it off rubber diaphragms, O-rings, or any part the cleaner can damage.
How do I replace a gasket on a carburetor without damaging it?
Use a plastic razor blade or a gasket scraper held flat, then lift residue slowly instead of prying at the edge. Support the carburetor body so it does not flex, and avoid metal blades on soft aluminum surfaces.
What kind of gasket material is used for carburetors?
Common carburetor gaskets are paper, rubber, composite, or kit-supplied formed materials. The right choice depends on the carburetor design and the sealing surface, so the part must match the exact model and port layout, not just the engine size. OEM and supplier literature also notes that some modern fuel-resistant materials are used where heat, ethanol exposure, or repeated service cycles call for better compression recovery.
How do I make a gasket for a carburetor?
Cutting one by hand is a last resort, not the preferred fix. If no correct gasket is available, trace the flange pattern onto fuel-resistant sheet material that matches thickness and port openings, then use a rebuild kit or correct replacement as soon as possible.
Products related to this article
Sponsored / affiliate links. As an Amazon Associate I earn from qualifying purchases. I may earn additional commission from eligible campaigns.