How to Fix a Carburetor That Is Flooding Gas
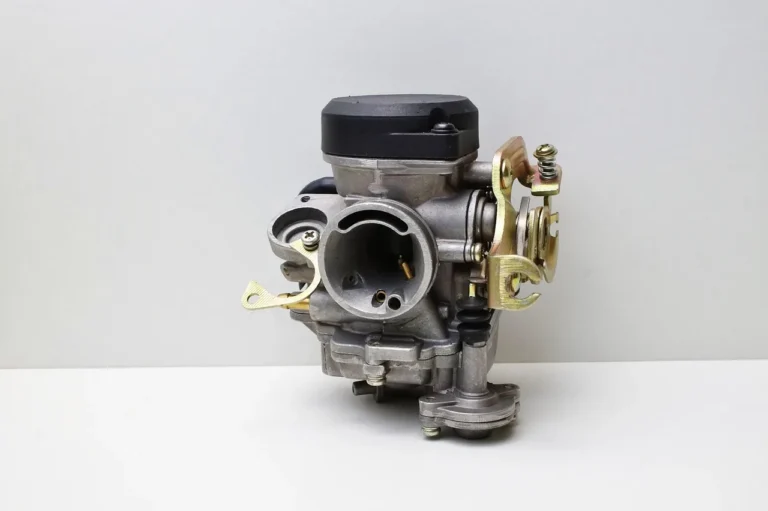
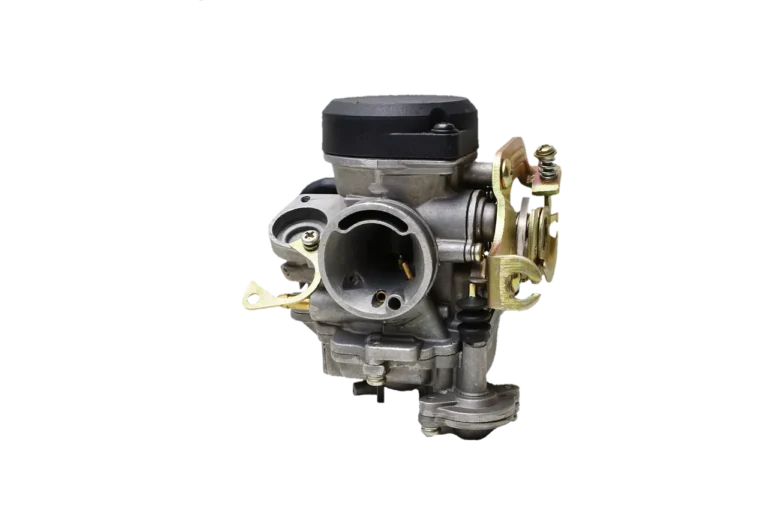
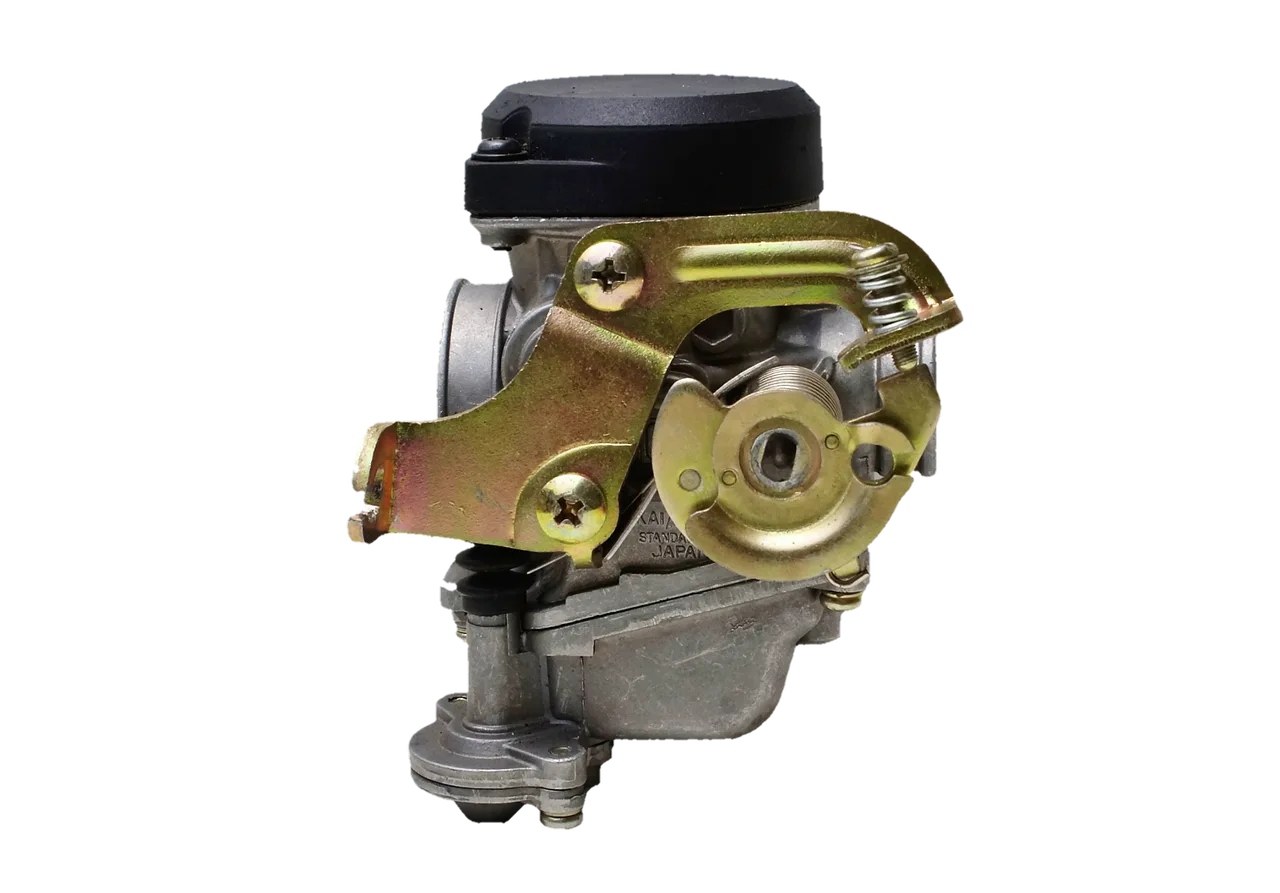
Find the leak first: if fuel runs from the carburetor throat, check the float, needle, and seat; if it drips from the bowl gasket, clean or replace that seal; if fuel flows from the overflow, fix the float system before anything else. Ignoring it can flood the engine, wash oil from the cylinder, dilute crankcase oil, and create a fire risk. This guide shows how to diagnose the leak point and choose the cheapest reliable fix: free checks, cleaning, rebuild, or replacement.
What the leak location tells you
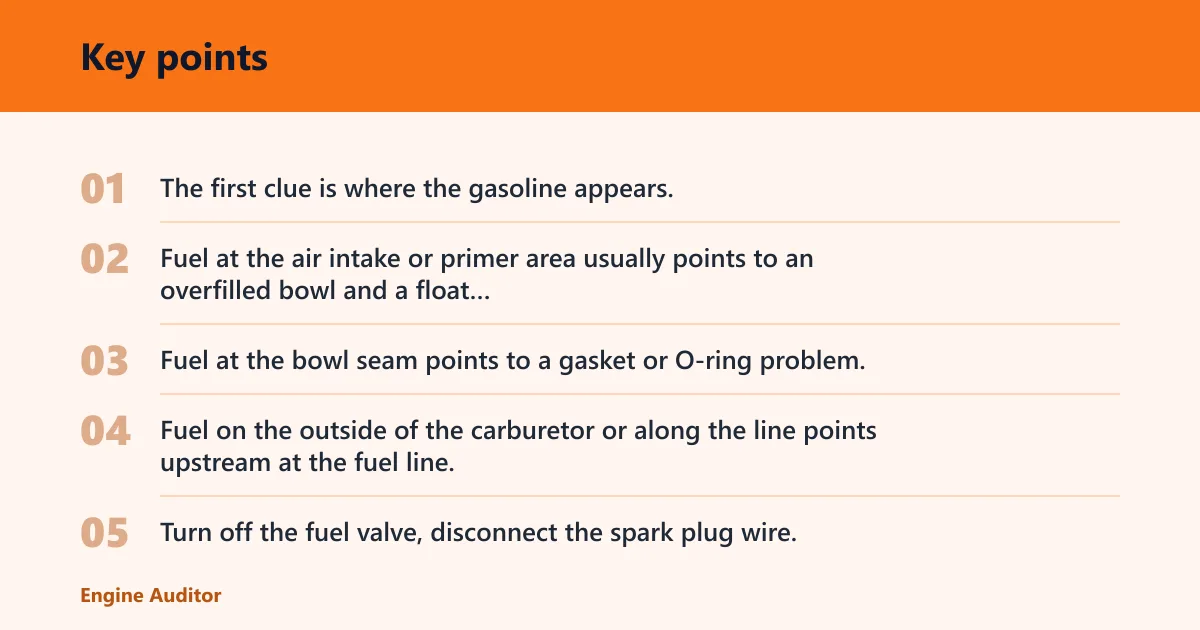


The first clue is where the gasoline appears. Fuel at the air intake or primer area usually points to an overfilled bowl and a float system fault. Fuel at the bowl seam points to a gasket or O-ring problem. Fuel on the outside of the carburetor or along the line points upstream at the fuel line, clamp, or a loose connection.
Start with safety before any diagnosis. Turn off the fuel valve, disconnect the spark plug wire, and work outside or in open air with all ignition sources kept away. Wipe up spilled fuel before opening the carburetor, because a lawnmower carburetor leaking gas is a fire hazard.
Gas from the air intake or primer area
Fuel at the throat, air intake, or primer bulb area usually suggests the bowl is overfilling and fuel is escaping through the air path. That points most often to a float needle valve that is stuck open, worn, or not sealing against the seat. A sunk or fuel-soaked float can cause the same symptom.
Gas at the bowl seam
Fuel wetting the seam between the bowl and carburetor body usually suggests the float bowl gasket is flattened, cracked, or misseated. Cleaning may help if dirt is holding the bowl crooked, but a damaged gasket is a do-not-reuse part. Rebuild kits usually include this seal.
Gas on the fuel line or clamp
If gasoline appears at the hose, clamp, or inlet fitting, check the fuel line for cracks and the clamp for looseness before blaming the carburetor. Disconnect the line safely before removal. A leaking line can mimic carb flooding, but the fix is different and usually cheaper.
When the carb body means replace, not rebuild
If the carburetor body is cracked, badly corroded, or warped enough that the bowl will not seal, replacement is usually the better call. Cleaning or a kit will not restore damaged castings. That matters on older engines where repeated leaks have already eaten away at the metal around the bowl or passages.
Flooding fault-tree table
| Symptom location | Likely part | Quick test | Fix | Parts needed | Replace-vs-rebuild decision | Safety | Mower and generator notes |
|---|---|---|---|---|---|---|---|
| Fuel from carb throat, air intake, or primer area | Float needle valve or needle valve seat | Open the fuel valve and watch whether fuel begins to run before the engine is cranked | Clean the needle and seat, replace them if they are grooved, worn, or sticky | Carburetor cleaner, rebuild kit, needle valve, seat if supplied separately | Rebuild if the body is sound; replace if the bore is damaged or corroded | Fuel valve off; spark plug wire disconnected | Mowers often flood after storage or repeated priming; generators may show fuel at the intake faster because the carb sits in a fixed attitude |
| Fuel from bowl seam | Float bowl gasket | Dry the seam, reopen fuel flow, and check whether the wet line forms only at the joint | Replace the gasket and inspect the bowl edge for nicks | Gasket or rebuild kit with bowl seal | Rebuild if only seals are failing; replace if the bowl or body is warped | Fuel valve off; spark plug wire disconnected | On some generators, bowl seepage shows first after long storage and stale fuel |
| Fuel on hose, clamp, or inlet fitting | Fuel line and clamp | Feel for a cracked hose, soft spot, or loose clamp at the carb inlet | Replace the line or tighten the clamp before removing the carburetor | Fuel line, clamp | Usually neither rebuild nor carb replacement is needed unless the inlet is damaged | Fuel valve off; spark plug wire disconnected | Fuel-system leaks upstream are common after storage; do not blame the carb body first |
| Wet spark plug after shutdown | Flooding from the carburetor | Remove the plug after a flooded no-start and check whether the tip is wet with raw fuel | Fix the carburetor fault, then dry or replace the plug if fouled | Spark plug if damaged, rebuild parts if flooding caused the wet plug | Replace the plug only if the electrode is fouled or worn; address the carburetor cause first | Fuel valve off; spark plug wire disconnected | On severe flooding, check crankcase oil for fuel dilution before restart |
| Fuel appears at the intake after storage, but not at the bowl seam | Stuck float or worn needle | Tap the bowl lightly and see whether flooding changes; a temporary change points to a sticking float or hinge | Clean the float hinge and passages; replace worn float parts | Cleaner, rebuild kit, float, needle, seat | Rebuild is the low-cost route if the body is clean and round | Fuel valve off; spark plug wire disconnected | Tank vent problems usually cause fuel starvation, not bowl overfilling, so they should not be the first flooding diagnosis |
How do you fix a carburetor that is flooding gas?
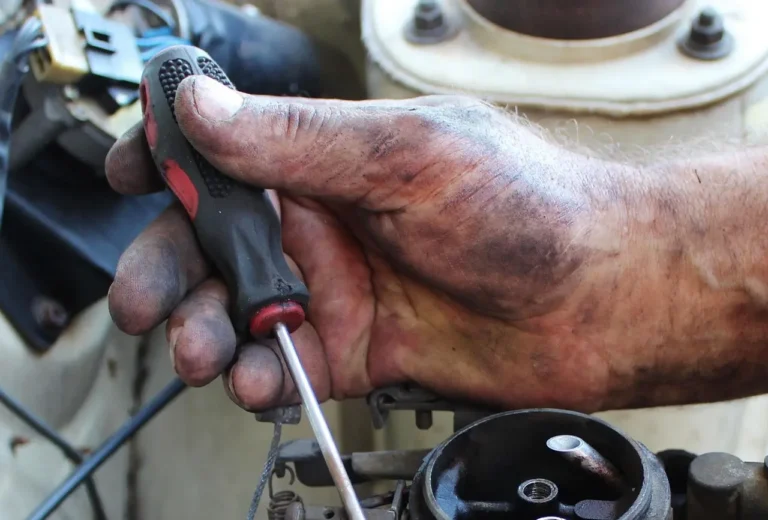
Fix it in the cheapest reliable order: shut off fuel, disconnect the spark plug wire, remove the carburetor, clean the passages, and replace the worn sealing parts. If the float, needle valve, seat, or bowl gasket is damaged, cleaning alone will not stop the leak. If the body is cracked or corroded, replacement is the better answer.
- Turn off the fuel valve and disconnect the spark plug wire.
- Drain the fuel from the bowl and remove the carburetor from the engine.
- Inspect the fuel line and clamp while the carburetor is off.
- Open the bowl and check the float, needle valve, seat, and gasket.
- Spray carburetor cleaner through the passages and let it dry completely.
- Reassemble with new seals if any are flattened, cracked, or swollen.
- Restore fuel flow and test for drips before starting the engine.
Most repairs cost less than $15 in parts, and most repairs take under an hour. A rebuild kit can cost $8–$15 for many homeowner push mowers, while an aftermarket carburetor for a standard push mower runs $15–$45. That spread is why the leak location matters first.
Cleaning the carburetor is the first step for varnish and dirt, especially when old fuel has dried in the passages. Spray cleaner through every circuit, then wait until the parts are fully dry before reassembly. Leftover solvent can hide a leak during the first test, so give the parts time to air out.
Say a typical mower sat with fuel in the tank over winter and now drips from the throat after priming. That symptom fits a float or needle that is not sealing, not a bad tank vent. In that case, a rebuild kit is usually the low-cost fix if the body is still clean and round.
How do you fix a stuck carburetor float?
A stuck float is fixed by finding out whether it is merely binding on the hinge or actually damaged. Free movement should return after cleaning if the hinge pin or pivot is varnished. If the float is sunk, warped, or fuel-soaked, replace it. A float that cannot rise fully will keep the needle open and overfill the bowl.
Check for a binding hinge
Move the float by hand with the bowl removed. It should swing freely without scraping the bowl wall or hanging up at the pivot. If it moves only after a nudge, clean the hinge pin area and the pivot with carburetor cleaner, then dry it before reassembly.
Look for a sunk or fuel-soaked float
A good float should feel light and dry. If it is fuel-soaked, unusually heavy, or visibly warped, it will sit too low and flood the carburetor. Replace it rather than trying to save it. A fuel-soaked float is not usually a cleaning problem.
Inspect float height and movement
Check that the float closes the needle without excessive force and opens fully when lowered. A simple hinge bind can look like a bad float, but the difference is motion: a stuck hinge binds in one spot, while a damaged float cannot maintain the correct position. If the needle tip is grooved, replace the needle with the seat as a set when possible.
What parts fail most often in a flooded carburetor?
The most common failures are the float needle valve, the needle valve seat, the float bowl gasket, and the fuel line or clamp. The needle valve controls fuel level in the bowl, so if it sticks open or wears a groove into the sealing tip, fuel keeps flowing. That is the usual path to overflow.
The needle valve seat should be inspected for varnish, wear, or debris. Cleaning can remove residue, but a worn or pitted seat may not seal again. Many rebuild kits include the needle, seat, gaskets, and O-rings, which makes them the practical choice when the failure is more than a simple cleaning issue.
Do not reuse flattened gaskets, grooved needles, or fuel-soaked floats. Those parts may look acceptable on the bench and still leak under fuel pressure. If a carburetor has repeated flooding after fresh seals, the body or internal bores may be too worn to hold a steady fuel level.
When should you rebuild or replace the carburetor?

Rebuild it when the body is sound and the problem is worn seals, a sticky float, or a dirty needle and seat. Replace it when the body is cracked, corroded, warped, or the throttle and choke bores are too worn to seal well. That decision should follow the leak location, not guesswork.
Rebuild kit parts and what they usually include
A carburetor rebuild kit is a low-cost DIY part set that typically includes gaskets, O-rings, a needle valve, and sometimes the seat. It is often model-specific, so match the engine model number before ordering. If the kit does not include a part you need, a partial repair can leave the leak unchanged.
Signs the carburetor body is not worth saving
Replace the carburetor if the body is cracked, heavily corroded, or warped enough that the bowl will not seal. Deep pitting around the bowl flange or stripped threaded areas are also poor signs. A body that cannot hold a gasket flat will keep leaking even with new parts.
Cost and labor comparison for repair choices
For many homeowner engines, cleaning is the free first step. A rebuild kit is usually the next cheapest option, and many standard push-mower replacements still fall in a modest price range. Use replacement when the body is damaged or when the cost of seals plus time approaches the price of a complete carburetor.
Model-specific fit checks before you order parts
Carburetors are usually held in place by two bolts, but bowl shape, linkage layout, and primer arrangement vary by engine. Check the engine model and carburetor number before you order anything. Briggs & Stratton says genuine parts are manufactured and tested to exact OEM standards, which matters when fit and needle geometry are picky.
Picture a generator carburetor that runs fine for five minutes, then drips fuel from the intake and wets the spark plug. That pattern points to a needle or float problem, not a tank vent issue. If the crankcase oil smells like gasoline after the flooding, change the oil before the next start.
Frequently asked questions
What causes a carburetor to flood?
A carburetor floods when fuel keeps entering the bowl after it should stop. The usual causes are a stuck float, worn needle valve, worn seat, or a cracked bowl gasket. Old fuel can gum the parts and keep the needle from sealing. The leak location tells you which part failed.
How do you fix a flooded carburetor?
Shut off the fuel valve, disconnect the spark plug wire, drain the bowl, and inspect the float system first. Clean the passages, then replace any flattened gasket, grooved needle, or damaged seat. If the carburetor body is cracked or corroded, replace the unit instead of rebuilding it.
How do you repair a carburetor?
Repair starts with diagnosis, then cleaning, then replacement of worn parts. If the leak is at the intake, inspect the float system. If it is at the bowl seam, replace the gasket. If the body is worn or cracked, replace the carburetor. That order avoids buying parts you do not need.
How to fix carburetor problems
Sort the problem by symptom, not by guess. Fuel at the throat means float or needle trouble. Fuel at the seam means a gasket problem. Fuel at the line means a hose or clamp issue. Fuel-diluted oil after severe flooding means you also need an oil change before restarting the engine.
Products related to this article
Sponsored / affiliate links. As an Amazon Associate I earn from qualifying purchases. I may earn additional commission from eligible campaigns.
 QAZAKY Pack of 5 Carburetor Rebuild Repair Kit Compatible with K10-WAT WA WT 2-Cycle Carb String Trimmer Leaf Blower Chainsaw Poulan Weedeater Ryobi Ryan IDC Homelite Lawnboy Toro McCulloch Craftsman
 4150 Carburetor Gasket Rebuild Kit Fit for Holley 4150 Carb Renew Kits for Model 4150,600,650,700,750,800,850 CFM