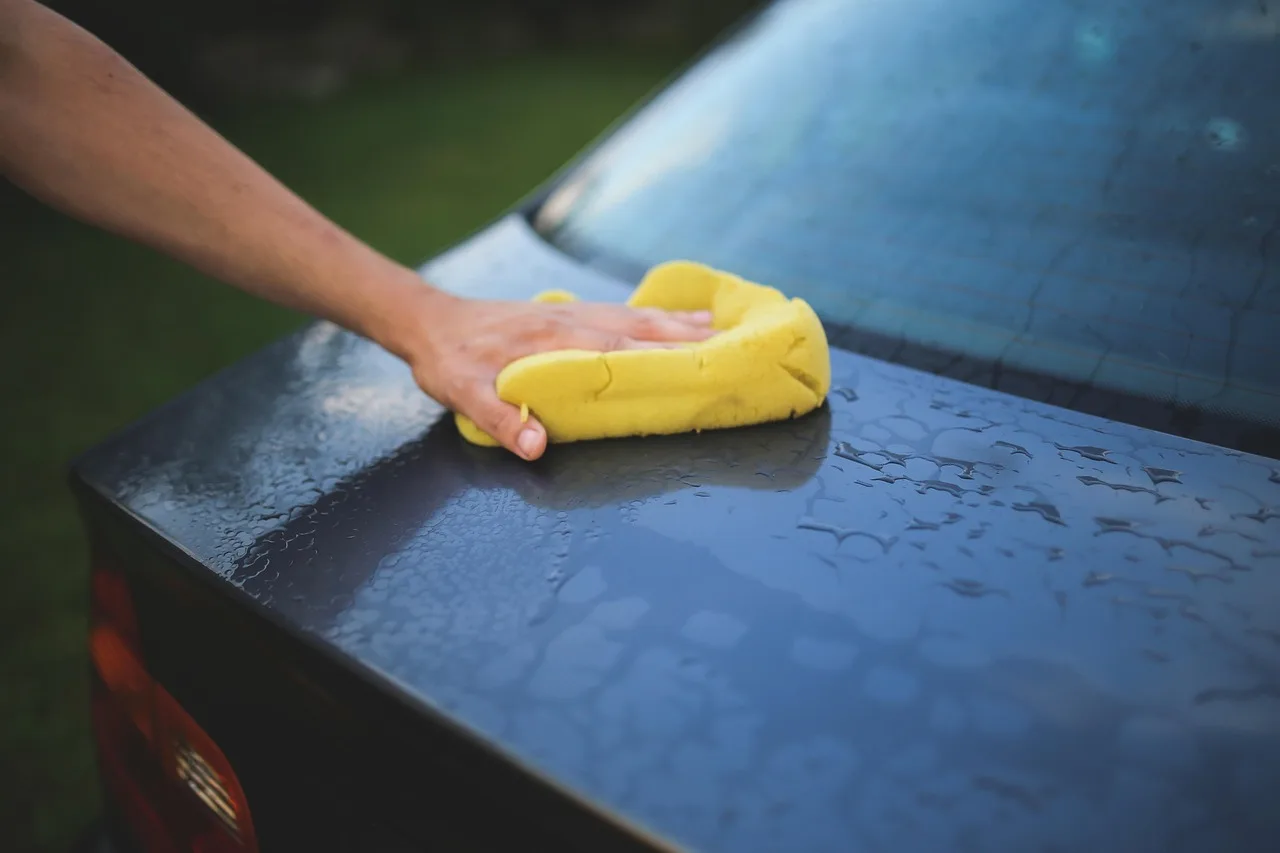
Car Cleaning and Restoration
Car cleaning and restoration works best in this order: inspect, dry-remove debris, vacuum, wash, decontaminate, treat one material at a time, and stop DIY work when damage needs sanding, repainting, upholstery repair, or electrical disassembly. I have seen the wrong cleaner or the wrong sequence haze paint, stain fabric, crack trim, trip warning lights, or turn a $50 cleanup into a $1,500 repair. This guide maps each surface, the safe products and methods, what to avoid, and where cleanup ends and restoration-shop work begins.
I approach neglected cars the same way I would in my own driveway: gloves on, photos first, moisture check before shampoo, and no aggressive polishing until I know what is original paint, what is a repaint, and what is already failing. Where I cite costs or technical limits below, I have linked to primary or established industry s so you can sanity-check the numbers and terminology yourself.
What is cleaning, repair, preservation, and full restoration?


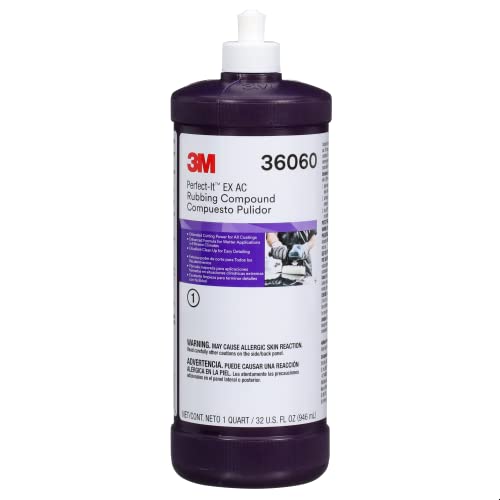
Cleaning removes contamination like road film, body oils, brake dust, tree sap, salt, spilled drinks, and the sticky residue that sits on a surface or gets lodged in its pores. Preservation stabilizes what is still sound. Repair fixes a failed part or surface. Automotive restoration goes further and aims to return a vehicle toward original working condition and appearance, from partial cosmetic revival to full disassembly and rebuild, while roadworthiness remains a separate safety target. The broad restoration definition used by hobby and judging organizations aligns with that distinction between cosmetic refresh, repair, and full restoration; see the Antique Automobile Club of America and Hagerty references in the Sources section.
Where cleaning ends and restoration begins
Cleaning deals with dirt, oils, salts, film, mild staining, and light oxidation that sits on or near the surface. Preservation starts when the goal is to slow further loss: conditioning weatherstrips, coating trim, protecting polished paint, drying carpets after a leak, or storing the vehicle correctly.
Repair starts when a material has failed. Torn leather, peeling clear coat, cracked trim, rust holes, dead electronics, and split seams are not cleaning problems. They need parts, refinishing, sewing, welding, or diagnosis.
Partial cosmetic restoration versus full rebuild
Automotive restoration spans a wide range. A partial cosmetic job might include some interior refresh work, paint decontamination, headlight restoration, trim restoration, and correction of light defects. A full restoration can mean extensive work such as body-off work, drivetrain rebuild, interior retrim, replating, glass replacement, wiring repair, and paint from bare metal.
Concours d’Elegance level sits at the top end. That standard expects near-perfect fit, finish, fastener choice, materials, and panel consistency. It is a judging target, not a sensible DIY expectation for most drivers.
Why roadworthiness is separate from appearance
A car can look freshly waxed and still have bad brakes, old tires, dim lights, or steering play that makes it unsafe at speed. Roadworthiness means the vehicle is drivable and its core systems work as intended, with key items such as brakes, tires, steering, suspension, lighting, visibility, seat belts, charging, and leak control in working order. That is repair work. It may happen before, during, or instead of restoration. For plain-language safety guidance, NHTSA and state inspection programs treat these items as operational safety issues rather than appearance work.
Before buying a big “all-in-one” bundle, compare the task to the surface. For example, NHTSA’s maintenance guidance and manufacturer service literature are better references for safe, roadworthy vehicle condition than generic shopping roundups, and headlight makers such as Sylvania explain why UV protection matters after sanding or polishing plastic lenses.
What should I clean first when restoring a neglected car?
Start with triage, not soap. Document the condition, check for moisture and odor, remove loose debris, and decide whether mold, leaks, electrical faults, or biohazards make cleaning unsafe. Then choose interior-first or exterior-first based on visibility, contamination risk, and whether the cabin is actively wet.
Document condition before touching anything
- Take photos of every panel, wheel, seat, carpet area, engine bay edge, and trunk.
- Open doors and smell for fuel, mildew, rodent waste, or coolant.
- Check carpets, spare tire well, and floor mats for standing water.
- Look for loose trim, flaking paint, cracked leather, and chalky plastics.
- Review battery condition and obvious electrical risks before spraying water anywhere.
This first pass prevents two common mistakes: grinding grit into paint and driving moisture deeper into already damaged materials. On cars that sat outside, I also check cowl drains, sunroof drains, and the spare-tire well before I even reach for cleaner, because trapped water changes the whole plan.
Interior first or exterior first
If the cabin has mold, leaks, rodent debris, or fogged glass that blocks visibility, start inside with dry removal and vacuuming. If the interior is stable but the body is covered in thick mud, sap, salt, or abrasive dust, start outside with a careful pre-rinse and wash.
Do not shampoo carpets or wash the engine bay before checking where water already enters the car. If you need pricing context before deciding between DIY and pro help, compare your project scope with typical car detailing cost ranges and expected add-on charges for odor removal, extraction, and correction work.
Safe order of operations
- Inspection and photos.
- Dry debris removal from cabin, trunk, cowl, and jambs.
- Vacuum interior and mats.
- Pre-rinse exterior.
- Wash paint, glass, wheels, and jambs.
- Decontaminate paint and glass.
- Clean interior material by material.
- Correct defects only after the car is clean and dry.
- Apply protection only after the surface is fully clean, fully dry, and any polishing residue is removed.
Surface-by-surface decision matrix

How to use this matrix
Match the surface before picking the cleaner. Use the least aggressive tool that can do the job, keep contact time short, and dry the area fully. If the red-flag signs appear, stop and reassess. The cost column gives rough DIY task costs, not full project quotes. Those ranges reflect common retail supply costs for soaps, clay media, towels, brushes, and entry-level consumables, while labor-heavy professional services vary much more by region; see the cost references in the Sources section.
Decision matrix by material
| Surface | Safest cleaner | Tool | Contact time | Drying method | Red-flag failure signs | Quick cost per task |
|---|---|---|---|---|---|---|
| Paint | pH-balanced car wash soap | Microfiber wash mitt | Wash and rinse before it dries | Twisted-loop drying towel or filtered air | Peeling clear, color transfer to towel, fresh repaint edges, heavy grit | $15-$40 |
| Paint decon | Iron remover or clay lubricant | Clay bar or synthetic clay towel | Short dwell, keep lubricated | Rinse, then towel dry | Marring, sticky repainted panel, rough overspray that will not release | $20-$60 |
| Wheels | Wheel cleaner matched to finish | Soft wheel brush | Brief dwell out of direct heat | Rinse and blow lug recesses dry | Flaking coating, pitted chrome, hot brakes, acid smell | $15-$35 |
| Tires | Dedicated tire cleaner | Stiff tire brush | Agitate and rinse promptly | Air dry before dressing | Brown residue that will not clear, sidewall cracking | $10-$25 |
| Exterior trim | Mild trim cleaner | Soft brush or microfiber applicator | Short dwell | Buff dry, then coating if stable | Chalking, blotchy gray oxidation, greasy residue, permanent whitening | $15-$50 |
| Glass | Automotive glass cleaner | Low-pile glass towels | Wipe while damp | Second dry towel | Aftermarket film edge lifting, haze that follows towel, etched mineral spots | $10-$20 |
| Headlights | Plastic polish or sanding system | Foam pad or sanding discs | Controlled passes only | Wipe clean, then UV protectant cures dry | Inside condensation, inner cracking, failed hard coat, deep crazing | $25-$80 |
| Engine bay | Light degreaser on towels or brushes | Detail brush and microfiber | Very short dwell | Towel dry and air dry | Exposed wiring, aftermarket electronics, cracked coils, warning lights | $15-$40 |
| Fabric seats and carpet | Fabric cleaner | Upholstery brush and vacuum or extractor | Brief dwell before agitation | Wet vacuum, towels, fans | Brown wicking, oversaturation, foam swelling, mildew odor | $20-$60 |
| Leather | Leather cleaner | Soft leather brush | Short dwell, gentle agitation | Dry towel, then leather protectant | Dye transfer, cracking, hard shiny topcoat, loose stitching | $20-$50 |
| Interior plastics | Interior cleaner | Microfiber towel or soft brush | Spray towel, not panel | Buff dry | Streaking, whitening, sticky soft-touch coating lifting | $10-$30 |
| Screens and piano black | Screen-safe cleaner or distilled water on towel | Ultra-soft microfiber | Immediate wipe only | Dry with clean towel | Micro-scratching, coating haze, delaminating film | $5-$15 |
| Vents and buttons | Interior cleaner on brush | Soft detailing brush | Light agitation only | Blow out dust, wipe dry | Pushed-in debris, sticky residue, lettering loss | $5-$20 |
| Headliner | Fabric cleaner on towel | Microfiber towel | Blot, do not soak | Air dry | Sagging, glue failure, water rings | $10-$25 |
Quick clean/repair/restore/replace guide
| Surface | Failure sign | Decision | Next action |
|---|---|---|---|
| Paint | Road film, bug splatter, light fallout | Clean | Wash, then inspect for bonded contamination before polishing. |
| Paint | Peeling clear coat, exposed color, rust bubbling | Repair | Stop polishing and get a body-shop or refinishing estimate. |
| Headlights | Outer haze, no inner cracks, no trapped moisture | Restore | Sand or polish as needed and finish with UV protection. |
| Headlights | Inner condensation, deep crazing, fractured hard coat | Replace | Replace the assembly or lens rather than sanding repeatedly. |
| Trim | Dry, dull, faded but intact | Restore | Clean gently and use a trim coating, not a greasy dressing. |
| Leather | Body oils, mild grime, no color loss | Clean | Use a coated-leather cleaner with a soft brush and towel dry. |
| Leather | Cracks, flaking topcoat, seam failure | Repair | Pause at cleaning and book upholstery repair or recoloring. |
| Carpet | Dry soil, single spill, no odor source below | Clean | Vacuum, spot test, then clean lightly and dry with airflow. |
| Carpet | Standing water, mildew smell, brown wicking returns | Repair | Diagnose the leak and lift trim or padding before re-cleaning. |
| Headliner | Dust or fingerprint transfer only | Clean | Blot with cleaner on a towel and keep the adhesive dry. |
| Headliner | Sagging fabric, glue failure, water ring from roof leak | Replace | Fix the leak first, then have the headliner recovered. |
How do I clean and restore the exterior without damaging it?
Use a paint-safe sequence: pre-rinse, wash with proper lubrication, decontaminate only as needed, then inspect before any polishing. Stop when clear coat is failing, edges are thin, or a defect is too deep to remove safely. Exterior restoration is often controlled reduction, not total defect removal.
Wash and decontaminate without adding scratches
Start with wheels if they are heavily soiled, using separate tools. Some kits include a wheel or tire cleaner, and exterior kits often include car wash soap and wax. That sounds convenient, but surface match matters more than kit size.
Use wash media that is clean and dedicated to paint. Rinse often. Dry with a towel designed to pull water away instead of scrubbing it across the surface. If the paint still feels gritty after washing, move to iron remover or clay with plenty of lubricant.
Claying is useful, but it can mar soft paint. If the car already has haze, claying may add enough micro-marring that polishing becomes necessary. If you need a deeper walk-through, see our guide to paint correction before reaching for compound or a machine polisher.
Paint correction limits
Polishing removes or reduces defects by abrading clear coat. That is why it must follow inspection, not guesswork. Thin edges, repainted panels, strike-through on body lines, and peeling clear are stop signs.
If a defect catches a fingernail, treat correction carefully. In many cases, cleaning and protection make more sense than chasing full removal. Once clear coat is gone, the job shifts to repainting.
Protection goes on after polishing, because wax or ceramic coating needs bare, residue-free paint and will not bond well over leftover polishing oils. I mask sharp edges and textured trim before machine work because one careless pass can burn an edge or stain trim in seconds.
Headlight restoration that lasts
Headlight restoration can improve clarity when the damage is surface oxidation. Clean first, then assess whether the haze is outside the lens or inside it. Internal clouding, cracks, or trapped moisture mean cleaning is no longer the fix.
For outside oxidation, a proper process uses sanding only as needed, then polishing, then UV protection. Skipping the UV step is why many headlights look good for a short time and then fail again. If the hard coat is deeply fractured, replacement can be smarter than repeated sanding.
That UV point is not cosmetic trivia. Polycarbonate headlamp lenses degrade under ultraviolet exposure, and refinished lenses need a new protective layer to slow repeat oxidation; for a step-by-step process, compare this section with our dedicated headlight restoration guide.
Trim restoration: dressing versus coating
Faded black plastic often turns gray from oxidation. Clean it gently before applying anything. If the trim is only dry and dull, a dressing can darken it temporarily. If it is oxidized but still structurally sound, a trim coating usually lasts longer.
Do not flood porous trim with oily product. That leads to streaking after rain and residue on adjacent paint. If the plastic is cracked through or chalks heavily onto the towel, it may be UV-dead and ready for replacement or refinish work. On heavily weathered trim, I test a small lower section first because some oxidized plastics darken evenly and others turn blotchy.
How do I clean and restore the interior without causing stains or shrinkage?
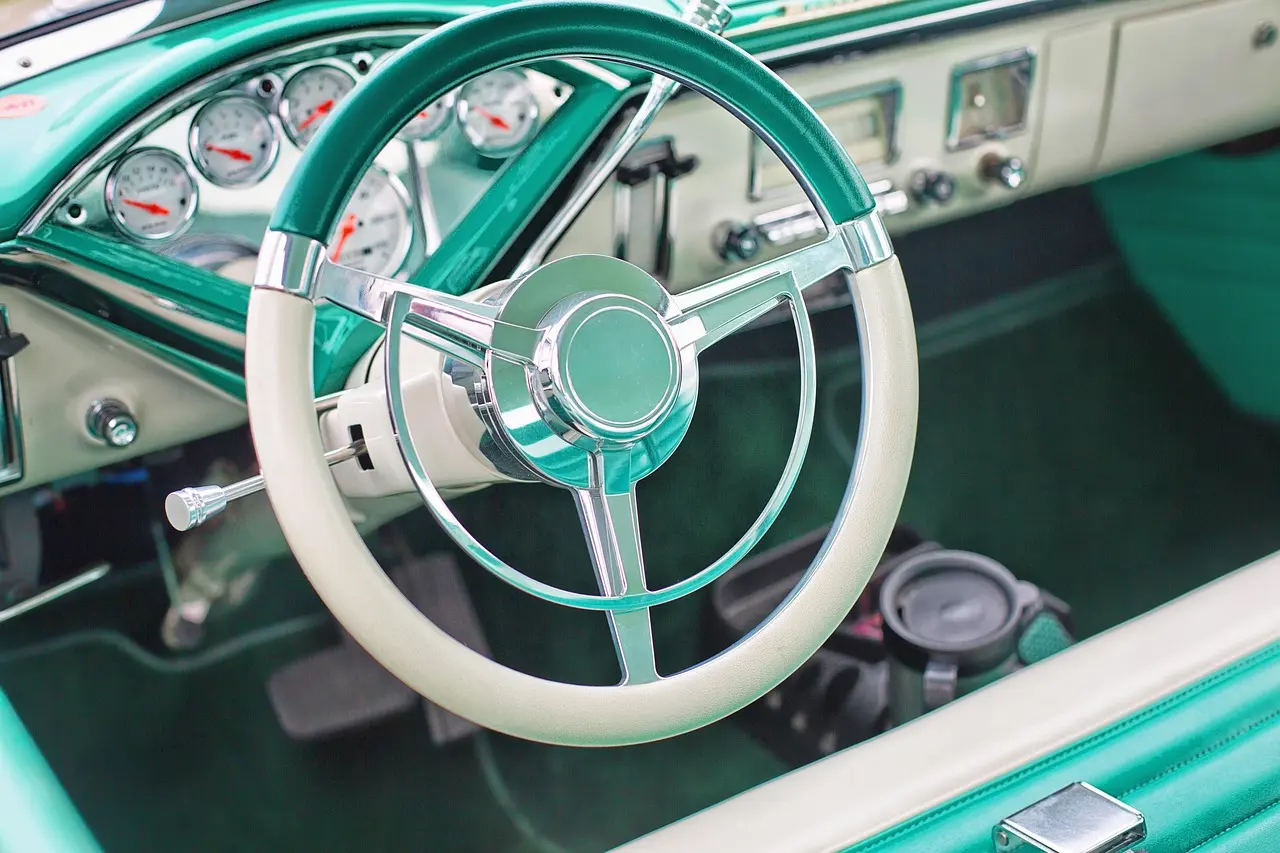
Clean the interior by material, not by speed. Dry soil comes out first, liquids second, and protectants last. The big risks are oversaturation, aggressive brushing, residue left in fibers, and using the wrong chemistry on leather, soft-touch plastics, screens, or the headliner adhesive.
Fabric and carpet
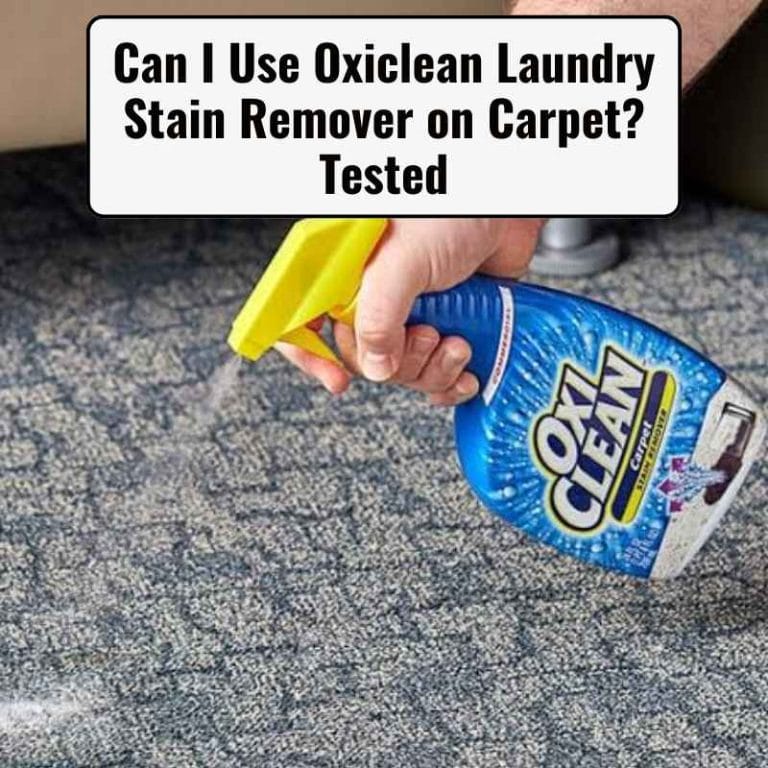
Vacuum first. Then spot-test cleaner in a hidden area. Use enough product to suspend soil, not enough to soak the pad or underlayment. I have had carpets look clean on top and still smell sour later because too much water pushed grime and sugar below the face fibers. Excess water drives stains deeper, swells foam, and can leave a mildew smell that returns once the cabin heats up.
Extraction helps when the carpet is truly dirty, but a wet cabin must be dried quickly with airflow. Brown wicking after drying means the stain source remains below the surface. That is a sign to repeat lightly, not to keep flooding the area. If the seat foam or carpet pad stays wet, I stop detailing and start leak diagnosis.
Leather and vinyl
Modern automotive leather usually has a coated surface. Clean that coating gently, do not scrub as if it were unfinished hide. A soft brush and leather cleaner are safer than heavy pressure with a stiff brush.
If the topcoat is cracking, flaking, or transferring color to the towel, stop at cleaning. Restoration then means dye work, filler, or retrimming. Vinyl is more forgiving, but shiny residue often means old dressings are still sitting on the surface and need to be removed before any protectant is applied. If you are dealing with split seams, damaged bolsters, or foam collapse, move from detailing to upholstery repair instead of trying to hide it with conditioner.
Plastics, screens, vents, glass, and headliner
Interior kits may include detailing brushes, and interior kits can include cleaners for leather, vinyl, or fabric. Those are useful, but screens and piano-black trim need a lighter touch than textured dashboard plastic. Spray the towel, not the part.
Haze on glass usually comes from residue or a damp final wipe. Use one towel to clean and one to dry. For vents and buttons, loosen dust with a soft brush, then vacuum or wipe it away instead of blasting contamination deeper.
Headliners fail when they get too wet. Clean by blotting. If the fabric is sagging or the stain ring points to a roof or sunroof leak, cleaning may improve appearance for a while, but the repair is in the structure above it. Around screens, gauge clusters, and switchgear, I avoid ammonia, hard pressure, and drippy towels because anti-glare coatings and soft-touch finishes can haze or delaminate.
Odor sources and water intrusion
Bad smells are rarely solved by fragrance. The source is often wet padding, clogged drains, a heater core leak, rodent contamination, or mold in insulation. Odor that returns after the cabin dries is a diagnostic clue.
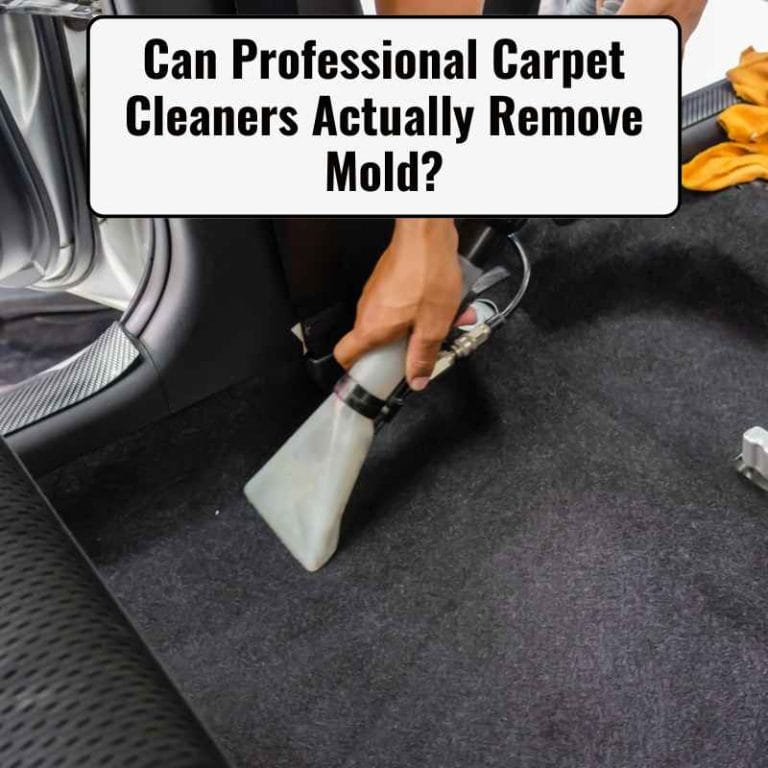
That is where DIY cleaning stops being efficient. Interior trim may need removal, padding may need replacement, and leaks need repair before any final detailing. Use gloves and respiratory protection if there is rodent debris, mold, or unknown biological contamination, and do not run a shop vac on dry droppings without controlling dust first.
When should I clean, repair, restore, or replace?
Clean when contamination sits on an otherwise stable surface. Restore when the surface is weathered but still structurally sound. Repair when a component has failed. Replace when labor and materials exceed the value of saving it, or when safety, fit, or finish will still be poor after repair.
Failure signs that mean stop
- Peeling clear coat or exposed base color.
- Cracked leather with missing surface layer.
- Trim that powders heavily or splits under light pressure.
- Mold, rodent waste, or standing water under carpet.
- Corrosion bubbling under paint or inside seams.
- Delaminating screen film or tint film.
- Warning lights after engine-bay cleaning.
Simple decision framework
If the defect wipes off, clean it. If it remains but the material is intact, attempt restoration. If the substrate is damaged, move to repair. If repair leaves obvious weakness, mismatch, or high labor cost, replace.
This matters most on older cars. A neglected vehicle can need detailing on the surface and body, upholstery, glass, and electrical work underneath. Calling everything restoration hides the real scope. In practice, I make the call panel by panel and seat by seat, because one car can need all four paths at the same time.
Roadworthiness checks
Before spending on cosmetics, verify drivable condition. Check brakes, tires, lights, wipers, glass clarity, battery hold-down, fluid leaks, cooling, steering feel, and seat-belt operation. Roadworthiness can make an unattractive car usable. A polished hood does nothing for stopping distance.
What tools do I actually need for car cleaning and restoration?
The useful kit is organized by task: inspection, dry removal, washing, decontamination, interior cleaning, polishing, and drying. Skip giant bundle thinking. Car cleaning kits range from as few as two items to more than 20 items, and comprehensive kits can cost upwards of $100 when they include multiple towels, brushes, chemicals, and applicators.
Core exterior tools
- Good lighting for inspection.
- Vacuum or blower for dry debris.
- Dedicated wheel brushes and paint-safe wash media.
- Exterior wash soap, buckets or rinse control, drying towels.
- Clay media and lubricant if contamination remains after washing.
- Applicators for wax or coating.
The biggest mistake I see is not lack of product, but poor separation. Wheel brushes, engine-bay towels, and paint towels should never share the same bin. If you later decide the finish needs more than a wash, step into paint correction with dedicated pads, tape, and inspection lighting rather than improvising with a bargain bundle.
Interior tools
- Crevice vacuum tools.
- Soft detailing brushes for vents and seams.
- Upholstery brushes for fabric.
- Microfiber towels sorted by task.
- Wet extraction or wet vacuum capability for serious carpet work.
- Fans or moving air for drying.
Interior kits may include detailing brushes and cleaners for leather, vinyl, or fabric. That is a decent starting point, but the key is keeping products controlled and avoiding overspray onto screens, gauge lenses, and headliners. For torn bolsters, detached headliners, or seam splits, tools stop being the answer and upholstery repair becomes the correct next step.
Polishing and safety gear
- Dual-action polisher for paint correction.
- Appropriate pads and polish grades.
- Masking tape for edges and trim.
- Nitrile gloves and eye protection.
- Storage bins that keep wheel tools separate from paint tools.
Cross-contamination causes a lot of avoidable damage. One gritty towel can undo a careful wash. I also keep hearing protection handy for long machine sessions and avoid extension cords or wet-floor polishing setups that create an easy slip or electrical hazard.
How much does car cleaning and restoration cost, and is it worth it?
Cost depends on scope, condition, parts access, and finish target. Basic cleanup can stay modest, while partial cosmetic restoration rises with correction and upholstery work. Full automotive restoration can run into tens of thousands once body, paint, trim, mechanical, and parts-sourcing labor enter the job. For service benchmarks, retail and marketplace sources commonly show detailing packages in the low hundreds, while upholstery, paint, rust, and restoration labor escalate quickly beyond that.
Cost by task and project scope
For DIY work, a careful wash and decontamination might stay in the tens of dollars per session. Interior recovery rises when extraction, odor control, and drying gear are needed. Headlight restoration and trim restoration are usually moderate tasks if the parts are still sound.
Shop work climbs faster. Paint correction, upholstery repair, wheel refinishing, dent work, and leak diagnosis all stack labor. Once rust repair, repainting, chrome work, drivetrain rebuilding, or missing parts enter the plan, the budget can move from cleanup money to project-car money quickly. If you want the local-service side of the math, our car detailing cost guide is the best companion to this section.
What drives full restoration cost
Labor is the big one. Parts sourcing is next, especially for old or low-production vehicles. Finish target matters too. A driver-quality restoration is very different from a judged build aimed at Concours d’Elegance standards.
That top-level finish demands superior panel fit, surface prep, interior correctness, hardware choices, and consistency in places casual drivers never inspect. It costs accordingly. Rust and hidden water damage are the budget killers I worry about most, because they turn a cosmetic plan into metal, trim, and mechanical work very quickly.
Is car restoration worth it?
Worth depends on four questions: Is the car rare, sentimental, useful, or valuable enough after completion to justify the spend? If the answer is no to all four, preservation and repair often make more sense than full restoration.
For a daily driver, roadworthiness and sensible cosmetic work usually return more value than chasing perfect paint. For a family heirloom or uncommon model, the math may be emotional as much as financial. I have seen the best outcomes come from realistic targets: safe driver, tidy cabin, corrected lights, and protected paint rather than a fantasy full build.
When should I hire a professional?
Hire a professional when the work can permanently reduce paint, spread mold, damage electronics, shrink trim, or leave a safety issue unresolved. Detailers handle contamination, while correction specialists, upholstery shops, body shops, and restoration shops take over when surfaces or components have already failed.
Who handles which job
- Professional detailer: heavy cleaning, odor reduction, interior recovery, wash, decontamination, protection.
- Paint correction specialist: compounding, polishing, sanding marks, difficult clear-coat defect work.
- Upholstery shop: torn seats, foam rebuilds, headliner replacement, seam repair.
- Body shop: rust, paint failure, dents, panel repair, repainting.
- Restoration shop: multi-system projects, old materials, parts sourcing, original-spec rebuild goals.
Jobs with high DIY risk
Machine polishing on thin or unknown paint. Engine-bay cleaning around exposed electrical parts. Headliner cleaning on sagging fabric. Leather recoloring. Mold remediation. Leak diagnosis. Anything involving airbags, seat wiring, or interior disassembly beyond trim clips.
What to ask before approving work
- What is cleaning versus repair on this estimate?
- Which surfaces are at risk if the process goes further?
- Will they test a small area first?
- How will they dry carpets or seats?
- Are replacement parts, repainting, or retrim likely after inspection?
- Are they aiming for driver quality or show quality?
Frequently asked questions
How do I clean and restore a car without damaging the paint or interior?
Follow the order I use on neglected cars: inspect, dry-remove debris, vacuum, wash, decontaminate, then clean each material with its own towel and chemistry. Stop before polishing failing paint, soaking carpets, scrubbing coated leather hard, or spraying electronics directly. Most damage comes from wrong sequence, wrong tool, or too much liquid.
What should I clean first when restoring a neglected car?
Start with photos, odor check, moisture check, and loose debris removal. If the interior is wet, moldy, or blocks visibility, begin there with dry cleanup and vacuuming. If the cabin is stable and the exterior is caked with abrasive soil, wash outside first so you do not drag grit into already vulnerable paint or trim.
How much does a full car restoration cost?
A full car restoration can reach tens of thousands of dollars once bodywork, paint, interior trim, mechanical rebuilding, chrome, glass, and hard-to-find parts enter the plan. The final number depends on starting condition, labor hours, rarity, rust, and whether the target is safe driver quality or something approaching concours-level finish and correctness.
Is car restoration worth it?
It is worth it when the vehicle has rarity, sentimental value, practical use, or enough finished value to support the spend. It is harder to justify on an ordinary car with rust, missing parts, and low resale upside. In many real-world cases, selective repair plus preservation beats a full restoration financially and emotionally.
Should I wash my car after polishing?
Usually no. After polishing, the normal next step is a residue wipe-down so wax, sealant, or coating can bond to clean paint. A full wash is only useful if you have heavy dust, compound sling, or residue trapped in crevices. Otherwise, another wash just adds time and can re-wet trim, emblems, and seams.
When should I hire a professional detailer instead of doing it myself?
Hire a professional when the car has mold, leak damage, severe oxidation, delicate old materials, unknown repaint history, electrical risk, or defects that may need sanding, dye work, or trim removal. DIY is fine on stable surfaces. Once the substrate is failing, a pro usually costs less than correcting a beginner mistake.
Sources
- NHTSA: Vehicle Maintenance Safety
- Antique Automobile Club of America (AACA)
- Hagerty maintenance and restoration resources
- Sylvania: Your complete guide to headlight restoration
- AAA Approved Auto Repair: How much does car detailing cost?
- Angi: Car upholstery repair cost
- IICRC standards for cleaning and restoration
- Colourlock: How to clean car leather
Products related to this article
Sponsored / affiliate links. As an Amazon Associate I earn from qualifying purchases. I may earn additional commission from eligible campaigns.