How to Clean Leather Car Seats Safely at Home
Use a pH-neutral leather cleaner on a clean microfiber towel, then wipe with light pressure. For coated leather and leatherette, one damp wipe followed by one dry wipe usually does the job; worn leather needs very little moisture and no soaking. Wrong cleaners can strip the clear coat, swell seams, leave shiny spots, or turn worn leather rough and brittle. This guide shows how to identify the seat finish and choose a no-damage cleaning method for coated leather, leatherette, and worn leather.
This guide is part of our Car cleaning and restoration series.
What you’ll need


- Vacuum with a soft brush attachment
- Clean microfiber towels, lint-free
- Leather cleaner or car interior cleaner spray
- Leather conditioner, or a 3-in-1 leather cleaner/conditioner/protectant
- Soft boar hair brush
- Air compressor with an air gun nozzle
How do you identify leather seat type?
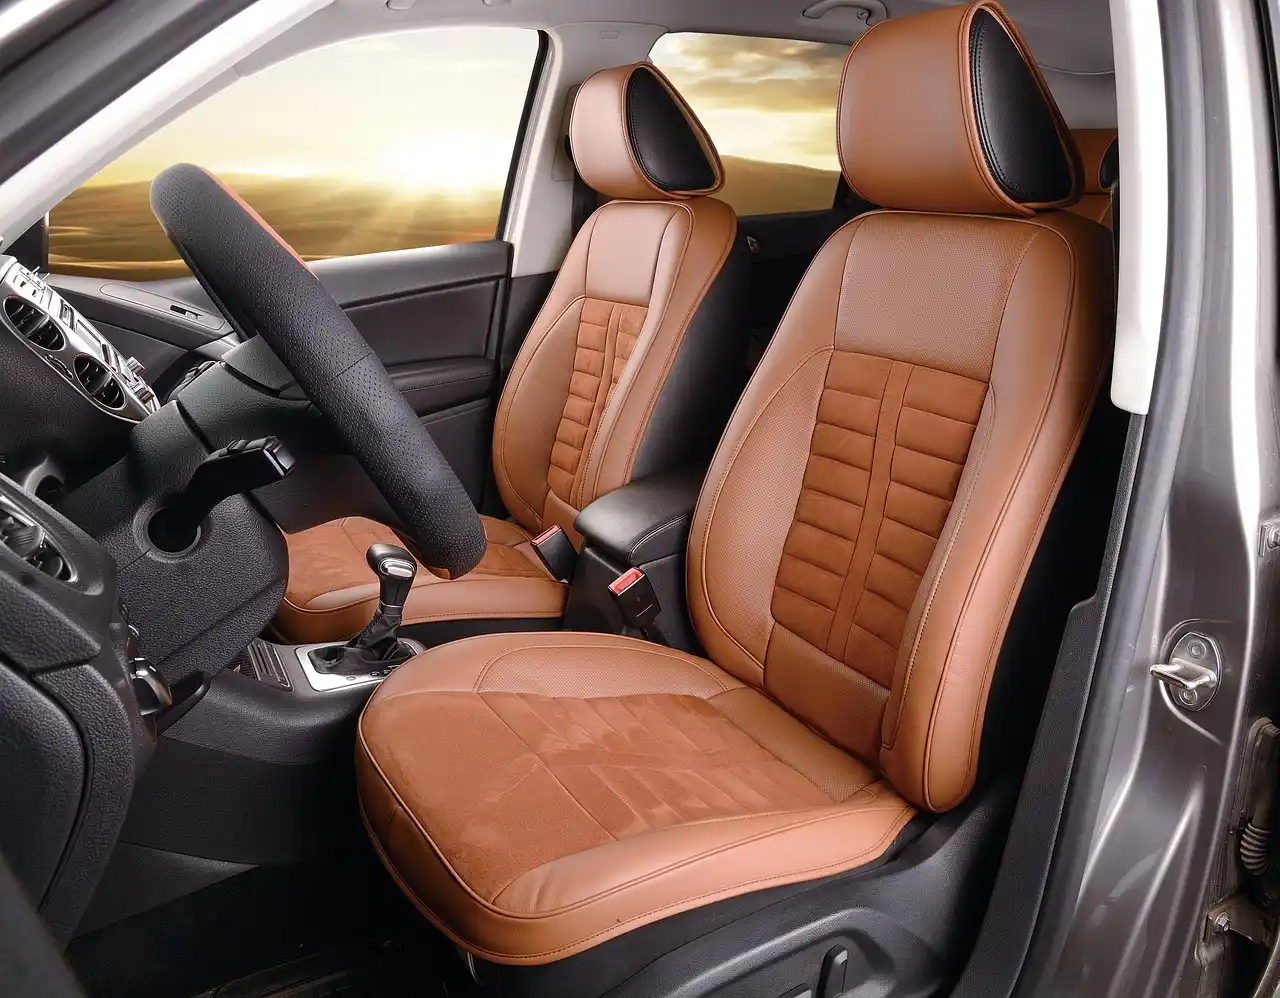
Check the finish before you clean. Most modern seats are coated leather, where a protective top layer sits over the leather grain; leatherette is synthetic and usually feels more uniform; cracked or dry areas need the gentlest approach because the finish may already be failing. The label on the trim matters less than the surface behavior.
Coated leather versus leatherette
Coated leather usually has visible grain variation, softer edges around seams, and a less plastic feel than leatherette. Leatherette often looks more even from panel to panel and can feel cooler and slicker. If water beads on the surface and does not sink in quickly, treat it as a finish-first cleaning job, not an upholstery soak.
Perforated seats and stitched panels
Perforated leather and stitched panels need extra restraint because cleaner can collect in the holes and thread channels. Those areas work best with a vacuum, a dry microfiber towel, and only a light mist of cleaner applied to the towel, not directly into the holes. A boar hair brush is optional and should stay soft to avoid pulling threads.
White or cream leather and cracked sections
White and cream leather show dye transfer fast, so dark denim marks, sunscreen residue, and grime need quick removal. Cracked or peeling sections are already stressed; clean them as if the finish could lift at any moment. If color comes off onto the towel, stop and test another product or leave that section for a professional detailer.
How do I clean leather car seats safely at home?
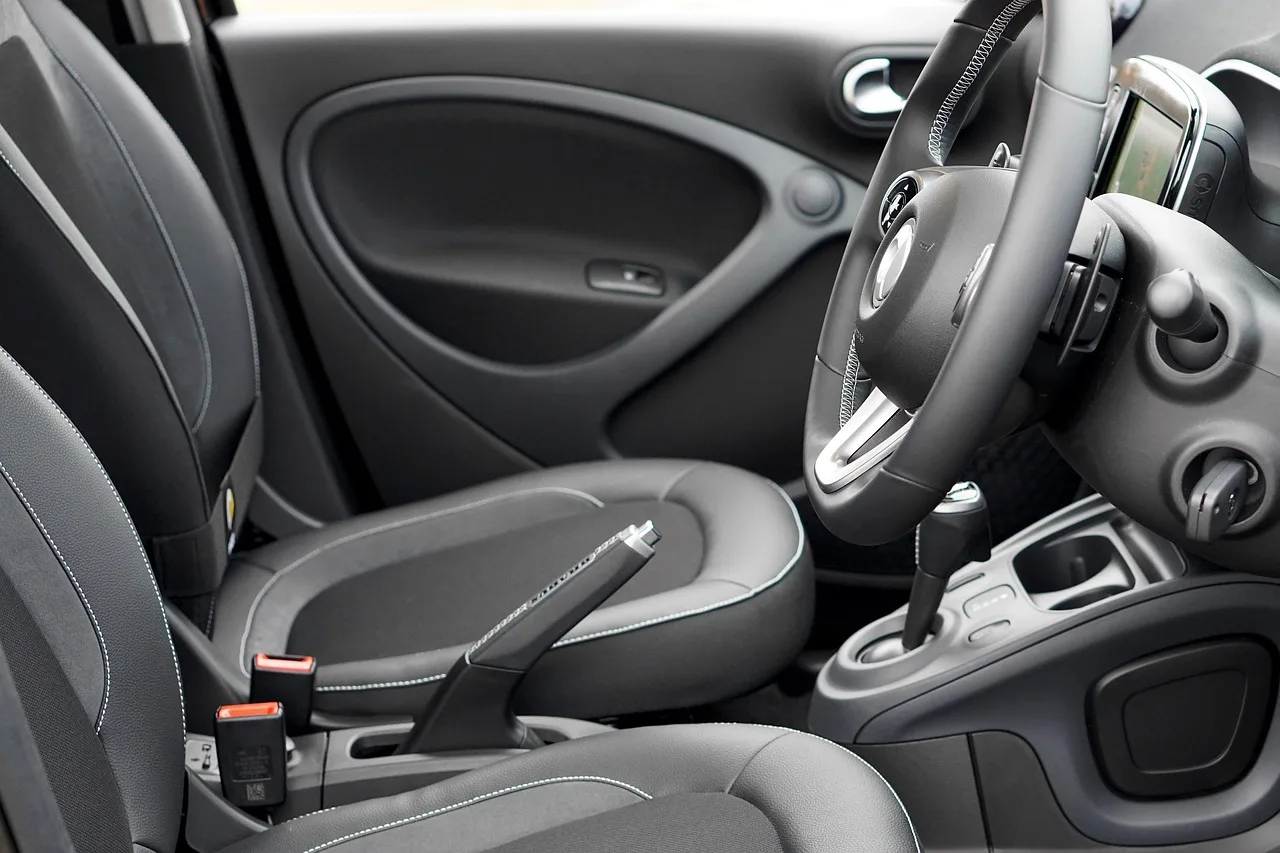
Start with the gentlest method that still removes the dirt. Vacuum first, test the cleaner in a hidden area, then work in small sections with a microfiber towel and only light agitation where grime stays put. That sequence lowers the chance of streaking, swelling seams, or pushing dirt deeper into stitching.
- Vacuum the seat with a soft brush attachment, working seams, crevices, crumbs, and pet hair first.
- Use an air compressor with an air gun nozzle only to dislodge trapped debris from seams and perforations, then vacuum again.
- Apply leather cleaner to the microfiber towel, or mist the towel lightly with car interior cleaner spray.
- Wipe one panel at a time with gentle, even strokes.
- If soil remains in stitching, use a boar hair brush with very light pressure, then wipe again.
- Turn the microfiber towel frequently so lifted soil does not get rubbed back into the finish.
- Let the seat dry fully before conditioning or using it heavily.
Suppose a front seat has one oily patch from sunscreen on the bolster and light dust everywhere else. Clean the dusty panels first, then give the oily patch a second pass with the cleaner on the towel. That keeps the greasy area from spreading across the rest of the seat.
Leather seat compatibility table
| Seat type | Safe cleaner type | What to avoid | Reconditioning interval | Failure signs |
|---|---|---|---|---|
| Coated leather | pH-neutral leather cleaner or car interior cleaner spray on a microfiber towel | Soaking, abrasive pads, strong solvents, heavy brushing | Every three to six months | Shiny patches, tacky feel, dye on towel, lifted finish |
| Perforated leather | Lightly damp microfiber towel; soft cleaner only on towel, not into holes | Direct spraying, over-wetting, hard bristles, steam aimed into holes | Every three to six months | Cleaner pooling in holes, dark rings, squeaking seams, odor after drying |
| Leatherette | Car interior cleaner spray or mild leather-safe cleaner on microfiber | Oil-heavy conditioners that leave a slick film, soaking, abrasives | As needed; condition only if the product is rated for synthetic trim | Greasy sheen, streaks, softening at seams, towel drag |
| White or cream leather | Very mild leather cleaner, applied in sections with frequent towel changes | Vinegar, colored cloths that may bleed, dirty towels, harsh degreasers | Every three to six months | Darkening, dye transfer, yellowing, uneven gloss |
| Cracked leather | Minimal-moisture cleaner on a towel, then dry wipe only | Scrubbing, soaking, conditioners on open cracks, stiff brushes | Only after the surface is stable enough to accept treatment | Flaking, widening cracks, roughening, color loss on the towel |
How do you clean very dirty seats?
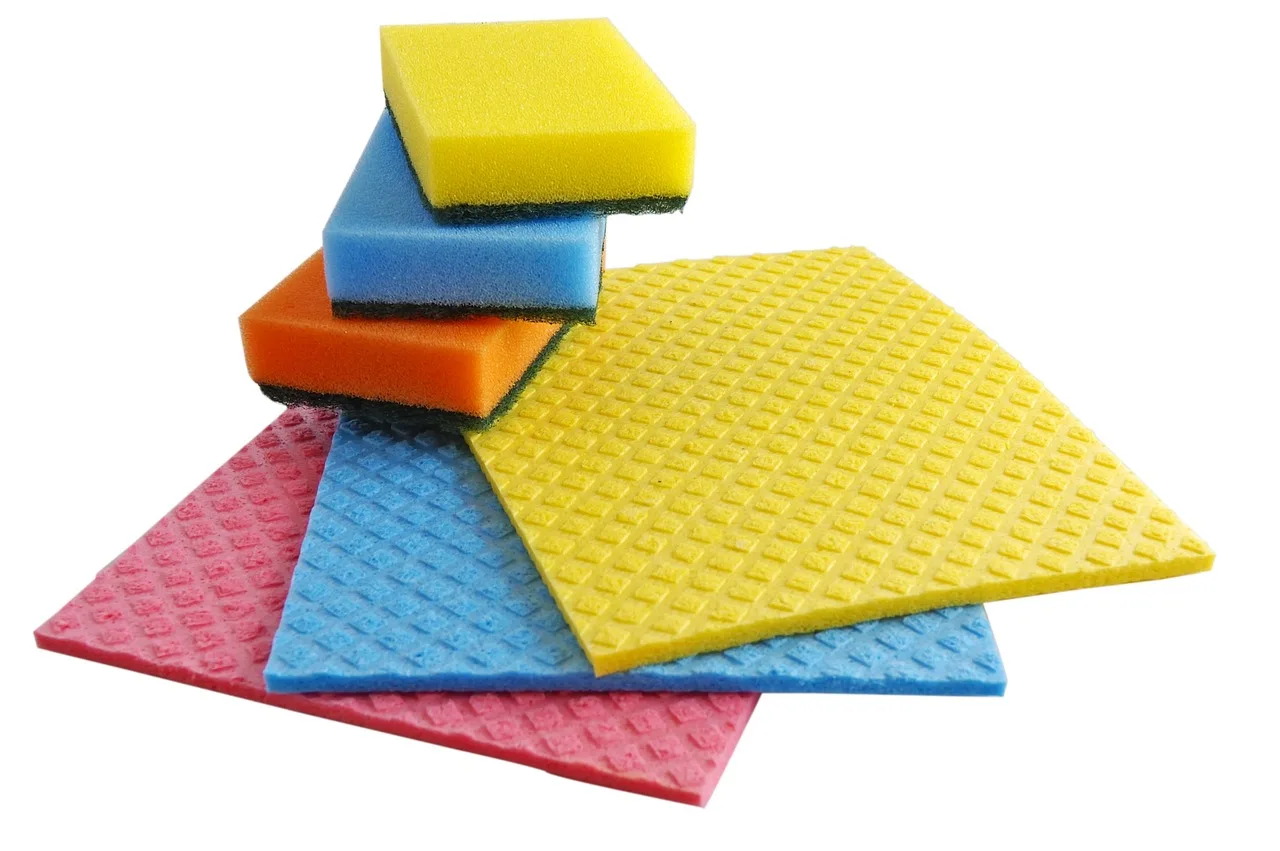
Very dirty seats need a deeper cycle, but still not a wet one. Start with dry debris removal, then clean in short passes until the towel comes away only lightly soiled. For grease, sunscreen, and dyed transfer, repeat the cleaner on the towel rather than spraying more product onto the seat.
Remove grit from seams and perforations
Use the vacuum’s soft brush attachment first, then an air compressor with an air gun nozzle if crumbs or pebbles stay lodged in seams. Finish with another vacuum pass. That order matters because trapped grit acts like sandpaper when you start wiping.
Treat greasy buildup and sunscreen residue
Apply cleaner to the towel, not the seat, and work the greasy area in short strokes. If the residue smears, stop and flip to a clean part of the towel. A third pass is often the limit before the surface starts to look overworked.
Picture a cream seat with a dark denim rub mark on the outer bolster. A first wipe may only lighten it. If the towel picks up blue color, move to a milder cleaner and stop before the stain edge spreads; darker rubbing often means the finish is still holding, not that more liquid is needed.
Can I clean leather car seats with vinegar?
Vinegar is a risky household choice for modern automotive finishes. It can cut grime, but it can also push the surface outside its normal pH range, dry out a worn finish, and leave a dull or uneven look on coated leather. For leatherette and cracked areas, that risk usually outweighs any cleaning benefit.
If vinegar is the only product available, test it on an unseen area, dilute it heavily, and stop at the first sign of color transfer or dulling. A leather-safe cleaner is the better default because it is built for coated leather, leatherette, and stitched trim without attacking the surface layer.
Common mistakes
Most damage comes from too much liquid, the wrong cloth, or the wrong cleaner for the finish. The safest routine is slower than a glass-cleaning shortcut, but it keeps the clear coat, seams, and color intact.
- Using vinegar without checking the finish: Test on a hidden area first, and prefer a leather-safe cleaner for coated leather and leatherette.
- Soaking the seat or over-wetting stitching: Spray the towel, not the seat, especially on perforated panels.
- Scrubbing with abrasive tools: Stick to microfiber and a soft boar hair brush only where grime stays put.
- Conditioning before the seat is fully dry: Wait until the surface feels dry to the touch so the conditioner does not trap moisture.
- Ignoring cracks and tears: Stop if the finish lifts, color transfers heavily, or thread starts to fray.
Frequently asked questions
What is the best thing to clean leather car seats at home?
A pH-neutral leather cleaner on a clean microfiber towel is a common starting point for many coated leather seats. For leatherette, a car interior cleaner spray can also work well. Avoid soaking, and use a second dry towel pass so residue does not stay on the surface.
How do I clean white leather car seats at home?
Vacuum first, then clean in short sections with a mild leather-safe cleaner on microfiber. White leather shows dye transfer quickly, so change towels often and stop at the first sign of blue or black staining. If the finish darkens, switch products rather than increasing pressure.
How do I clean cream leather car seats at home?
Use the same method as white leather, but be even more careful around denim transfer and sunscreen buildup. Clean the panel, inspect it in bright light, then repeat only where residue remains. A boar hair brush is optional and should touch seams lightly, if at all.
Do I need to condition leather car seats after cleaning?
Yes, after the seat is fully dry, a common rule of thumb is to condition coated leather every three to six months. Conditioning helps keep the surface from drying out and feeling stiff. On leatherette, use only a product that the trim maker or cleaner label says is suitable for synthetic surfaces.
How do I deep clean leather car seats at home?
Deep cleaning means more preparation, not more liquid. Vacuum the seams, use an air compressor for trapped grit if needed, clean in small sections, and repeat only while the towel is still lifting soil. If cracks, peeling, or color loss appear, stop and reassess the finish.
Can I clean leather car seat covers at home?
Yes, if the covers are removable and the tag says leather-safe care is allowed. Clean them off the seat when possible so liquid does not collect in seams or around the foam. If the material is leatherette, use a synthetic-safe cleaner and skip heavy conditioning unless approved.
Products related to this article
Sponsored / affiliate links. As an Amazon Associate I earn from qualifying purchases. I may earn additional commission from eligible campaigns.