How to Clean Car Engine Bay Safely Without Water Damage
Clean the engine bay with the least water that still removes the grime, and keep spray off the alternator, fuse box, intake openings, sensors, and coil packs. Water in the wrong place can cause misfires, warning lights, corroded connectors, or a no-start condition. Choose the method by vehicle age and grime level, then dry the bay thoroughly.
What you’ll need
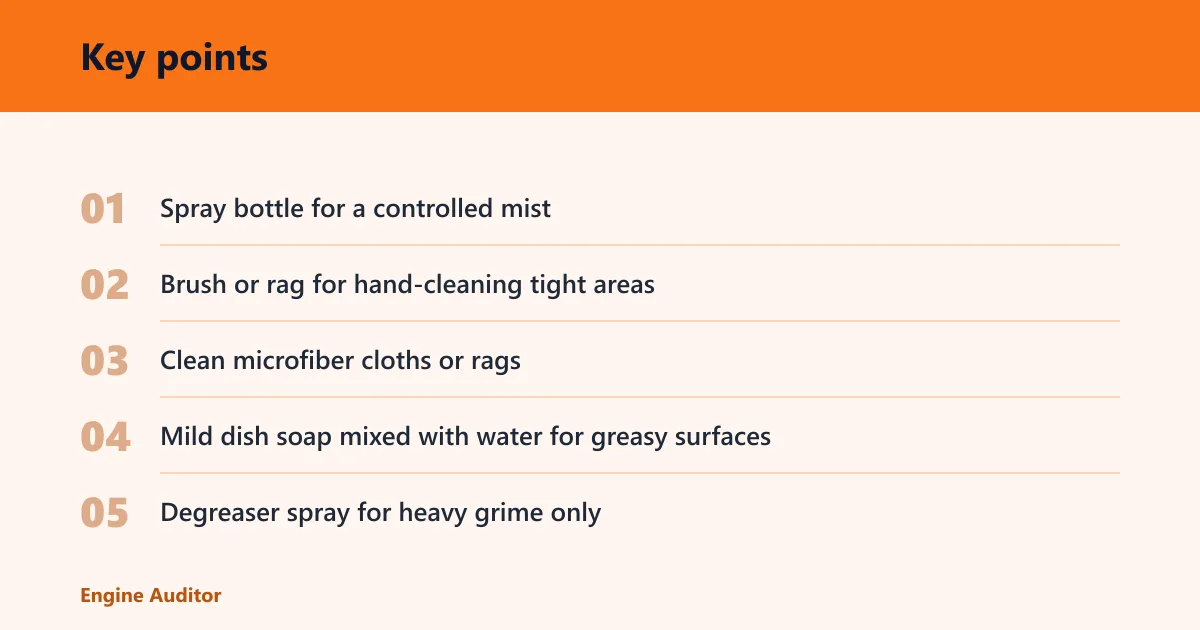


- Spray bottle for a controlled mist
- Brush or rag for hand-cleaning tight areas
- Clean microfiber cloths or rags
- Mild dish soap mixed with water for greasy surfaces
- Degreaser spray for heavy grime only
- Plastic bags or covers for exposed openings
- Tape or rubber bands to hold covers in place if needed
- Optional compressed air or a fan for drying
Engine bay risk checklist
| Vehicle type | Allowed tools | No-spray zones | Drying and restart checks |
|---|---|---|---|
| Modern sealed engine bay | Spray bottle, mild soap mix, rag, brush, light degreaser on dirty spots | Alternator, fuse box, intake openings, coil packs, exposed connectors, sensor plugs | Blot standing water, leave hood open, check for warning lights, rough idle, and visible moisture before start |
| Mid-age daily driver | Spray bottle, rag, brush, limited degreaser, very light hose rinse if needed | Same as above, plus belt path, distributor parts if present, aftermarket wiring, loose caps | Dry connectors and seams first, then restart and watch for misfires or a check-engine light |
| Older or fragile engine bay | Dry wipe, barely damp rag, spot cleaner, small brush, minimal degreaser | Any open connector, brittle hose, cracked plastic, weak clamps, exposed wiring, intake mouth | Inspect hoses and clamps before start, avoid wet restart, wait until all visible moisture is gone |
Stop rule: If the bay has damaged seals, crumbling rubber, unknown aftermarket wiring, or heavy grease packed around electrical parts, stop at minimal-moisture detailing. Use spot cleaning only.
- Park on a warm day and wait until the engine is fully cool.
- Open the hood and clear loose leaves, dust, and debris by hand.
- Inspect hoses, clamps, caps, connectors, and any aftermarket wiring for cracks or looseness.
- Cover exposed intake openings and any open electrical junctions with plastic if they are reachable and truly exposed.
- Mix a mild soap solution in the spray bottle for greasy surfaces.
- Mist the cleaner onto a cloth or into dirty plastic surfaces, not across the whole bay.
- Wait a few minutes, then agitate grime with a brush or rag.
- Use degreaser only on heavy contamination, and keep it off belts, painted surfaces you want protected, and open connectors.
- Wipe residue before any rinse, then decide whether the bay really needs water.
- If rinsing is necessary, use a gentle hose flow or a very light, indirect pressure washer pass, then dry immediately.
How do you prep the engine bay?
Start with a fully cool engine, then remove loose debris and inspect fragile parts before any liquid reaches the bay. Cover exposed intake openings and open electrical points only if they are truly uncovered. On older cars, treat brittle hoses and clamps as a reason to switch to spot cleaning.
What to check before spraying
Look for cracked hose ends, loose caps, exposed connectors, and aftermarket wiring that may not seal as well as factory parts. Avoid hot metal and moving belts. If the bay has obvious damage or a missing cover over a sensitive opening, do not wash broadly.
Say your daily driver has a dusty cover and a greasy valve cover, but the fuse box and intake tube are sealed. That is a good candidate for a low-water clean. Suppose an older hatchback has a brittle vacuum hose and an exposed add-on alarm wire near the battery; that bay needs spot cleaning, not a rinse.
How do you clean it with minimal water?
Use the least water that does the job. A spray bottle gives you control, and a brush or rag handles the scrubbing. Dish soap works for greasy, oily surfaces, while a degreaser spray belongs on heavy grime only. Keep the cleaner on surfaces, not on electrics.
Soap, brush, then spot degreaser
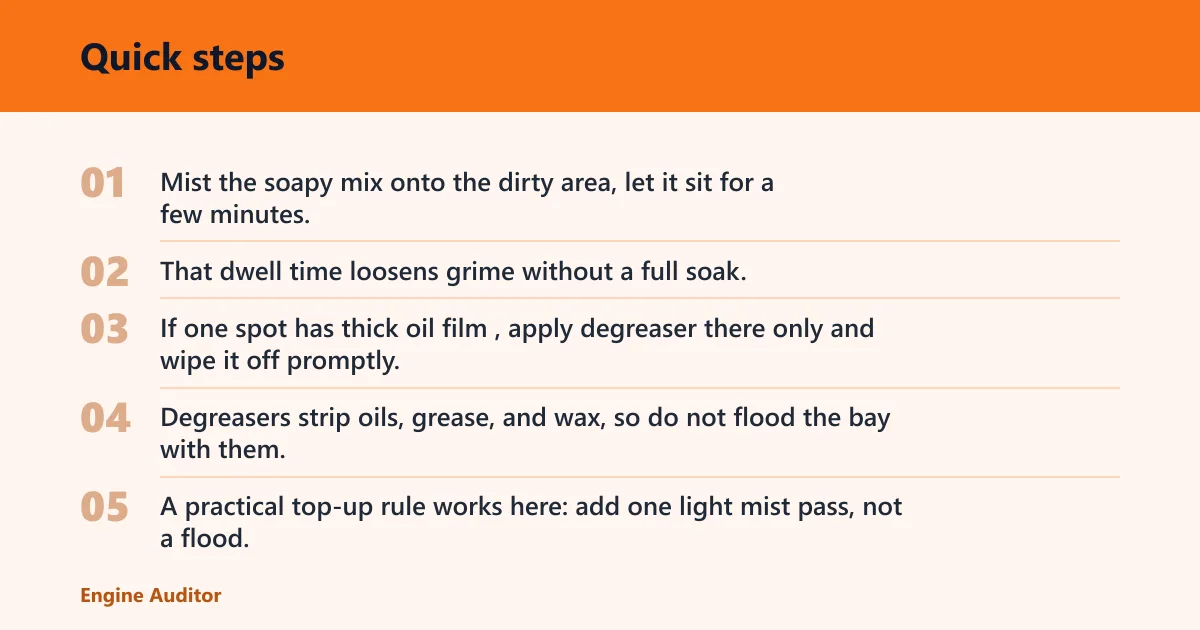
Mist the soapy mix onto the dirty area, let it sit for a few minutes, then agitate with a brush or rag. That dwell time loosens grime without a full soak. If one spot has thick oil film, apply degreaser there only and wipe it off promptly. Degreasers strip oils, grease, and wax, so do not flood the bay with them.
A practical top-up rule works here: add one light mist pass, not a flood. If residue remains after the first wipe, repeat with another brief spray and recheck. That keeps runoff low and reduces the chance of moisture reaching connectors.
Where not to spray
Keep liquid away from the alternator, fuse box, intake opening, coil packs, and exposed sensor plugs. Also skip belt paths and any cracked rubber. Those spots do not need direct spray to clean nearby surfaces, and they are common places for trouble if water reaches them.
Can you use a hose or pressure washer?
A hose can work for a light rinse on a modern, sealed engine bay, but only after most grime is removed by hand. A pressure washer is often considered the highest-risk option for engine bay cleaning because it can force water into connectors, sensors, and seams. Older bays usually should not be pressure-rinsed at all.
How to keep the spray low and indirect
If you rinse, keep the nozzle far enough back that the flow lands as a gentle sheet rather than a hard jet. Aim at painted or plastic surfaces, not at electrical parts. Do not point the stream upward into seams, behind the intake, or across open connectors. Short passes are safer than a long soak.
When to skip the rinse entirely
Skip water if the bay has brittle plastic, weak clamps, heavy grease around electronics, or aftermarket wiring you cannot identify. In those cases, wipe with a damp rag, repeat the soap mist on dirty patches, and leave the surface slightly imperfect rather than risk intrusion.
How do you dry and restart safely?
Drying matters as much as cleaning. Blot standing water, leave the hood open, and let airflow do the rest on a warm day. Before starting, look for moisture around connectors, coils, belts, and sensor housings. If anything remains visibly wet, wait longer.
If moisture gets into a connector or sensor
Do not force a restart until the area is dry. Disconnect the battery only if the owner’s manual calls for it, then dry the connector with a clean rag and, if available, gentle compressed air. Refit any cap or cover, then check for warning lights and rough idle after startup. If the engine misfires, shut it down and inspect the wet area again.
A common first-timer mistake is starting the car because the top surfaces look dry while water sits under a coil cover or inside a plug well. That hidden moisture can trigger a stumble a few seconds after startup. Leave the hood open until the bay is dry to the touch in all visible areas.
Should you clean an older engine bay differently?
Yes. Older cars are more prone to plastic and rubber rot, and fragile hoses and clamps may be ready to break before you touch them. Treat the bay as delicate until inspection proves otherwise. Minimal-moisture cleaning is the safer default, especially if the car has aged seals or unknown repairs.
Older bay priorities
Use a brush, rag, and a small amount of cleaner rather than broad spraying. Work one section at a time. Avoid direct rinse methods unless the bay is unusually tidy and sealed. If a hose crumbles, a clamp bends, or a connector looks loose, stop and clean around it instead of through it.
What if your engine bay is full of grease and grime?
Heavy grease changes the plan. Start with spot degreasing, not a broad wash. Let the cleaner sit for a few minutes, agitate with a brush or rag, and wipe away the residue. If the grime is packed around electrics, sensors, or seals, minimal-moisture detailing is safer than chasing a perfect finish.
When to stop and switch methods
If you still see thick buildup after one or two light passes, stop before the bay gets saturated. A cleaner, drier engine bay is useful for diagnostics because it can make leaks easier to spot and can help prevent corrosion. But damaged seals, questionable wiring, or water-sensitive parts justify a slower approach.
Common mistakes
- Spraying directly at coils, the alternator, fuse box, or connectors.
- Cleaning a hot engine instead of waiting for a complete cool-down.
- Using too much degreaser or letting it sit on sensitive parts too long.
- Rinsing an older bay that should have been wiped by hand.
- Starting the engine while visible moisture remains in plug wells or connector seams.
- Skipping the inspection for brittle hoses, loose caps, or aftermarket wiring.
Prevention: Clean the bay on a warm day, inspect first, and use the least aggressive method that still removes the grime. That sequence keeps drying time shorter and lowers the chance of trapped moisture.
Frequently asked questions
How do I clean my car engine bay safely without water damage?
Use a cool engine, a spray bottle, a brush or rag, and a mild soap mix first. Keep liquid off the alternator, fuse box, intake opening, coil packs, and exposed connectors. Wipe residue, then dry with the hood open before starting.
Can I use a hose or pressure washer on my engine bay?
A hose can be used gently on some modern sealed bays, but a pressure washer is the riskiest option. Keep the stream indirect and low-pressure in practice. Skip both methods on older bays with brittle plastic, loose clamps, or exposed wiring.
What should I cover before spraying the engine bay?
Cover exposed intake openings and any uncovered electrical points that are easy to reach. Do not wrap parts that already have factory sealing just for the sake of covering more. The goal is to block obvious openings, not to smother the whole bay.
How long should the engine be cool before cleaning the bay?
It should be fully cool before you spray anything. A warm engine can dry cleaner unevenly and raise burn risk near metal parts. If the hood and nearby components still feel warm, wait longer.
Is degreaser safe to use in an engine bay?
Yes, but only on heavy contamination and only where needed. Use it sparingly, keep it off open connectors and delicate rubber, and wipe it away after a brief dwell period. It is not a substitute for rinsing the whole engine bay.
How do I dry an engine bay after cleaning?
Blot standing water with clean rags, leave the hood open, and use airflow on a warm day if available. Check connectors, belts, and visible sensors before starting. If any spot still looks wet, wait and dry it again.
What if my engine bay is full of grease and grime?
Use a controlled cleaner application, let it sit for a few minutes, then agitate with a brush or rag. Repeat only as needed. If the grime sits around electrical parts or seals, stop before adding more water and switch to minimal-moisture detailing.
Products related to this article
Sponsored / affiliate links. As an Amazon Associate I earn from qualifying purchases. I may earn additional commission from eligible campaigns.