How to Clean Car Vents and Remove Dust Buildup
Clean car vents with a soft brush, microfiber cloth, and a low-suction vacuum if available. Stop if dust keeps returning, because the cabin air filter, not the vent faces, is often the real cause. Bad cleaning can push debris deeper, scratch trim, or leave odors in the HVAC ducting. This guide shows how to clean dash, center, side, floor, and defroster vents safely, and how to tell when the filter or HVAC system needs attention.
What you’ll need

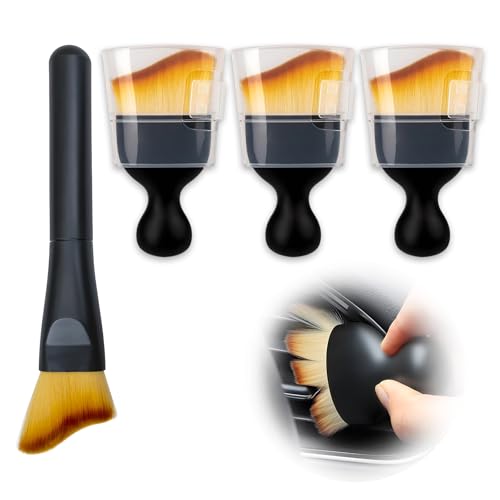
- Vent cleaning brush with soft bristles or microfiber and a narrow profile for louvers
- Microfiber cloth
- Vacuum with crevice tool
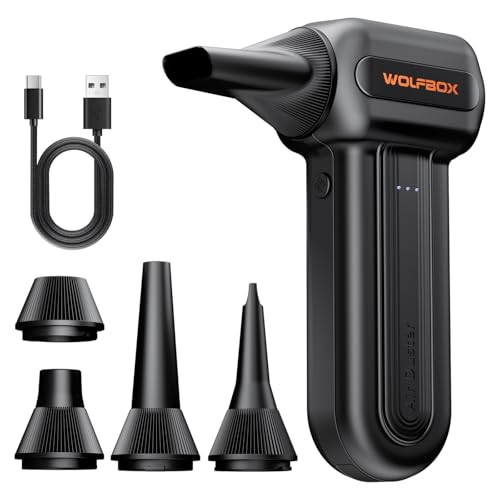
- Compressed air
- Interior cleaner that is safe for automotive plastic and low-residue
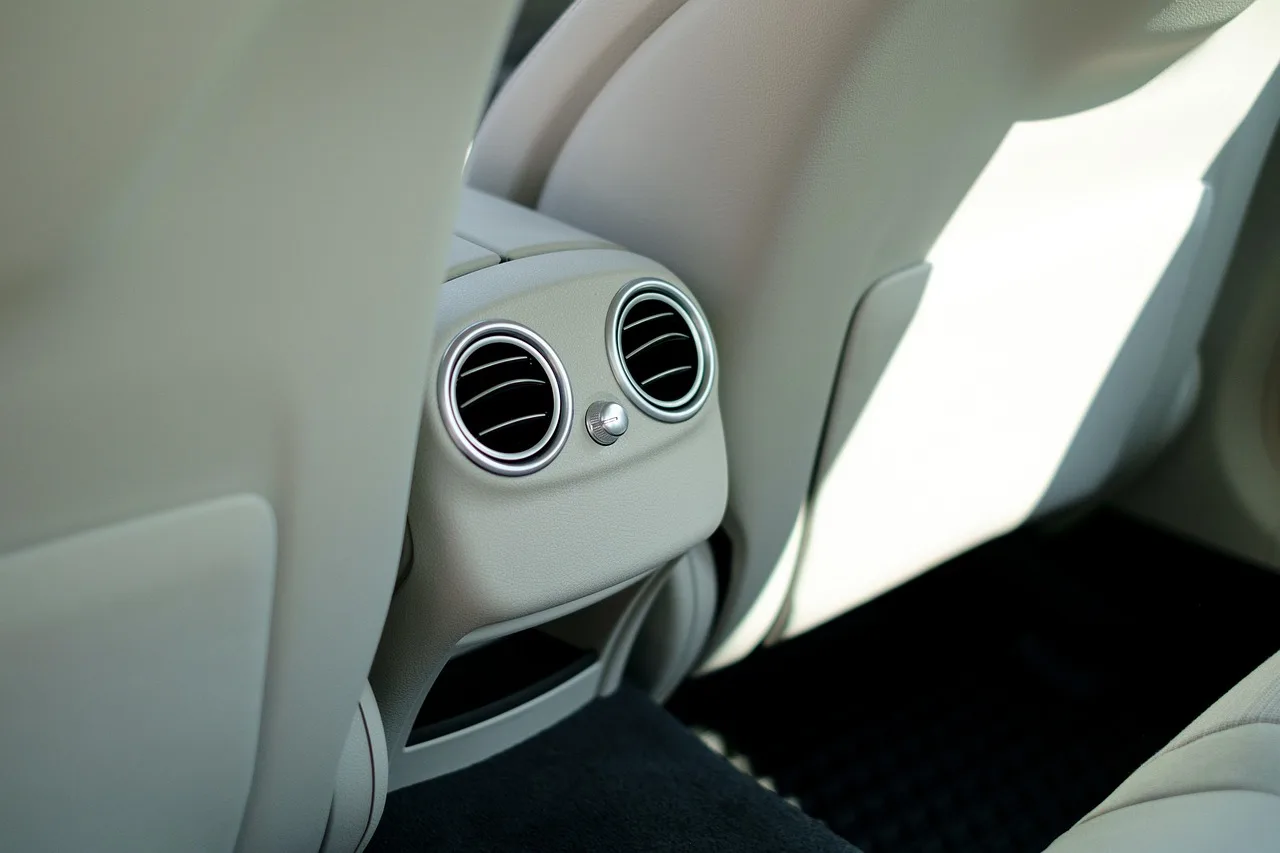
Start at the vent face, not deep in the duct. Turn the HVAC off, work one vent at a time, and lift loose dust out before wiping anything. That order keeps loose debris from dropping into the HVAC path or onto nearby switches and trim.
Step-by-step vent cleaning
- Turn the HVAC system off and close the windows.
- Set the vent direction so the slats are easy to reach.
- Vacuum the vent face with a crevice tool at low or controlled suction.
- Brush between the slats with a dry vent cleaning brush to loosen dust.
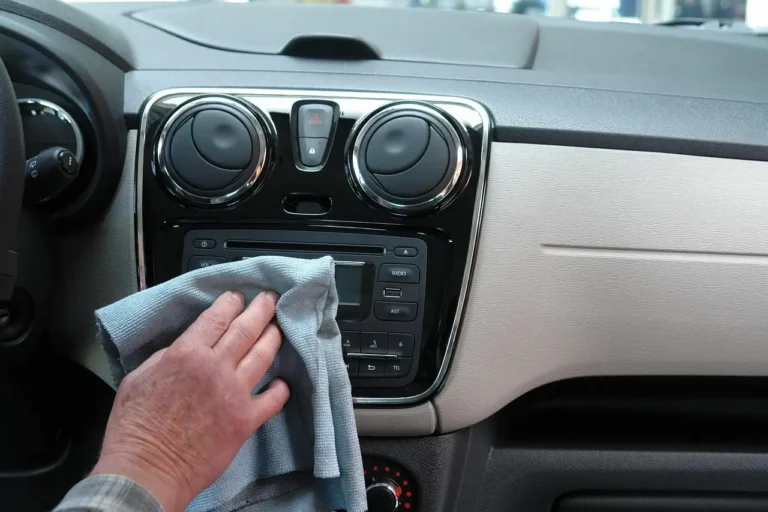
- Wipe the louvers with a microfiber cloth dampened with interior cleaner, not sprayed into the vent.
- Use short bursts of compressed air to push stubborn dust outward, then vacuum again.
- Check the dash, console, and floor for any debris that fell out during cleaning.
Use a brush first, because soft bristles lift dust without scratching plastic. Apple recommends soft brushes for speaker grill cleaning, and the same low-aggression approach fits car vent slats, fins, and deep channels. A soft or extra soft old toothbrush can work if it is narrow enough, but hard bristles are a poor choice.
Say your center vent has gray dust packed into the outer slats while the rest of the dash is clean. Brush the slats dry first, vacuum the loosened debris, then wipe the face with a damp microfiber cloth. That sequence removes visible buildup without forcing dust farther into the HVAC duct.
If that didn’t work, try this next
- Remove the cabin air filter and inspect it for heavy dirt, leaves, or odor buildup.
- Replace it if it looks loaded or if service history is unknown.
- Run the fan on fresh air for about 5 to 10 minutes after replacement.
- Repeat the vent-face cleaning if dust still appears at the slats.
If dust returns quickly after the vent face is cleaned, the issue is often somewhere upstream, such as the cabin air filter. The cabin air filter filters incoming air before air reaches the cabin, so a dirty filter can keep sending dust toward the same vents that were just cleaned.
The best prevention starts with the surfaces around the vents. Clean the dash, console, and door tops first, then finish the vents so loose dust does not resettle. A recurring dust problem also calls for a cabin air filter check, because the vent face is often only the last place the debris shows up.
Reduce re-accumulation
- Dust the dash before you clean the vents.
- Replace the cabin air filter on the interval listed in the owner’s manual, or sooner in dusty conditions.
- Avoid driving with windows open on dusty roads when possible.
- Vacuum carpets and floor mats regularly, since floor vents pull in debris near the cabin floor.
- Repeat vent cleaning on a schedule instead of waiting for heavy buildup.
Suppose floor vents are clear after cleaning, but the side vents collect dust again within three days. That pattern points away from the slats themselves and toward the filter, dash dust, or a cabin that is still shedding debris into the HVAC intake.
Car vent troubleshooting table
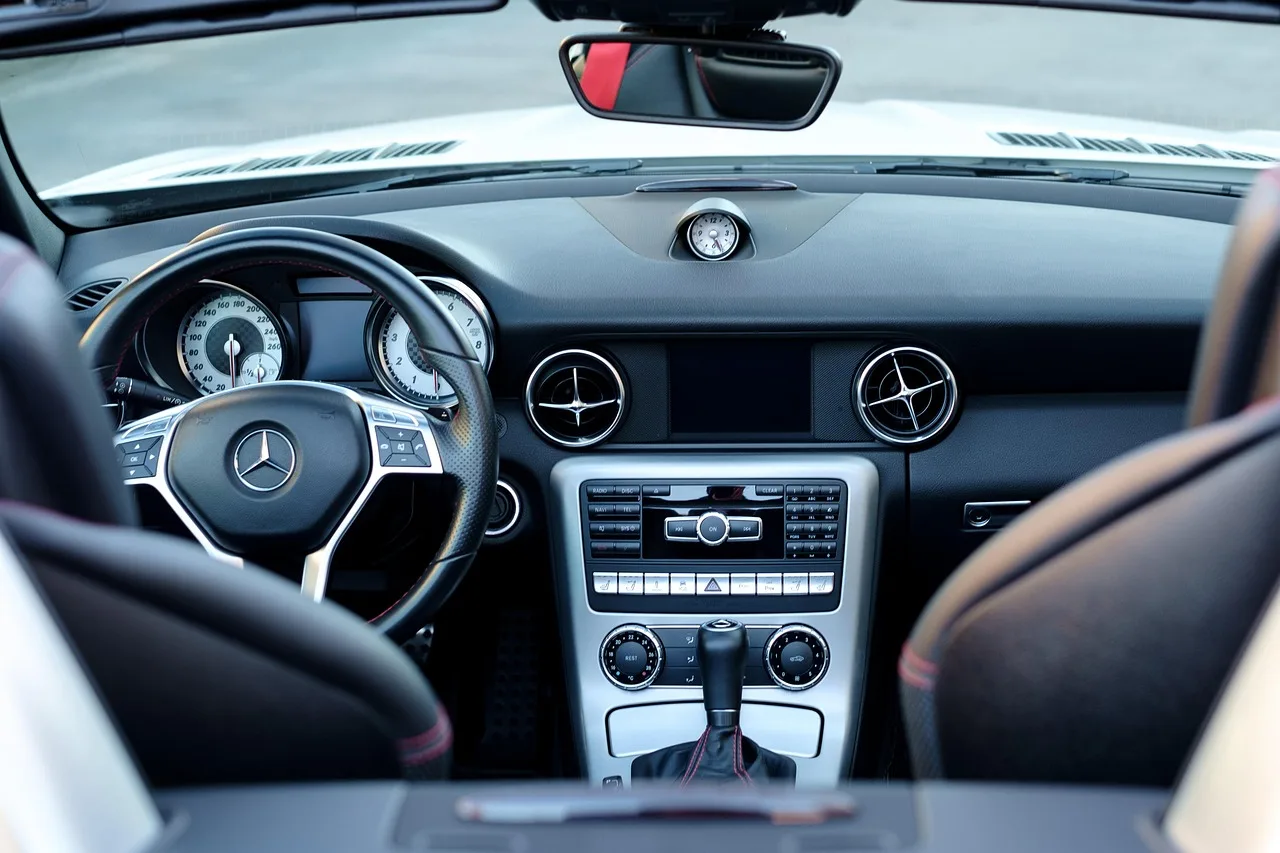
Use this table to separate a vent-face cleaning issue from a filter or HVAC issue before you repeat the same steps.
| Symptom | Likely cause | Best fix |
|---|---|---|
| Dust only at vent slats | Surface buildup on the louvers and deep channels | Brush dry, vacuum the face, then wipe with a damp microfiber cloth |
| Dust returning within days | Dirty cabin air filter or dusty cabin surfaces | Replace the cabin air filter and clean the nearby dash, floor mats, and console |
| Musty smell when AC starts | Moisture or debris in the HVAC system | Replace the cabin air filter and run fresh air flow to help dry the system |
| Odor only on recirculate | Trapped cabin odor being recirculated through the HVAC path | Switch to fresh air mode, clean the cabin, and replace the filter if it smells stale |
| Weak airflow after cleaning | Clogged filter or debris pushed toward the intake | Check and replace the cabin air filter, then inspect the intake area |
| Debris dropping into the cabin during cleaning | Dust was loosened before being captured | Vacuum first, then brush and wipe in smaller sections |
| Dust appears from dash, center, side, floor, and defroster vents at once | System-wide dirt in the HVAC path or a saturated filter | Replace the cabin air filter and clean all accessible vent faces |
| Odor persists after vent-face cleaning | Odor-causing buildup deeper in the HVAC system | Address the filter and moisture source; a fragrance spray will not remove the source |
When is the cabin air filter the real fix?
Recurring dust, weak airflow, and short-lived odors usually point to the cabin air filter rather than the vent slats. If the vents look clean but dust returns fast, the filter is a more likely source than the visible louvers. The same is true when a musty smell returns after a brief improvement.
Check the filter before repeating more vent cleaning
- Open the filter access panel listed in the owner’s manual.
- Remove the cabin air filter and inspect the pleats for dirt, leaves, or moisture.
- Replace it if it is dark, clogged, damp, or overdue.
- Run the fan after replacement and recheck airflow and odor at the vents.
The HVAC system can circulate odors if debris or moisture is present. That is why odor treatment should not stop at a fragrance product. If the source is a dirty filter or damp evaporator area, masking the smell leaves the problem in place.
Common mistakes
Most vent-cleaning damage comes from using too much liquid or too much force. Keep the cleaning focused on the face of the vent, and move from dry removal to slightly damp wiping only when the dust is already loosened.
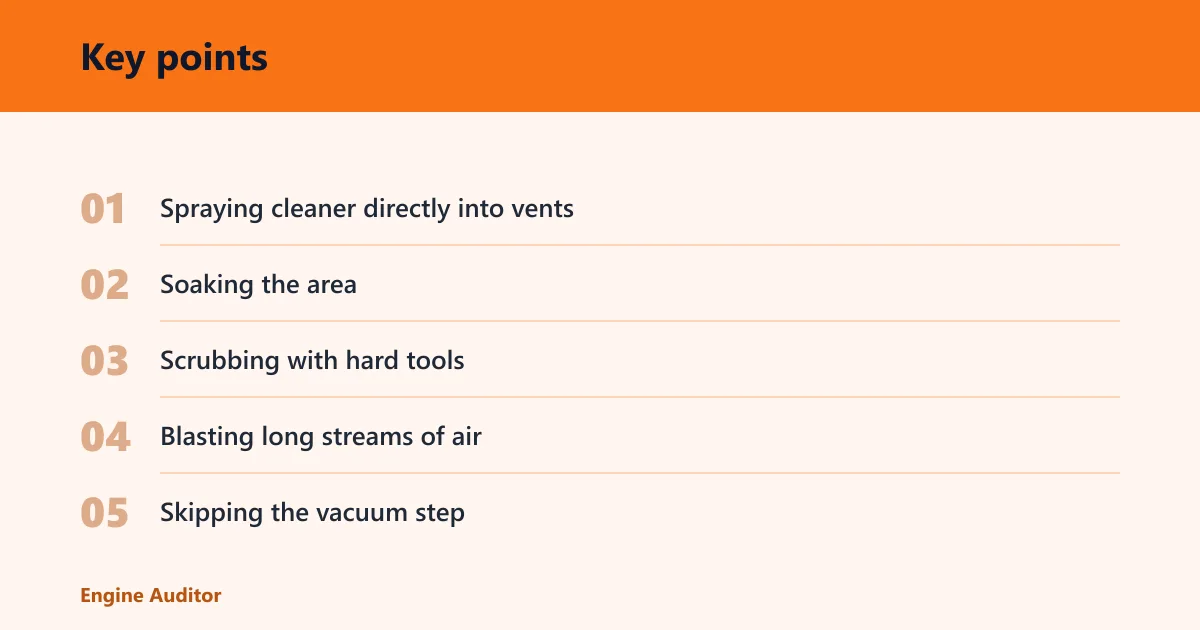
- Spraying cleaner directly into vents: apply interior cleaner to the cloth instead. This keeps liquid out of electronics and trim openings.
- Soaking the area: use a damp cloth, not a wet one, so cleaner does not drip into switches or the HVAC housing.
- Scrubbing with hard tools: use soft bristles or microfiber only. Abrasive pads can scar the slats.
- Blasting long streams of air: short bursts are safer and less likely to send debris deeper into the duct or into the cabin.
- Skipping the vacuum step: vacuum first so loosened dust does not resettle on nearby surfaces.
- Ignoring the filter: if dust keeps coming back, the cabin air filter may be the source.
- Using fragrance to hide odor: odor treatment should target the source, not cover it.
Masking tape can help protect adjacent trim, because it leaves little or no residue. Painter’s tape is often easier to stick and peel off. Use tape only where it helps protect a nearby edge; do not rely on it to solve a dirty vent.
How to clean smelly car air vents
Clean odors by removing the source, then drying the system. Musty, smoky, or stale smells usually come from dirt, trapped moisture, or a dirty cabin air filter. If the smell returns after a short drive, the HVAC path still needs attention, not more fragrance.
Odor cleanup steps
- Replace the cabin air filter if it is dirty or smells stale.
- Vacuum and brush the vent faces and surrounding cabin surfaces.
- Run the fan on fresh air for 5 to 10 minutes to move air through the system.
- Check for damp floor mats, wet carpeting, or standing moisture near the intake area.
- Use a low-residue interior cleaner only on a cloth for nearby plastic surfaces.
Do not try to solve odor with a spray alone. Odor treatment works best when the source is removed and the system is dried. If the smell is strongest on recirculate, fresh air mode and filter replacement are the first checks.
Products related to this article
Sponsored / affiliate links. As an Amazon Associate I earn from qualifying purchases. I may earn additional commission from eligible campaigns.