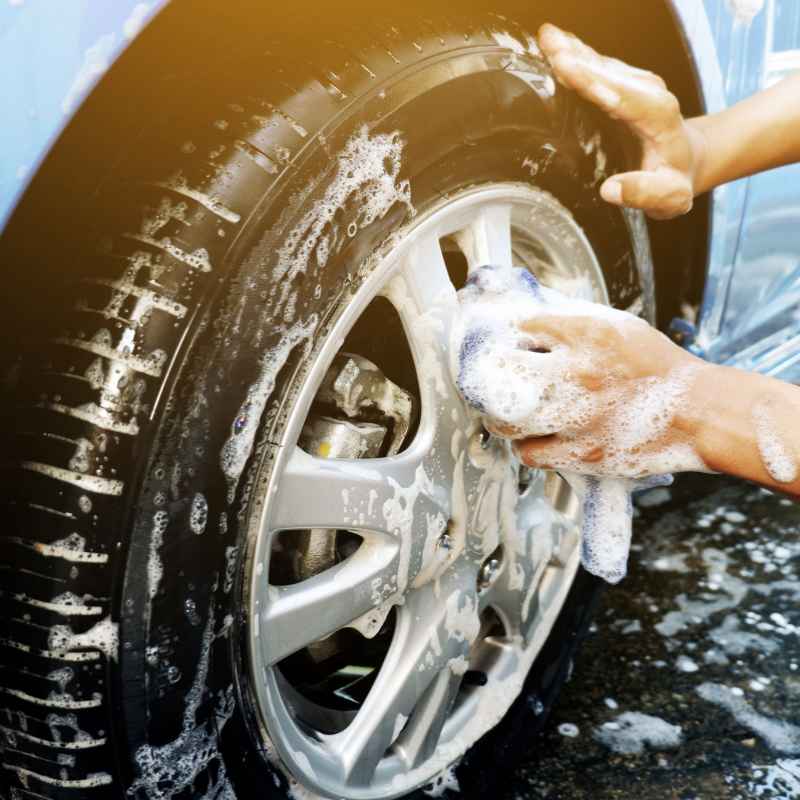
How to Clean Car Tire Rims Like a Professional Detailer
Cleaning car tire rims is one of the most satisfying parts of detailing, yet many people skip it because brake dust and grime seem impossible to budge. This guide breaks down the exact tools, techniques, and products you need to get showroom-clean rims without damaging the finish.
Simply put, the best way to clean car tire rims is to use a dedicated pH-neutral wheel cleaner, a soft-bristle brush, and a two-bucket wash method combined with a wheel iron fallout remover for stubborn brake dust. This approach protects the rim’s clear coat while lifting embedded grime safely.
Key Takeaways
- Cleaning car tire rims requires the right cleaner for your rim type — never use dish soap or harsh acids.
- A dedicated wheel brush set (barrel brush, lug nut brush, and detail brush) makes the job faster and prevents scratching.
- Iron fallout removers chemically dissolve embedded brake dust particles that regular soap cannot remove.
- Drying and applying a wheel sealant after cleaning dramatically reduces how often you need to clean car tire rims again.
- Always clean car tire rims before washing the rest of the car to avoid splashing grime onto clean paint.
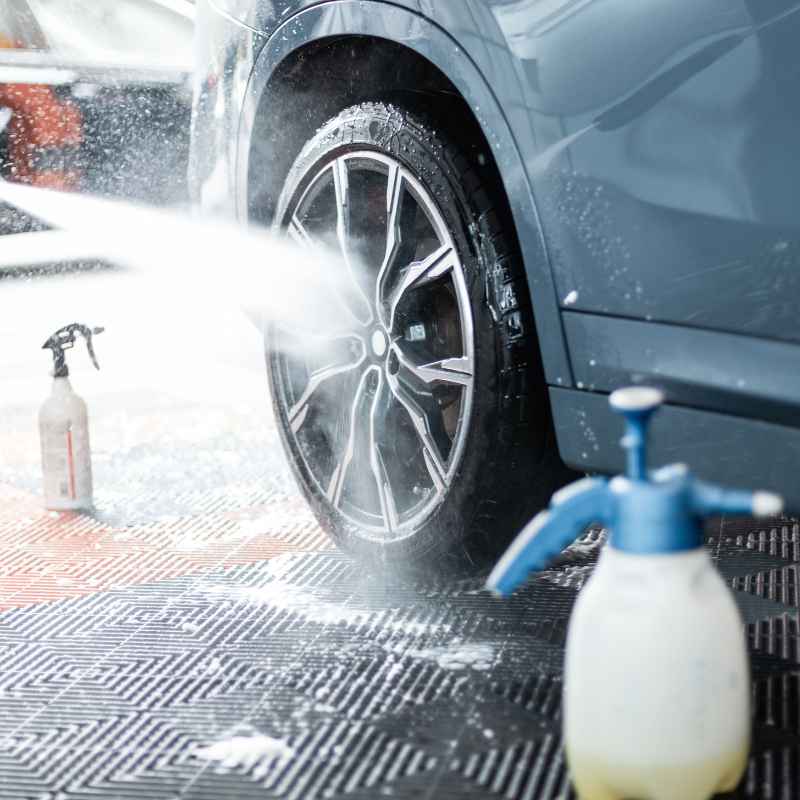
What You Need to Clean Car Tire Rims
Before you start, gather the right gear. Using incorrect tools or chemicals is the fastest way to scratch or etch your rims. The right setup makes cleaning car tire rims quick, safe, and effective.

Armor All
Armor All Extreme Wheel and Tire Cleaner…
- Keep your wheels and tires dirt-free with Armor All Extreme Wheel and Tire Cleaner. This tire and wheel cleaner is powerful enough…
- TIRE AND WHEEL CLEANER: One 24 ounce bottle of Armor All Extreme Wheel and Tire Cleaner
- CAR FOAM CLEANER FOR ALL TYPES OF WHEELS: Tire and wheel spray can be used on all types of wheel covers and hubcaps, including all…
As an Amazon Associate I earn from qualifying purchases.
You do not need expensive equipment. Most of these items are available at any auto parts store or online retailer. Invest in quality brushes — cheap ones can shed bristles or scratch the rim surface.
Essential Tools and Supplies
- pH-neutral wheel cleaner — safe for all rim types including painted, clear-coated, chrome, and matte finishes
- Iron fallout remover — turns purple or red as it dissolves brake dust particles
- Wheel barrel brush — long, curved bristles to reach inside the rim barrel
- Lug nut brush — small with stiff bristles for cleaning around lug nuts and tight spots
- Soft wheel woolie or microfiber mitt — for the face of the rim without scratching
- Two buckets with grit guards — one for soapy water, one for rinsing your brush
- Pressure washer or garden hose with spray nozzle — high pressure helps dislodge loose dirt
Important: Never use a stiff wire brush, steel wool, or a pressure washer with a turbo nozzle on your rims. These will scratch the clear coat or peel the finish. Stick to nylon or silicone bristles only.
- How to Clean Car Tire Rims Step by Step
- Follow this exact sequence for the best results. Rushing or skipping steps leads to missed spots and uneven cleaning. Each step builds on the previous one, so do not rearrange the order.
- Work on one rim at a time. This prevents cleaner from drying on the surface and ensures you give each wheel the attention it needs.
- Step 1: Rinse the Rim and Tire
- Spray the entire wheel and tire with a pressure washer or strong hose stream. This removes loose dirt, dust, and large debris so you are not grinding particles into the rim during cleaning.
- Focus on the barrel area (inside the rim) and the tire sidewall
- Pay extra attention to the brake caliper area where dust accumulates
- Avoid aiming directly at wheel bearings or sensors if your car has TPMS
- Step 2: Apply Wheel Cleaner
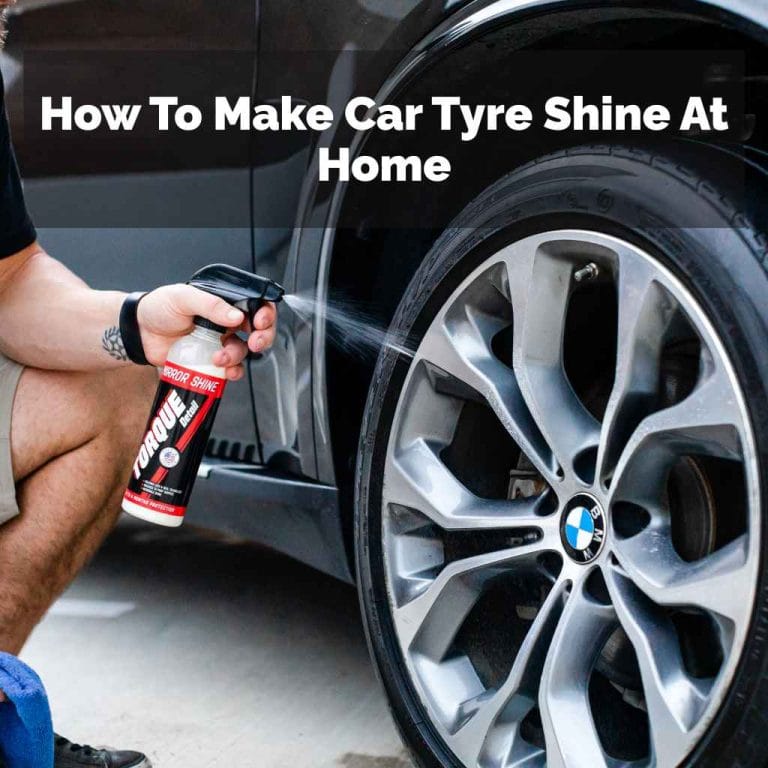
- Spray your pH-neutral wheel cleaner generously onto the entire rim and tire sidewall. Let it dwell for 1–2 minutes to break down surface grime. Do not let it dry — apply in the shade or on a cool surface.
- Step 3: Apply Iron Fallout Remover
- This is the secret step most people skip. Spray iron remover onto the rim, especially around the lug nuts and inside the barrel. You will see it turn purple or red as it reacts with embedded brake dust particles.
- Let it sit for 3–5 minutes but do not let it dry.
Tip: The color change from clear to purple means the iron remover is working. If you see no color change, the rim may already be clean, or you are using a product that does not contain thioglycolate.
- Step 4: Agitate with Brushes
- Use your barrel brush to scrub the inside of the rim. Then use the lug nut brush around each nut and in crevices. Finally, use a microfiber mitt or woolie on the face of the rim.
- Work in small circular motions.
- Barrel: barrel brush with long handle, 10–15 circular passes per section
- Lug nuts: small brush, go around each nut individually
- Face: microfiber mitt or wheel woolie, gentle pressure only
- Tire sidewall: stiff tire brush (dedicated brush, do not use on rim)
- Step 5: Rinse Thoroughly
- Rinse each wheel from top to bottom with a strong stream. Make sure all cleaner residue and dissolved brake dust are gone. Check the barrel area by looking from the side — any pink or purple residue means you missed a spot.
- Step 6: Dry Immediately
- Use a clean, soft microfiber towel to dry the rim and tire. Drying prevents water spots, especially on painted or clear-coated rims. Do not let rims air dry — mineral deposits will leave spots.
Step Action Time Key Tool 1 Rinse 30 sec Pressure washer 2 Wheel cleaner 2 min dwell pH-neutral spray 3 Iron remover 3–5 min dwell Fallout remover spray 4 Agitate 3–4 min Brush set 5 Rinse 1 min Hose or pressure washer 6 Dry 2 min Microfiber towel - This six-step process takes about 10–15 minutes per wheel once you get the rhythm. The iron remover step alone makes the biggest difference in how clean the rims look afterward.
- Best Cleaning Methods for Different Rim Types
- Not all rims are built the same. The method you use should match your rim’s finish to avoid permanent damage. Using the wrong cleaner or brush can etch, scratch, or dull the surface instantly.
- Painted and Clear-Coated Rims
- These are the most common on modern cars. The clear coat is sensitive to harsh chemicals. Stick to pH-neutral wheel cleaners and soft brushes only.
- Avoid any cleaner with hydrofluoric acid — it will etch the clear coat
- Use only nylon or silicone bristle brushes
- Iron remover is safe but rinse thoroughly
- Seal with a ceramic wheel coating after cleaning to protect the clear coat
- Chrome Rims
- Chrome is durable but scratches easily. Chrome rims also show water spots more than any other finish. You need extra care when drying.
- Use a dedicated chrome-safe cleaner — never use abrasive polishes
- Microfiber mitt only — no brushes on the face of chrome rims
- Dry immediately to prevent water spots
- Avoid iron remover on cheap chrome — it can cause pitting on low-quality chrome plating
- Matte Finish Rims
- Matte rims are the most delicate. Any polish, wax, or abrasive cleaner will leave shiny spots that ruin the matte look forever.
- Only use cleaners labeled “matte-safe” or “matte finish approved”
- No wax, no polish, no sealants unless specifically for matte
- Use only microfiber — no brushes on the face
- Iron remover is OK but do not let it dry
- Polished or Bare Aluminum Rims
- These require the most maintenance. Bare aluminum oxidizes quickly and needs metal polish after cleaning to maintain shine.
- Use a cleaner made for aluminum — pH-neutral is still best
- After cleaning, apply aluminum polish with a microfiber
- Seal with a wax or ceramic coating to slow oxidation
- Clean more frequently — bare aluminum shows dirt fastest
Rim Type Cleaner Type Brush Allowed Iron Remover Safe Painted/Clear Coat pH-neutral Yes (nylon) Yes Chrome Chrome-safe No (face only) With caution Matte Matte-safe No (microfiber only) Yes (do not dry) Polished Aluminum Aluminum-safe Yes (soft) Yes - Knowing your rim’s finish is the single most important factor before you start. When in doubt, test your cleaner on a small hidden area first — the inside barrel is a good spot for a test patch.
- Common Mistakes When You Clean Car Tire Rims
- Even experienced detailers make errors that cost time or damage rims. Avoiding these common mistakes will save you frustration and keep your rims looking new longer.
- The biggest mistake is using dish soap. Dish soap strips wax and sealants, dries out rubber, and can etch clear coats over time. Stick to dedicated wheel cleaners.
- Top Mistakes to Avoid
- Using household cleaners — Windex, vinegar, bleach, or all-purpose cleaners will damage rim finishes. Automotive wheel cleaners are formulated for the job.
- Skipping the iron remover — Brake dust bonds to the rim surface. Soap alone cannot dissolve it. Without an iron remover, your rims will never look truly clean.
- Letting cleaner dry on the rim — Especially in direct sun. Dried cleaner leaves residue that is harder to remove and can etch into clear coats.
- Using one brush for everything — A brush used on tires picks up grit that will scratch rims. Keep separate brushes for tires, barrels, and faces.
- Not drying the rims — Air drying leaves mineral spots. Always towel dry with a clean microfiber cloth immediately after rinsing.
- Cleaning rims last — Brake dust splashes onto paint when you clean rims. Always clean rims first, then wash the rest of the car.
Warning: Do not use a pressure washer with a rotating turbo nozzle on your rims. The concentrated spray can peel paint, chip clear coat, and force water past tire beads. Use a standard spray nozzle at least 12 inches from the rim surface.
- Pro Tips for Keeping Rims Clean Longer
- Once you have your rims spotless, the goal is to keep them that way. Preventive measures reduce cleaning frequency from every week to every few weeks. These tips come from professional detailers who maintain show cars daily.
- The single best investment is a wheel sealant or ceramic coating. A good sealant makes brake dust slide off with just a hose rinse next time.
- Long-Term Maintenance Strategies
- Apply a wheel sealant or ceramic coating — Creates a slick barrier that repels brake dust and makes washing easier. Reapply every 3–6 months depending on the product.
- Use low-dust brake pads — Ceramic brake pads produce significantly less dust than semi-metallic pads. This alone cuts cleaning frequency in half.
- Rinse rims weekly — A quick hose rinse between washes prevents dust from baking onto the rim surface and bonding permanently.
- Apply tire dressing after cleaning — Dressing protects the rubber from UV rays and gives a clean, finished look. Avoid silicone-heavy dressings that sling onto the rim.
- Clean rims before winter — Road salt and winter grime are corrosive. A sealant applied before winter protects the rim finish from salt damage.
- Check your brake pads regularly — Worn pads shed more dust. Replacing pads on time reduces the amount of dust your rims accumulate.
Tip: After applying a ceramic coating, you can often clean rims with just a pressure rinse and a microfiber wipe — no soap needed. This makes weekly maintenance take less than 2 minutes per wheel.
- Recommended Products for Cleaning Car Tire Rims
- Using the right products makes cleaning car tire rims faster and safer. Below are category recommendations rather than specific brand endorsements. Always choose products formulated for your rim type.
- Price does not always equal quality. Some budget-friendly cleaners outperform premium brands in independent tests. Focus on the ingredients and pH level rather than the brand name.
- Product Categories and What to Look For
Category What to Look For What to Avoid Wheel Cleaner pH-neutral, biodegradable Acid-based or alkaline cleaners Iron Remover Thioglycolate-based, color-changing Products with hydrogen peroxide in plastic bottles Brush Set Nylon or silicone bristles, ergonomic handle Brass or steel wire brushes Sealant/Coating Ceramic SiO2, spray-on application Wax-based sealants on hot rims Tire Cleaner pH-neutral, no bleach Degreasers that dry out rubber - Many detailers find that a dedicated wheel cleaner plus an iron remover combo gives the best results. Buying a kit with both saves money and ensures compatibility between products.
- How Often Should You Clean Car Tire Rims
- The frequency depends on your driving conditions, brake pad type, and whether you use a sealant. Most drivers should plan to clean car tire rims once every two weeks for best appearance and protection.
- If you drive in urban stop-and-go traffic, your rims get dustier faster. Highway drivers can go longer between cleanings. Ceramic brake pad users also enjoy longer intervals between washes.
- Frequency Guidelines by Driving Type
- City driving (stop-and-go) — Every 1–2 weeks. Brake dust accumulates quickly from frequent braking.
- Highway driving — Every 2–3 weeks. Less braking means less dust, but road grime still builds up.
- Winter driving (salt and slush) — Every 1 week. Salt is corrosive and needs frequent removal to prevent pitting.
- Off-road or dusty conditions — Every 1 week. Mud and dust bake onto rims and can scratch if left too long.
- Garage-kept or weekend car — Every 3–4 weeks. Less exposure to elements means slower buildup.
Important: If you see brown or orange specks on your rims within days of cleaning, those are iron particles bonding to the surface. This means you either skipped the iron remover step or your brake pads are producing excessive dust. See also how to fix a car tyre puncture safely and quickly. See also car tire won’t fill with air here’s how to fix it fast.
- Why Brake Dust Damages Your Rims
- Brake dust is not just unsightly — it is chemically aggressive. When brake pads clamp onto rotors, they generate fine metallic particles that land on your rims. These particles bond to the clear coat and, if left long enough, can etch permanently into the finish.
- According to the International Detailing Association, brake dust contains iron, copper, and carbon fibers. When moisture is present, the iron particles oxidize (rust) and create tiny pits in the rim’s clear coat. Over time, this turns a glossy rim into a dull, stained surface that requires professional refinishing to restore.
- Brake dust particles are abrasive and scratch the clear coat when wiped dry
- Moisture activates oxidation, creating rust-colored stains that are hard to remove
- Heat from braking bakes the dust onto the rim, making removal harder over time
- Early removal (within 1–2 weeks) prevents permanent etching
- A sealant or coating creates a sacrificial layer that takes the damage instead of your rim
- Frequently Asked Questions
- Can I use dish soap to clean car tire rims?
- No. Dish soap is too harsh for rim finishes. It strips wax and sealants, dries out rubber, and can etch clear coats over time.
- Always use a dedicated pH-neutral wheel cleaner.
- How do I remove baked-on brake dust from rims?
- Use an iron fallout remover specifically designed for wheel cleaning. Spray it on the dry rim, let it dwell for 3–5 minutes, and watch it turn purple as it dissolves the embedded particles. Then agitate with a brush and rinse thoroughly.
- Is it safe to use a pressure washer on rims?
- Yes, but keep the nozzle at least 12 inches from the surface and use a wide spray pattern. Avoid turbo or rotating nozzles that concentrate pressure. Never aim directly at wheel bearings, TPMS sensors, or tire beads.
- How often should I apply wheel sealant?
- Spray-on sealants last 1–3 months. Ceramic coatings last 6–12 months. Reapply when water stops beading on the rim surface after a rinse.
- Regular sealant use cuts cleaning time in half.
- Can I clean rims without removing the wheels?
- Yes. You can clean rims while they are mounted on the car. Use a barrel brush to reach the inside while the wheel is on the ground.
- The process is the same — just work carefully around the caliper and suspension components.
- Final Thoughts
- Cleaning car tire rims does not have to be a frustrating chore. With the right tools, a proper sequence, and a quality iron remover, you can achieve professional-level results at home. The key is consistency — clean regularly, protect with a sealant, and choose products that match your rim’s finish.
- Your rims will stay glossy, dust-free, and damage-free for years to come.
Related pick: Check today's price on Amazon
Products related to this article
Sponsored / affiliate links. As an Amazon Associate I earn from qualifying purchases. I may earn additional commission from eligible campaigns.