How To Make A Car Light Effect In Photoshop Step By Step
The best way to make a car light effect in Photoshop involves using brush tools to draw light streaks, applying motion blur to simulate movement, and adding glow effects with layer styles. This process enhances the dynamic feel of car photography.
Understanding the Car Light Effect
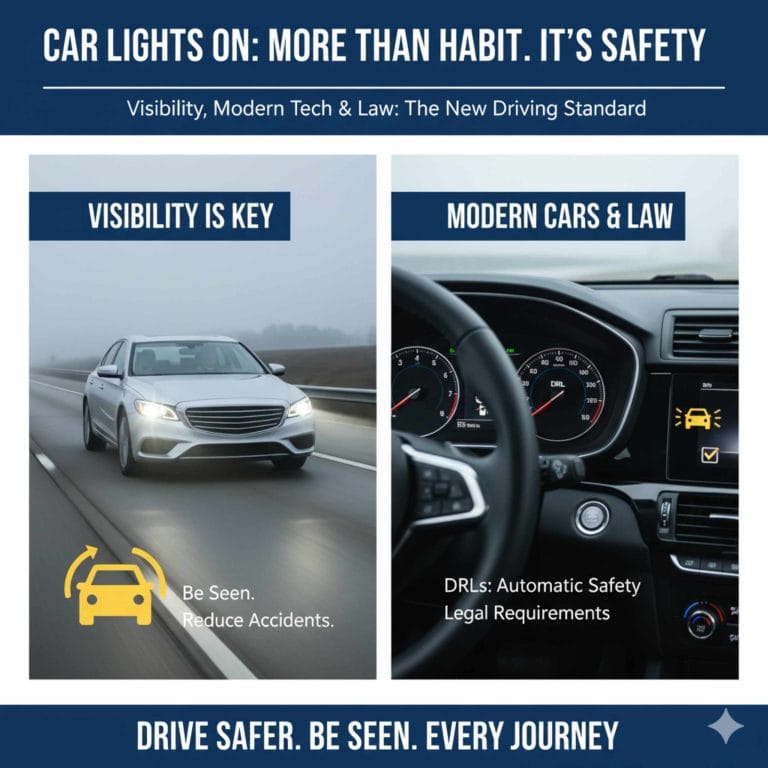
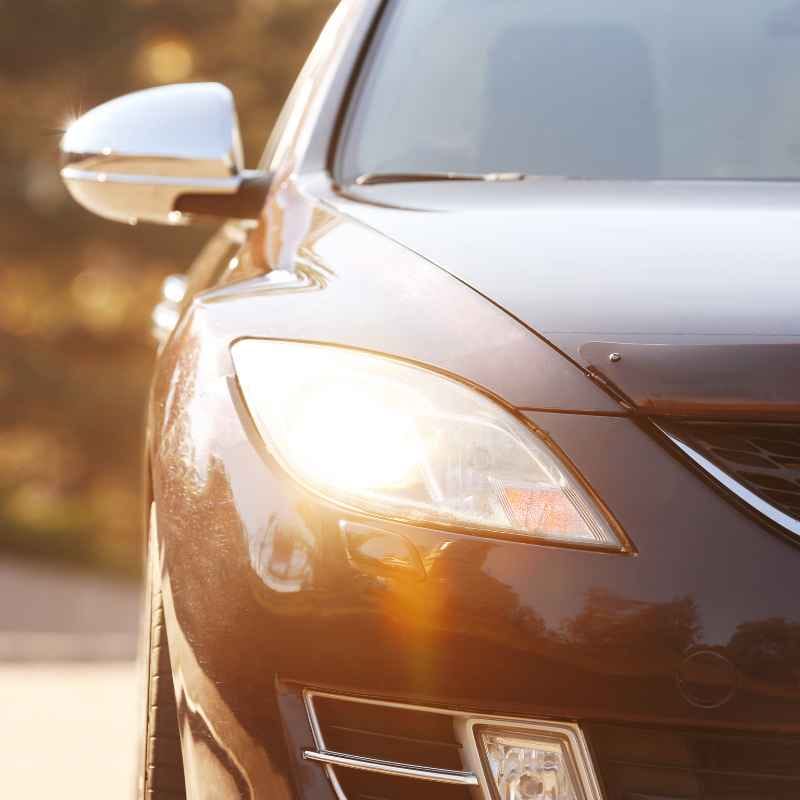
What exactly is a car light effect? It’s when we add or enhance the lights on a car in a photo. This includes headlights, taillights, and even reflections.
We want them to look brighter and more dynamic. Often, this means making them appear to streak. This suggests motion and speed.
It’s a popular technique in car photography. It grabs attention. It makes the car look like it’s alive with energy.
Why do we do this? Normal photos might show lights just as they are. But a car light effect adds drama.
It can show a car moving fast at night. Or it can make the car’s own lights look more powerful. This adds a professional touch.
It makes your photos stand out. It’s a way to tell a story with your image. You’re showing excitement and power.
How does it work in Photoshop? We use tools to paint or draw. We then adjust these painted lines.
We make them look like light. We can blur them to show movement. We can also add glows.
This makes them seem luminous. It’s all about mimicking how light behaves. But we amplify it for visual impact.
We’re not just taking a picture. We are creating art.
My Nighttime Photo Adventure
I remember one evening, I was trying to get a good shot of my friend’s new sports car. The sun had just set. The streetlights were coming on.
The car looked amazing, but the photo felt… flat. The headlights were just white blobs. The taillights were dull red circles.
I felt a bit disappointed. I wanted to capture the car’s sleek design and its potential for speed. It needed something more.
I wanted that ‘wow’ factor.
I decided to try and add some light streaks. I opened the photo in Photoshop. I felt a little unsure.
Would this be too hard? I started by picking a bright red color for the taillights. Then I grabbed the brush tool.
I tried to draw a line behind the car. It looked… like a crayon mark. It was thick and clunky.
My first attempt was pretty sad. I almost gave up. It felt like I was just making a mess.
But then, I remembered some tricks. I played with the brush size. I lowered its opacity.
I used a softer brush. I started drawing smaller, lighter strokes. I used a motion blur filter.
This made the lines stretch out. Suddenly, it started to look like real light. It was a small win, but it gave me hope.
That feeling of finally getting it right is amazing. It’s like solving a puzzle. I was excited to try more.
Getting Started: Your Photoshop Toolkit
Before we begin, make sure you have Photoshop open. You’ll need your car photo. We will use a few key tools:
- Brush Tool: This is for drawing our light.
- Eraser Tool: To clean up any mistakes.
- Layer Panel: To keep our work organized.
- Filter Menu: For blurring and glow effects.
It’s always best to work on a copy of your photo. This way, your original image stays safe. Just go to Image > Duplicate Layer or File > Save As.
Keep your layers separate. This makes editing much easier later.

Step 1: Setting Up Your Canvas
First things first, open your car photo in Adobe Photoshop. If you haven’t already, it’s wise to duplicate your background layer. You can do this by pressing Ctrl+J (Windows) or Cmd+J (Mac).
This creates a copy of your layer. You’ll see a new layer appear in the Layers panel. It’s good practice to name this new layer something like “Light Effects”.
This keeps your original photo untouched. It’s super important for protecting your work.
Why duplicate the layer? Think of it like having a safety net. If you make a mistake on the “Light Effects” layer, you can easily delete it or start over.
Your original photo on the background layer remains perfect. This saves a lot of frustration. It’s a simple step that has big benefits.
Always work smart, not hard, when editing.
Now, look at your Layers panel. You should see your original “Background” layer and your new “Light Effects” layer. Make sure the “Light Effects” layer is selected.
This is the layer you’ll be working on. It’s ready for us to add some magic.
Step 2: Choosing the Right Brush
The brush tool is your main weapon here. But not just any brush. We need one that looks like light.
For adding light streaks, a soft round brush is usually best. It has fuzzy edges. This makes the light look natural.
It blends in better. It doesn’t look too sharp or artificial.
In the Photoshop toolbar, find the Brush Tool. It looks like a little paintbrush. Click on it.
Now, look at the top options bar. You’ll see a size setting. You can adjust this later.
But the important part is the hardness. Make sure the brush is set to a low hardness, around 0% to 20%. This gives you that soft edge.
This is key for realistic light.
You can also adjust the brush’s opacity and flow. Opacity controls how transparent the brush stroke is. Flow controls how much paint is applied with each click.
For light, we often want lower opacity and flow. This lets us build up the light gradually. It looks more realistic than a single, solid stroke.
We want it to feel like real light, not paint.
Brush Settings for Light Streaks
Here’s a quick guide to brush settings for this effect:
- Brush Type: Soft Round Brush
- Hardness: 0-20%
- Opacity: 30-60% (adjust as needed)
- Flow: 30-60% (adjust as needed)
Experiment with these settings on a test layer first. This helps you see how they affect the brush stroke. You want a light, airy feel.
Not a thick, solid line.
Step 3: Drawing the Light Streaks
Now for the fun part: drawing! Think about the direction you want your lights to go. Do you want them to trail behind the car?
Or perhaps streak from the headlights? For a sense of speed, drawing lines that move away from the car works well. Select your “Light Effects” layer.
Choose a bright color for your light. Red is great for taillights. White or yellow works for headlights.
Click and drag your brush. Make short, gentle strokes. Don’t try to draw one long, perfect line.
Instead, make several small strokes. Layer them on top of each other. This builds up the intensity of the light.
It looks more organic. Imagine you’re painting with a light pen. Keep the strokes thin at first.
You can always make them thicker later.
If you’re doing taillights, start near the back of the car. Draw a light streak that extends backward. For headlights, draw a streak forward.
You can also add subtle streaks along the car’s body. These catch the light. They follow the car’s curves.
This adds depth. It makes the car look more three-dimensional.
Don’t be afraid to experiment. Try different colors. Try different lengths for your streaks.
The goal is to make it look dynamic. It should feel like the car is actually moving. If a stroke doesn’t look right, use the Eraser Tool to gently remove it.
Or go back a step using Ctrl+Z (Cmd+Z). This is where working on a separate layer is a lifesaver.
Step 4: Adding Motion Blur
Raw streaks can look a bit stiff. To make them look like real moving light, we need to add motion blur. This is a critical step.
It makes the streaks stretch and fade. It simulates the effect of a long exposure photograph. Select your “Light Effects” layer.
Make sure it’s still active.
Go up to the Filter menu. Hover over Blur. Then click on Motion Blur.
A dialog box will pop up. Here, you control the direction and distance of the blur. The Angle is the direction.
You want this to match the direction of your light streaks. If your streaks go left to right, set the angle to 0 degrees. If they go up, set it to 90 degrees.
The Distance controls how long the blur is. A higher distance means a longer, more dramatic blur. Start with a moderate distance, maybe 50-100 pixels.
You can always adjust this. Play around with the angle and distance sliders. You want the blur to follow the path of your drawn light.
It should look smooth and natural.
Click OK when you’re happy with the preview. You should now see your light streaks looking much more like actual motion trails. They are longer and softer.
This is a huge step toward a realistic effect. It transforms simple lines into dynamic light. It really makes the car seem to be in motion.
Motion Blur Tips
Here are some tips for using Motion Blur effectively:
- Match the Angle: Always align the blur angle with your drawn streaks.
- Adjust Distance: Play with the distance slider to control the length of the blur.
- Multiple Passes: You can apply Motion Blur multiple times. Select the layer again and go to Filter > Blur > Motion Blur. This can intensify the effect.
- Undo if Needed: Don’t be afraid to undo (Ctrl+Z/Cmd+Z) and try again if it doesn’t look right.
This filter is your best friend for creating speed effects. It’s simple but powerful.
Step 5: Enhancing with Glow Effects
To make the light look truly luminous, we need to add a glow. This is where layer styles come in handy. They add professional touches easily.
Right-click on your “Light Effects” layer in the Layers panel. Choose Blending Options. This opens up a new window.
In the Blending Options, find Outer Glow. Click the checkbox next to it to enable it. Then click on the words “Outer Glow” to see its settings.
For the Color, choose a color that matches your light streak. Often, a lighter shade of your streak color works well. Or you can pick a bright white for a strong glow.
The Blend Mode is important. Screen or Linear Dodge (Add) often give a nice bright glow. Adjust the Opacity of the glow.
You don’t want it too strong. A subtle glow is usually best. The Size setting controls how far the glow spreads out.
Start with a small size and increase it gradually. You want the glow to softly radiate from the light streak.
You can also add an Inner Glow. This makes the center of the light streak appear brighter. Select Inner Glow in the Blending Options.
Choose a similar color. Use Screen or Linear Dodge (Add) blend mode again. Adjust opacity, size, and spread.
This adds depth to the light. It makes it look more intense and realistic.
Click OK when you are done. You should now see your light streaks have a nice, soft glow around them. They appear to be emitting light.
This makes a huge difference. It really sells the illusion of bright, dynamic car lights. It’s the finishing touch that makes the effect pop.
Layer Style Quick Guide
Here’s what to focus on in Blending Options:
- Outer Glow: Adds a soft halo around the light.
- Inner Glow: Brightens the core of the light.
- Blend Mode: Screen or Linear Dodge (Add) work well for bright lights.
- Color: Match or slightly lighter than your light streak color.
- Size & Spread: Control how far and diffuse the glow is.
These styles add that professional polish. They make your light effects look truly alive.
Step 6: Adding Headlight and Taillight Effects
We’ve focused on streaks, but real car lights have their own glow. Let’s enhance those too. For headlights, you can create a new layer above your “Light Effects” layer.
Name it “Headlight Glow”. Use a large, very soft brush. Pick a light yellow or white color.
Gently click in the center of the headlights. Don’t paint a solid circle. Just a soft dab.
Set this layer’s blend mode to Screen or Linear Dodge (Add).
For taillights, do something similar. Create a new layer called “Taillight Glow”. Use a soft red brush.
Gently click in the center of the taillights. Again, keep it subtle. Set this layer’s blend mode to Screen or Linear Dodge (Add).
You can reduce the opacity of these glow layers if they seem too strong. The goal is to make the existing lights look brighter and more vibrant.
You can also add reflections of these lights onto the car’s body. Create another new layer. Use a soft brush with a color that matches the light.
Gently paint faint streaks or blobs on the car’s surface where the light would reflect. Use a low opacity for this layer. This adds a layer of realism.
It shows how the car’s paint interacts with its own light.
Consider the environment too. If the car is on a wet road, you can add reflections of the light streaks on the ground. Create a new layer.
Draw faint, wavy streaks on the road surface. Use a color similar to your light streaks. Lower the opacity significantly.
This makes the effect more grounded. It shows the light interacting with its surroundings. It’s these details that make the effect believable.
Step 7: Refining and Adjusting
At this point, you should have a pretty good-looking car light effect. But it’s rarely perfect on the first try. Take a step back and look at your image.
Do the light streaks look natural? Is the blur too much or too little? Are the glows too strong or too weak?
This is where fine-tuning comes in. You can adjust the opacity of your “Light Effects” layer. Lowering it can make the streaks more subtle.
Raising it makes them bolder. You can go back into the Blending Options for your “Light Effects” layer. Tweak the settings for the Outer Glow and Inner Glow.
You can even change the blur settings if needed. With Photoshop’s non-destructive editing, you can always go back and make changes.
If you want to change the color of a light streak, you can do that too. Select your “Light Effects” layer. You can use the Hue/Saturation adjustment.
Or you can use a Color Balance adjustment. This lets you shift the colors. It’s a powerful way to refine your effect.
You can make everything look more cohesive. You can match it better to the overall mood of your photo.
Consider adding subtle effects to other parts of the image. Maybe a slight glow around the tires. Or a faint highlight on the chrome.
These small additions can enhance the overall impact. They make the scene feel more unified. It’s all about making the light effect feel like a natural part of the photograph.
It should enhance, not overpower, the car.
Refinement Checklist
Ask yourself these questions:
- Do the light streaks flow naturally?
- Is the motion blur convincing?
- Are the glows too harsh or too faint?
- Does the effect match the car’s design?
- Does it feel like part of the original photo?
Reviewing your work with fresh eyes is crucial. Sometimes, taking a short break helps spot things you missed.
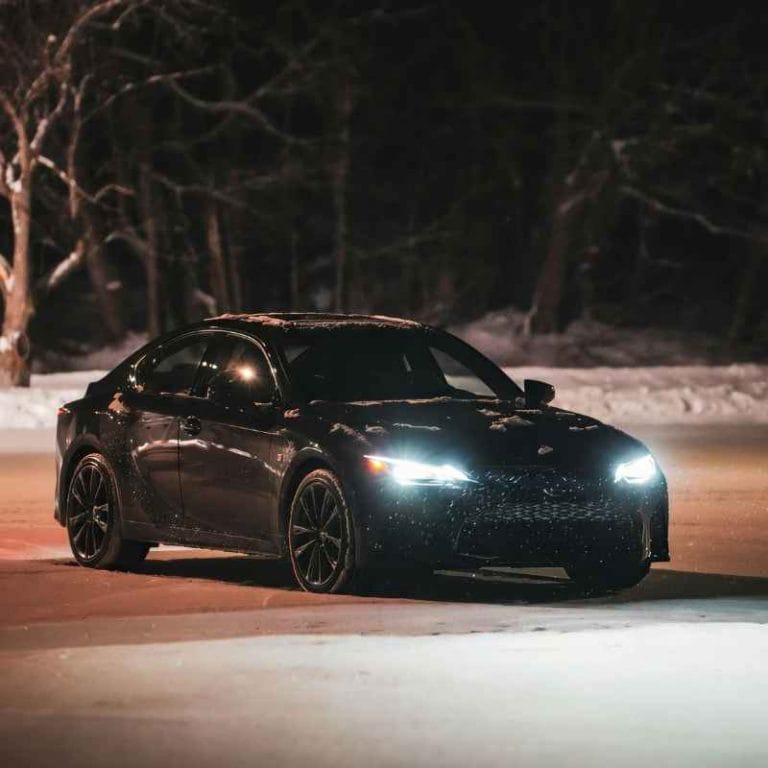
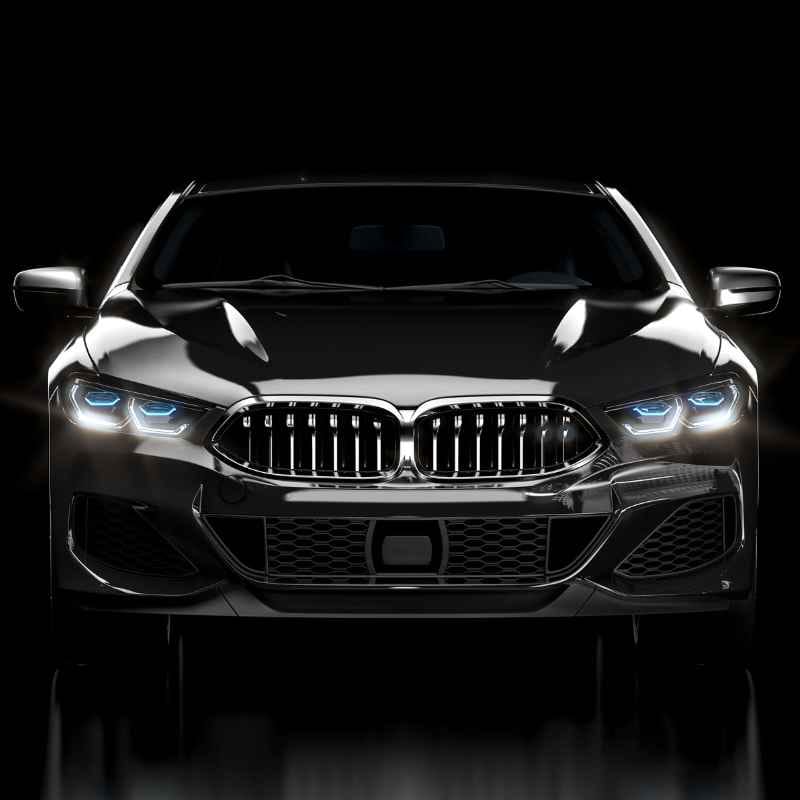
Real-World Context: When This Effect Shines
This car light effect is most powerful when used in specific scenarios. It works best in low-light conditions. Think twilight, dawn, or nighttime shots.
During the day, car lights are usually not bright enough to warrant this kind of exaggeration. The darkness helps the added lights stand out. It creates contrast.
It makes the car appear to be the main source of illumination.
It’s also great for dynamic shots. Cars captured in motion, or posed to look like they are in motion, benefit greatly. A parked car might look a bit odd with extremely long, streaky lights.
But a car on a winding road, or at a race track, naturally implies speed. The light streaks then reinforce that impression. They communicate the energy of the moment.
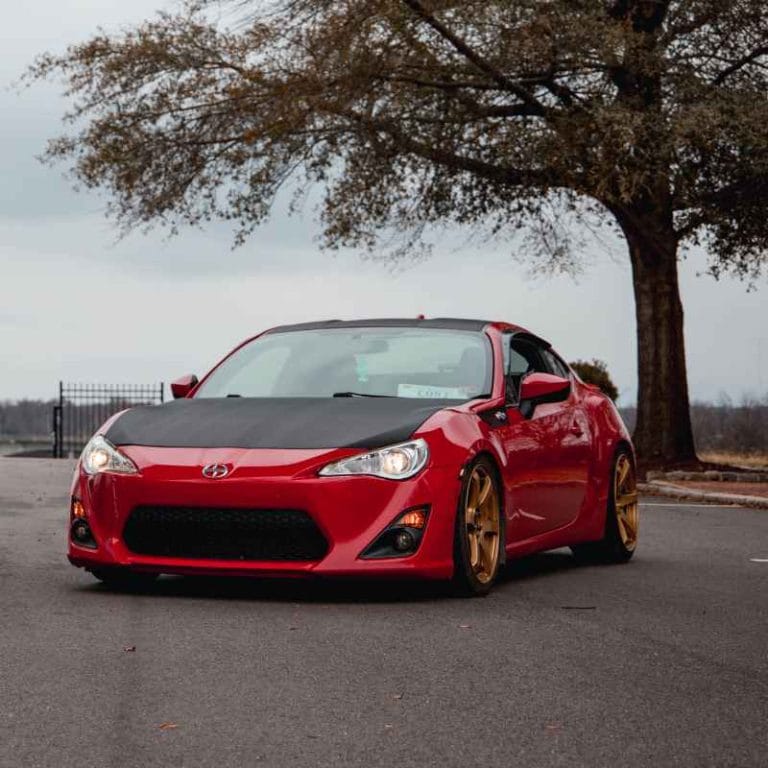
The type of car also matters. Sports cars, muscle cars, and performance vehicles often suit this effect. They are designed to convey power and speed.
Adding dramatic light effects amplifies this inherent characteristic. A vintage sedan might look better with a more subtle, realistic lighting treatment. However, creative interpretation is always possible.
Consider the location too. Urban environments with city lights, or scenic roads at night, provide a good backdrop. The existing lights in the scene can complement your added effects.
They create a richer visual tapestry. The goal is to make the light effect feel like it belongs. It should enhance the story you’re telling about the car and its environment.
What This Means for Your Photos
Learning this technique means you can elevate your car photography. You can take ordinary shots and make them extraordinary. It’s a skill that adds a professional polish.
It helps you capture the feeling of speed and power. You can make your photos more eye-catching. They will grab attention online and in print.
It also means you can be more creative with your editing. You’re not just correcting colors. You’re actively shaping the mood and message of your image.
You can use light to guide the viewer’s eye. You can use it to highlight certain features of the car. It opens up a new dimension of artistic expression in your work.
It’s about telling a visual story.
When is this effect normal? It’s normal when it’s applied to images where motion is implied. Nighttime or twilight shots of cars on roads are prime examples.
When does it look concerning? It can look concerning if the light streaks are completely unrealistic for the situation. For example, very long streaks on a car parked in broad daylight might look out of place.
It should enhance the photo, not make it look fake.
Simple checks involve looking at the context. Does the light streak direction make sense? Does the blur look natural for the supposed speed?
Is the glow proportionate to the light source? If the answers are yes, your effect is likely working well. If not, it might be time to adjust the settings or rethink the approach.
Quick Tips for Better Effects
Here are some quick tips to help you master this effect:
- Work on a New Layer: Always create new layers for your light effects. This allows for easy adjustments.
- Use Soft Brushes: Soft round brushes create a more natural, blended light.
- Build Up Light: Use low opacity and flow to build light gradually. This looks more realistic.
- Match Motion Blur Angle: Ensure the blur direction matches your drawn streaks for realism.
- Subtle Glows: Overdoing the glow can make it look artificial. Aim for a soft, radiant effect.
- Consider Reflections: Adding reflections on the car or road surface enhances believability.
- Color Harmony: Use colors that complement the overall photo.
- Practice Makes Perfect: The more you practice, the better you’ll become at judging what looks natural.
Myth vs. Reality: Car Light Effects
Myth: You need a special camera for car light streaks.
Reality: While long exposure on a camera captures real light streaks, you can create them convincingly in Photoshop on any photo. This guide shows you how.
Myth: This effect is only for professional photographers.
Reality: With clear steps like these, anyone can learn to create impressive car light effects. It’s about understanding the tools and techniques.
Frequently Asked Questions
Can I add light streaks to a daytime photo?
Yes, you can, but it’s often more challenging to make it look natural. Daytime light is very strong, so your added streaks would need to be incredibly bright and strategically placed. It’s generally easier and more effective to create car light streaks for photos taken at dusk or night.
What if my motion blur looks too pixelated?
If your motion blur looks pixelated, you might be applying it to a layer with too little resolution, or the distance might be too high for the image size. Try applying the blur on a higher resolution layer or a slightly lower distance. You can also try duplicating the “Light Effects” layer and applying a less intense blur to the copy, then reducing the opacity of the top layer.
How do I make the glow look more realistic?
For a realistic glow, use blend modes like Screen or Linear Dodge (Add). Keep the opacity of the glow effect moderate. The color of the glow should be a lighter version of the light source or white.
Also, consider the surface the light is hitting – reflections and subtle ambient light from the glow can add realism.
Can I use different brush shapes for light effects?
Absolutely! While a soft round brush is common, you can experiment with custom brushes. For instance, a streaky or textured brush might create a unique light effect.
Just ensure the brush has a somewhat soft edge to blend well. Think about the kind of light you want to simulate.
What’s the difference between Flow and Opacity in brush settings?
Opacity controls the overall transparency of the brush stroke. If you set opacity to 50%, the stroke will be 50% transparent. Flow controls how much paint is applied with each click or as you drag.
A low flow means you need to go over an area multiple times to build up color density. Using both at lower settings lets you build up light very gradually and subtly.
How can I make the light streaks look like they’re coming from actual lights?
Start by painting your streaks originating from the actual headlight or taillight area in your photo. Then, use the “Inner Glow” and “Outer Glow” layer styles to make those original light sources appear brighter and more luminous. You can also add a subtle bloom effect around the existing lights using a soft brush on a new layer set to Screen or Linear Dodge (Add).
Conclusion
Creating car light effects in Photoshop is a rewarding process. It transforms static images into dynamic scenes. By using brushes, blur filters, and layer styles, you can achieve stunning results.
Remember to work on separate layers. This gives you the freedom to experiment and refine. Practice these steps.
Your car photos will soon have that professional sparkle. You’ll be amazed at the difference it makes. Enjoy bringing your car images to life!