Car Light And Dash Cam Installation Photos: What To Expect
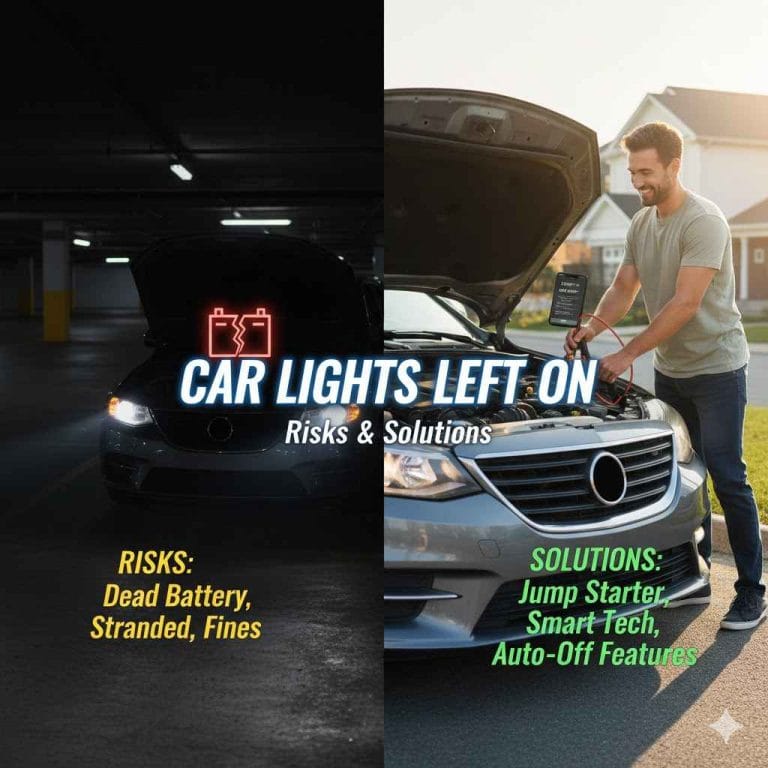
Understanding car light and dash cam installation involves knowing the types of lights, how they’re powered, and where dash cams fit. Expect to see wiring diagrams, mounting hardware, and potential challenges like fitting components into tight spaces. Proper installation ensures safety and functionality.
What Is Car Light and Dash Cam Installation?
Car light installation means adding or changing lights on your vehicle. This can be for looks, like custom LED strips. It can also be for better visibility, such as upgrading headlights or adding fog lights.
Dash cam installation is about putting a camera in your car. This camera records your driving. It’s for safety and evidence if something happens.
Both involve connecting electrical parts. They also involve finding good spots to place the items on your car.
These installations are common. Many car owners want to improve their vehicle’s function or style. They might want brighter lights for nighttime driving.
Or they might want a dash cam for peace of mind. The process typically requires some basic tools. It also needs a careful approach.
You need to make sure everything is connected correctly. Safety is a big part of it.
My First Dash Cam Install: A Lesson in Patience
I remember the first time I decided to install a dash cam myself. It was a simple, single-lens model. The box had the camera, a long USB cable, and a suction cup mount.
The instructions looked straightforward. “Plug it into your car’s 12V outlet,” it said. Easy enough, right?
I plugged it in, and the camera turned on. Success! Or so I thought.
The cable then draped across my dashboard. It hung down near the gear shift. It looked messy.
It felt unsafe. I thought, “There has to be a better way.” This led me down a rabbit hole of learning about hardwiring. I discovered methods to hide the wires.
I learned how to tuck them along the roof liner and under trim pieces. It took me an entire afternoon. My fingers were sore from pulling at plastic panels.
But when I was done, the clean look was totally worth it. It taught me that while some things are simple, the best way often takes a bit more effort and knowledge. That feeling of accomplishment, though?
Priceless.
Dash Cam Installation: What to Look For
Camera Type: Front-only, front-and-rear, or multi-channel systems exist.
Power Source: Most use the car’s 12V outlet or hardwiring for a cleaner look.
Mounting: Suction cups, adhesive mounts, or even rear-view mirror clips.
Features: GPS, parking mode, Wi-Fi, and loop recording are common.
Understanding Power Sources for Car Lights
Car lights get their power from the vehicle’s electrical system. Most common is the 12-volt battery. This battery powers everything when the engine is off.
When the engine runs, the alternator takes over. It keeps the battery charged. It also supplies power to all the car’s systems.
This includes your headlights, tail lights, and any custom lights you add.
Connecting new lights involves tapping into this system. You can connect to existing circuits. Or you can run a new wire from the battery.
This often requires a fuse. A fuse protects the circuit. It blows if too much power flows.
This prevents damage. For brighter lights, you might need a relay. A relay acts like a switch.
It uses a small amount of power to control a larger flow. This protects the original wiring.
Basic Wiring Steps for Auxiliary Lights
1. Choose a Power Source: Often the battery or a fuse box.
2. Install a Fuse: Place it close to the power source for safety.
3. Use a Relay: For higher-draw lights, a relay is essential.
4. Run Wires Safely: Tuck wires away from moving parts and heat.
5. Connect to the Light: Make secure connections.
Dash Cam Power: Direct vs. Hardwired
Dash cams need constant power to record. There are two main ways to power them. The first is using the 12-volt accessory outlet.
This is the same outlet where you might plug in a phone charger. It’s usually the simplest way. You just plug the dash cam’s power cord in.
This is great for quick setups. But it leaves a cable running across your dash.
The second way is called hardwiring. This means connecting the dash cam directly to your car’s electrical system. You typically tap into the fuse box.
This hides the power cable completely. It looks much cleaner. Hardwiring can also allow for features like parking mode.
This lets the camera record even when the car is off. It needs careful wiring to avoid draining the battery.
Dash Cam Power: The Choice
Accessory Outlet:
- Pros: Easy, no tools needed, quick setup.
- Cons: Visible cable, limited features (no parking mode usually).
Hardwiring:
- Pros: Clean look, access to parking mode, no dangling cables.
- Cons: Requires tools, electrical knowledge, careful installation.
Mounting Your Dash Cam: Placement Matters
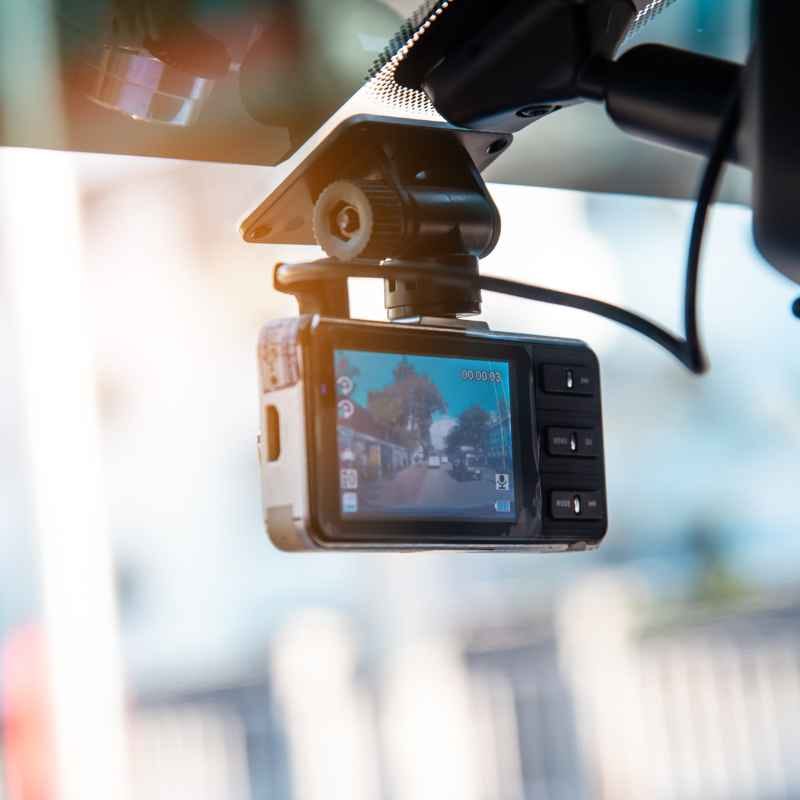
Where you mount your dash cam is important. It needs a clear view of the road. Most people put it near the top of the windshield.
This is usually behind the rear-view mirror. This spot keeps it out of your direct line of sight. It also helps hide the camera from thieves.
The suction cup or adhesive mount sticks to the glass.
Some cars have tinted areas on the windshield. These are called “frits.” You need to avoid mounting over these if possible. The tint can block the camera’s view.
It can also weaken the suction. For rear cameras, they often mount to the windshield as well. Or they might go near the license plate.
This depends on the system you buy. Always check that the mount is secure. You don’t want it falling off while you drive.
Dash Cam Mounting Tips
- Location: Top center of the windshield is common.
- Visibility: Ensure a clear view of the road ahead.
- Obstructions: Avoid the driver’s view and windshield frits.
- Security: Make sure the mount is strong and won’t detach.
- Power Cable: Plan how to route the power cable neatly.
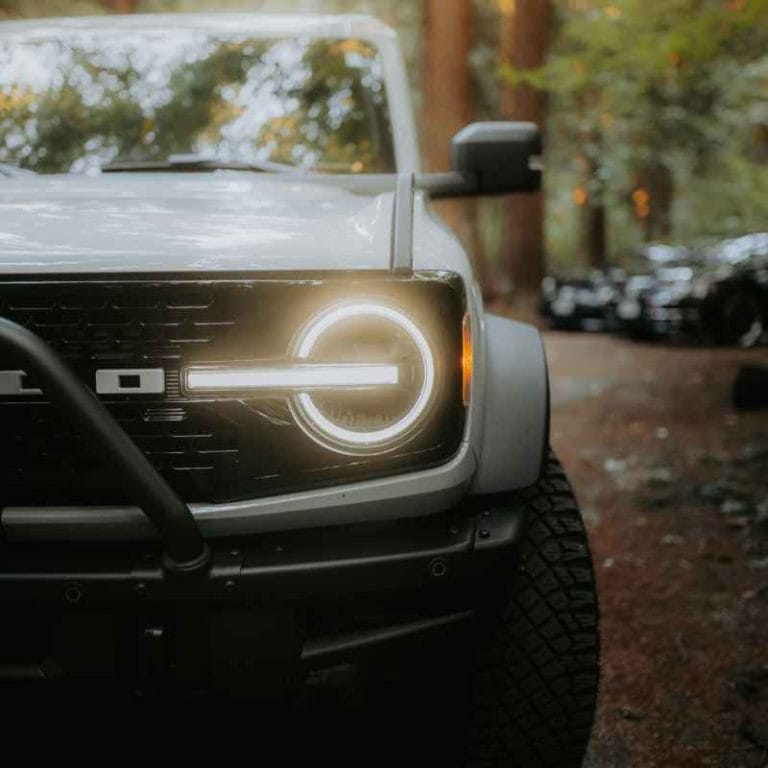
Car Light Installation: Types and Considerations
When we talk about car lights, it’s a broad category. There are essential lights like headlights and tail lights. These are crucial for driving safely.
They must meet legal standards. Then there are auxiliary lights. These are often added for function or style.
Think fog lights for misty conditions. Or maybe driving lights for off-road use. LED light bars are also popular for trucks.
Interior lights can also be upgraded. Custom LED strips under the dashboard or seats are common. These add ambiance.
Installation for these can range from simple plug-and-play to complex wiring. For any external lighting, check local laws. Some types of lights are not allowed on public roads.
They might be too bright or a different color than permitted.
Common Car Light Add-ons
Fog Lights: Improve visibility in fog or rain.
LED Light Bars: Provide intense illumination for off-road or work vehicles.
Accent Lighting: Underglow or interior LEDs for aesthetics.
Upgraded Headlights/Taillights: Brighter, more efficient bulbs like HIDs or LEDs.
Wiring Challenges: What You Might Encounter
Wiring a car can seem simple, but it has its tricky parts. One common issue is finding a good ground point. Every circuit needs a ground.
This is a connection back to the car’s metal frame. You need to find a clean, unpainted metal surface. Sanding off paint can ensure a good connection.
A bad ground is a common cause of electrical problems.
Another challenge is routing wires. Cars have many tight spaces. You don’t want wires to rub against sharp edges.
This can fray them and cause shorts. Using wire loom or conduit adds protection. You also need to use the right gauge wire.
A wire that’s too thin can overheat. It might not carry enough power for the device. Always use appropriate connectors.
Crimp connectors or solder joints are better than twisting wires together.
Wiring Hurdles & Solutions
Problem: Poor Ground Connection
Solution: Find bare metal, sand it clean, use a self-tapping screw.
Problem: Wires Rubbing
Solution: Use wire loom, zip ties, and route through existing grommets.
Problem: Incorrect Wire Gauge
Solution: Consult charts based on amperage and wire length.
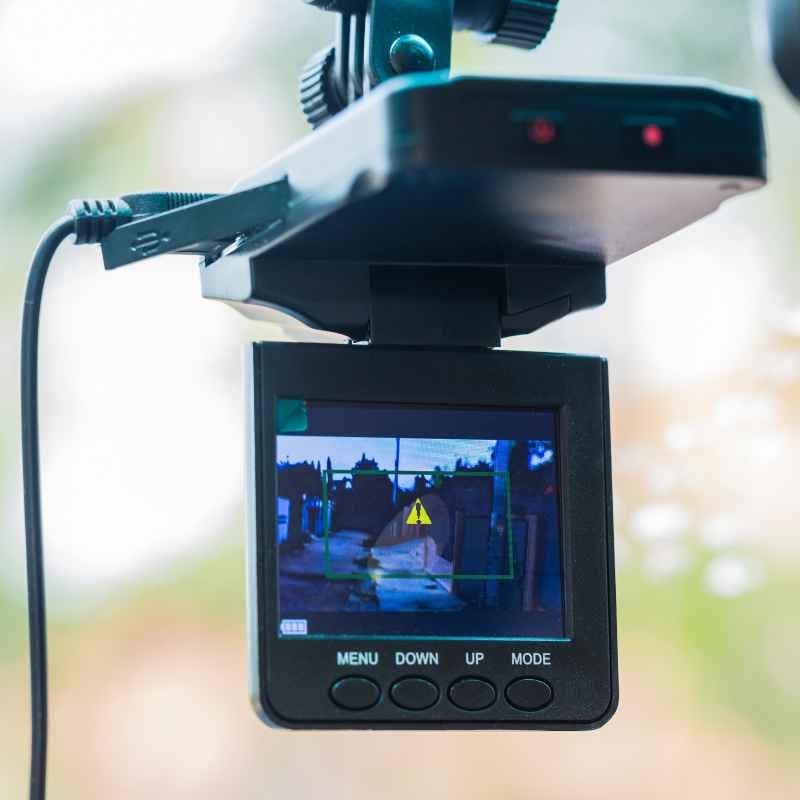
Dash Cam Installation Photos: A Visual Guide
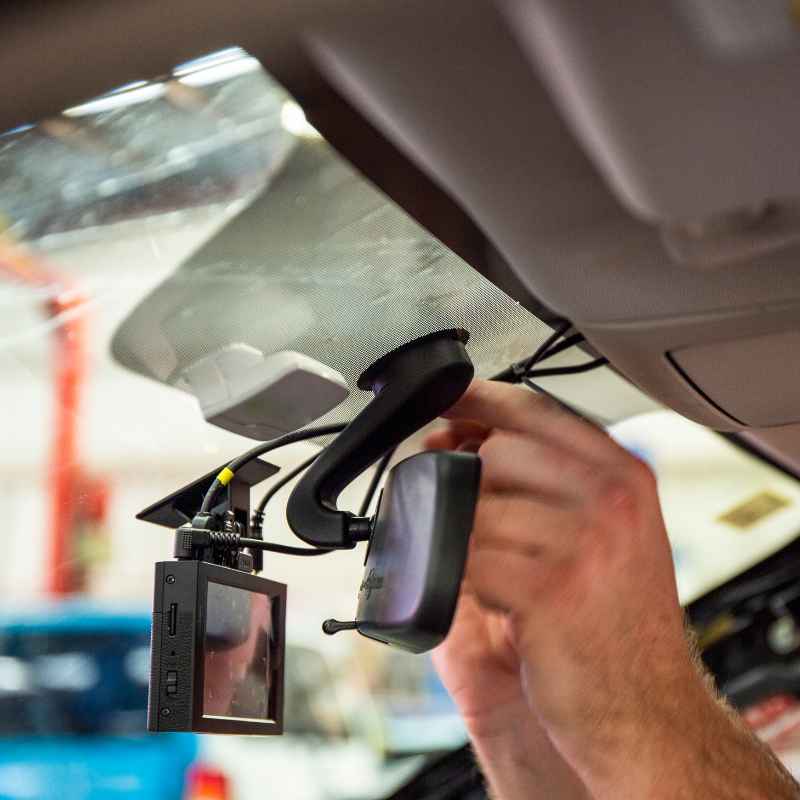
Seeing pictures can really help. For a typical dash cam install, you’ll see the camera mounted high on the windshield. The power cable will often be tucked into the headliner.
It then runs along the edge of the doors. It might disappear under the dashboard trim. You’ll see the cable routed to the fuse box or the 12V outlet.
For dual-camera systems, the rear camera cable is also hidden. It goes up the A-pillar or B-pillar. It then connects to the main unit.
Photos often show the fuse tap being used. This is a simple device that lets you add a new circuit without cutting factory wires. You’ll see neat wire management.
It’s a contrast to loose cables.
Visualizing the Install
Front Camera: Discreetly placed near the rear-view mirror.
Power Cable: Tucked into headliner and along pillars for a clean look.
Fuse Tap: Plugs into an unused or suitable fuse slot.
Rear Camera: Mounted on the rear windshield or sometimes externally.
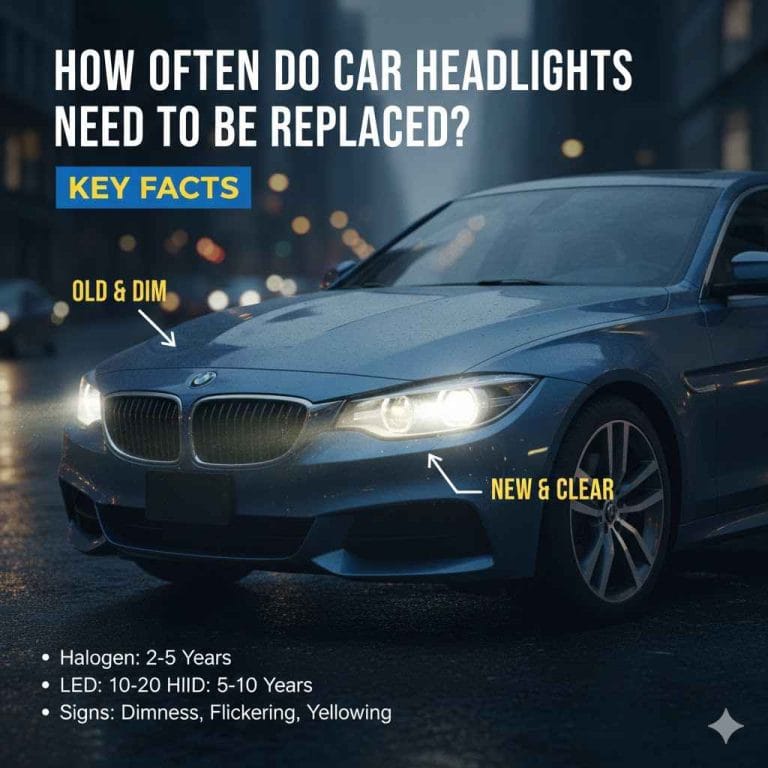
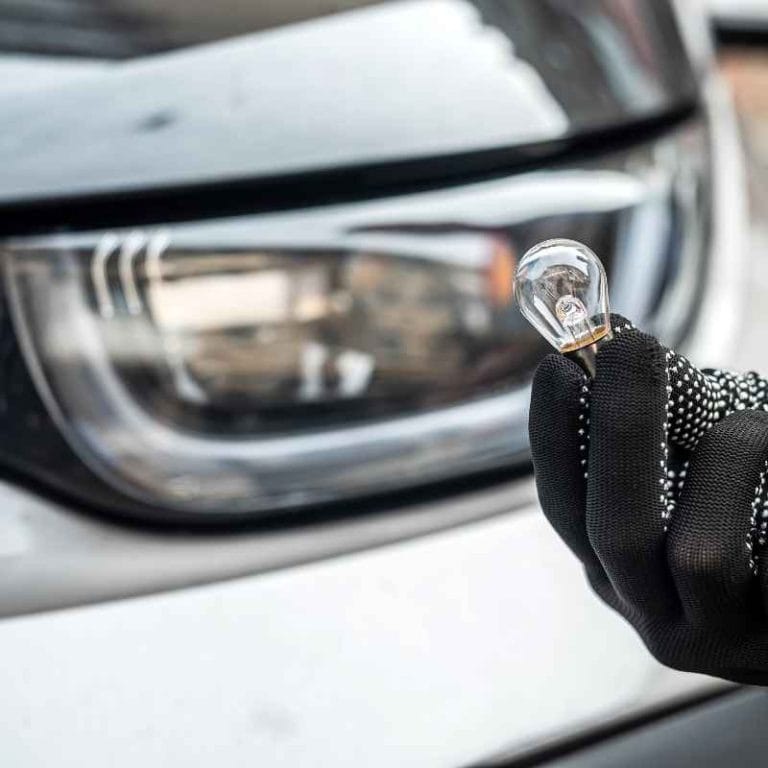
Car Light Installation Photos: Examples
Photos of car light installations show a variety. For simple headlight bulb swaps, you might see an open hood. You’ll see the old bulb removed and the new one being fitted.
For fog lights, you’ll see the bumper removed. This allows access to mount the lights. Wires are then run through the firewall into the car’s cabin.
They are connected to a switch on the dash.
For LED strips, you’ll see them applied under the car or along the rocker panels. The power source is often a switch. Or it might be wired to turn on with the parking lights.
Installation photos highlight the wiring. You see connections to the battery. You see how relays and fuses are integrated.
They often show the finished product. The lights glowing softly or brightly.
Seeing the Lights
Headlight Upgrade: Shows the new, brighter bulb in place.
Fog Lights: Mounted neatly in the lower bumper area.
LED Strips: Applied discreetly along body lines or undercarriage.
Wiring: Demonstrates connection to power, switches, and fuses.
Real-World Context: Safety and Legality
When you install lights or a dash cam, safety is key. For lights, you must ensure they don’t blind other drivers. Headlights and tail lights should be aimed correctly.
Fog lights should only be used in fog. Improperly aimed or overly bright lights can cause accidents. They can also lead to tickets.
For dash cams, the main safety concern is the installation itself. Don’t let wires obstruct your view. Make sure connections are secure.
Avoid creating fire hazards. Legally, dash cams are generally fine. But be aware of privacy laws.
In some places, recording audio might have restrictions. Check your local laws before installing anything.
Safety and Legal Checks
- Light Aim: Ensure headlights and fog lights are properly aimed.
- Brightness: Avoid lights that are too intense for road use.
- Color: Stick to legal colors for headlights and taillights.
- Dash Cam View: Mount so it doesn’t block driver visibility.
- Privacy: Be mindful of audio recording laws.
What This Means for You: Planning Your Install
Knowing what to expect can make a big difference. If you’re installing a simple dash cam with a 12V plug, it’s straightforward. You can likely do it in minutes.
If you’re hardwiring, give yourself a few hours. Watch tutorials specific to your car model.
For car lights, assess the complexity. Swapping bulbs is usually simple. Adding fog lights or a light bar takes more work.
It involves running wires and possibly installing switches. It’s good to know your comfort level with electrical work. If you’re unsure, professional installation is a safe bet.
It ensures it’s done right and safely.
Assessing Your Install Comfort
DIY-Friendly: Simple dash cam setup, bulb swaps.
Moderate Effort: Hardwiring a dash cam, adding basic interior LEDs.
Advanced: Installing fog lights, LED light bars, complex wiring.
Quick Tips for a Smooth Installation
Always disconnect the car battery before working on electrical systems. This prevents shorts and protects you. Use a fuse for any new circuit you add.
This is crucial for safety. Test all connections before closing everything up. Make sure lights turn on and off as expected.
Ensure the dash cam powers up and records.
Take your time. Rushing leads to mistakes. Keep your work area clean.
Have the right tools handy. This includes screwdrivers, wire strippers, crimpers, and zip ties. If you’re unsure about any step, consult a professional or a reliable online guide.
Many car forums offer specific advice for your vehicle.
Installation Best Practices
- Disconnect Battery: Always do this first for safety.
- Use Fuses: Protect your circuits and vehicle.
- Test Thoroughly: Before reassembling, check everything works.
- Work Clean: Keep tools and parts organized.
- Seek Help: Don’t hesitate to ask experts if needed.
Frequently Asked Questions
Can I install custom car lights myself?
Yes, many custom lights can be installed DIY. Simple LED strips or underglow kits are often plug-and-play or require basic wiring. For more complex lights like off-road bars, it’s more involved.
Always check local laws for allowed lighting types and colors on public roads.
What’s the difference between a dash cam’s 12V plug and hardwiring?
A 12V plug uses your car’s cigarette lighter port. It’s easy but leaves a visible cable. Hardwiring connects the dash cam directly to your car’s fuse box.
This creates a hidden, clean installation. It also often allows for features like parking mode, which records when the car is off.
Do I need a professional for dash cam installation?
For simple installations using the 12V outlet, you likely don’t need a pro. If you want a clean, hardwired setup, especially if you’re not comfortable with car electrics, a professional installer can do it. They ensure it’s done safely and correctly without draining your battery.
Are there laws about where I can mount a dash cam?
Laws typically focus on ensuring the dash cam does not obstruct your view of the road. Most people mount them high on the windshield, behind the rear-view mirror. This is usually acceptable.
Avoid placing it where it blocks critical vision or any mandated safety features like sensors.
How do I connect new lights to my car’s battery safely?
When connecting to the battery, always use a fuse. Place it close to the battery terminal. Use the correct gauge wire for the power draw.
Make sure all connections are tight and insulated. It’s also wise to disconnect the battery before starting any work to prevent sparks.
What if my dash cam doesn’t turn on after installation?
First, check the power source. If using a 12V plug, ensure it’s working by testing with another device. If hardwired, check your fuse connection and the fuse itself.
Ensure the dash cam is properly plugged into its power cable. A faulty cable or camera is also a possibility.
Conclusion
Installing car lights and dash cams can seem complex. But with the right understanding and approach, it’s manageable. Seeing photos and knowing what to expect helps a lot.
It makes the process less intimidating. Remember to prioritize safety and follow best practices. This ensures your additions work well and last long.