Where Do You Put Car Engine Oil? (Exact Location Explained)
Knowing where to put car engine oil is one of the most basic yet essential car maintenance skills every driver should master. This guide shows you the exact location under the hood, how to find the oil filler cap quickly, and the correct steps to top off your engine oil safely.
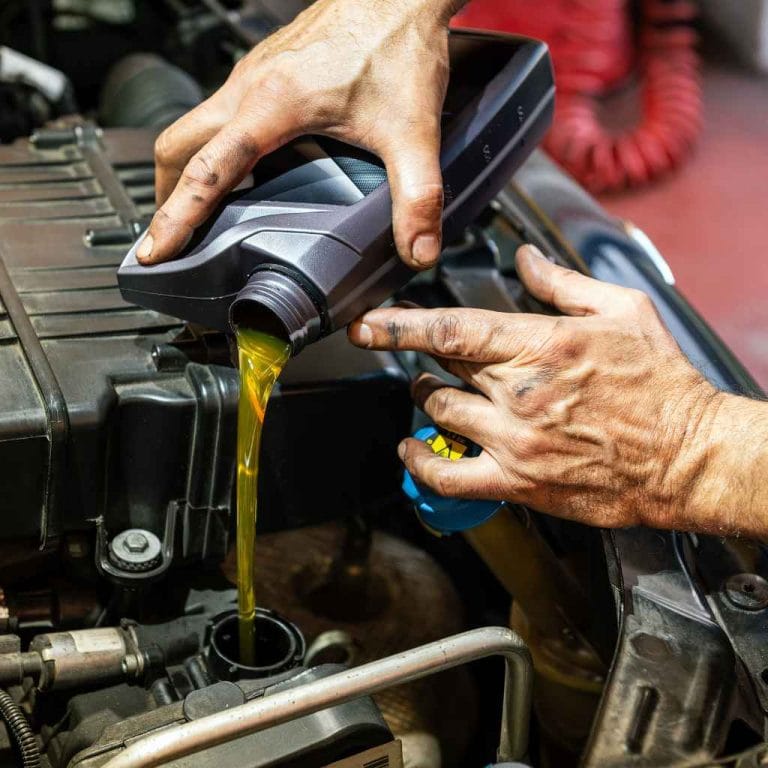
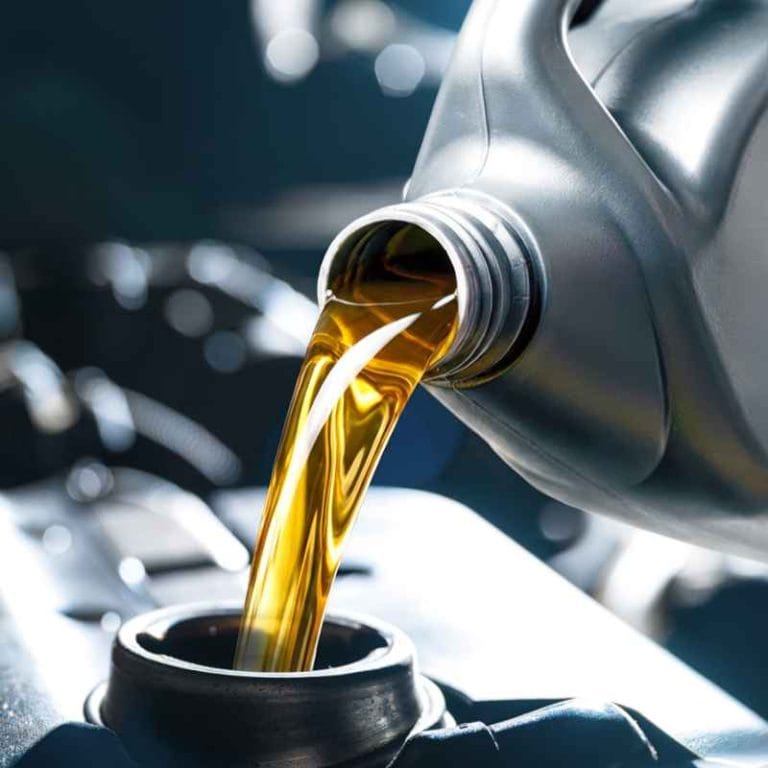
Simply put, you pour engine oil into the oil filler cap located on top of the engine valve cover. It is usually a plastic cap marked with an oil can icon or the word “OIL.” You will find it under the hood, often near the front or middle of the engine bay.
Key Takeaways
- Engine oil goes into the oil filler cap on top of the valve cover, clearly marked with an oil can symbol.
- Never pour oil into the dipstick tube or any other opening — that can damage your engine.
- Always check the oil level first using the dipstick before adding any oil to avoid overfilling.
- The exact location varies by vehicle make and model, but the cap is always brightly colored (often yellow or orange).
- Using the correct oil grade matters just as much as putting it in the right place — check your owner’s manual.
How to Find the Oil Filler Cap Under the Hood
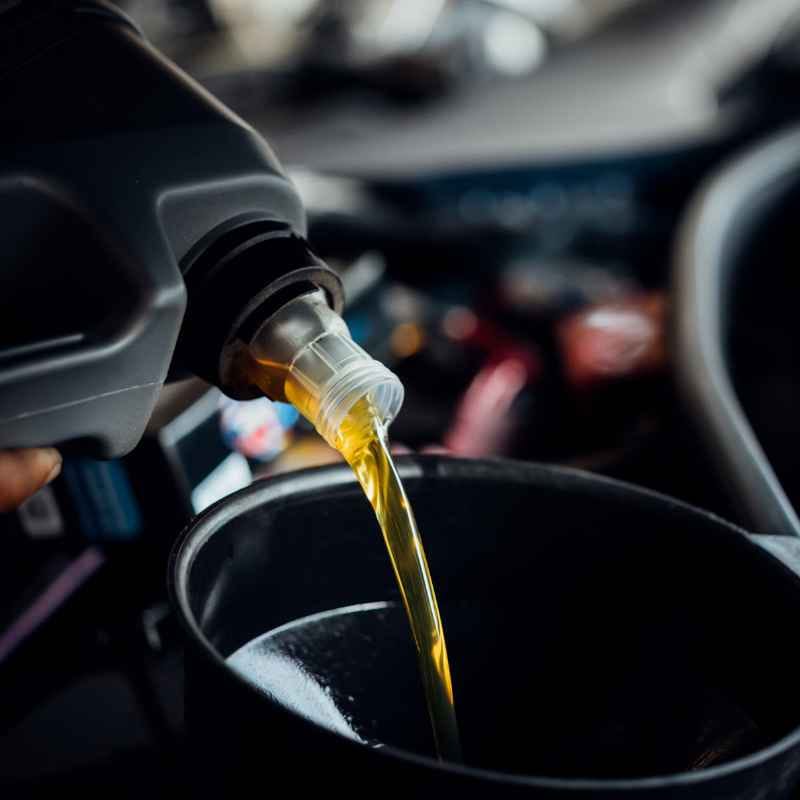
Popping the hood for the first time can feel overwhelming with all the hoses, belts, and caps. But the oil filler cap is intentionally designed to stand out. Most manufacturers use a bright yellow or orange plastic cap, often with a small oil can icon embossed on top.

Red Toolbox
Good Year Pretend Play Take Apart Toy…
- Interactive Mechanic Toys: This mechanic toy set is designed to inspire your child's imagination as they explore the world of mech…
- Engaging Kids Engine Toy: The kids engine toy offers a hands-on experience with mechanic toys for children aged 3-5. This toy engi…
- Realistic Car Engine Toy: Our car engine toy for kids is designed to mimic a real car engine in the workshop, allowing little ones…
As an Amazon Associate I earn from qualifying purchases.
Some older vehicles may have a black cap with the word “OIL” printed on it.
The cap sits directly on top of the engine’s valve cover — the large metal or plastic cover that runs across the top of the engine block. In most front-wheel-drive cars, the engine sits sideways, so the cap will be on the side facing the front or the passenger side of the vehicle.
- Look for a cap with an oil can symbol (a small spout dripping one drop).
- Check for yellow or orange plastic — these colors almost always indicate the oil filler cap.
- If the cap is black, look for the word “OIL” or a textured grip pattern.
- On some European cars (BMW, Audi), the cap may be under a decorative engine cover — remove it first.
- On trucks and SUVs with longitudinal engines, the cap sits toward the front of the engine.
- If you cannot find it, consult the owner’s manual for a diagram.
- Never force any cap — if it doesn’t twist off easily, double-check that you have the right one.
Tip: If you still can’t find the cap, look for the dipstick handle first — the oil filler cap is usually nearby, often within a few inches of the dipstick tube on the same side of the engine.
Step-by-Step: How to Add Engine Oil Correctly
Adding oil sounds simple — and it is — but doing it wrong can lead to messy spills or even engine damage. Follow these steps carefully, especially if you are new to car maintenance. The process takes less than five minutes once you know what you are doing.
Always park on level ground and let the engine cool for at least five minutes before opening any caps. Hot oil can cause serious burns, and checking the level on a slope gives a false reading. Turn the engine off completely before you begin.
- Locate the oil filler cap under the hood as described above. Twist it counterclockwise to remove it and set it aside.
- Check the current oil level using the dipstick. Pull it out, wipe it clean, reinsert it, then pull it again to read the level.
- Choose the correct oil grade for your vehicle (e.g., 5W-30, 10W-40). This info is on the oil cap or in the owner’s manual.
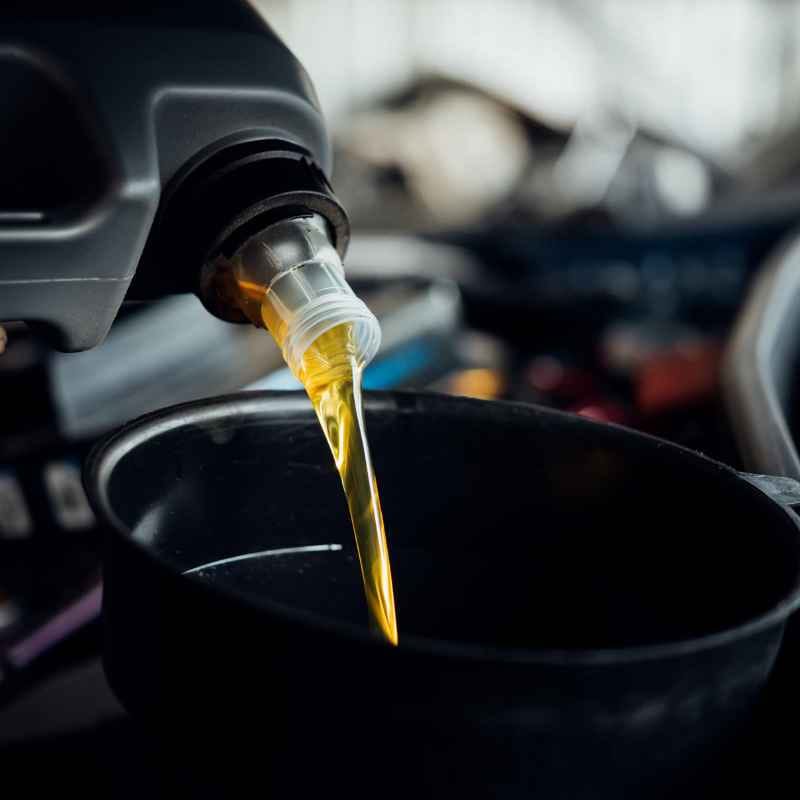
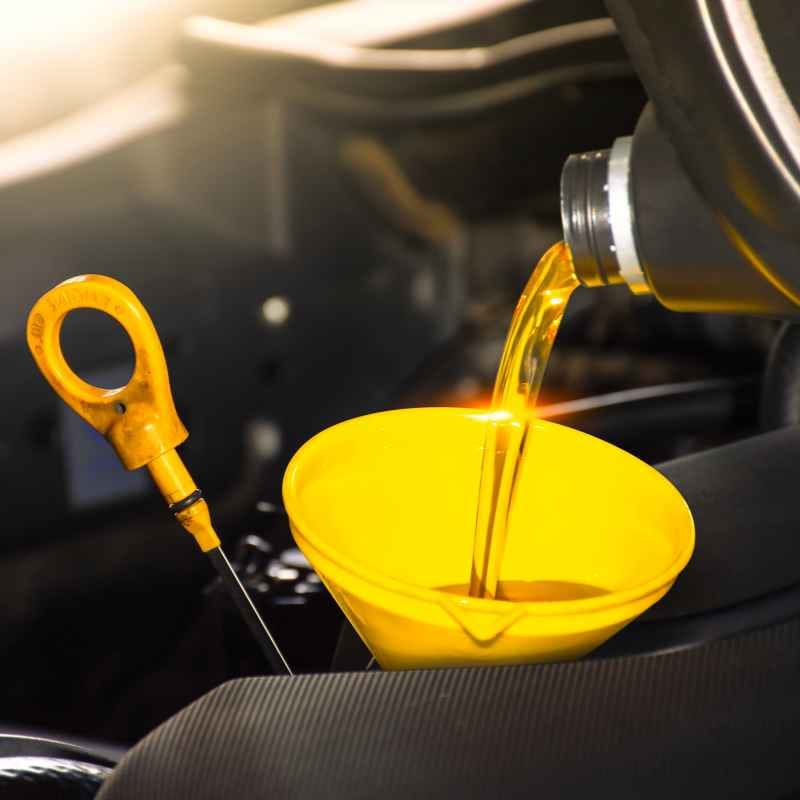
- Insert a funnel into the filler hole to prevent spills. A small plastic funnel costs under $5 and saves a huge mess.
- Add oil slowly — pour in about half a quart at a time. Wait 30 seconds for the oil to drain into the pan.
- Recheck the level with the dipstick. The oil should reach the “Full” or “Max” mark. Do not overfill.
- Replace the filler cap tightly and close the hood. Wipe up any drips immediately.
| Step | Common Mistake | Correct Action |
|---|---|---|
| Locate cap | Confusing cap with windshield washer cap | Look for oil can symbol, not windshield icon |
| Check level | Checking on a slope or hot engine | Park level, cool engine for 5 minutes |
| Add oil | Pouring too fast or without a funnel | Use funnel, add half a quart at a time |
| Replace cap | Forgetting to tighten cap or cross-threading | Twist until snug, do not overtighten |
According to the Car Care Council, 22% of vehicles on the road have low or dirty engine oil, which can reduce fuel economy by up to 2%. Taking these simple steps saves money and prevents costly repairs down the road.
What Does the Oil Filler Cap Look Like?
The oil filler cap is one of the most distinctive components under your hood. On modern vehicles, it is almost always brightly colored to catch your attention. Yellow and orange are the most common colors, but you may also find blue, red, or white caps on certain makes.
The cap is usually about two to three inches in diameter with a textured grip for easy twisting.
Most caps feature an embossed symbol of an oil can with a single drop falling from the spout. This is the universal symbol for engine oil. Some manufacturers also stamp the recommended oil viscosity directly on the cap, such as “5W-30” or “10W-40,” which is very helpful when choosing oil at the store.
The cap screws on and off with a simple quarter-turn motion — no tools needed.
- Color: Yellow or orange on most vehicles (some European cars use black).
- Symbol: Oil can icon with a drop — never pour oil into a cap without this symbol.
- Text: Some caps read “OIL” or show the oil grade directly.
- Location: On top of the valve cover, often near the front of the engine.
- Size: 2-3 inches wide with a textured outer edge for grip.
- Seal: Many caps have a rubber gasket inside to prevent leaks.
- Labeled caps: Some newer vehicles have caps labeled “Engine Oil Only” for clarity.
Important: If your oil filler cap is missing or damaged, do not drive the vehicle. A missing cap lets dirt and debris enter the engine and oil can splatter onto hot exhaust components, creating a fire hazard.
Common Oil Filler Cap Locations by Vehicle Type
Not all engines are laid out the same way. The location of the oil filler cap changes depending on whether your car has a transverse engine (common in front-wheel-drive vehicles) or a longitudinal engine (typical in rear-wheel-drive cars and trucks). Knowing your engine layout helps you find the cap faster.
In transverse engines, which sit sideways in the engine bay, the oil filler cap is usually on the passenger side of the engine or toward the front. In longitudinal engines, the cap sits toward the front of the engine, near the radiator fan. Some luxury vehicles hide the cap under a plastic engine cover that must be unclipped or unscrewed first.
| Vehicle Type | Typical Cap Location | Notes |
|---|---|---|
| Front-wheel drive (Toyota, Honda, Ford) | Top of engine, passenger side, near front | Bright yellow cap on most models |
| Rear-wheel drive (Chevrolet, BMW, Mercedes) | Front center of the valve cover | May be under decorative cover |
| SUVs and trucks (Ford F-150, Ram) | Front of engine, driver side on some models | Often orange or black with text |
| European luxury (Audi, VW, Volvo) | Under plastic engine cover | May need to unclip or unscrew cover |
| Hybrid vehicles (Toyota Prius, Hyundai Ioniq) | Same as gasoline version but often harder to reach | Smaller engine bay, may need a funnel with a flexible neck |
If you drive a popular model like a Honda Civic, Toyota Camry, or Ford F-150, the cap is almost always yellow and easy to spot. For less common vehicles, a quick YouTube search of your model name plus “oil filler cap location” usually shows a video in under 60 seconds.
What Happens If You Put Oil in the Wrong Place?
Putting oil into the wrong opening under the hood is more common than you think. The most frequent mistake is pouring oil into the dipstick tube instead of the filler cap. While a small amount may drain into the pan, the dipstick tube is narrow and curved — pouring oil there causes it to pool and spill onto the engine block, creating smoke and a fire risk.
Another dangerous mistake is pouring oil into the brake fluid reservoir or the windshield washer tank. Brake fluid is hygroscopic and oil contamination destroys the entire braking system. The windshield washer tank, often identified by a windshield/water spray symbol, will simply spray oil onto your glass — a mess that strips wiper blades and smears across the windshield.
Warning: Never pour oil into the radiator or coolant reservoir. Oil and coolant do not mix — oil contamination can destroy your radiator, water pump, and heater core, leading to a repair bill of $1,000 or more.
- Dipstick tube: Oil pools and spills, creates smoke, potential fire hazard.
- Brake fluid reservoir: Contaminates brake fluid, requires full brake system flush ($200+).
- Windshield washer tank: Oil sprays onto glass, ruins wiper blades, smears vision.
- Coolant reservoir: Oil and coolant separate, clogs radiator and heater core.
- Power steering reservoir: Oil damages power steering pump seals and hoses.
- Transmission dipstick tube: Destroys transmission clutches — rebuild costs thousands.
- Engine air intake: Oil floods the air filter and sensor, causes rough running and check engine light.
The Consumer Reports auto team notes that over 15% of DIY oil change mistakes involve pouring oil into the wrong reservoir. If you accidentally put oil anywhere other than the oil filler cap, do not start the engine. Call a mechanic immediately.
How to Check Oil Level Before Adding More
Checking your oil level is a two-minute process that protects your engine from both underfilling and overfilling. Most modern engines hold between 4 and 6 quarts of oil total, but you rarely need to add more than a quart between changes. The dipstick is the only accurate way to know how much oil your engine actually needs.
The dipstick handle is usually yellow or orange and shaped like a loop or T-handle. It slides into a metal tube that goes directly into the oil pan. Pulling it out and reading the markings tells you exactly where the oil level sits.
If the oil is between the “Low” and “Full” marks, your engine has adequate lubrication.
- Park on level ground and turn off the engine. Wait 5-10 minutes for oil to settle.
- Find the dipstick — it’s the thin metal rod with a colored handle near the engine.
- Pull it out completely and wipe it clean with a paper towel or rag.
- Reinsert the dipstick fully, then pull it out again to read the level.
- Check the oil film — it should reach the crosshatch area or the “Full” hole. If it’s at or below “Low,” add oil.
- Look at the oil color — translucent amber is good, dark black means it’s time for a change.
- Smell the oil — a strong gasoline smell indicates a fuel dilution problem that needs professional inspection.
| Oil Level Reading | What It Means | Action Needed |
|---|---|---|
| Above “Full” mark | Overfilled — can cause foaming and seal damage | Drain excess oil, do not drive |
| At “Full” mark | Optimal level — no action needed | None, you’re good to go |
| Between “Low” and “Full” | Acceptable but low — safe to drive but monitor | Add 1/2 quart, recheck |
| At or below “Low” mark | Critical — engine is running low on oil | Add 1 quart immediately |
| No oil on dipstick | Emergency — engine is dangerously low | Do not start engine. Add oil and check for leaks |
The AAA reports that 41% of drivers never check their oil between professional oil changes. This simple habit takes two minutes and prevents the most common cause of engine failure — low oil levels leading to metal-on-metal contact.
What Type of Oil Should You Use?
Using the right oil grade is just as critical as knowing where to put it. Engine oil comes in different viscosities — the thickness of the oil at different temperatures. The most common grades are 5W-30, 10W-40, and 0W-20.
The number before the “W” (Winter) indicates cold-weather flow, and the number after indicates thickness at operating temperature.
Your owner’s manual specifies the exact oil grade your engine needs. You can also find this information on the oil filler cap itself — many manufacturers stamp the recommended viscosity right on the cap. Using a different grade than recommended can reduce fuel economy by up to 2% and increase engine wear over time.
- 5W-30: Most common for modern gasoline engines — used by Toyota, Honda, Ford, and many others.
- 10W-40: Common in older engines and some European vehicles with higher mileage.
- 0W-20: Used in many newer Japanese and Korean engines for better fuel economy.
- 5W-20: Ford and some Chrysler engines use this for cold-weather performance.
- 15W-40: Typical for diesel engines and older trucks.
- Full synthetic: Provides better protection and extends change intervals — recommended for turbocharged engines.
- Conventional oil: Cheaper but requires more frequent changes — fine for older, low-mileage engines.
Tip: If you are between oil changes and just topping off, use the same oil type already in the engine. Mixing conventional and synthetic is acceptable, but mixing different viscosities (like 5W-30 with 10W-40) is not recommended.
Frequently Asked Questions
Where do you put engine oil in a car?
You pour engine oil into the oil filler cap located on top of the engine’s valve cover. The cap is typically yellow or orange and features an oil can symbol. It is always under the hood, and you twist it counterclockwise to open it.
Can I put oil in the dipstick tube?
No, you should never pour oil into the dipstick tube. The tube is narrow and curved, which causes oil to pool and spill onto the engine. Always use the designated oil filler cap — the dipstick is only for measuring the oil level, not for adding oil.
What happens if I put oil in the wrong place?
Putting oil into the brake fluid reservoir, coolant tank, or transmission dipstick tube can cause serious damage. For example, oil in brake fluid requires a full brake system flush. Oil in coolant ruins the radiator.
Oil in the transmission destroys the clutches — leading to repairs costing $2,000 or more.
How do I know if my oil filler cap is the right one?
Look for the oil can symbol — a small icon of a can with a single drop falling from the spout. The cap is usually bright yellow or orange. If you see a windshield symbol, radiator symbol, or brake symbol, those are not the oil filler cap.
When in doubt, check your owner’s manual for a diagram.
Do I need to add oil when the engine is hot or cold?
For safety, always add oil when the engine is cool to the touch — wait at least 5-10 minutes after turning it off. Hot oil can cause burns, and hot oil expands, giving an inaccurate reading on the dipstick. Adding oil to a cold engine is perfectly fine as long as you use the correct viscosity grade.
Final Thoughts
Knowing where to put car engine oil is a simple skill that saves you time, money, and prevents costly engine damage. The oil filler cap is always under the hood, clearly marked with an oil can symbol, and typically bright yellow or orange. Always check your oil level with the dipstick before adding any oil, and use the exact grade your manufacturer recommends.
Make checking your oil a monthly habit — your engine will run smoother and last longer because of it.
Related pick: Check today's price on Amazon
Products related to this article
Sponsored / affiliate links. As an Amazon Associate I earn from qualifying purchases. I may earn additional commission from eligible campaigns.