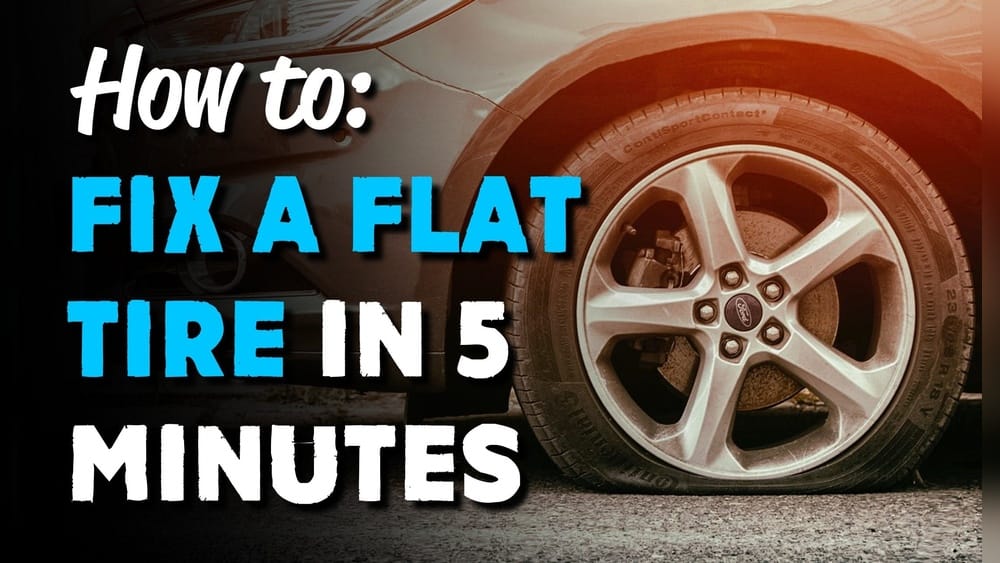
How to Use a Tire Kit to Fix a Flat in Minutes
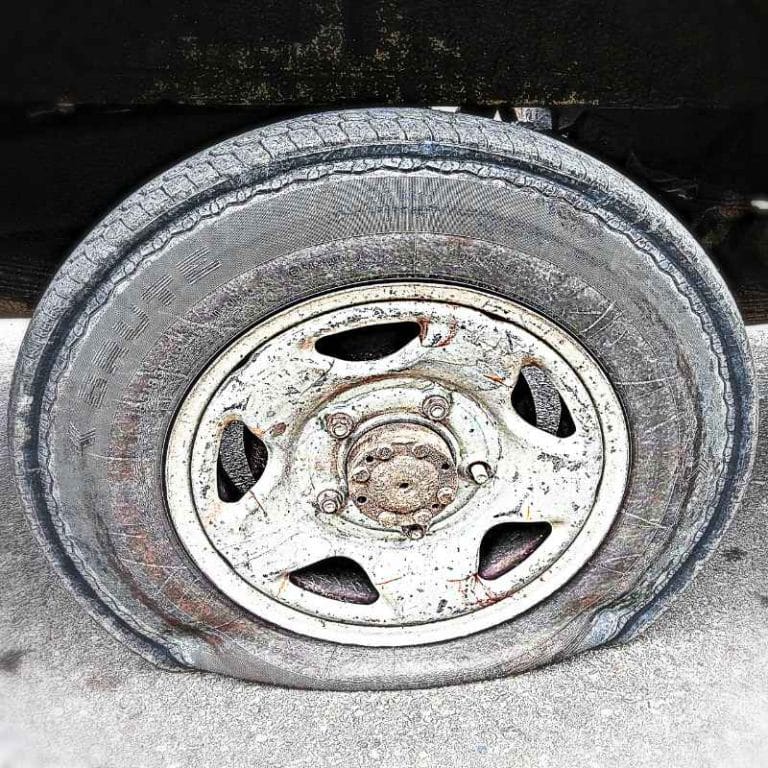
A flat tire can strike when you least expect it—on your way to work, during a road trip, or in the middle of a rainstorm. For many drivers, the thought of being stranded by the roadside is stressful. However, with a modern tire repair kit and a little know-how, you can fix a flat tire in minutes and get back on the road safely.
Tire kits have evolved far beyond the old-fashioned spare, offering quick, user-friendly solutions that empower everyone from daily commuters to long-distance travelers.
Understanding how to use a tire repair kit is an essential skill for any motorist. Not only does it save time and money, but it also boosts your confidence during unexpected roadside emergencies. This guide will walk you through the step-by-step process of using a tire kit, provide insight into the different types available, offer expert tips, and address common concerns.
By the end, you’ll be ready to handle a flat tire like a pro, armed with practical knowledge and actionable strategies.
Key Takeaways
- Tire repair kits provide a fast, effective solution for punctures, often eliminating the need for a tow or spare tire.
- Understanding the types of tire kits—plug, sealant, or hybrid—is crucial for choosing the right one for your vehicle.
- Step-by-step instructions and safety tips ensure a successful, secure repair in minutes.
- Real-world examples and data highlight the efficiency and reliability of modern tire kits.
- Proper maintenance and kit selection can extend tire life and improve overall road safety.
Understanding Tire Kits: Types And Components
Tire kits come in several forms, each designed for specific puncture scenarios and user preferences. Knowing the differences ensures you select the most suitable kit for your needs and enhances your ability to handle flats efficiently.
Types Of Tire Repair Kits
There are three primary categories of tire repair kits:
- Plug Kits: Designed to repair punctures by inserting a rubber plug into the hole. Ideal for tubeless tires and punctures caused by nails or screws. Plug kits are particularly useful for drivers who frequently travel on construction routes or gravel roads, where debris is common. The plug forms a seal within the tread, preventing air from escaping.
- Sealant Kits: Use a liquid sealant injected into the tire to seal small holes, often paired with a portable air compressor. Sealant kits are favored for their simplicity and speed, making them a popular choice among urban drivers or those with limited mechanical experience. The sealant coats the inside of the tire, finding and sealing the puncture automatically.
- Hybrid Kits: Combine both plug and sealant methods, offering flexibility for various puncture types. Hybrid kits are versatile, catering to both straightforward tread punctures and harder-to-identify leaks. They are increasingly popular among off-road enthusiasts and those seeking a comprehensive emergency solution.
Essential Kit Components
A typical tire repair kit contains:
- Tire plugs or sealant
- Insertion tools (for plug kits)
- Rasp tool (to roughen the puncture hole)
- Portable air compressor or CO2 cartridges
- Valve core tool
- Gloves and utility knife
- Instructions manual
Some advanced kits may include additional items, such as extra plugs, patch materials, or even digital tire pressure gauges. High-end hybrid kits often provide several sealant vials, allowing for multiple repairs if needed. It’s important to familiarize yourself with the contents of your specific kit, as using the correct tool for each step ensures an effective repair.
Comparison Table: Plug Vs. Sealant Vs. Hybrid Kits
| Kit Type | Best For | Repair Speed | Ease of Use | Average Cost (USD) |
|---|---|---|---|---|
| Plug Kit | Punctures from nails/screws | 5-10 min | Intermediate | $10-$25 |
| Sealant Kit | Small holes, sidewall leaks | 3-8 min | Easy | $20-$50 |
| Hybrid Kit | Mixed puncture types | 5-12 min | Moderate | $30-$70 |
Plug kits are generally more mechanical in nature, requiring the user to physically manipulate the tire and puncture site. Sealant kits, meanwhile, are often “set-and-forget,” making them ideal for users who prefer minimal effort. Hybrid kits are favored by drivers seeking preparedness for a variety of situations, such as long-distance travelers or fleet managers.
When To Use A Tire Kit
Not all punctures are repairable with a kit. Tire kits are best for:
- Tread punctures less than ¼ inch in diameter
- Slow leaks from small objects
- Absence of sidewall or shoulder damage
If the hole is large, in the sidewall, or the tire is shredded, a professional repair or replacement is necessary. Using a kit on unrepairable punctures can compromise tire integrity and lead to hazardous driving conditions. For guidance on tire safety standards, consult the National Highway Traffic Safety Administration.
Step-by-step Guide: Fixing A Flat With A Tire Kit
Effectively repairing a flat tire requires methodical action, attention to safety, and familiarity with your kit. Here’s how to get it done in minutes.
Step 1: Prepare Your Vehicle And Kit
- Pull over safely: Choose a level area away from traffic. Parking lots, wide shoulders, or rest stops are ideal. Avoid inclines or unstable surfaces.
- Engage the parking brake and turn on hazard lights. This alerts other drivers to your presence and minimizes movement during the repair.
- Gather your kit, spare tools, and owner’s manual. Organize your materials for quick access; time is critical, especially in adverse weather.
- Wear gloves to protect your hands. Some punctures involve sharp objects or rough surfaces.
Preparation is crucial. If you’re traveling at night or in poor weather, consider using a reflective safety vest or road flares to enhance visibility. Always ensure you’re well away from moving vehicles before beginning the repair.
Step 2: Locate And Assess The Puncture
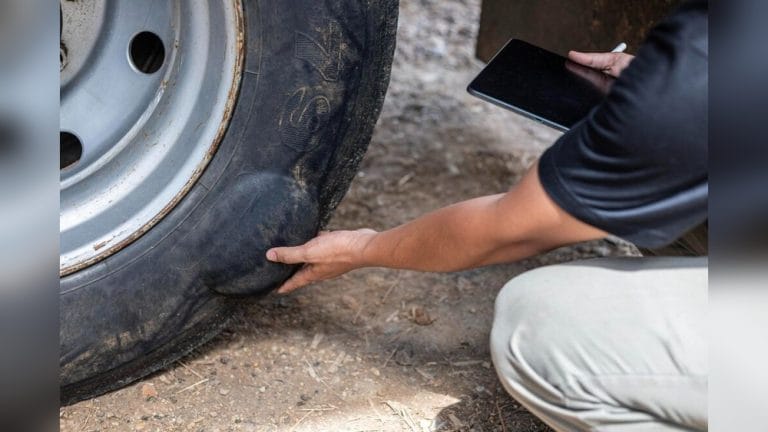
- Visually inspect the tire for nails, screws, or embedded objects. Run your hand carefully over the surface, feeling for air escaping or foreign materials.
- Mark the puncture spot with chalk or tape if available. This makes it easier to target the repair area, especially if you need to return to it after gathering tools.
- Check for multiple punctures; kits are for single-hole repairs. Multiple punctures may require professional attention.
If you’re unsure about the puncture’s severity, consult your manual or a professional. For more on tire inspection, see Consumer Reports.
Step 3: Remove The Puncture Object
- Use pliers to gently extract the nail or screw. Avoid enlarging the hole by twisting or pulling too aggressively.
- Keep the object if possible—it may help tire professionals later. Identifying the object can also aid in assessing the risk of repeated punctures.
Removing the object is often the most delicate step. If the object is deeply embedded or causes resistance, proceed slowly to avoid further damage.
Step 4: Use The Kit (plug Or Sealant Method)
Plug Kit Method
- Insert the rasp tool into the hole, twisting to roughen and widen it. This prepares the puncture site to accept the plug and ensures a tight seal.
- Thread a plug through the insertion tool. Some plugs require adhesive or lubricant—refer to your kit’s instructions for specifics.
- Push the plug into the hole until only a small amount remains visible. Apply steady pressure to avoid forcing the plug through.
- Remove the tool, leaving the plug in place. The plug should remain snug; if it feels loose, repeat the process.
- Trim excess plug with a utility knife. Leaving excess material can interfere with tire rotation or balance.
Plug repairs are designed to be temporary but robust. The plug expands to fill the hole, creating a flexible but airtight seal.
Sealant Kit Method
- Remove the valve cap from the tire. Ensure the valve is clean and unobstructed.
- Attach the sealant hose to the valve stem. Secure connections prevent leaks during injection.
- Inject the sealant as instructed (usually 1-2 minutes). Some kits recommend rotating the tire during injection to distribute sealant.
- Detach the hose and replace the valve cap. Wipe away any excess sealant to prevent buildup.
Sealant kits are quick, but the effectiveness depends on the puncture location and size. After injection, the sealant circulates within the tire, seeking out the leak.
Step 5: Reinflate The Tire
- Connect the compressor or CO2 cartridge to the valve stem. Modern compressors often include digital readouts for precise inflation.
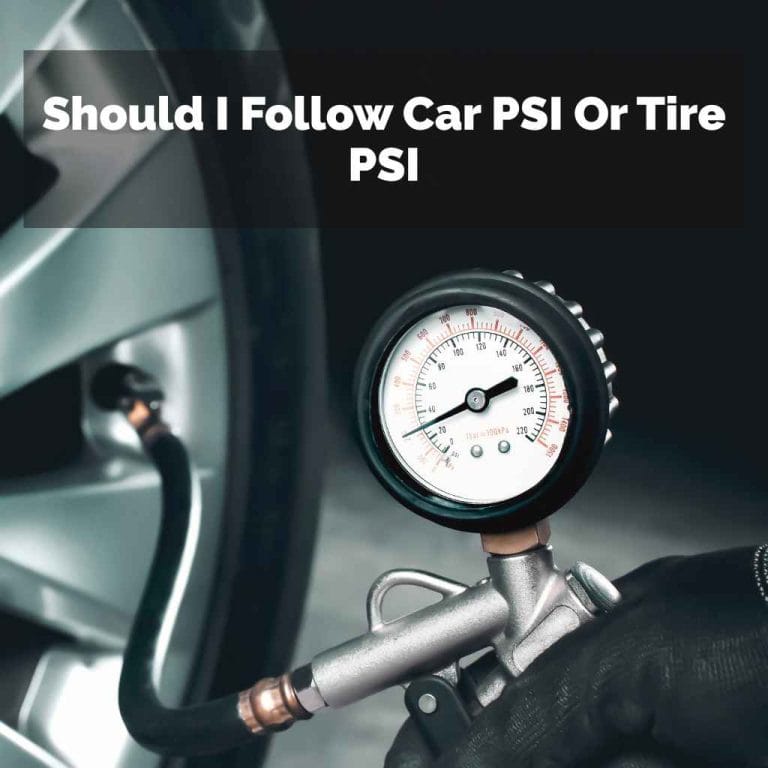
- Inflate to recommended PSI (check owner’s manual or tire sidewall). Over- or under-inflation affects tire safety and longevity.
- Use a gauge to ensure proper pressure. Manual gauges are reliable, but digital ones offer ease of use.
Adequate inflation is crucial for maintaining control and preventing further damage. If you don’t have a compressor, many gas stations offer free or paid air services.
Step 6: Check For Leaks
- Spray soapy water on the repaired area. Look for bubbles. This age-old trick reveals even tiny leaks.
- Listen for hissing sounds that indicate air escape. If detected, repeat the repair or consider a temporary patch.
After repair, let the tire sit for several minutes to confirm it’s holding pressure. The soapy water test is a reliable method used by professionals.
Step 7: Drive And Recheck
- Drive slowly (under 50 mph) for 2-5 miles. This allows the sealant or plug to settle and distribute evenly.
- Recheck pressure and ensure the repair holds. A drop in PSI indicates an incomplete seal.
- Visit a professional for permanent repair or replacement within 100 miles. Even if the repair seems successful, a thorough inspection ensures safety.
Step-by-step Table: Tire Kit Repair Process
| Step | Action | Time Estimate | Key Tips |
|---|---|---|---|
| 1 | Pull over, secure vehicle, gather kit | 1-2 min | Prioritize safety, use hazard lights |
| 2 | Locate and mark puncture | 1-2 min | Inspect for multiple holes |
| 3 | Remove object from tire | 1 min | Use pliers, keep object for reference |
| 4 | Apply plug/sealant as per kit type | 2-5 min | Follow instructions closely |
| 5 | Reinflate tire to correct PSI | 2-4 min | Don’t overinflate |
| 6 | Check for leaks, test drive | 3-5 min | Use soapy water test |

Credit: www.youtube.com
Safety Precautions And Best Practices
While tire kits are designed for convenience, following safety protocols is essential to prevent accidents or further tire damage.
Key Safety Tips
- Never attempt repair on a busy road; move to a secure location. If you’re forced to stop on a highway, call roadside assistance rather than risk injury.
- Wear reflective gear if working at night or in low visibility. Visibility is key for your safety, especially if you’re near traffic.
- Do not use kits for sidewall, rim, or blowout damage. Attempting repair on these issues may worsen the tire or lead to rapid air loss.
- Limit driving speed to 50 mph or less after a repair. This reduces stress on the temporary fix and maintains vehicle control.
- Replace or professionally repair the tire at the earliest opportunity. Temporary repairs should never substitute for expert attention.
Best Practices For Effective Repairs
- Read your kit’s instructions before an emergency arises. Familiarity helps reduce stress and mistakes during a real incident.
- Check the kit’s expiration date—sealants can expire and lose effectiveness. Many drivers are unaware that expired sealant becomes unusable.
- Practice using the kit at home to build confidence. Simulate a puncture on a spare tire or an old tire for hands-on experience.
- Keep a portable air compressor in your vehicle for convenience. Many compressors now come with USB charging, making them easy to maintain.
Real-world Example: Safe Roadside Repair
Consider the experience of Lisa Turner, a commuter in Denver. After a puncture from construction debris, she pulled over, used her plug kit, and was back on the road in under 15 minutes. Her preparedness—having practiced at home—ensured a smooth, safe repair. This case underscores the value of preparation and adherence to safety guidelines.
Lisa’s story is not unique—many drivers who take time to familiarize themselves with their kits report feeling less stressed and more in control during roadside emergencies. Practicing repairs in a controlled environment helps develop muscle memory and confidence for when it matters most.
Additional Resources
For more on roadside safety, visit the AAA Roadway Safety site.

Credit: www.youtube.com
Choosing The Right Tire Kit For Your Vehicle
Selecting the ideal tire kit involves understanding your driving habits, vehicle type, and regional road conditions. The wrong kit can leave you stranded or cause further damage.
Factors To Consider
- Vehicle type: Larger vehicles (SUVs, trucks) may require heavy-duty kits. The tire volume and required pressure can exceed the capabilities of compact kits.
- Tire size: Ensure compatibility with your tire’s PSI and volume. Some kits are not suitable for low-profile or specialty tires.
- Driving environment: Off-roaders benefit from hybrid kits; urban drivers may prefer compact sealant kits. Weather conditions and road surfaces also influence your selection.
- User skill level: Beginners might favor user-friendly sealant kits. Plug kits may require more dexterity and strength.
When selecting a kit, consider how often you drive, the typical terrain, and the likelihood of encountering debris. Fleet operators often invest in bulk kits for efficiency, while weekend travelers may opt for smaller, multi-use kits.
Popular Brands And Models
Some of the most trusted tire kit brands include:
- Slime
- Fix-a-Flat
- Victor
- Safety Seal
- Genuine Innovations
These brands have established reputations for reliability, ease of use, and widespread availability. Many offer warranties or satisfaction guarantees, reinforcing their commitment to safety and customer service.
Table: Kit Features Comparison
| Brand | Kit Type | Inflation Method | Sealant Included | User Rating (out of 5) |
|---|---|---|---|---|
| Slime | Sealant | Compressor | Yes | 4.7 |
| Fix-a-Flat | Sealant | Pressurized Can | Yes | 4.5 |
| Safety Seal | Plug | Manual | No | 4.8 |
| Victor | Plug | Manual | No | 4.6 |
| Genuine Innovations | Hybrid | CO2 Cartridge | Yes | 4.7 |
Where To Buy
- Automotive retailers (AutoZone, Advance Auto Parts)
- Online platforms (Amazon, Walmart)
- Big box stores (Target, Costco)
Local garages and tire shops also sell kits, sometimes bundled with tire purchases or maintenance packages. Online reviews and ratings can help guide your decision, especially for new products.
Real-world Example: Matching Kit To Need
Mike Johnson, a long-haul trucker, upgraded to a hybrid kit after a roadside incident left him waiting hours for a tow. Since switching, he’s repaired three punctures on the job, saving time and money. His story highlights the importance of kit selection based on vehicle and job demands.
Mike’s experience is echoed by many commercial drivers, who rely on robust, multi-use kits to minimize downtime and maintain schedules. For more details on tire kit reviews, see Cars.com’s Tire Kit Guide.
Maintenance, Storage, And Lifespan Of Tire Kits
A tire kit is only as good as its condition. Proper care ensures your kit is ready when you need it most, and helps avoid equipment failure during emergencies.
Regular Kit Inspection
- Check sealant expiration dates every six months. Expired sealant may not flow or seal effectively, putting you at risk during emergencies.
- Test compressors and replace batteries as needed. Battery-operated compressors should be charged regularly or replaced when performance wanes.
- Inspect plugs and tools for wear or damage. Rust, corrosion, or dry rot can render plugs and tools unusable.
- Restock used or missing items immediately. Many kits allow for refill purchases, making it easy to maintain inventory.
Routine checks are essential, especially before long trips. Keep a log or set reminders to inspect your kit quarterly or before major travel.
Storage Tips
- Store kits in a cool, dry place within your vehicle, such as the trunk or under-seat compartment. Moisture and heat degrade kit components over time.
- Avoid direct sunlight or extreme temperatures, which can degrade sealant and rubber components. Some sealants are sensitive to temperature swings and may crystallize or separate.
- Keep the kit easily accessible—don’t bury it under heavy gear. Quick access is vital during emergencies.
Consider using a dedicated storage container or pouch to keep your kit organized and protected. Waterproof or insulated storage options are available for extreme climates.
Lifespan Expectations
- Sealant kits: Usually last 2-5 years unopened; replace after use. Check manufacturer recommendations for shelf life.
- Plug kits: Can last indefinitely if kept dry and sealed. Rubber plugs should be soft and pliable, not cracked or hardened.
- Compressors: Should function for several years with regular maintenance. Inspect hoses, connections, and gauges for wear.
Data: Kit Failure Rates
A 2026 survey by the Tire Industry Association found that 91% of new, properly maintained tire kits worked on the first attempt, while failure rates increased to 23% for expired or poorly stored kits. This underscores the importance of regular checks.
Proper maintenance not only saves time but also reduces the likelihood of needing professional help during a minor emergency.
Real-world Example: Kit Failure Due To Neglect
Samantha Lee purchased a sealant kit but left it in her car’s trunk through two hot summers. When she finally needed it, the sealant had thickened and wouldn’t flow. Her experience highlights the necessity of checking and maintaining your kit routinely.
For more on tire kit maintenance, visit the Tire Rack Tech Center.
Limitations And Risks Of Tire Kits
While tire kits offer rapid solutions, they are not a one-size-fits-all remedy. Understanding their limitations helps you make informed decisions and avoid unsafe situations.
What Tire Kits Can And Cannot Fix
- Can fix:
- Small, clean punctures in the tread area
- Single-hole leaks (not multiple or clustered)
- Slow leaks due to minor punctures
- Cannot fix:
- Sidewall or shoulder punctures
- Large gashes, blowouts, or shredded tires
- Punctures exceeding ¼ inch in diameter
- Tires that have already run flat for extended periods
Attempting to repair tires outside these parameters can result in rapid air loss, loss of vehicle control, or even catastrophic failure.
Risks Of Improper Use
- Overinflation can cause tire blowout. Always monitor pressure and consult manufacturer guidelines.
- Poor sealing may result in slow leaks and tire failure. Even if a repair seems successful, check pressure regularly.
- Driving at high speeds after a temporary repair increases the risk of accidents. Temporary fixes are not designed for sustained highway speeds.
Manufacturer Warnings
Many automakers and tire manufacturers warn that sealant kits are temporary fixes. Prolonged use can damage tire pressure sensors and void tire warranties. Always consult your owner’s manual for approved repair methods. For a comprehensive list of warnings, check the NHTSA Tire Safety Brochure.
Some TPMS (Tire Pressure Monitoring Systems) can become clogged or damaged by certain sealants, leading to inaccurate readings and additional repair costs.
Real-world Example: Risk Of Ignoring Limitations
In 2026, a driver in Phoenix used a sealant kit to fix a large sidewall puncture. Ignoring the kit’s limitations, he continued to drive at highway speeds. The tire failed catastrophically within 20 miles, leading to a dangerous roadside incident.
This underscores the importance of respecting kit guidelines and seeking professional repairs for unfixable flats.
Always err on the side of caution—if in doubt, call for professional assistance.
Advanced Tips And Troubleshooting
Mastering tire kit use means being prepared for unexpected challenges. Here are expert-level strategies for tricky situations.
Dealing With Difficult Punctures
- For awkwardly placed holes (near tread edge), angle the plug tool carefully to avoid enlarging the puncture. Some kits provide specialized tools for these scenarios.
- Multiple punctures: Only attempt repair if holes are far apart; otherwise, replace the tire. Clustered punctures compromise structural integrity.
- Cold weather: Warm sealant packs in your hands or car’s heater before use for easier application. Cold temperatures thicken sealant, making injection difficult.
If you encounter resistance during plug insertion, check for obstructions or consider using a backup plug. Practice makes perfect, so try simulating repairs at home for confidence.
Troubleshooting Common Problems
- Sealant won’t inject: Check for clogs in the valve or sealant tube; clear debris before retrying. Use compressed air to clear the line if necessary.
- Compressor won’t run: Ensure a solid electrical connection; replace fuse or battery if needed. Some compressors include troubleshooting guides or error codes.
- Plug won’t stay in hole: Use a larger plug or consider that the hole may be too large to repair safely. If repeated attempts fail, seek professional help.
Having backup tools and materials, such as extra plugs or sealant, can save the day if your primary kit encounters a problem.
Expert Tip: Use A Tire Pressure Monitoring System (tpms)
After a repair, monitor your tire with a portable TPMS to track pressure fluctuations. This adds a layer of safety and can alert you to slow leaks before they become dangerous.
TPMS devices are affordable and easy to use, often syncing with smartphones for real-time alerts. This is especially helpful for long-distance drivers or commercial fleets.
When To Seek Professional Help
- Persistent air loss after repair
- Unidentifiable puncture source
- Unfamiliar noises or vibrations after repair
If your repair doesn’t hold, or you experience unusual performance, don’t risk further driving. Professional tire shops have specialized equipment for thorough diagnostics and repairs.
For more troubleshooting tips, see Popular Mechanics: Tire Repair Guide.
Frequently Asked Questions
What Types Of Punctures Can A Tire Kit Fix?
Tire kits are effective for small, clean punctures—typically less than ¼ inch in diameter—located in the tread area of a tubeless tire. They are not suitable for sidewall damage, large gashes, or multiple close punctures.
How Long Can I Drive On A Tire Repaired With A Kit?
Most manufacturers recommend driving no more than 100 miles at speeds below 50 mph on a tire temporarily repaired with a kit. Seek a permanent repair or replacement as soon as possible.
Are Tire Repair Kits Safe To Use On All Vehicles?
Tire kits are generally safe for passenger cars, SUVs, and light trucks. For motorcycles, heavy trucks, or specialty vehicles, check your owner’s manual and kit compatibility. Some kits may not work with certain tire pressure monitoring systems (TPMS).
Does Using A Sealant Kit Damage My Tire Or Tpms Sensors?
Some sealants can clog or damage TPMS sensors if not cleaned promptly. Always inform your tire professional that a sealant was used, and consider kits labeled as TPMS-safe for added protection.
Can I Use A Tire Kit In Extreme Weather Conditions?
Most kits function in a wide range of temperatures, but sealant viscosity can be affected by extreme cold or heat. In cold weather, warm the sealant before use. For best results, check your kit’s temperature range on the packaging.
A flat tire doesn’t have to ruin your day. By understanding the different types of tire kits, practicing safe and effective repair techniques, and maintaining your kit properly, you can handle most roadside flats quickly and confidently. The right preparation transforms an inconvenience into a manageable task—getting you safely back on the road in minutes, not hours.
If you want to deepen your knowledge and enhance your roadside readiness, consider consulting your vehicle manufacturer’s website, local tire professionals, and trusted automotive resources. Investing time in preparation and practice can dramatically improve your response in an emergency, minimize stress, and protect your safety.
With the right tire kit and know-how, you’re empowered to turn a challenging situation into a quick fix, ensuring peace of mind for every journey.
Products related to this article
Sponsored / affiliate links. As an Amazon Associate I earn from qualifying purchases. I may earn additional commission from eligible campaigns.