How to Put Lights Under Your Car (Step-by-Step Guide)
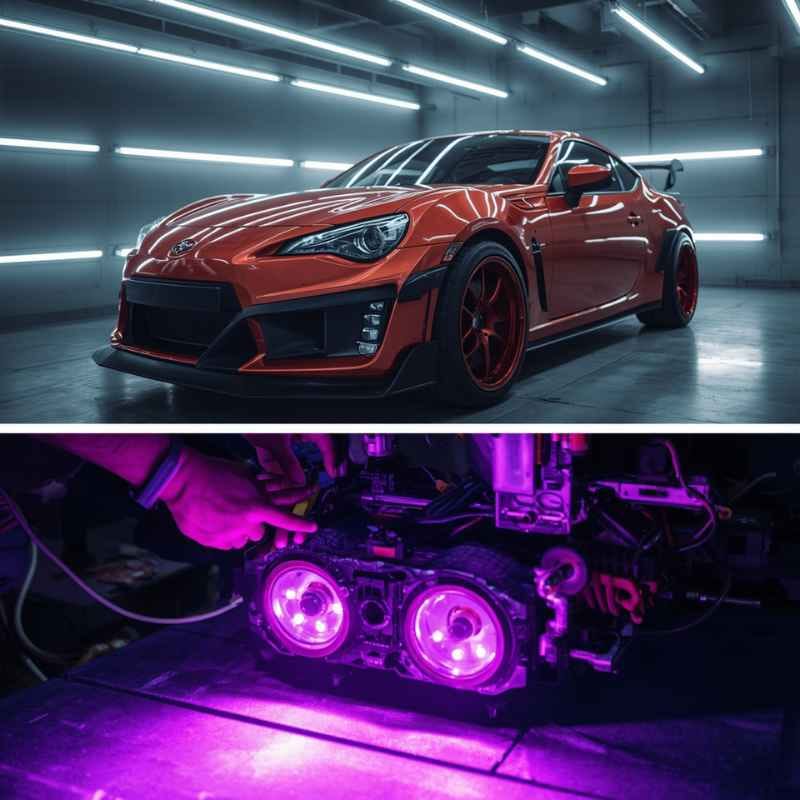
How to put lights under your car is a popular DIY project that transforms your ride with a custom glow. This step-by-step guide covers everything from choosing the right kit to wiring safely, so you can install underglow lights like a pro.
Simply put, installing underglow lights involves mounting LED strips underneath the chassis, routing wires to a switch and fuse, and connecting them to the car’s battery. It takes a few hours and basic tools, but the result is a clean, eye-catching glow that turns heads.
Key Takeaways
- How to put lights under your car requires a quality LED kit, basic wiring tools, and patience for a clean installation.
- Always use an inline fuse and a dedicated switch to protect your car’s electrical system.
- Underglow lights are legal in many areas if used responsibly—check local laws before installing.
- Proper placement and waterproof mounting ensure the lights last for years without damage.
Step 1: Gather Your Tools and Materials
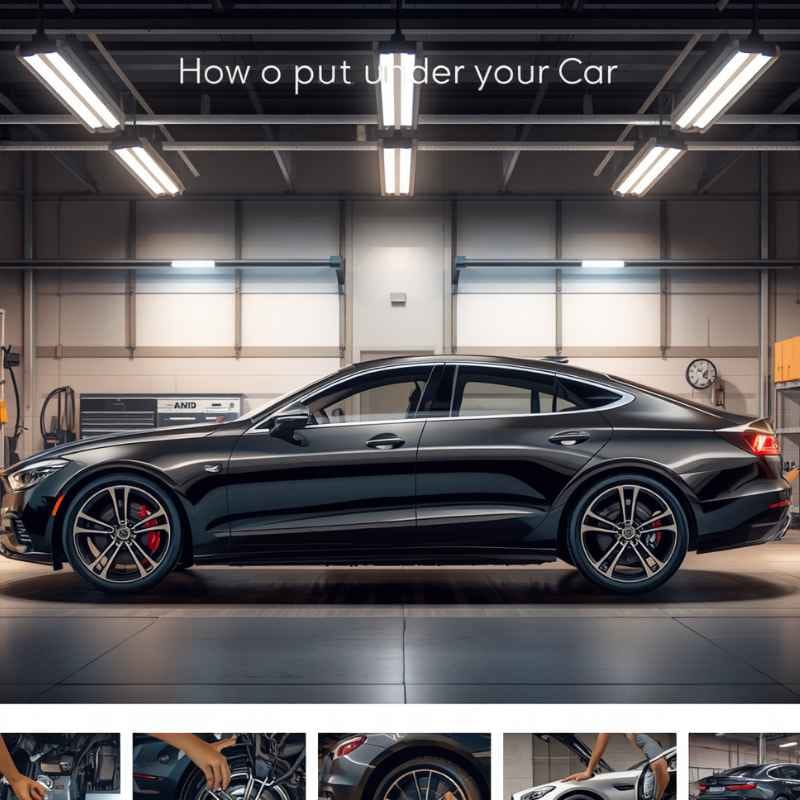
Before you start, collect everything you need. A complete underglow kit usually includes LED strips, wiring harness, controller, remote, and screws. You’ll also need basic hand tools and safety gear.
According to a 2023 survey by the Specialty Equipment Market Association (SEMA), 68% of DIY car enthusiasts prefer LED underglow kits because they consume less power and last longer than neon. Grab the items below and you’re ready.
- LED underglow kit – 4 strips (front, rear, left, right) plus controller
- Wire stripper/crimper
- Ring terminals and butt connectors
- Inline fuse holder and fuse (10A–15A recommended)
- Toggle switch or wireless controller
- Silicone adhesive or double-sided 3M tape
- Zip ties and plastic clips for cable management
- Socket wrench and screwdrivers
- Jack and jack stands (or ramps) to lift the car
- Safety glasses and gloves
Tip: Buy a kit with waterproof (IP67 or higher) LED strips. Rain and road spray can damage non‑sealed lights within weeks.
Step 2: Choose Your Lighting Kit
Not all underglow kits are equal. The three most common types are LED strips, neon tubes, and fiber optic cables. LEDs dominate the market because they’re bright, energy‑efficient, and easy to mount.
Research from Grand View Research shows the automotive LED lighting market is expected to reach $12.8 billion by 2028. That growth is driven by affordability and color options. Here’s how the main types stack up.
| Type | Brightness | Durability | Cost | Ease of Install |
|---|---|---|---|---|
| LED strips | High | Excellent (waterproof) | $30–$120 | Easy |
| Neon tubes | Medium | Fragile (glass) | $50–$200 | Hard |
| Fiber optic | Low–Medium | Good (flexible) | $60–$150 | Medium |
For most DIYers, an RGB LED kit with Bluetooth or remote control offers the best balance of price, brightness, and ease of installation. Avoid cheap kits with thin wires—they can overheat.
Step 3: Prepare the Car
Safety first. Park on a level surface, engage the parking brake, and lift the car using a jack and jack stands. Never work under a car supported only by a jack.
Clean the underside where you’ll mount the lights. Dirt and grease prevent adhesive from bonding. Use a degreaser and a microfiber cloth, then let it dry completely.
Follow these preparation steps in order:
- Disconnect the negative battery terminal – prevents short circuits and sparks.
- Plan the wire route – decide where to run cables from the engine bay to each corner of the car.
- Remove any plastic underbody panels – use a socket wrench to access mounting points.
- Mark the locations for each LED strip – center of each side, just behind the bumper edge.
Important: Avoid mounting strips near exhaust pipes, brake lines, or moving suspension parts. Heat and vibration can shorten their lifespan.
Step 4: Mount the LED Strips
Peel the backing off the 3M tape on each LED strip and press firmly along your marked lines. For extra security, add a dab of silicone adhesive at each end and at every clip.
Run the wires from each strip toward the center of the car, using zip ties to secure them along the frame rails. Keep wires away from hot exhaust components and sharp edges.
- Mount strips parallel to the ground for even light distribution.
- Leave a 1‑inch gap between the strip and the bottom of the bumper to avoid blocking the beam.
- Use the included mounting clips every 12 inches to prevent sagging.
- For curved areas, gently bend the strip—don’t crease it.
- Test fit each strip before peeling the tape; reposition if needed.
Warning: Never mount strips directly under the engine or transmission. The heat can melt the adhesive and damage the LEDs.
Step 5: Wire the Lights
Wiring is the most critical step. A proper electrical connection ensures your underglow lights work reliably without draining the battery or causing a fire.
The National Fire Protection Association (NFPA) reports that improper automotive wiring causes over 20,000 vehicle fires each year in the U.S. Use the right wire gauge and always install a fuse.
| Total LED Power | Wire Gauge | Fuse Size |
|---|---|---|
| Up to 5 amps (60W) | 18 AWG | 7.5A |
| 5–8 amps (96W) | 16 AWG | 10A |
| Over 8 amps | 14 AWG | 15A |
Follow these wiring steps carefully:
- Run the power wire from the battery positive (+) through the firewall grommet into the cabin.
- Install the inline fuse within 6 inches of the battery terminal.
- Connect the power wire to the switch (or wireless controller relay).
- Route the output of the switch back through the firewall to the LED controller.
- Connect the ground wire from the controller to a bare metal chassis point using a ring terminal.
- Plug in each LED strip to the controller and test before finalizing.
Important: Use a multimeter to verify voltage before connecting. Reverse polarity will destroy the LEDs.
Step 6: Test and Secure Wiring
Reconnect the battery and turn on the lights. Cycle through colors and modes to confirm each strip works and the controller responds. If one strip doesn’t light, check the connector and polarity.
Once everything works, secure all loose wires with zip ties. Use plastic cable clips along the frame to prevent rubbing. Tuck any excess wire neatly inside the engine bay or under the bumper.
- Check for flickering – indicates a loose connection.
- Ensure the switch is mounted in a convenient, dry location (e.g., under the dash).
- Test the lights at night to adjust aim if needed.
- Verify that no wires touch hot or moving parts.
Tip: Add a quick‑disconnect connector near the battery so you can easily remove the lights for shows or maintenance.
Common Mistakes to Avoid
Even experienced DIYers make errors when installing underglow lights. Avoiding these pitfalls saves time and prevents damage.
- Skipping the fuse – A direct connection can cause a fire if the wires short out.
- Using cheap adhesive – The 3M tape included in low‑end kits often fails. Use automotive‑grade silicone.
- Mounting strips facing up – Lights must point downward to illuminate the ground, not the underside of the car.
- Running wires through door jambs – Pinched wires fray and short. Always go through grommets.
- Overloading the circuit – Adding too many accessories to the same fuse causes blowouts. Use a dedicated circuit.
Warning: In some states, blue and red underglow lights are illegal on public roads. Check your local regulations before driving with them on.
Frequently Asked Questions
Do underglow lights drain the car battery?
Only when left on. LED underglow kits draw 2–5 amps, so if you forget to turn them off overnight, the battery may drain. Use a switch or wireless controller to prevent that.
Can I install underglow lights without drilling?
Yes. Most LED kits use strong 3M adhesive tape and mounting clips that attach to existing holes or pinch welds. No drilling is required for a clean install.
How do I sync underglow lights with my music?
Many RGB controllers include a built‑in microphone or line‑in port. You connect the controller to your stereo’s audio output or place the mic near the speakers, and the lights pulse to the beat.
How long does a full installation take?
For a beginner, plan on 4–6 hours. Experienced installers can finish in 2–3 hours. The wiring and routing take the most time.
What tools do I need to remove underbody panels?
Typically a 10mm socket, a trim removal tool, and a Phillips screwdriver. Some cars use push‑clips, so a clip‑removal tool helps avoid breakage.
Final Thoughts
Learning how to put lights under your car is a rewarding weekend project that adds a unique style to your vehicle. With a quality kit, proper wiring, and a little patience, you’ll get a professional‑looking glow that lasts. Just remember to secure every wire, fuse the power line, and respect local laws—then enjoy the ride lit up your way.
See also car headlight sound effect what that noise really means. See also how to make car lights strobe safe and legal methods .
Products related to this article
Sponsored / affiliate links. As an Amazon Associate I earn from qualifying purchases. I may earn additional commission from eligible campaigns.