How to Plan a Long Trip in an Electric Car
For long EV trips, a common approach is to pick chargers you can reach with about 20–30% battery left, then add one backup stop for each major leg. If you ignore charger reliability, you can lose hours waiting, detour off route, or arrive with too little charge. This guide covers route planning, buffer math, charging-stop selection, and pre-departure checks for France-style highway trips.
How do you plan an EV road trip?
Start with the route, then fit chargers to that route. Set the trip length, season, and driving pattern first, because winter, mountains, towing, and full loads all change the stop plan. A road trip that looks easy in summer may need more stops, a larger buffer, and a slower daily pace in cold weather.
Use an EV route planner
Use an EV route planner rather than a normal maps app alone because it can estimate charging stops from the car you drive. A Better Routeplanner is a common example: it uses vehicle model data, temperature, elevation, and speed to predict where to stop and how long each stop may take.
That matters because a route with fewer miles can still be harder if it has steep climbs, cold temperatures, or sparse charging. The planner should tell you where to charge and whether a stop is likely to be short, long, or risky.
Build your range math
Base trip math on usable battery capacity in kWh, not total pack size, because the full pack is not all available for driving. Then use real highway efficiency in miles per kWh, not EPA city-heavy estimates. Highway speed, wind, temperature, and terrain move the number more than a brochure range figure does.
For planning, convert the usable battery into safe driving range by multiplying usable kWh by real highway miles per kWh, then reduce that range by your arrival buffer. If the route is rural, mountainous, or winter-heavy, build the plan around the lower end of your expected efficiency.
If your car has about 64 usable kWh and averages around 3.0 miles per kWh on the highway, that works out to roughly 192 miles before the buffer. That gives 192 miles of usable travel before you even apply a buffer. With a 10% arrival buffer, you should plan stops well before the pack gets near empty, not after the dashboard says range is nearly gone.
Convert the math into stop spacing
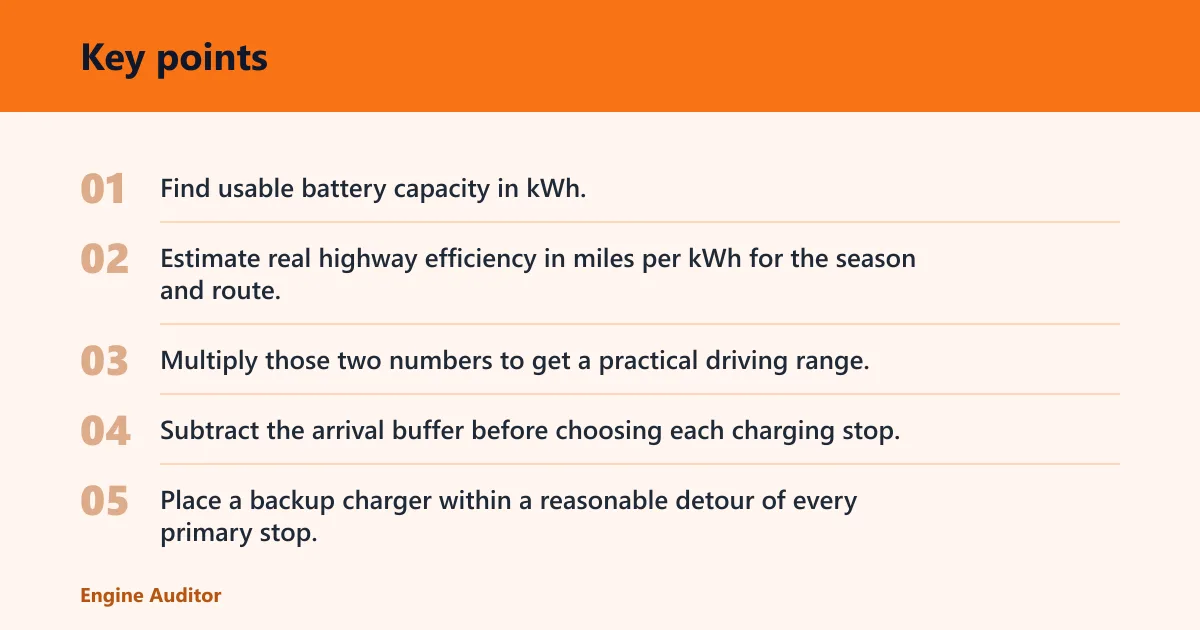
- Find usable battery capacity in kWh.
- Estimate real highway efficiency in miles per kWh for the season and route.
- Multiply those two numbers to get a practical driving range.
- Subtract the arrival buffer before choosing each charging stop.
- Place a backup charger within a reasonable detour of every primary stop.
That sequence keeps you from planning stops by nominal range alone. It also makes the route easier to compare, because you can see how much margin each leg leaves before you commit to a station.
What charge level should you arrive with?
A common default is to use about 10% as the arrival buffer. A common rule of thumb is to raise the arrival buffer to about 15% for winter, mountains, towing, heavy loads, or sparse charging. That extra margin can be the difference between a clean arrival and a slow search for a charger with enough power, enough stalls, or enough working hardware.
Use 10 percent as the default
A 10% arrival SOC buffer gives you room for minor delays, detours, and mild headwinds. It is a practical floor for normal highway travel when charging is frequent and the weather is reasonable. The goal is to arrive with enough battery that a small error does not force a stressful detour.
Raise the buffer to 15 percent on harder routes
Use 15% when the route is cold, hilly, towing a trailer, or stretched across thin charging coverage. That buffer helps absorb real-world losses from temperature, elevation, speed, and cargo weight. It also gives you more choice if your first charger is busy or down.
Should you charge to 100% or 80% on a long EV trip? For most road-trip legs, the useful working window is 10 to 80 percent. Charging toward 100% is usually a special case for the final leg or for a place where the next charger is far away.
Picture a first-timer planning a 220-mile winter leg with a full car and a short charger gap at the far end. A 10% buffer may look fine on paper, but 15% is safer because cold air, cabin heat, and highway speed all reduce usable range at the same time.
How do you verify chargers?
Check recent activity in PlugShare before you leave. A station can appear on a map and still be broken, slow, or occupied when you arrive. Recent check-ins help you judge whether the site is active, whether multiple stalls work, and whether the charger has a pattern of outages or poor maintenance.
Score each stop for failure risk
Do not plan around a single charger with no backup. Score each stop for stall count, recent check-ins, backup distance, and weather exposure. A station with many stalls and fresh check-ins is a safer choice than a single-stall site tucked in a windy, exposed lot.
| Stop | Stall count | Recent check-ins | Backup distance | Weather exposure | Risk note |
|---|---|---|---|---|---|
| Primary A | 8 | Several in the last 24 hours | 6 miles | Mostly sheltered | Good first choice |
| Primary B | 2 | One check-in two days ago | 18 miles | Open roadside lot | Use only with a backup plan |
| Fallback C | 6 | Recent activity today | 12 miles from Primary B | Covered parking | Best backup for bad weather |
A charger with one occupied stall is an inconvenience. A charger with one broken stall is a problem. A charger with slow output is another kind of problem, because a working plug can still turn a 20-minute stop into a much longer one.
Plan one backup charger for every primary stop
Every primary stop should have a backup charger that you can reach without stretching the buffer too far. That backup should be close enough to matter if the first site is full, down, or too slow. It should also be on the route you are already driving, or very near it.
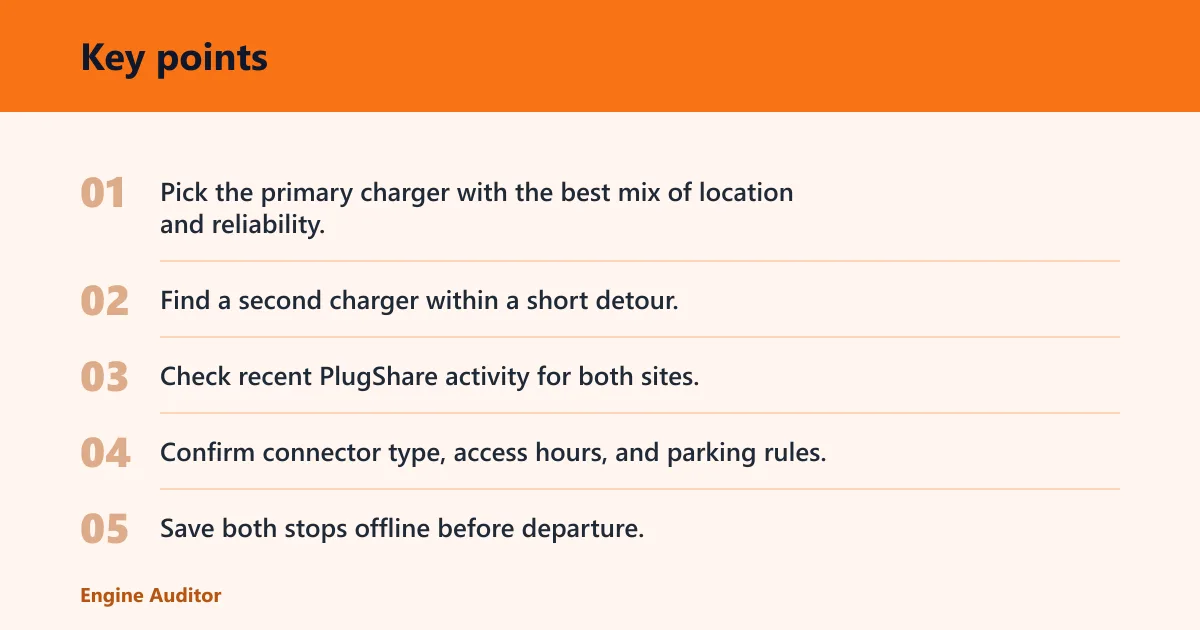
- Pick the primary charger with the best mix of location and reliability.
- Find a second charger within a short detour.
- Check recent PlugShare activity for both sites.
- Confirm connector type, access hours, and parking rules.
- Save both stops offline before departure.
EV trip worksheet
This worksheet turns the trip into three practical planning tools: route math, charger risk, and a day-by-day stop plan. Use it before departure, then keep a copy offline in case mobile data drops along the route.
Long trip table
| Leg | Usable battery capacity | Real highway efficiency | Arrival SOC buffer | Practical drive range |
|---|---|---|---|---|
| Example 1 | 64 kWh | 3.0 miles per kWh | 10% | About 173 miles before buffer |
| Example 2 | 77 kWh | 2.6 miles per kWh | 15% | About 170 miles before buffer |
| Example 3 | 58 kWh | 3.4 miles per kWh | 10% | About 178 miles before buffer |
Use your own numbers in place of the examples. The point is to see the effect of buffer math on stop spacing, not to chase the biggest possible range claim.
Long trip checklist
- Stall count: Is there more than one working stall at the site?
- Recent check-ins: Has someone used the charger recently?
- Backup distance: Can you reach a second charger without breaking your buffer?
- Weather exposure: Is the site exposed to snow, wind, or flooding risk?
- Access hours: Is the site open when you arrive?
- Connector match: Does the site support your car’s plug type?
Day-by-day stop plan
| Day | Charging stop | Time block | Fallback option |
|---|---|---|---|
| Day 1 | Highway DC fast charger at lunch | 20 to 40 minutes | Backup DC charger 8 miles away |
| Day 2 | Hotel Level 2 overnight | Overnight parking window | Morning DC fast charger near the exit |
| Day 3 | Midday DC fast charger | 20 to 40 minutes | Alternate stop on the next highway junction |
What charging stops should you expect?
Level 1 charging is 120 volt charging and adds roughly 3 to 5 miles per hour, so it is best for emergency or overnight top-off use. Level 2 charging is 240 volt charging and adds roughly 20 to 30 miles per hour, which makes it useful for hotels and destination parking. DC fast charging is for travel days and adds most of the battery in 20 to 40 minutes.
Use the right charging level for the stop
Level 1 is too slow for a travel day unless you are simply recovering a small amount overnight. Level 2 is the quiet workhorse for lodging, restaurants, and destination parking. DC fast charging is the main road-trip tool because it can add enough energy to keep the trip moving.
Peak DC charge rate matters because it is a temporary peak in kW, not the sustained rate. A charger may advertise a high peak number, but the car may not hold that rate for the full session. That is why stop length planning should assume the rate will taper.
Why hotel charging changes the plan
Hotel charging reduces the number of morning charging stops and gives you more practical range while you sleep. If you wake up at a higher state of charge, the first leg of the day can be longer and less rushed. That can also keep you out of the busiest charging window.
When choosing lodging, favor hotels with on-site Level 2 charging and confirm access rules before booking. A charger in the lot is not useful if it is blocked, reserved, or unavailable overnight.
Pack for the trip before you leave
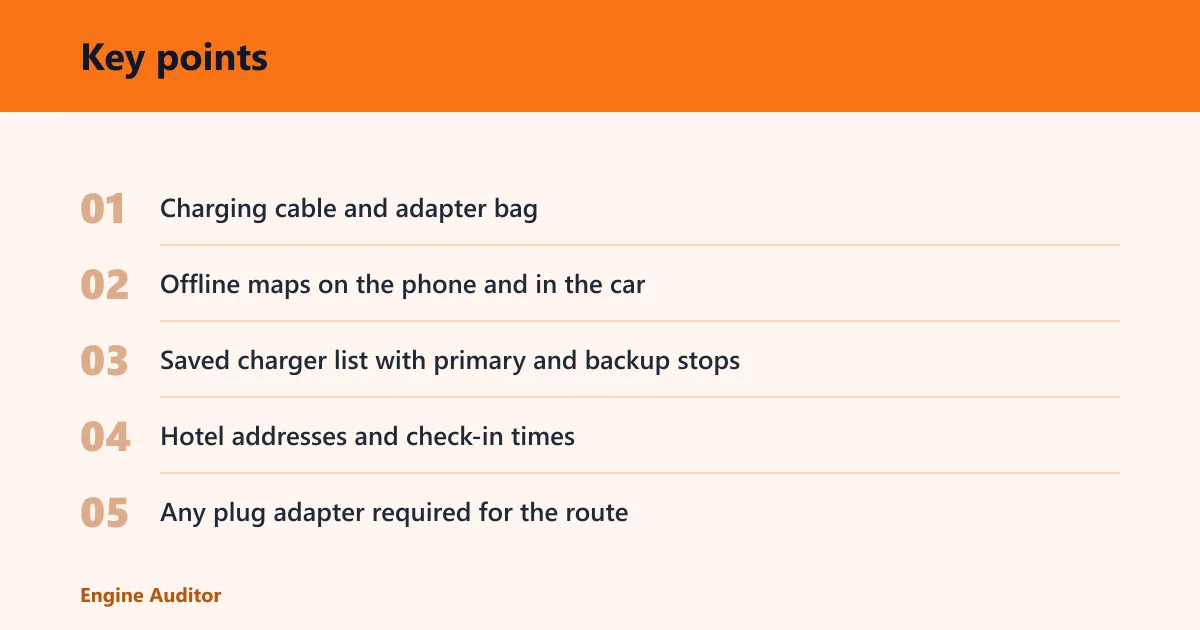
- Charging cable and adapter bag
- Offline maps on the phone and in the car
- Saved charger list with primary and backup stops
- Hotel addresses and check-in times
- Any plug adapter required for the route
Keep the cable bag easy to reach, not buried under luggage. If you need an adapter at a night stop, you should be able to find it fast.
How do you plan a trip across France in an electric car?
Plan a trip across France the same way you would plan any long EV journey, but give extra weight to motorway spacing, hotel charging, and backup stops. In France, many routes have fast-charging corridors, but a cross-country trip can still benefit from a 10% to 15% arrival buffer and a charger check before departure.
For France-style highway travel, map each leg first, then match it to a charger with recent activity and a second option nearby. If your route crosses rural stretches or winter mountains, build the day around fewer but safer stops rather than trying to stretch every leg to its limit.
Frequently asked questions
How do I plan a road trip in an electric car?
Start with usable battery capacity, real highway efficiency, and an arrival buffer of at least 10%. Then place charging stops before driving stops, verify each charger in a second app, and save one backup option for every major leg. That order makes the trip far easier to manage.
How do I plan a trip in an electric car?
Use an EV route planner such as A Better Routeplanner, not a normal maps app alone. Enter the vehicle model, expected speed, temperature, and elevation so the route reflects real conditions. Then compare each stop in PlugShare and pick lodging with Level 2 charging when possible.
How do I plan charging stops for an EV road trip?
Choose chargers you can reach with 20–30% battery left, then add a backup charger near each one. Score every stop for stall count, recent check-ins, backup distance, and weather exposure. This method reduces the chance of a delay caused by a broken, busy, or slow station.
How far should I drive between EV charging stops?
The right distance depends on usable battery capacity, highway efficiency, and the arrival buffer you set. For most trips, the stop spacing should leave room for 10% SOC at arrival, or 15% on harder routes. Do not plan by a brochure range figure alone.
What charge level should I arrive with on an EV road trip?
Arrive with at least 10% SOC by default, and use 15% for winter, mountains, towing, heavy loads, or sparse charging. That buffer gives you room for detours and station problems. A larger buffer may add a stop, but it often reduces stress and risk.
What should I pack for a long trip in an electric car?
Pack your charging cable and adapter bag, offline maps, saved charger backups, and hotel details with charging access. Also keep the route plan handy in case the network drops. If your car came with a Type 2 charging cable, make sure it is in the car before departure.
Products related to this article
Sponsored / affiliate links. As an Amazon Associate I earn from qualifying purchases. I may earn additional commission from eligible campaigns.