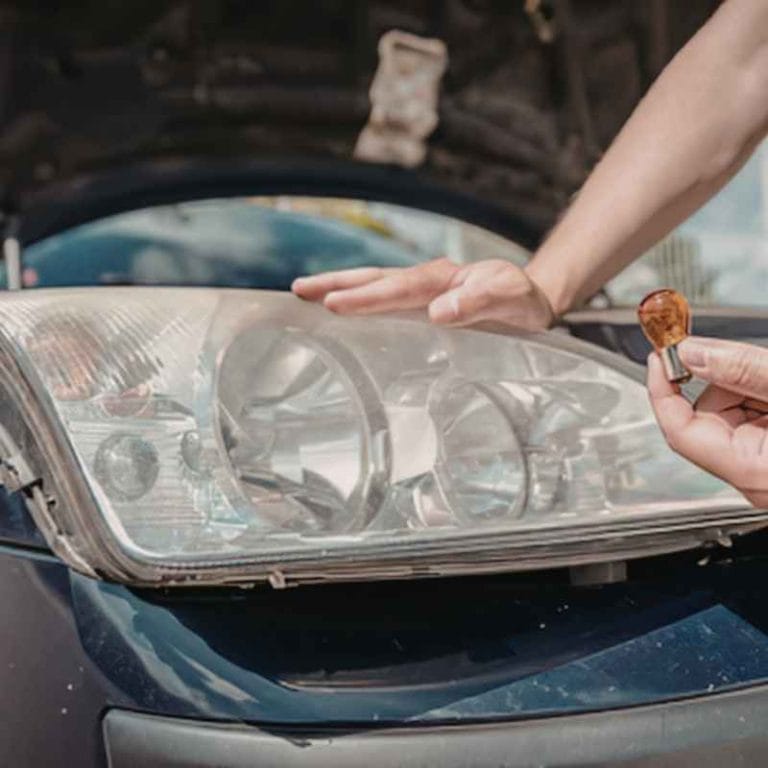
How To Keep New Car Headlights Clear Longer (Simple Tricks)
Keeping new car headlights clear longer involves understanding what makes them degrade and taking proactive, simple steps to protect them. This includes regular cleaning, proper waxing, applying protective films, and avoiding harsh chemicals. Making these habits part of your car care routine can significantly extend the life and clarity of your headlights.
Why Headlights Get Cloudy
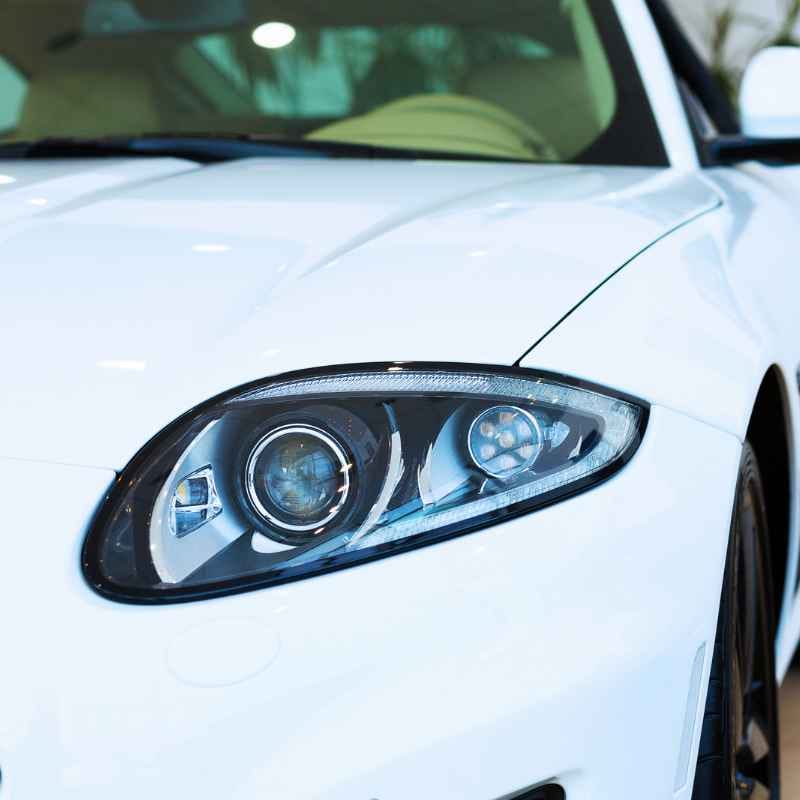
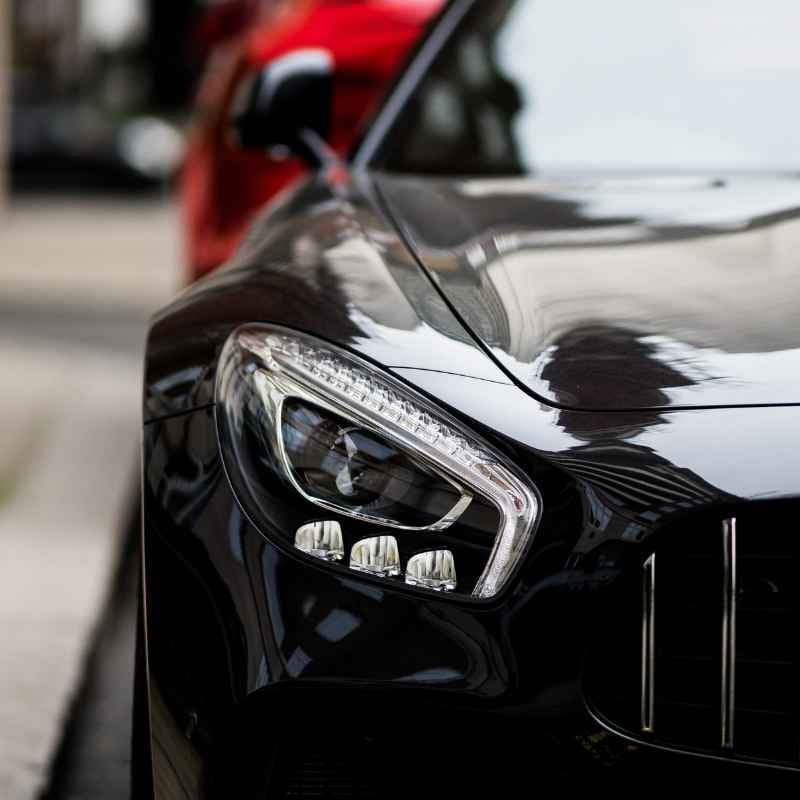
Most car headlights today are made of plastic. This is usually polycarbonate. It’s tough and light.
But plastic can degrade. The sun’s ultraviolet (UV) rays are a big culprit. They break down the plastic over time.
This causes a hazy or yellow look. Road debris also plays a role. Small rocks and grit can scratch the surface.
Even simple washing can cause tiny scratches if done wrong. Many headlights have a clear coat. This is like a protective layer.
But this coat can wear away. That’s when the plastic underneath starts to show its age.
Think of it like sunscreen for your car’s eyes. The UV protection is crucial. When that protection fades, the plastic is exposed.
It starts to look dull. The light output also suffers. Dimmer headlights mean you can’t see as well at night.
This is a safety issue. It also makes your car look older than it is. People spend a lot of time washing and waxing the car’s paint.
But the headlights often get overlooked. They are just as important for the car’s overall look and function.
The manufacturing process matters too. The quality of the plastic and the UV coating can vary. Higher-quality headlights tend to last longer.
They might have a thicker, more durable protective layer. But even the best ones will eventually show wear if not cared for. So, while the material is important, your actions make a big difference.
Understanding these causes helps us know how to fight them.
My Own Headlight Nightmare (And How I Learned)
I remember buying my first new car. It was a sporty little sedan. I was so proud of it.
The headlights were so sharp and clear. They made the whole car look so sleek. For the first year, I babied that car.
Washed it every weekend. Waxed it religiously. But then, life got busy.
My job became more demanding. Weekend car washes became less frequent. I started to notice it.
A subtle haziness on the headlights. At first, I ignored it. I told myself it wasn’t that bad.
Then, one evening, driving home on a dark, unlit road, I realized how dim they were. It was a little scary. I felt a pang of regret.
I’d let these important parts of my car deteriorate. It felt like I’d failed my car. I’d spent so much on it, and now it looked neglected.
That’s when I decided I needed to do something. I learned quickly that just washing wasn’t enough. You need to actively protect them.
I felt a bit foolish. I had all these car care products for the paint. Waxes, polishes, sealants.
But I had nothing specific for the headlights. I went online, looking for solutions. I read about headlight restoration kits.
They worked, but it was a lot of work. And the results didn’t always last. It felt like a temporary fix.
I thought, “There has to be a better way to prevent this in the first place.” I started researching preventative measures. Things that were easy to do regularly. Things that didn’t require a full restoration project.
It was a learning process. One where I made mistakes. But the goal was always to keep that new car shine.
And for headlights, that means clarity and brightness.
Protecting Your Headlights from the Start
The best way to keep headlights clear longer is to protect them from day one. As soon as you get your new car, think about protection. This is much easier than fixing them later.
You want to shield them from the sun’s UV rays and minor abrasions. Think of it as building a shield. This shield will absorb the damage, not the headlight itself.
Proactive Headlight Care: Key Steps
- Initial Wash & Dry: Always start with a clean surface. Use a pH-neutral car wash soap. Rinse thoroughly. Dry with a clean microfiber towel.
- Gentle Cleaning Routine: Wash headlights with the same soap you use for the car body. Avoid harsh brushes. Use a soft wash mitt.
- UV Protection Application: Apply a dedicated UV protectant spray or sealant. This is critical.
- Consider Ceramic Coating: For long-term protection, a ceramic coating can be applied.
Don’t wait for them to look hazy. Apply protection right away. The factory UV coating is good, but it’s not invincible.
Adding another layer of defense helps a lot. It’s like wearing a hat in the sun. You still get sun on your skin, but the hat blocks a lot of it.
The goal is to slow down the degradation process. It’s about being smart with your car from the beginning. This simple habit can save you a lot of effort and money down the road.
Many people skip this step. They think the car is new, so it will stay that way. But the sun doesn’t care if the car is new.
Its UV rays are powerful. They start working the moment the car leaves the factory. So, make headlight protection a part of your car care routine.
It’s a small step with big rewards.
The Power of Regular Washing
It might seem obvious, but how you wash your car matters. Regular washing is key. It removes dirt, grime, and road film.
These things can etch into the plastic. They can also contain abrasive particles. If you let them sit there, they can start to dull the surface.
Always use a good car wash soap. These are designed to be gentle. They won’t strip away any protective layers you might have on the headlights.
When washing, use a soft wash mitt. Avoid stiff brushes or sponges. These can cause micro-scratches.
After washing, rinse thoroughly. Make sure all soap residue is gone. Then, dry the headlights.
Use a clean, soft microfiber towel. Wring it out often. Don’t let water spots dry on the surface.
Water spots contain minerals that can etch the plastic. It’s about being gentle. Treating the headlights like you treat the car’s paint.
They are delicate surfaces.
Gentle Washing Checklist
What to Use:
- pH-neutral car wash soap
- Soft wash mitt
- Clean microfiber towels
What to Avoid:
- Dish soap (too harsh)
- Stiff brushes or sponges
- Automatic car washes with rough brushes
- Letting dirt bake onto the surface
This routine cleaning removes the daily build-up. It prevents contaminants from bonding to the plastic. It’s a foundational step.
Without it, other protection methods might not work as well. Imagine trying to put a shield on a dirty surface. It won’t stick properly.
So, make washing a priority. It’s the first line of defense.
Many car owners think washing is just about looks. But it’s also about preservation. Each wash removes microscopic particles that can cause damage.
These particles, if left, become harder to remove. They can start to dull the surface. This dullness is the first sign of clouding.
So, don’t skip this step. It’s more important than you think.
The Magic of Wax or Sealant
Once your headlights are clean and dry, it’s time for a protective layer. Car wax or a paint sealant is your friend here. Many car waxes are safe for plastic.
Check the product label to be sure. Applying a coat of wax or sealant is like putting a clear coat on top of the existing one. It adds a layer of UV protection.
It also makes the surface slick. This slickness helps dirt and grime slide off easier. It also makes the headlights look shinier.
When applying wax, use a foam applicator pad. Work it in small, circular motions. Cover the entire headlight lens.
Don’t forget the edges. Let the wax haze over for a minute or two. Then, buff it off with a clean microfiber towel.
This process is very similar to waxing your car’s paint. It’s quick. It doesn’t take much time at all.
Doing this every few months can make a big difference.
Waxing/Sealing for Headlights
Frequency: Every 2-3 months, or after every few washes.
Application:
- Apply a thin, even layer with a foam applicator.
- Let it haze for 1-2 minutes.
- Buff off with a clean microfiber towel.
Benefits: Adds UV protection, makes surface slick, enhances shine.
Paint sealants are another great option. They often last longer than traditional car waxes. They offer superior UV protection.
If you use a paint sealant on your car’s body, consider applying it to the headlights too. It’s usually a spray-on, wipe-off product. It adds a durable layer of protection.
This is an easy way to boost the longevity of your clear headlights.
Some people worry about wax or sealant leaving a white residue. This can happen if you use too much product. Or if you let it dry completely.
The key is to apply a thin layer. And to buff it off while it’s still slightly hazy. Most modern car waxes and sealants are formulated to be clear.
They won’t leave a white film on the plastic. This is a simple, effective step.
The Role of Clear Protective Films (PPF)
For the ultimate in headlight protection, consider a clear protective film. This is often called Paint Protection Film (PPF). It’s the same material used to protect car paint from chips and scratches.
It’s a clear, urethane-based film. It’s applied directly to the headlight lens.
PPF is incredibly effective. It shields the headlights from UV rays, rock chips, sandblasting, and road salt. It also prevents minor scratches from everyday use.
Many PPF products are self-healing. Small scratches in the film can disappear on their own with heat. This keeps the headlights looking like new for much longer.
It’s an investment, but it can pay off. It’s especially useful in areas with harsh weather or lots of road debris.
Clear Protective Film (PPF) Insights
What it is: A clear, durable urethane film.
Benefits:
- Blocks UV rays
- Protects from rock chips and debris
- Prevents scratches
- Self-healing properties (on many types)
Consideration: Can be costly. Professional installation is recommended for best results.
If you’re not comfortable applying film yourself, most professional auto detailers or tint shops can install it. They have the tools and experience to apply it smoothly. Without bubbles or imperfections.
A well-applied PPF can last for many years. It significantly reduces the need for restoration later. It’s a fantastic way to preserve that factory-fresh look and clarity.
Think of it as a transparent armor. It does its job without changing the appearance of your headlights. It lets the light shine through clearly.
But it takes all the hits. This is the premium option. But for many, the peace of mind and extended clarity are well worth it.
It’s a long-term solution.
Avoid Harsh Chemicals and Abrasives
This is a crucial point. Some cleaning products and methods can do more harm than good. Always check the label of any cleaner you use.
Avoid anything that says “heavy-duty degreaser” or “solvent-based.” These can break down the plastic and its protective coating. Even some household cleaners can be too harsh.
Also, be careful with abrasive materials. Things like steel wool, harsh scrubbing pads, or even gritty compounds can scratch the plastic. These scratches might be tiny at first.
But they catch light. They make the surface look dull. Over time, these scratches can worsen.
They create more surface area for UV damage. Stick to soft cloths and gentle cleaners. Your headlights will thank you.
Chemical & Abrasive Pitfalls
Harsh Chemicals to Avoid:
- Strong solvents
- Engine degreasers
- Window cleaners with ammonia (can dry out plastic)
Abrasive Materials to Avoid:
- Steel wool
- Stiff brushes
- Abrasive scouring pads
- Gritty household cleaners
When in doubt, test a small, inconspicuous area first. Or, stick to products specifically made for car care. Many brands offer detailing sprays or all-purpose cleaners that are safe for all car surfaces.
These are usually a good bet. It’s better to be safe than sorry. Damaging the headlights means you’ll have to restore them sooner.
It’s easy to grab whatever cleaner is handy. But in the world of car care, using the wrong product can be costly. These plastic lenses are different from painted surfaces.
They require a gentler touch. Think of it like skincare for your car. You wouldn’t use harsh acne treatments on sensitive skin, right?
The same logic applies here.
The Importance of UV Protection Products
Let’s circle back to UV protection. This is arguably the most important factor. The sun’s UV rays are the primary enemy of plastic headlights.
Over time, they cause the plastic to oxidize. This oxidation is what leads to the yellowing and haziness. Many products designed for car detailing include UV inhibitors.
These are added to protect surfaces from sun damage.
You can find dedicated UV protectants specifically for automotive plastics. These products create a barrier. This barrier absorbs or reflects UV rays.
They often have a matte or satin finish. This makes them ideal for trim, but also great for headlights. Apply these regularly.
Once every few months should be enough. They often need to be reapplied because the elements will wear them away over time.
UV Protectant Application Tips
Choose the Right Product: Look for automotive-specific UV protectants or dedicated plastic protectants.
Application:
- Ensure headlights are clean and dry.
- Apply product to an applicator pad or microfiber towel.
- Wipe evenly over the headlight lens.
- Allow to penetrate according to product instructions.
- Wipe off any excess.
Frequency: Every 2-4 months, depending on climate and product durability.
If you live in a sunny climate, this step is non-negotiable. Direct sunlight is relentless. Even on cloudy days, UV rays penetrate.
Investing in a good UV protectant will help your headlights last much longer. It’s a small effort for a big visual and safety reward. It ensures the plastic stays clear and strong.
Think about convertible car owners. They use specific protectants for their soft tops. This is because the fabric is exposed to the sun.
Headlight plastic is much the same. It needs its own defense. Especially when it’s a clear plastic that needs to let light through.
This is where specialized products shine.
Ceramic Coatings: A Long-Term Shield
For those looking for the most durable protection, ceramic coatings are an excellent choice. Ceramic coatings create a hard, glassy layer on the surface. This layer is incredibly resistant to UV rays, chemicals, and minor abrasions.
Many detailers offer ceramic coating packages for headlights. This is often done as part of a full-car ceramic coating service.
A professionally applied ceramic coating can last for several years. It provides superior protection compared to waxes or sealants. It also makes cleaning much easier.
Dirt and grime have a harder time sticking to the slick ceramic surface. The light output from your headlights will remain strong and clear for a very long time. It’s a significant investment, but the longevity and protection are unmatched.
Ceramic Coating Benefits for Headlights
Durability: Lasts for years (typically 2-5+ years).
Protection:
- Excellent UV resistance
- Chemical resistance
- Resistance to light scratches and swirl marks
Ease of Cleaning: Hydrophobic properties repel water and dirt.
Note: Professional application is usually recommended for best results.
If you’re treating your car to a full ceramic coating, ensure the headlights are included. It’s a critical part of protecting the vehicle’s entire exterior. A good ceramic coating will keep your headlights crystal clear.
It will also maintain their brightness. This is a premium solution for those who want the best. It’s about long-term preservation and a consistently clear view.
Ceramic coatings are not just for paint. They bond to many surfaces. Including plastics and clear coats.
Their chemical structure makes them very tough. They create a barrier that is hard to penetrate. This makes them ideal for high-wear items like headlights.
It’s the modern approach to automotive protection.
What If They Start to Fade Anyway?
Even with the best care, sometimes headlights can start to fade. This is when you might need a restoration. Don’t despair!
Headlight restoration kits are readily available. These kits typically involve a multi-step process. You’ll usually sand down the old, oxidized layer.
Then, you’ll use polishes to bring back clarity. Finally, you’ll apply a new protective coating, often a UV sealant.
The key to successful restoration is patience and following the instructions carefully. Start with the finest grit sandpaper included in the kit. Work your way up through the grits.
Rinse frequently. After sanding, the headlight will look very foggy. This is normal.
The polishing steps are what bring back the shine. Always apply a UV sealant afterwards. Without it, the headlights will cloud up again very quickly.
Quick Restoration Steps (General)
1. Clean the headlight thoroughly.
2. Wet sand: Start with coarser grit sandpaper (e.g., 1000-1500 grit) and work to finer grits (e.g., 3000-5000 grit). Keep the surface wet.
This removes oxidation.
3. Polish: Use a plastic polish to remove sanding marks and restore clarity.
4. Protect: Apply a UV sealant or clear coat to protect the newly restored surface.
Note: Always follow kit instructions. Results vary based on the severity of damage.
If you’re not comfortable with sanding, many auto detailers offer headlight restoration services. They have the tools and expertise to get excellent results. It’s usually faster and easier than doing it yourself.
But a good DIY kit can save you money. Just be sure to use the included UV protectant. This is the most critical part of the restoration process.
Restoration is a good option for older cars or those that weren’t protected well. It can make a dramatic difference in appearance and driving safety. But it’s always better to prevent the need for restoration in the first place.
This proactive approach saves time and effort.
Checking Your Headlights Periodically
It’s easy to forget about your headlights until you notice a problem. Make it a habit to check them regularly. When you wash your car, take a close look at the headlights.
Do they still look clear? Is there any sign of yellowing or haziness starting? A quick visual inspection can catch issues early.
You can also check their performance. Park your car facing a wall or garage door. Turn on your headlights.
See how bright the beams are. Are they as strong as they used to be? If they seem dim, it’s a sign that the lenses might be degrading.
This is your cue to apply some protection or consider a cleaning. Early detection is key to preventing severe clouding.
Headlight Health Check: Simple Questions
Visual:
- Do they look clear or hazy?
- Is there any yellowing?
- Are there any visible scratches or pits?
Performance:
- Are the beams bright?
- Do they illuminate the road effectively at night?
This periodic check doesn’t take much time. It fits right into your existing car care routine. It’s about staying ahead of the problem.
Instead of reacting when they are severely cloudy, you can act when you see the first signs. This proactive approach is what keeps them clear longer.
Think of it like checking the batteries in your smoke detector. You don’t wait for it to beep erratically. You test it.
Regular checks are simple. They prevent bigger issues later. And for headlights, clearer lights mean safer driving.
It’s a win-win situation.
Real-World Scenarios Where Headlights Are Tested
Life happens to cars. They spend their days exposed to the elements. Consider a car that’s parked outside all day.
It’s constantly bombarded by the sun’s UV rays. Even if it’s driven mostly at night, the daytime sun is still a factor. This is especially true in places like Arizona or Southern California, where the sun is intense year-round.
Then there are the roads themselves. Driving on gravel roads kicks up dust and small stones. These impact the headlights.
Highway driving exposes them to road salt in winter. Or road grime and tar. Even washing your car can introduce tiny scratches if done improperly.
Each of these scenarios tests the integrity of the headlight lens and its protective coating. A car used for long commutes will face more of these challenges than a car driven only on weekends.
Headlight Stressors in Everyday Life
Sun Exposure: Constant UV radiation breaks down plastic.
Road Debris: Rocks, sand, and grit cause pitting and scratches.
Weather: Rain, snow, hail, and temperature changes can stress materials.
Chemicals: Road salt, tar, and even harsh cleaning agents can damage lenses.
Washing: Improper washing techniques can create micro-scratches.
Understanding these real-world challenges helps you appreciate why protection is so important. It’s not just about looks. It’s about the physical integrity of the headlight.
The plastic needs to withstand a lot. And a little help goes a long way in making that happen. Your car’s headlights are working hard for you.
It’s good to return the favor with some care.
Imagine a boxer in a ring. They wear protective gear. Gloves, mouthguard, cup.
This gear takes the hits. It allows the boxer to keep fighting. Your car’s protection layers are its gear.
They take the damage so the actual headlight plastic doesn’t. This keeps it performing at its best.
When is Cloudiness a Problem?
A little bit of haziness might not seem like a big deal. But it can become a significant problem over time. The primary issue is reduced light output.
Cloudy headlights can reduce the amount of light reaching the road by up to 50%. This is a huge safety concern. It means you can’t see as far ahead.
It makes it harder to spot hazards like pedestrians or animals.
Dim headlights also affect your ability to see road signs and lane markings. This is especially true in poor weather conditions like rain or fog. Beyond safety, very cloudy headlights can be a reason for failing a vehicle inspection in some states.
They can also significantly detract from the overall appearance of your car. Making it look old and poorly maintained. So, addressing cloudiness is not just about aesthetics.
Signs of Problematic Headlight Cloudiness
Reduced Brightness: Beams are noticeably dimmer.
Poor Night Vision: Difficulty seeing far ahead on dark roads.
Uneven Light Spread: Light pattern is distorted or weak.
Yellowing: A distinct yellow tint that obstructs light.
Inspection Failure: Fails to meet legal lighting requirements.
Aesthetic Concern: Makes the car look old or neglected.
If you notice any of these signs, it’s time to take action. Start with the preventative steps if your headlights are still clear. If they are already showing signs of clouding, consider restoration.
Don’t let this problem linger. Your safety and the appearance of your car depend on it.
It’s easy to think of headlights as just lights. But they are a critical safety component. Like brakes or tires.
Their performance directly impacts your ability to drive safely at night. So, when they degrade, it’s a functional issue, not just a cosmetic one.
Quick Tips for Keeping Headlights Clear
Here’s a quick rundown of the most effective things you can do. These are simple habits to build:
- Wash Regularly: Use gentle car soap and a soft mitt.
- Apply Wax/Sealant: Every few months for added UV protection.
- Use UV Protectants: Specifically designed for plastics.
- Be Gentle: Avoid harsh chemicals and abrasive scrubbers.
- Consider PPF: For maximum long-term protection.
- Check Periodically: Inspect for haziness or dimming.
These steps are not complicated. They don’t require special skills or expensive tools. They are about consistent care.
Treating your headlights with the same attention you give your car’s paint. By integrating these simple habits, you can keep your new car’s headlights crystal clear for years to come. It’s about making small efforts regularly.
Think of it like flossing your teeth. It’s a daily habit that prevents bigger dental problems. These headlight tips are your car’s version of flossing.
They keep the “smile” of your car bright and clear. This proactive approach is always better than dealing with damage later.
Frequently Asked Questions About Headlight Clarity
Can I use household cleaners on my headlights?
It’s best to avoid most household cleaners. Many contain harsh chemicals like ammonia or solvents that can damage the plastic and its UV coating. Stick to pH-neutral car wash soaps or dedicated plastic cleaners/protectants.
How often should I wax my headlights?
Applying a car wax or sealant to your headlights every 2-3 months is a good practice. This adds a protective layer against UV rays and makes the surface slicker, helping dirt slide off easier.
Will a ceramic coating work on headlights?
Yes, ceramic coatings are excellent for headlights. They provide a very durable, long-lasting layer of protection against UV rays, chemicals, and minor abrasions. Many professional detailers offer this service.
How long does headlight restoration typically last?
The longevity of headlight restoration varies. If you don’t apply a good UV sealant afterward, they can become hazy again within months. With proper UV protection applied, the restored clarity can last from 6 months to over a year, depending on conditions.
Is it worth paying for professional headlight restoration?
If your headlights are severely oxidized or yellowed, and you’re not comfortable with DIY restoration, professional services can yield excellent results. They have access to better tools and products, often providing a more durable finish. It’s often faster and less frustrating than DIY.
Can toothpaste clean headlights?
Some people use toothpaste as a mild abrasive for minor headlight haziness. While it might offer a very temporary improvement due to its mild abrasives and polishing agents, it’s not a long-term solution and can potentially cause micro-scratches if not used carefully. Dedicated headlight polishes or restoration kits are more effective and safer.
Conclusion
Keeping your new car’s headlights clear longer is entirely achievable. It’s about smart, simple steps taken consistently. From gentle washing to applying protective layers, each action builds defense.
Prioritize UV protection and avoid harsh treatments. A little effort now saves you from costly repairs and ensures safer night driving. Enjoy your bright, clear headlights for many miles to come.