How to Fix an Oil Leak at the Oil Pan Gasket
Clean the pan and check the drain plug first. If fresh oil appears at the plug or rim, the gasket is not the source, and you should not buy parts yet. Misdiagnosis wastes money and can leave a low-oil engine running until it damages bearings. This guide shows how to tell a gasket leak from a cracked pan, loose drain plug, or oil running down from above.
Oil pan leaks decision table


| Symptom pattern | Likely source | Quick test | Next step |
|---|---|---|---|
| Wet line at the oil pan seam, oil beads along the pan rail, drip forms after parking | Oil pan gasket seep | Clean the seam, drive briefly, then inspect the gasket line with a light | Plan gasket replacement if the seam wets first |
| Oil spot starts at a dent, gouge, or thin spot in the pan | Pan crack | Wipe dry and look for a fresh streak from the damaged metal, not the seam | Use a temporary patch only if the pan can be cleaned and prepped well |
| Oil collects around the drain plug or washer, then drips straight down | Drain plug/washer leak | Check for loose threads, crushed washer, or oil halo around the plug | Reseat or replace the plug washer before replacing the pan gasket |
| Oil is wet above the pan and trails downward to the pan rail | Oil running down from above | Trace the highest wet point on the engine before touching the pan | Inspect the valve cover or filter housing first |
What a leaking oil pan gasket looks like
Quick answer
The oil pan gasket seals the pan to the bottom of the engine block. When the seal fails, oil usually shows up at the seam where the pan meets the block. The common clues are a fresh puddle, a falling dipstick level, and oil wetness that begins at the pan rail rather than above it.
The oil pan gasket seals the oil pan to the bottom of the engine block. Two gasket types are commonly used in car engines: formed rubber styles and liquid sealant-style applications. When heat, vibration, age, or poor sealing breaks that seal, oil usually shows up at the seam where the pan meets the block.
Common signs include an Oil Puddle or Stain under the vehicle and a Low Oil Level on the dipstick. If the leak gets worse, the Oil Warning Light can illuminate when oil gets low enough. That warning is not a “drive a little longer” message; low oil pressure or a critically low oil level can quickly damage bearings and other internal parts, so the engine should be checked immediately (OEM service information commonly treats oil pressure/warning indications as stop-and-inspect conditions). A Burning Oil Smell often means oil has landed on hot exhaust parts, and blowback can coat the underside of the car while driving.
Say your compact car leaves a dark spot after an overnight park. If the highest wet edge is the pan seam, the gasket is a better suspect than the drain plug or valve cover. If the highest wet edge is above the pan, the pan gasket may be innocent.
Common signs under the car
The oil pan sits at the bottom of the engine and may be steel or aluminum. Because it sits low, it picks up grime and old oil fast. That buildup hides the source, so a stain under the car does not prove the gasket is bad until you clean the area and watch where fresh oil starts.
Low oil level and warning light
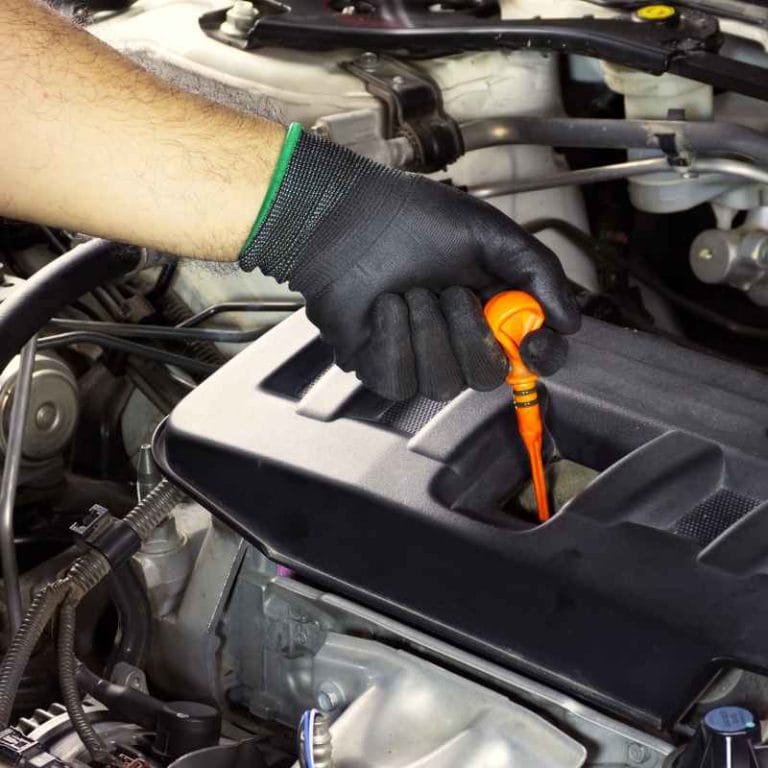
Low oil level often shows up after a leak has been active for some time. The oil warning light may come on when the oil level drops far enough to threaten engine damage. If that light comes on, stop driving until you verify the level and source. In service literature, the warning is treated as a prompt to check oil level and pressure right away, not as a routine maintenance reminder.
Burning oil smell and blowback
Burning oil smell usually points to oil landing on hot exhaust parts or other heated surfaces. Blowback while driving can move oil rearward and upward, so the mess may not sit directly under the leak. That is why a clean inspection matters before you choose parts.
Is it the gasket, the pan, or the drain plug?
Quick answer: start by separating four patterns
Start by separating four patterns: a gasket seep at the seam, a cracked or dented pan, a drain plug or washer leak, and oil running down from above. If you skip that step, you may replace a gasket that never failed. The fastest way to avoid that mistake is to find the highest fresh oil point.
Oil pan gasket seep at the seam
Look for oil that forms a thin wet line along the joint between the oil pan and engine block. The engine block mating surface must be clean, flat, and oil-free before resealing, or a new gasket may fail again. Warpage or damage at that surface can stop the gasket from sealing.
Cracked or dented oil pan
A cracked pan usually leaks from the damaged metal itself, not from a full seam. A dent can also pinch the gasket area or create a slow seep near the impact point. If the pan is warped, badly gouged, or split, a gasket swap alone will not solve it.
Drain plug and washer leak
The drain plug sits at the lowest point of the pan, so its leak often makes the whole underside look guilty. Check the washer, the plug head, and the threads. If oil starts at the plug and fans outward, fix that first before touching the gasket.
Oil running down from above
Oil can travel down from the valve cover, filter housing, or another upper seal and collect on the pan. The pan then looks like the source even though it only caught the runoff. Trace the highest wet point on the engine, not the lowest wet point on the ground.
How to inspect the leak source
Quick answer: clean the engine and undercarriage
Clean the engine and undercarriage first, then inspect the drain plug, pan rail, and upper seals in that order. Fresh oil always reveals the true source better than old grime does. The goal is to find the highest fresh oil point, because that point usually identifies the part that actually failed.
Clean the area first. Use degreaser or brake cleaner, and wear nitrile gloves during cleanup and solvent work. If the undercarriage is coated, a special degreaser helps remove the film enough to see fresh oil. This is the best way to reveal whether the leak starts at the seam, the plug, or higher up.
Step-by-step inspection
- Park on a level surface and let the engine cool enough to work safely.
- Place a piece of cardboard under the car to locate drips.
- Clean the pan, plug, and surrounding undercarriage with degreaser or brake cleaner.
- Inspect the drain plug, washer, and threads for wetness first.
- Check the pan rail and bolt line for fresh oil at the seam.
- Trace upward from the wettest point to find the highest fresh oil source.
Suppose a front-wheel-drive car with a transverse engine has the pan tucked above a subframe. The leak still follows gravity, but access is tighter, and a sway bar or subframe piece may block your view. In that layout, the highest fresh oil point matters even more than the puddle on the floor.
What to look for after cleaning
If the seam stays dry but the drain plug wets first, the gasket is not your first repair. If oil returns at the pan rail only, the gasket or the block mating surface is likely at fault. If oil appears above the pan, stop blaming the pan until you inspect the upper seal.
When to replace the oil pan gasket
Quick answer: replace the oil pan gasket
Replace the oil pan gasket when the seam is the clear source, the pan itself is sound, and the block surface is clean and flat enough to reseal. If the pan is warped, the threads are stripped, or the leak keeps returning after a previous repair, do not treat it as a simple gasket job. That usually needs vehicle-specific information.
Signs the gasket has failed
Fresh oil along the gasket line, repeated drips from the same seam after cleaning, and oil wetness around the pan rail point toward gasket failure. Heat, vibration, age, and poor sealing are common causes. If the leak starts at the seam and nowhere else, that is the job for a gasket replacement.
When the block surface may be the problem
The engine block mating surface must be clean, flat, and oil-free before resealing. If corrosion, nicks, or warp keep the gasket from sitting flat, a new gasket can fail fast. That is a stop-and-check point, not a buy-parts-first moment.
When to stop and get vehicle-specific specs
Do not guess on torque specs or bolt sequence. Many pans need a vehicle-specific service manual because over-tightening can warp the pan or squeeze the gasket out of place. If the pan uses a formed sealant bead, the service procedure matters even more.
Can you patch a cracked oil pan?
Quick answer: yes, but only
Yes, but only as a temporary emergency fix for a cracked pan, not as a gasket replacement. JB Weld or epoxy patch material can buy time if the metal is clean and the crack is stable. It will not fix a failed gasket, a warped flange, or a bad drain plug seal.
How to prep metal for a patch
Drain the oil before removal. Clean the pan thoroughly before patching, then roughen the repair area with sandpaper so the patch has a better surface to grab. A dirty or oily pan will not hold a patch well, and oil residue can keep the adhesive from bonding.
Why patching does not fix a bad gasket
A patch only seals a hole in the pan itself. It does nothing for the joint between the pan and the engine block. If the leak is at the seam, the correct repair is gasket work, not epoxy.
What the repair usually involves
Quick answer: a proper repair starts
A proper repair starts with draining the oil, supporting the vehicle safely, removing whatever blocks access, and cleaning every sealing surface before the pan goes back on. Use RTV only where the manufacturer specifies it, torque bolts in sequence and to spec, then let sealant cure fully before refilling and checking for leaks.
How to fix a leaky oil pan depends on the source. For a gasket job, the pan usually comes off, the sealing surfaces are cleaned, and the new gasket or liquid sealant is installed according to the vehicle procedure. Some pans use gasket sealant or RTV silicone, which must be oil-resistant, compatible with engine oil, and given cure time before you refill.
Replacement checklist
- Drain the oil before removal.
- Support the vehicle safely before working underneath it.
- Remove obstructions that block pan access.
- Clean the mating surfaces thoroughly.
- Check the flange and pan rail for straightness or warpage.
- Apply RTV only where the service procedure specifies it.
- Torque fasteners in the correct sequence and to specification.
- Allow RTV or sealant to cure for the required time.
- Refill the engine with oil.
- Start the engine and verify there are no leaks.
Drain the oil before removal
The oil pan must be drained before removal or repair. That keeps oil off the sealing surfaces and prevents a messy reinstall. It also reduces the chance that leftover oil will contaminate RTV silicone or a gasket bead during assembly.
RTV silicone and cure time on some pans
Some oil pan installations use RTV silicone instead of, or alongside, a formed gasket. Follow the cure time before refilling oil. Sealant makers commonly note that RTV needs a skin time and an in-service cure window, and OEM procedures often require waiting before oil fill so the bead can set without being washed away. If you rush that step, the seal can fail before the engine ever reaches operating temperature.
Access issues on transverse engines and subframes
Vehicle layout changes the labor fast. Transverse engines, subframes, and sway-bar parts can block the pan or force extra removal steps. That is why a repair that looks simple from below may turn into a long job on the driveway.
When a shop is the better call
Stop and reassess if the pan is warped, the drain plug threads are stripped, or the gasket has failed again after a recent repair. Those cases often need more than a gasket and a socket set. They may also require a new pan, thread repair, or a higher lift than you have at home.
Cost breakdown
How much does an oil pan gasket replacement cost? Real-world repair-data and labor guides usually place the job in two broad bands. Easier rear-wheel-drive or accessible layouts often land around $300 to $700 at a shop, while transverse-engine or subframe-heavy jobs commonly run about $700 to $1,500 or more because labor time rises fast. Parts, oil, and filter are only part of the bill; access is what usually drives the total.
- Gasket or formed sealant: varies by engine design
- Engine oil and filter: required if the pan is drained
- Brake cleaner or degreaser: useful for diagnosis and cleanup
- RTV silicone: only for applications that call for it
- Labor: highest cost when access is tight or the pan must come off additional parts
What typically adds labor time
Labor goes up when the pan sits above a subframe, when exhaust parts or splash shields have to come off, when the engine mount must be supported, or when the pan rail is hard to reach with a torque tool. Corroded fasteners, stripped threads, and cleanup after an old sealant job can also add significant time.
Frequently asked questions
How do I replace an oil pan gasket?
Drain the oil, clean the pan and block surfaces, remove the pan, install the correct gasket or RTV silicone as specified, and let any sealant cure before refilling. If the pan is warped or the block surface is damaged, fix that first or the new gasket may leak again.
How do I change an oil pan gasket?
Change it only after you confirm the seam is the leak source. Clean the area, remove the pan, replace the gasket, and inspect the drain plug and pan flange before reassembly. Transverse engines and subframes can change the access path and labor quite a bit.
How do I seal a leaking oil pan?
Seal the correct source, not the closest wet spot. A seam leak needs gasket work; a cracked pan may get a temporary JB Weld or epoxy patch if the surface is clean and roughened; a drain plug leak needs a washer or thread fix. RTV silicone applies only to designs that call for it.
How do I fix a leaky oil pan?
First find the leak source. Clean the pan, check the plug, trace oil from above, and decide whether the problem is the gasket, the pan, or something else. If the pan is cracked, a temporary patch may buy time. If the gasket failed, the pan must come off.
What are the symptoms of a leaking oil pan gasket?
Typical signs are an oil puddle or stain under the vehicle, low oil level, an oil warning light when the level drops far enough, and a burning oil smell if oil reaches hot exhaust parts. Oil can also coat the underside from blowback while driving.
Can I patch an oil pan leak without removing the pan?
Sometimes, but only as a short-term move on a cracked pan and only if you can clean and roughen the area well. Sandpaper helps adhesion, but a patch does not repair a gasket leak, a warped flange, or damaged threads. It is not the right answer for every leak.
Products related to this article
Sponsored / affiliate links. As an Amazon Associate I earn from qualifying purchases. I may earn additional commission from eligible campaigns.