How to Check Car Brake Pads for Wear (Quick Easy Method)
Checking your car’s brake pads isn’t just a maintenance task—it’s a critical safety measure that can prevent accidents and save you money on costly repairs. With over 300,000 brake-related crashes occurring annually in the United States alone, neglecting this basic inspection can be dangerous and costly.
Fortunately, you don’t need to be a mechanic or own a garage full of tools to assess your brake pads. Using a few quick and easy methods, anyone can confidently check brake pad wear at home or on the road.
In this guide, you’ll discover step-by-step instructions, practical tips, real-world examples, and expert insights to help you evaluate brake pad condition in minutes. You’ll learn how to spot the warning signs, understand what your inspection results mean, and know exactly when it’s time for replacement.
Whether you’re a DIY enthusiast or a daily commuter, these strategies will empower you to protect your vehicle, your wallet, and—most importantly—your safety.
Key Takeaways
- Brake pads are critical for vehicle safety and should be checked every 10,000–15,000 miles.
- You can inspect brake pad wear visually, by sound, or through touch using simple tools.
- Warning signs include grinding noises, squealing, vibrations, and reduced braking efficiency.
- Knowing when to replace pads prevents expensive rotor damage and helps avoid accidents.
- Both DIY and professional inspection methods are outlined for every skill level.
- Comparison tables and real-world case studies provide actionable, data-driven insights.

Credit: www.youtube.com
Understanding Brake Pads And Why Wear Matters
What Are Brake Pads?
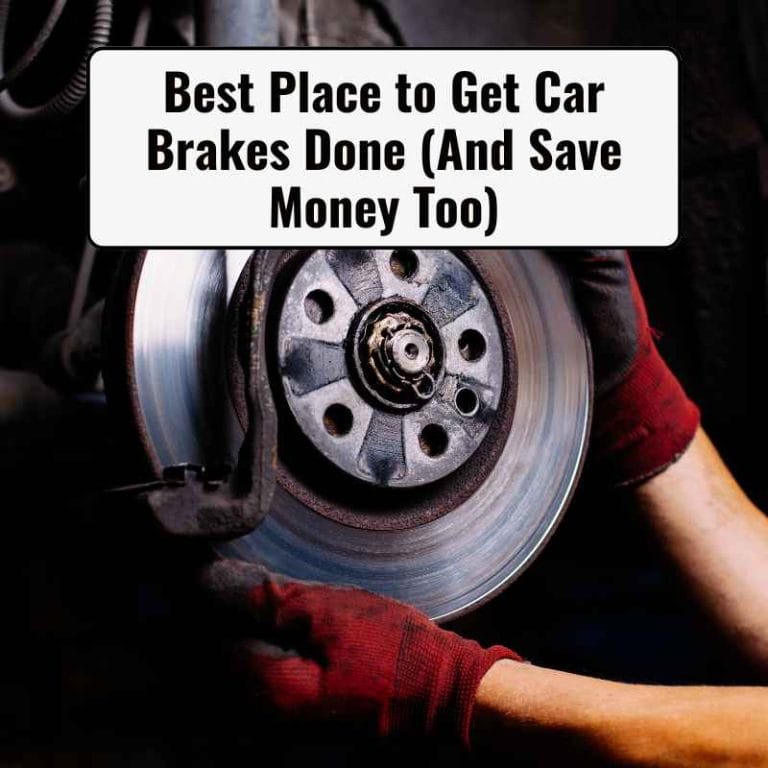
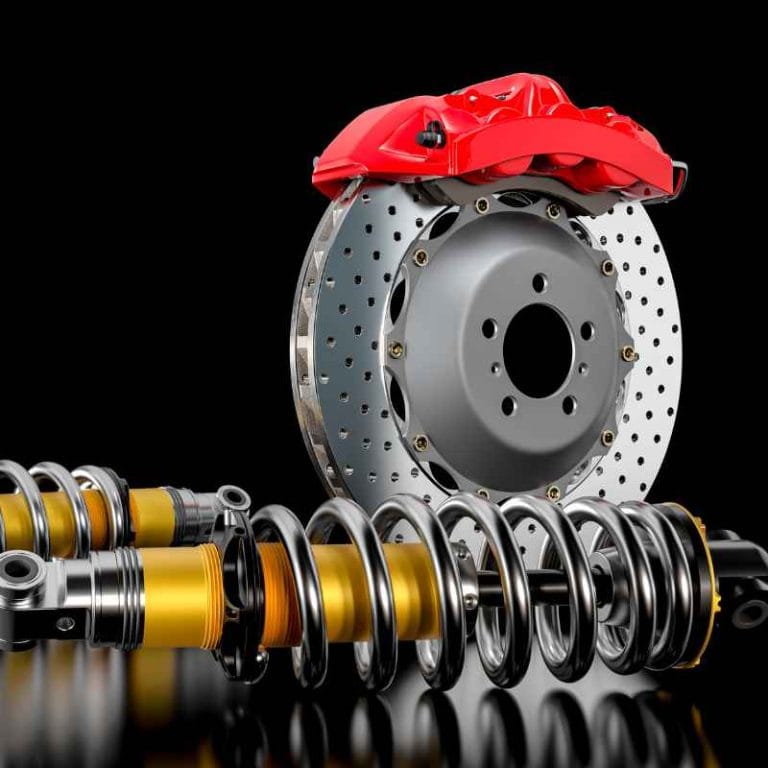
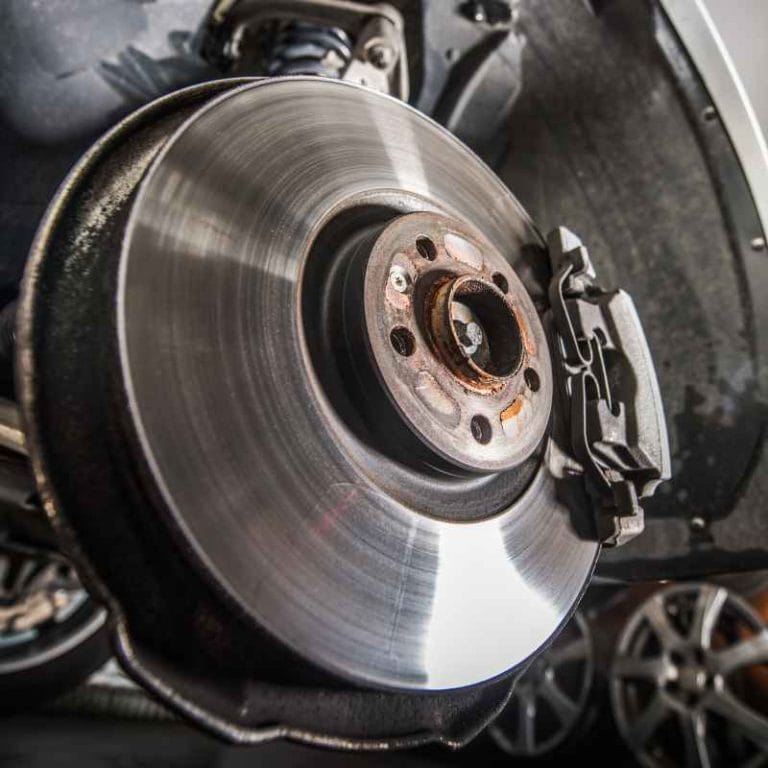
Brake pads are friction materials pressed against the brake disc (rotor) to slow or stop your car. They are a vital part of the disc brake system, which is standard on most modern vehicles. Brake pads are designed to wear down over time, sacrificing themselves to protect more expensive brake components.
Brake pads are typically mounted inside a brake caliper, which clamps them onto the spinning brake disc when you press the brake pedal. The resulting friction is what slows your vehicle. As you brake, a small amount of the pad’s material is worn away, which is a natural part of their operation.
This sacrificial design means that replacing pads is far less costly than replacing entire brake systems.
Modern cars often use disc brakes on all four wheels, especially in performance and luxury vehicles, while some older or budget models may have drum brakes on the rear wheels. Regardless of design, the principle remains the same: brake pads are your car’s first line of defense in stopping safely.
The Risks Of Worn Brake Pads
Driving with worn brake pads can lead to:
- Reduced stopping power and longer braking distances
- Damage to rotors, leading to costly replacements
- Brake failure, increasing the risk of accidents
- Potential legal issues or failed safety inspections
According to a study by the National Highway Traffic Safety Administration, approximately 22% of all vehicle maintenance failures resulting in crashes are linked to faulty brakes (NHTSA).
Worn pads expose the underlying metal backing, which then contacts the rotor directly. This metal-on-metal contact can create deep grooves or hot spots on the rotor, leading to vibration, noise, and compromised braking. In extreme cases, completely worn pads can cause total brake failure, making it impossible to stop safely.
Additionally, operating a vehicle with worn brakes can result in fines or your car failing a safety inspection, particularly in regions with strict vehicle safety standards. The potential for insurance complications also increases, as some insurers may deny claims if it’s shown that poor maintenance contributed to an accident.
Typical Lifespan Of Brake Pads
Brake pad longevity depends on:
- Driving style (aggressive braking wears pads faster)
- Vehicle type (heavier vehicles wear pads more quickly)
- Pad material (ceramic, organic, or metallic)
- Driving environment (city driving with frequent stops vs. highway cruising)
- Road conditions (hilly or mountainous terrain demands more from brakes)
On average, brake pads last between 30,000 and 70,000 miles. However, urban stop-and-go driving can reduce this lifespan. Aggressive drivers who brake heavily or often tow trailers may need replacements as soon as 20,000 miles. Conversely, drivers who mainly travel on highways and brake gently may see pads last up to 80,000 miles.
It’s important to note that rear brake pads often last longer than front pads, as the front brakes typically do more of the work due to weight transfer during stopping. However, some vehicles use electronic parking brakes or have advanced safety features that can also impact rear pad wear rates.
Common Types Of Brake Pads
| Type | Material | Pros | Cons |
|---|---|---|---|
| Ceramic | Ceramic fibers, filler materials | Quiet, long-lasting, low dust | Expensive, not for extreme use |
| Organic | Non-metallic fibers | Affordable, smooth braking | Wear quickly, more dust |
| Semi-metallic | Metal fibers, fillers | Durable, good performance | Noisier, more rotor wear |
Ceramic pads are favored for their quiet operation and resistance to wear, making them ideal for most passenger vehicles used in urban and suburban environments. Organic pads, often called non-asbestos organic (NAO) pads, are inexpensive and provide smooth, quiet braking but tend to wear more quickly and create more dust. Semi-metallic pads are a popular choice for performance vehicles or trucks, as they handle heat well and offer strong braking, but they can be noisier and may wear rotors faster.
Choosing the right pad for your vehicle and driving style is crucial. For example, a commuter car in a city might benefit from ceramics for comfort and cleanliness, while a truck used for towing may need the durability of semi-metallics.
Credit: www.wagnerbrake.com
Signs Your Brake Pads Need Checking
Unusual Noises
One of the earliest warning signs is unusual noises when braking:
- Squealing or squeaking often results from wear indicators contacting the rotor.
- Grinding indicates the pad material is gone, and metal is contacting metal, risking rotor damage.
Other sounds to be aware of include clicking, rattling, or humming when brakes are applied. While a single squeak may be harmless (caused by dust or moisture), persistent noise is a red flag. Many brake pads are designed with a small metal tab that emits a distinct squeal once the pad wears to a predetermined thickness—this is an intentional feature to alert drivers before total pad failure.
If you hear grinding, the situation is already urgent. The grinding sound means the metal backing plate is making contact with the rotor, which can quickly ruin the rotor’s surface and lead to a much more expensive repair.
Dashboard Warning Lights
Many modern vehicles have a brake pad wear sensor. If your dashboard displays a brake warning light, consult your owner’s manual immediately.
In some vehicles, the electronic sensor is embedded in the brake pad and connects to your car’s onboard diagnostic system. When the pad wears down, the sensor triggers a warning light (often a circle with dotted lines or the word “BRAKE”).
If your car displays this warning, don’t ignore it—brake performance is already compromised, and immediate inspection is necessary.
Reduced Braking Performance
If you notice:
- Longer stopping distances
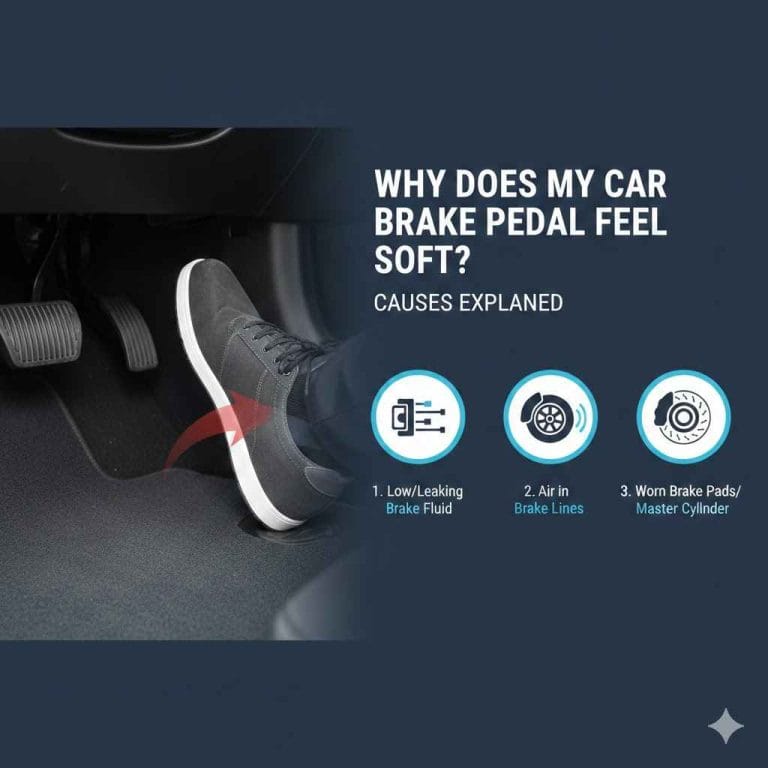
- Spongy or soft brake pedal feel
- Vibration or pulsation when braking
…it’s time for an inspection.
Braking performance can degrade subtly over time, making it important to stay alert to changes. A spongy pedal might also point to air in the brake lines or low brake fluid, both of which require prompt attention. Vibration or pulsation—especially felt through the steering wheel—often indicates uneven pad wear or warped rotors.
Visible Wear
You can often see the brake pads through the wheel spokes. Pads less than 3mm thick should be replaced.
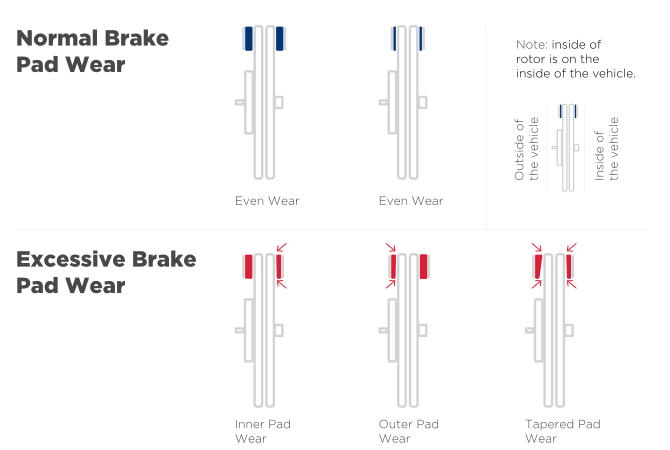
Look for any cracking, deep grooves, or discoloration—these can be signs of overheating, contamination, or other issues beyond simple wear. If you see uneven wear (one pad much thinner than the other on the same wheel), this could indicate a sticking caliper or guide pin.
Real-world Example
Case Study: Jessica, a daily commuter, noticed a squealing sound every morning. After a quick visual inspection, she saw her front brake pads were below 3mm. Replacing them immediately prevented rotor damage and restored smooth, quiet braking.
This scenario is common for drivers who spend time in stop-and-go traffic. Regular attention to these early warning signs helped Jessica avoid more costly repairs, highlighting the value of staying proactive.

Credit: www.wagnerbrake.com
Quick And Easy Methods To Check Brake Pad Wear
Visual Inspection
Step 1: Prepare Your Vehicle
- Park on a level surface to ensure safety.
- Engage the parking brake to prevent the car from rolling.
- Let brakes cool for at least 30 minutes after driving, as brake components can become extremely hot and cause burns.
Step 2: Inspect Through The Wheel
- Look between the spokes with a flashlight for a clearer view.
- Locate the brake caliper and pad—the pad will be pressed against the shiny rotor.
- Estimate pad thickness—less than 3mm means replacement is needed.
This method is quick and doesn’t require removing the wheel, making it ideal for routine checks. If you have alloy wheels with large openings, this inspection takes just a few minutes.
Step 3: Wheel Removal (for Better Access)
- Loosen lug nuts, lift vehicle with a jack, and remove the wheel.
- Inspect both outer and inner brake pads—sometimes the inner pad can wear faster due to caliper issues.
Be sure to use jack stands for safety, never rely solely on a hydraulic jack. With the wheel off, you can also check the rotor for grooves, scoring, or discoloration, which may indicate additional problems.
Using Brake Pad Wear Indicators
Many brake pads have built-in metal tabs that create a high-pitched squeal when pads are low. No sound? Pads may still be thick enough, or the indicator may be missing (especially on older cars).
If you hear a persistent squeal every time you brake, it’s likely the wear indicator doing its job. However, some aftermarket or performance pads do not include indicators. In such cases, rely on visual inspection and performance cues.
Checking For Brake Dust Patterns
Excessive or uneven brake dust on wheels can signal uneven wear or sticking calipers.
A sudden increase in brake dust on one wheel is often a sign of a sticking caliper, causing that pad to wear out more quickly. Uneven dust patterns can also indicate that one wheel is doing more braking than others, which could be dangerous, especially during emergency stops.
Brake Pedal Feel Test
- With the engine off, press the brake pedal several times.
- A firm pedal is normal; a spongy feel can indicate worn pads, air in the lines, or low brake fluid.
If the pedal travels farther than usual before firming up, or if you feel a pulsing sensation when braking, it’s time to inspect the entire braking system.
Using A Brake Pad Gauge
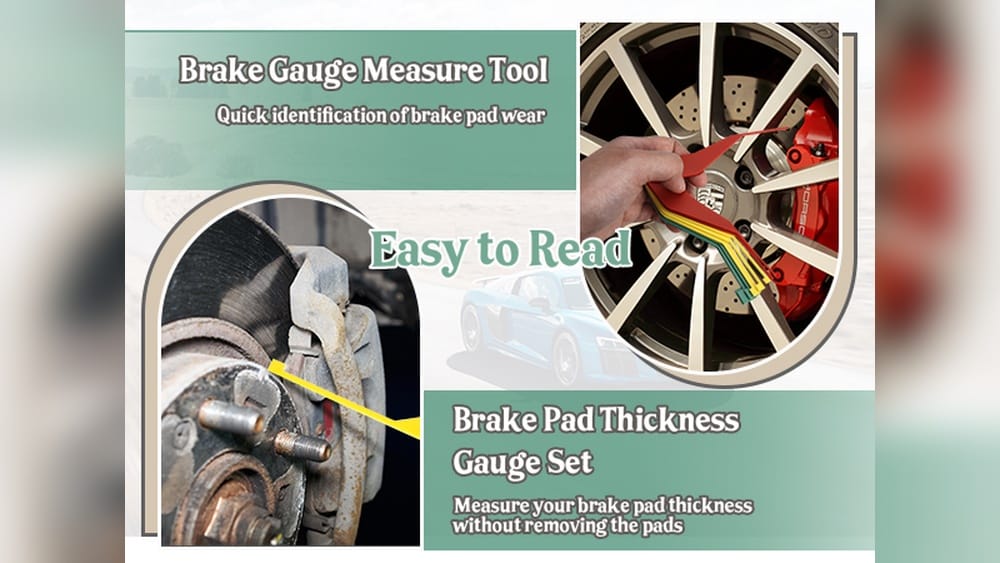
A brake pad thickness gauge is a simple tool:
- Insert the gauge between the pad and rotor.
- Read the measurement (color-coded for easy reference).
- Compare against manufacturer specs.
These inexpensive tools are available at auto parts stores and offer a more precise measurement than visual estimation. Most gauges include green (safe), yellow (caution), and red (replace) zones for quick reference.
Real-world Example
Case Study: Mark, a rideshare driver, uses a brake pad gauge every oil change. He caught a worn pad early—saving $250 in potential rotor repairs and keeping his car safe for passengers.
Regular checks, especially for high-mileage drivers, can greatly extend the life of your braking system and prevent downtime.
Step-by-step Guide: Diy Brake Pad Inspection
Tools You’ll Need
- Flashlight for visibility in the wheel well.
- Brake pad thickness gauge (optional but recommended for accurate measurement).
- Jack and jack stands (if removing wheels).
- Gloves and safety glasses to protect hands and eyes from debris and dust.
- Lug wrench for wheel removal.
- Notebook or phone to record findings.
Step 1: Safety First
- Park on level ground to prevent the car from moving.
- Use wheel chocks behind the wheels for added safety.
- Wear safety gear—gloves protect from sharp edges, and safety glasses shield eyes from dust or debris.
Step 2: Visual And Physical Check
- Shine a flashlight through the wheel or remove the wheel for better access.
- Check pad thickness (look for at least 3–4mm).
- Inspect for cracks, glazing, or uneven wear. Glazing appears as a shiny, glass-like finish caused by overheating and can reduce braking effectiveness.
- Look for pad material separation from the backing plate, which can lead to sudden brake failure.
Step 3: Listen For Warning Sounds
- With the windows down, gently brake at low speed.
- Listen for squealing (wear indicator) or grinding (metal-on-metal).
If you hear any abnormal noises, confirm the source before driving further. Occasional squeaks may be harmless, but persistent or worsening noises require prompt action.
Step 4: Check Brake Fluid Level
- Low brake fluid may indicate worn pads or a leak.
- Inspect the reservoir under the hood. If fluid is low and pads are not worn, check for system leaks.
Brake fluid drops as pads wear because the caliper pistons extend further. However, a sudden or significant loss of fluid should always be investigated.
Step 5: Record Your Findings
- Document pad thickness and any symptoms for future reference or to show a mechanic.
- Take photos for your records, especially if you notice uneven wear or damage.
This documentation can be invaluable if you need to claim warranty service or discuss repairs with a professional.
Real-world Example
Case Study: Ed, an Uber driver, noticed brake vibration. A DIY check revealed the right pad was worn unevenly—pointing to a sticking caliper. Repairing the issue early avoided a full brake system failure.
Early intervention based on regular checks is a proven way to save money and keep your vehicle safe for you and your passengers.
When To Replace Brake Pads: Thresholds And Best Practices
Recommended Minimum Thickness
Most automakers recommend replacing pads at 3mm. For reference, a new pad is typically 10–12mm thick. Some high-performance vehicles require earlier replacement for optimal safety.
| Pad Thickness | Status | Action |
|---|---|---|
| 8–12mm | New/Good | Safe to drive |
| 4–7mm | Moderate wear | Monitor regularly |
| 3mm or less | Worn | Replace immediately |
Some manufacturers, especially those of high-performance or European vehicles, may recommend changing pads at 4mm to maintain optimal braking. Always check your owner’s manual for model-specific recommendations.
Frequency Of Inspection
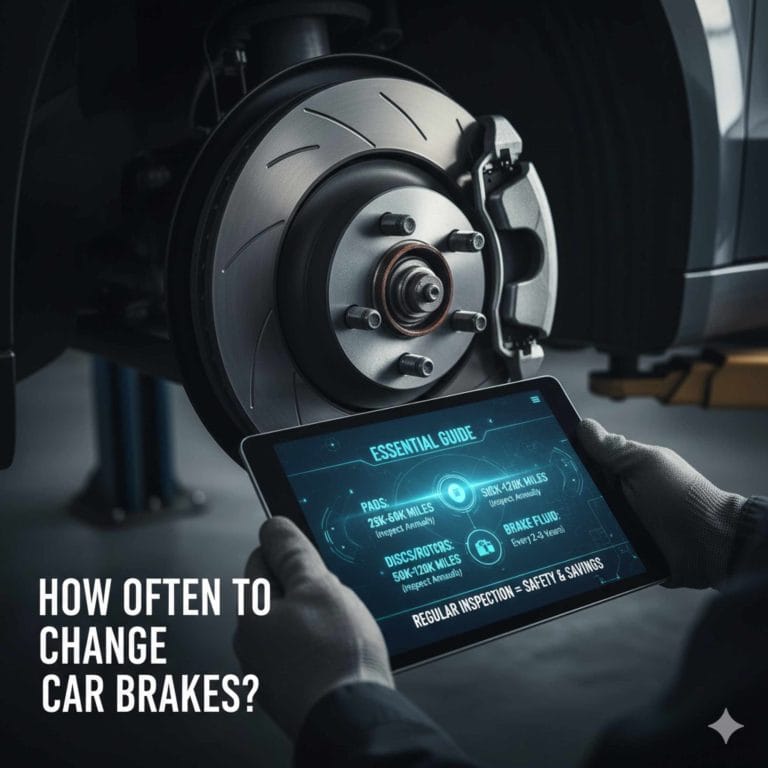
- Check pads every 10,000–15,000 miles (or twice a year).
- Inspect before long trips or after driving in harsh conditions (mountainous terrain, towing, or frequent city driving).
- If you regularly drive in challenging environments or participate in track days, inspect pads more frequently.
Don’t Ignore Warning Signs
If you experience any warning signs—noises, reduced performance, or warning lights—inspect and replace pads immediately, even if the pad appears thicker than 3mm. Some forms of pad damage, such as glazing or cracking, warrant replacement regardless of remaining thickness.
Professional Vs. Diy Replacement
DIY replacement is possible for many car owners, but professional service ensures:
- Proper installation and bedding (the process of breaking in new pads for optimal performance).
- Rotor inspection and resurfacing—worn or grooved rotors can reduce the life of new pads.
- Addressing related issues (calipers, fluid, hardware).
Improper installation can lead to uneven wear, noise, or poor braking. If you lack the tools or experience, entrust this critical maintenance to a professional.
For more information, see the Consumer Reports Guide to Brake Pads.
Tools And Technology For Easier Brake Pad Checks
Brake Pad Thickness Gauges
A thickness gauge provides an accurate measurement in seconds. Many are color-coded for simplicity:
- Green (safe)
- Yellow (monitor)
- Red (replace)
Some advanced gauges include digital readouts or are designed for specific vehicle makes and models for greater precision.
Smartphone Apps And Obd-ii Readers
Some OBD-II diagnostic tools can read brake wear sensors and alert you via a smartphone app. Look for compatible devices for your vehicle model.
Bluetooth-enabled OBD-II readers connect to your car’s data port and relay sensor information to your smartphone, providing real-time alerts for pad wear, fluid levels, and even rotor temperature. This is especially useful for tech-savvy drivers or those managing multiple vehicles.
Video Tutorials And Online Guides
Platforms like YouTube and manufacturers’ websites offer step-by-step visual guides. For example, the Carfax YouTube Channel provides free tutorials for dozens of models.
Watching a guide specific to your vehicle can demystify the inspection process and give you confidence to perform checks yourself.
Professional Inspection Tools
Shops may use:
- Digital calipers for precise measurement, accurate to fractions of a millimeter.
- Brake fluid testers to assess moisture content and boiling point, ensuring brake system integrity.
- Wheel alignment sensors to check for uneven wear caused by alignment or suspension issues.
Professional mechanics may also use scan tools to interrogate electronic brake systems for error codes and system health.
Table: Diy Vs. Professional Brake Pad Inspection
| Inspection Method | Cost | Time Required | Accuracy | Best For |
|---|---|---|---|---|
| DIY Visual | Free | 5–10 min | Good | Routine checks |
| DIY Gauge | $5–$15 | 10–15 min | High | Detailed checks |
| Professional | $25–$60 | 30–60 min | Very High | Annual or complex issues |
For fleet managers or drivers who want maximum assurance, regular professional inspections—at least once a year—are strongly recommended.
Preventing Brake Pad Wear: Maintenance Tips
Drive Smoothly
- Avoid hard braking and abrupt stops.
- Maintain a safe following distance to reduce sudden braking.
- Anticipate traffic flow and signals to coast and brake gradually.
Driving style is the single biggest factor in brake pad lifespan. Aggressive drivers can wear out pads in half the time of those who drive smoothly and anticipate stops.
Regular Maintenance
- Rotate tires every 5,000–7,500 miles to ensure even pad wear.
- Have brakes professionally inspected annually.
- Replace brake fluid every 2–3 years to prevent system corrosion and maintain performance.
Proper tire rotation and alignment also ensure that pads wear evenly, maximizing both pad and tire life.
Keep Brake Components Clean
- Wash wheels and calipers to remove brake dust and road grime.
- Clean calipers during pad replacement to prevent sticking.
Brake dust contains metallic particles that can corrode wheels and degrade caliper performance if not cleaned regularly. Use a pH-balanced wheel cleaner and a soft brush for best results.
Use Quality Brake Pads
- Invest in OEM or high-quality aftermarket pads for longer life and better performance.
- Consult your vehicle’s manual for recommended types.
Low-quality pads may save money up front but often wear out faster, produce more dust, or cause noise and vibration. OEM pads are designed for your vehicle’s specific braking system, ensuring optimal fit and function.
Monitor For Uneven Wear
- Uneven pad wear may indicate caliper or alignment issues.
- Address promptly to prevent further damage.
If you notice one pad wearing faster than its mate, have your caliper slides, guide pins, and suspension inspected for binding, corrosion, or misalignment.
Real-world Example
Case Study: Anna, an urban driver, switched to ceramic pads and adopted smooth braking habits. Her brake pad lifespan increased by 40%, and she avoided costly rotor replacements.
This demonstrates how a proactive approach—combining good driving habits with quality parts—can result in significant long-term savings.
Common Brake Pad Myths Debunked
Myth 1: All Brake Pads Last 50,000 Miles
Reality: Driving conditions, pad material, and driving style can cause pads to wear out as soon as 20,000 miles—or last up to 70,000 miles.
A driver in hilly terrain who hauls heavy loads will experience much faster wear than a highway commuter in flat country.
Myth 2: Squealing Always Means Worn Pads
Reality: Moisture, dirt, or poor-quality pads can also cause squealing. Always inspect before replacing.
Sometimes, a pad’s anti-squeal shim or lack of lubrication on the backing plate will create noise, even if there is plenty of friction material left.
Myth 3: Brake Pads Should Only Be Checked By Mechanics
Reality: Anyone can perform basic checks with minimal tools. Professional inspections are recommended annually or for complex issues.
Learning to perform a basic check empowers you to spot problems early and avoid unnecessary shop visits.
Myth 4: Rear Pads Wear Out Faster
Reality: On most vehicles, front pads do more work and wear out sooner—unless the vehicle is rear-heavy or has performance brakes.
Some vehicles with regenerative braking (such as hybrids and EVs) may have unique wear patterns, but for most cars, the fronts are the first to go.
For more myth-busting facts, visit the AAA Brake Pad Guide.
When To Call A Professional Mechanic
Complex Warning Signs
Seek help if you notice:
- Brake fluid leaks under or around the wheels.
- Constant dashboard warning lights that do not reset after pad replacement.
- Soft or sinking brake pedal, which may signal air in the system or hydraulic failure.
- Grinding even after pad replacement, which could indicate rotor or caliper issues.
Rotor Or Caliper Issues
If you observe deep grooves in rotors or uneven wear, professional resurfacing or replacement may be necessary. Warped or excessively worn rotors can reduce braking efficiency and increase pad wear.
Sticking calipers or seized guide pins are also best handled by professionals, as improper repair can lead to uneven or ineffective braking.
Advanced Braking Systems
Modern vehicles with electronic parking brakes or advanced driver assistance systems (ADAS) may require specialized tools and knowledge.
Attempting repairs on these systems without proper training can trigger fault codes, disable safety features, or void warranties. Professional mechanics have the tools to reset brake sensors, recalibrate systems, and ensure all components work together seamlessly.
Safety And Warranty
Having brakes serviced by a certified mechanic ensures:
- Proper installation and bedding.
- Maintenance of warranty coverage—some car makers require certified service for warranty claims.
- Safety compliance for inspections or resale.
Professional shops also dispose of old brake pads safely, minimizing environmental impact from heavy metals and other materials.
For a list of certified mechanics, visit the National Institute for Automotive Service Excellence.
Frequently Asked Questions
How Often Should I Check My Car’s Brake Pads?
You should check your brake pads every 10,000–15,000 miles, or at least twice a year. Inspect them more frequently if you drive in heavy traffic, tow heavy loads, or notice any unusual noises or braking behavior.
Can I Drive With Worn Brake Pads?
Driving with worn pads is unsafe and can lead to expensive damage to your rotors and even total brake failure. Replace pads as soon as they’re below 3mm or if you hear grinding noises.
Do All Cars Have Brake Pad Wear Indicators?
Many modern cars have wear indicators, but not all. Some have electronic sensors that trigger a dashboard warning, while others have physical metal tabs that create a squealing noise. Always perform a visual inspection as well.
What Is The Minimum Safe Thickness For Brake Pads?
Most manufacturers recommend replacing pads at 3mm thickness. New pads are typically 10–12mm thick. Always follow your vehicle’s owner’s manual for specific guidelines.
How Do I Know If My Brake Rotors Are Damaged?
Signs of damaged rotors include vibration or pulsation when braking, visible grooves or scoring, and a noticeable lip on the edge of the rotor. If you suspect rotor damage, consult a mechanic for inspection and possible resurfacing or replacement.
Your car’s brakes are its most important safety system. By learning how to check your brake pads for wear using these quick and easy methods, you’re taking control of your safety and your vehicle’s reliability. Regular inspections, listening to warning signs, and timely maintenance not only keep you safe but also prevent costly repairs. Invest a few minutes in routine checks, and you’ll drive with greater confidence—and peace of mind—every time you hit the road. For more in-depth guidance, visit authoritative sites like the Wikipedia Disc Brake Page or consult your local certified mechanic. Safe driving!