How Often Are You Supposed to Change Car Brakes?
Brake pads often last roughly 25,000 to 70,000 miles, while rotors may last 50,000 to 100,000 miles—but there is no universal brake-replacement interval. Replace parts according to the vehicle service schedule, measured wear, and symptoms such as grinding, vibration, pulling, reduced braking response, or a soft pedal. If stopping ability suddenly changes, stop driving and arrange an inspection.
This guide separates inspection timing from replacement timing, explains what a technician measures, and shows when pads, rotors, drum shoes, and fluid need attention.
Quick Answer: Replace Brakes by Condition, Not Mileage Alone
Mileage is a planning estimate, not a pass-or-fail test. Have the brakes inspected during scheduled service and sooner if the car squeals, grinds, pulls, vibrates, takes longer to stop, or shows a brake warning. Replace pads or shoes at the vehicle’s wear limit; replace or machine rotors only when measurements and condition require it.
| What you notice | What it may mean | What to do |
|---|---|---|
| No symptoms | Wear can still be developing | Inspect at routine service or the owner’s-manual interval. |
| Occasional wear-indicator squeal | Pads may be near their service limit | Schedule a brake inspection promptly. |
| Grinding, major stopping loss, or a sinking pedal | Possible metal contact or hydraulic fault | Stop driving and arrange professional service or towing. |
| Pedal or steering vibration | Possible rotor thickness variation, runout, deposits, or another fault | Have the system measured instead of assuming the rotor is warped. |
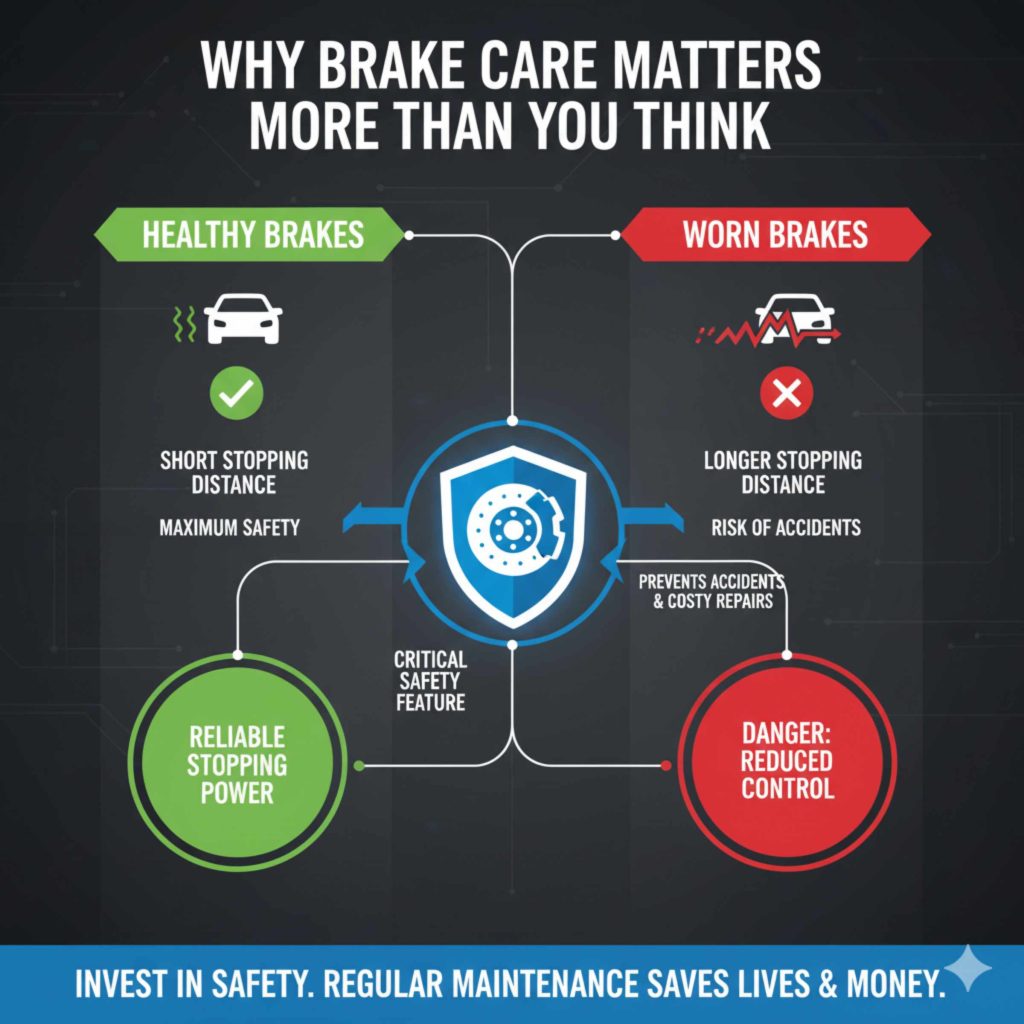
Why Brake Care Matters More Than You Think
Your car’s brakes are its most critical safety feature. They’re the reason you can stop when you need to, whether it’s for a red light, a sudden stop, or an unexpected obstacle. When your brakes aren’t in good shape, stopping takes longer, and that can lead to dangerous situations. Ignoring worn brakes isn’t just risky; it can also lead to much more expensive repairs down the line. Think of it like this: small problems, if ignored, can snowball into big, costly ones. Keeping your brakes in tip-top shape ensures your car is reliable and safe for every drive.
Best Brake Service Tool Pick
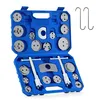
Orion Motor Tech 24pc Brake Caliper Tool Set
Winds back the caliper piston so new pads fit properly — the exact step this guide’s pad-replacement mileage advice leads to.
- Best for: DIY brake pad replacement without a shop lift
- Why we picked it: 24-piece set covers most common caliper types
- Main drawback: doesn’t replace a full brake press for rotors
- Check first: Confirm the caliper piston design, adapter size, and vehicle service procedure before ordering.
Compare more brake service tools options
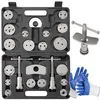 Option 1 NYXOVA 24pc Caliper Tool Kit
|
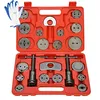 Option 2 8MILELAKE Caliper Compressor 24pc
|
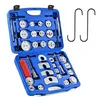 Option 3 Orion Motor Tech 35pc Brake Tool Kit
|
As an Amazon Associate we earn from qualifying purchases.
Understanding How Your Brakes Work (The Simple Version)
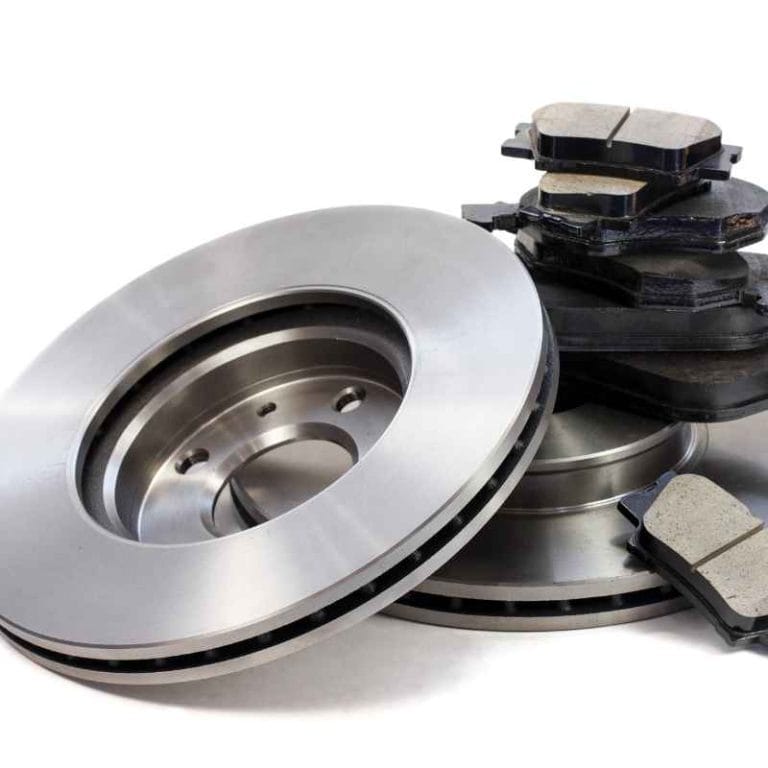
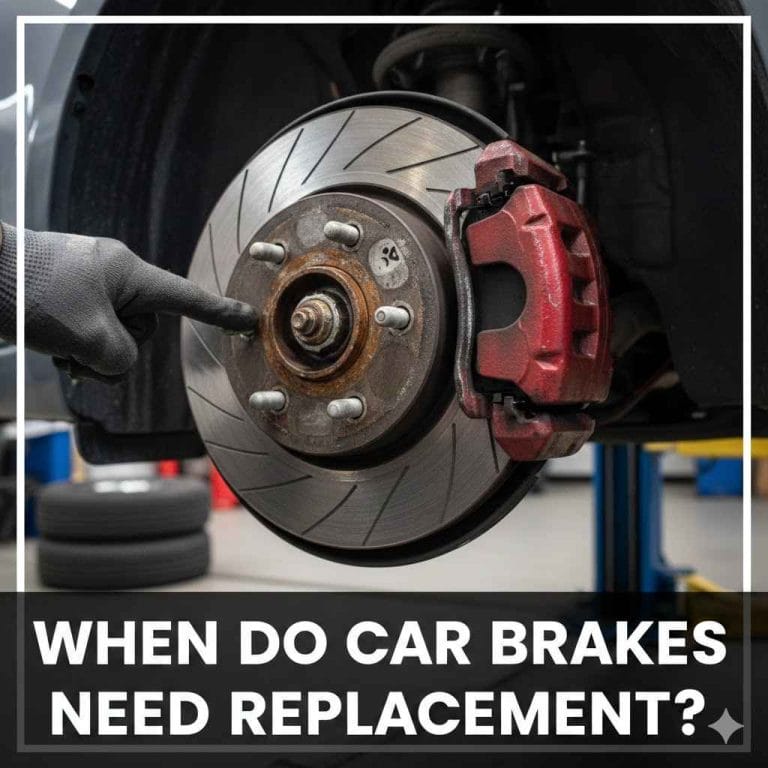
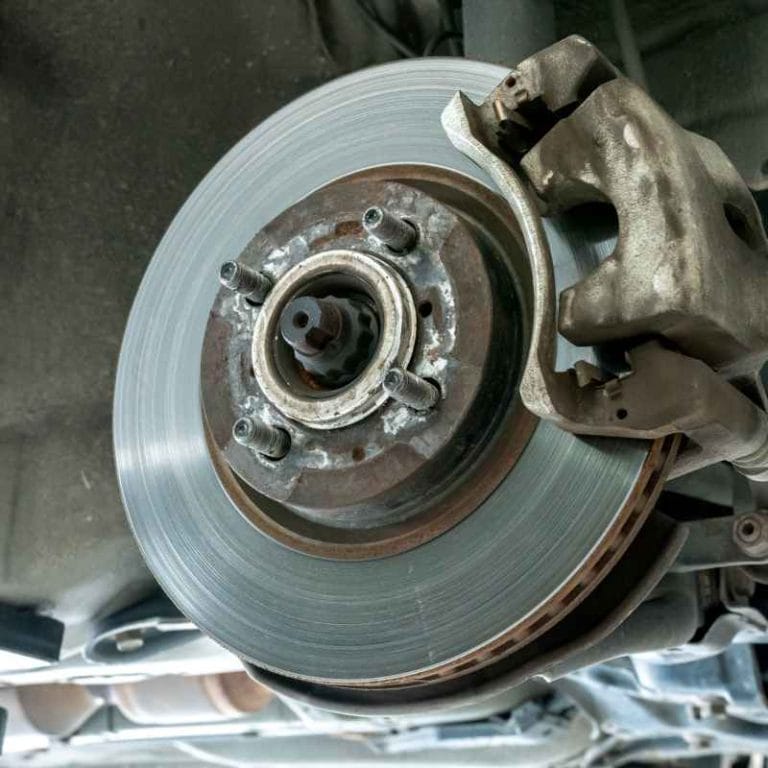
Before we dive into when to change them, a quick look at how they work helps. When you press the brake pedal, a fluid pushes against a component called a caliper. The caliper clamps down on brake pads, which are like tough friction material. These pads squeeze against a spinning metal disc called a brake rotor (or brake disc). This squeezing action creates friction, slowing down your wheel and, ultimately, your car.
Brake Pads: These rub against the rotor. They are designed to wear down over time.
Brake Rotors: These are the spinning discs that the pads grip. They can also wear down or get damaged.
Brake Fluid: This hydraulic fluid transfers the force from your pedal to the calipers.
When either the pads or rotors wear out, their ability to create friction and stop your car diminishes.
Brake Pad, Rotor, Drum Shoe, and Fluid Timing
Brake parts do not share one replacement clock. The ranges below help you plan inspections, but the owner’s manual and measured service limits decide when a specific vehicle needs parts. Toyota likewise advises owners to use vehicle-specific recommendations and respond to wear signs rather than relying on a universal mileage number.
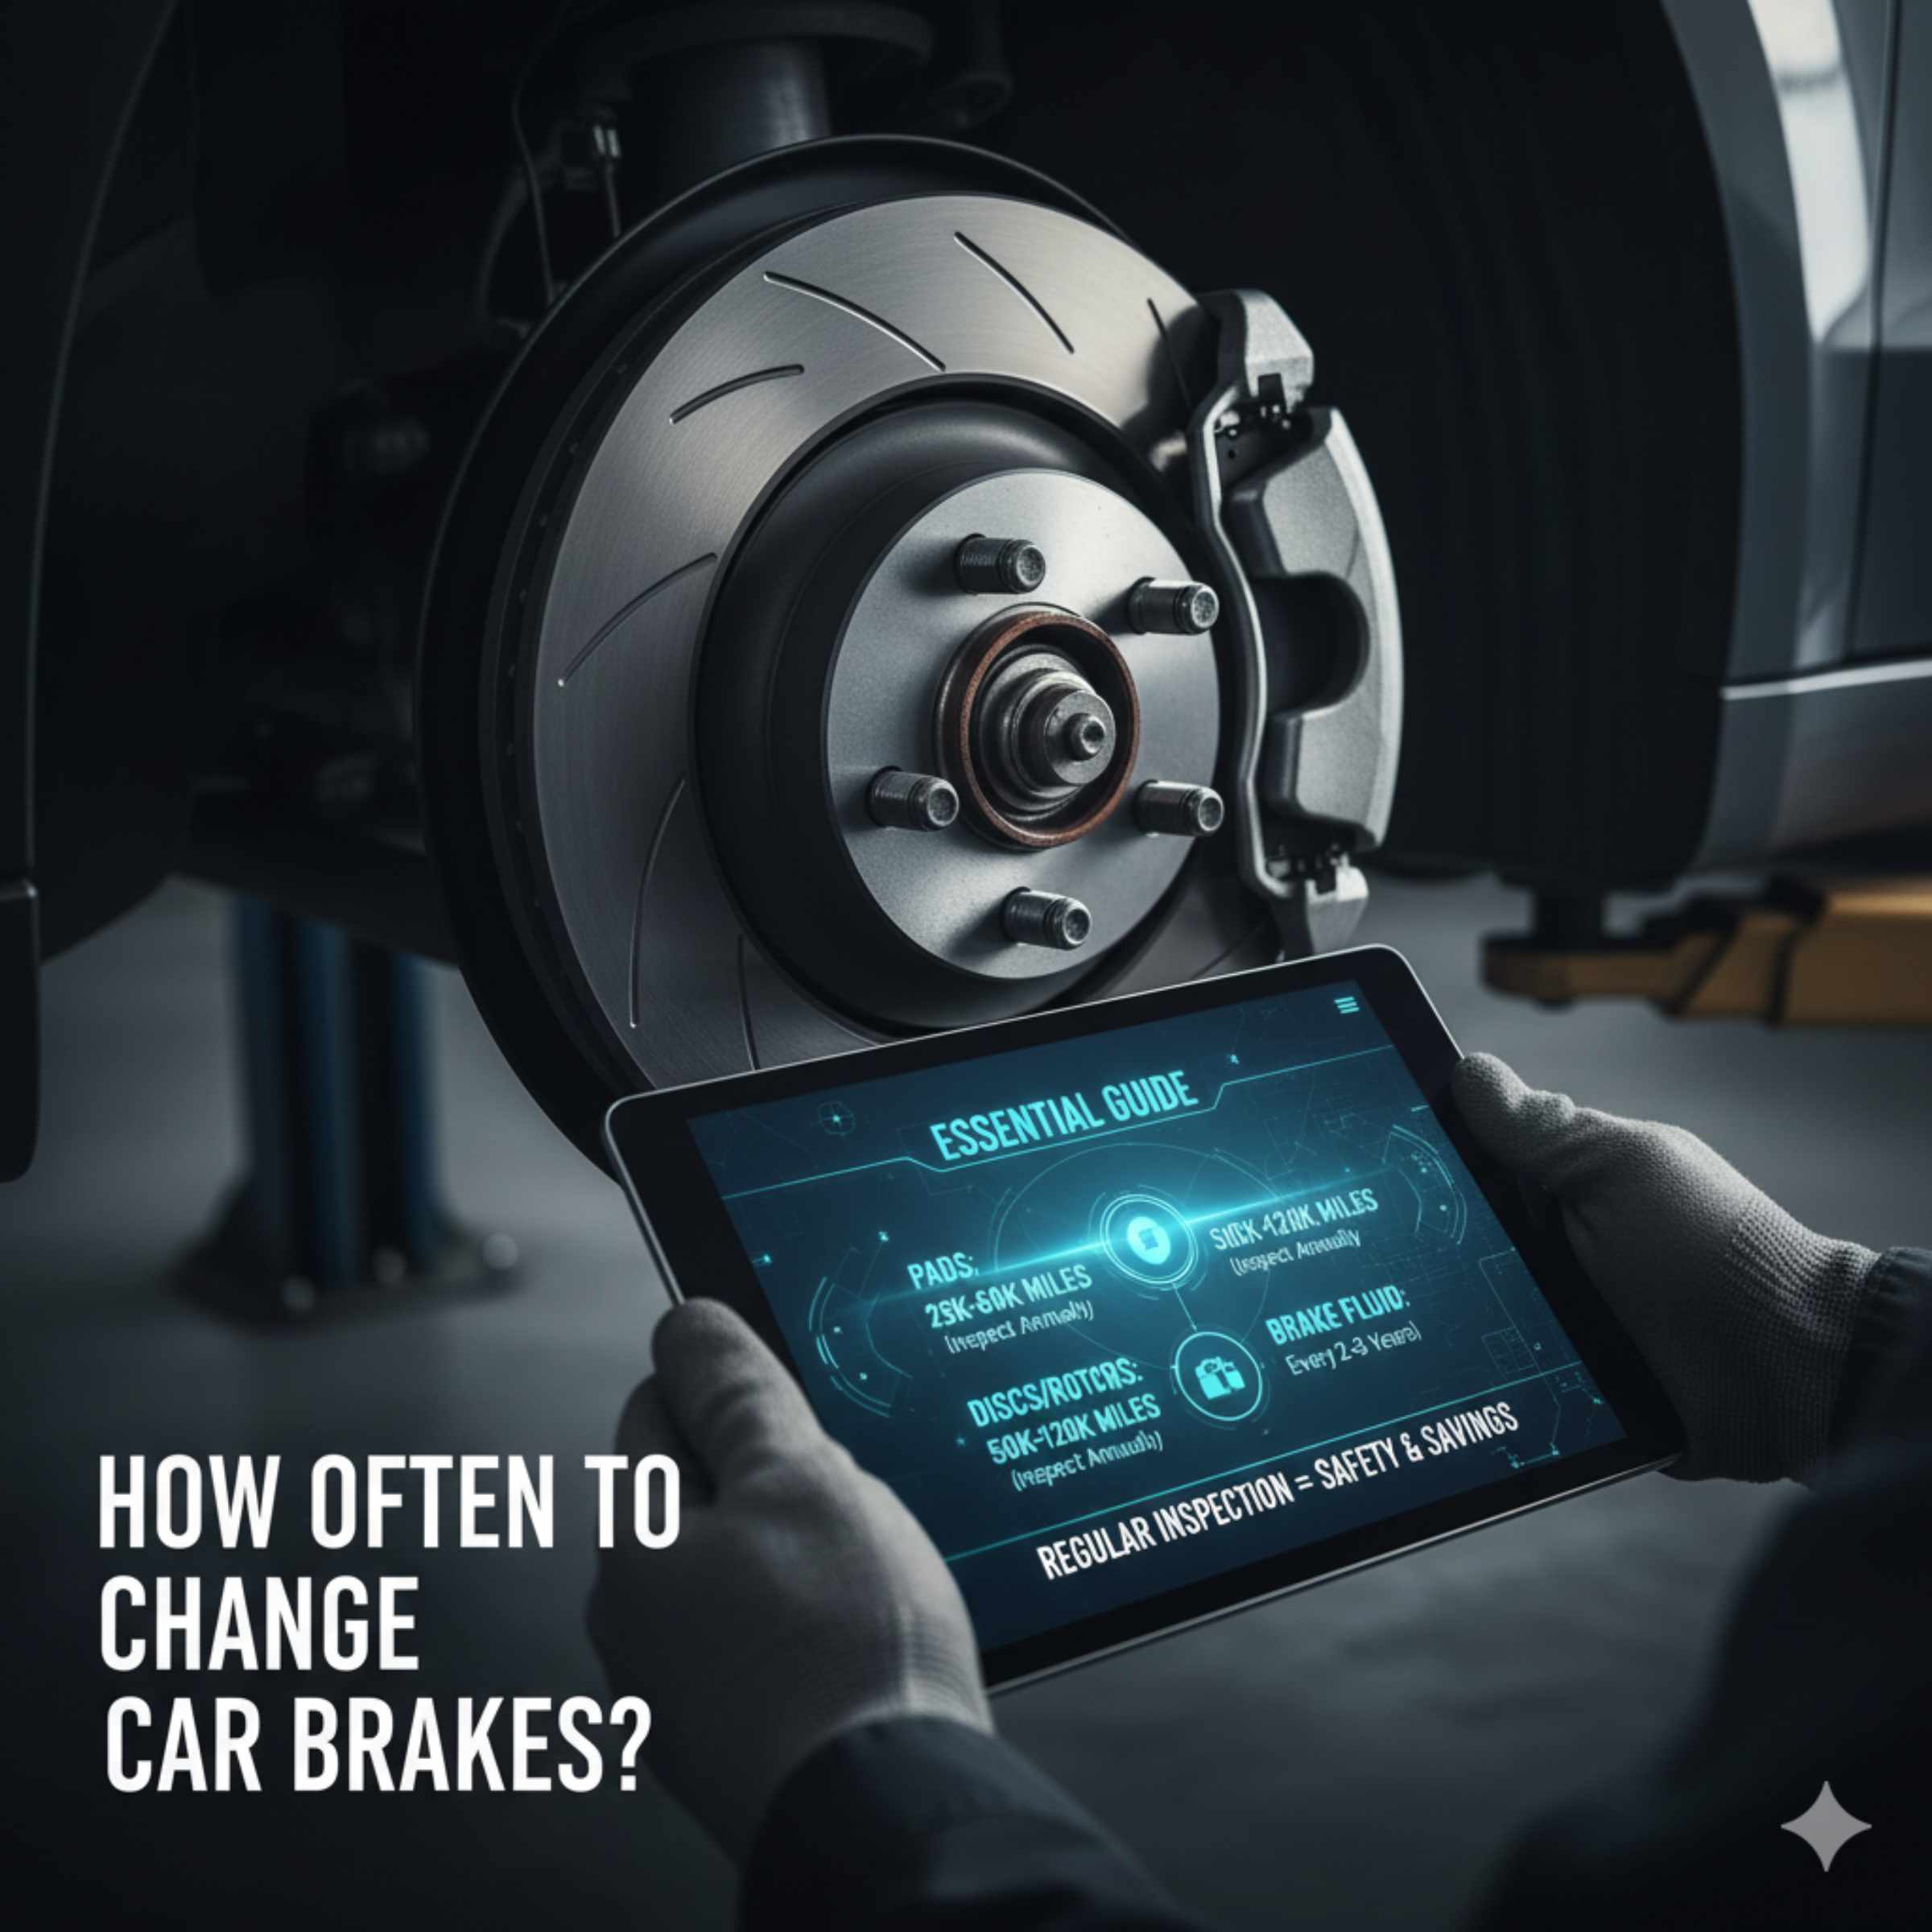
| Component | Planning range | Replace or service when |
|---|---|---|
| Disc brake pads | Often 25,000-70,000 miles | At the vehicle’s wear limit, when the wear sensor activates, or when inspection finds cracking, contamination, or uneven wear. |
| Brake rotors/discs | Often 50,000-100,000 miles | Below minimum thickness, cracked, deeply scored, heat-damaged, or outside runout/thickness-variation limits. |
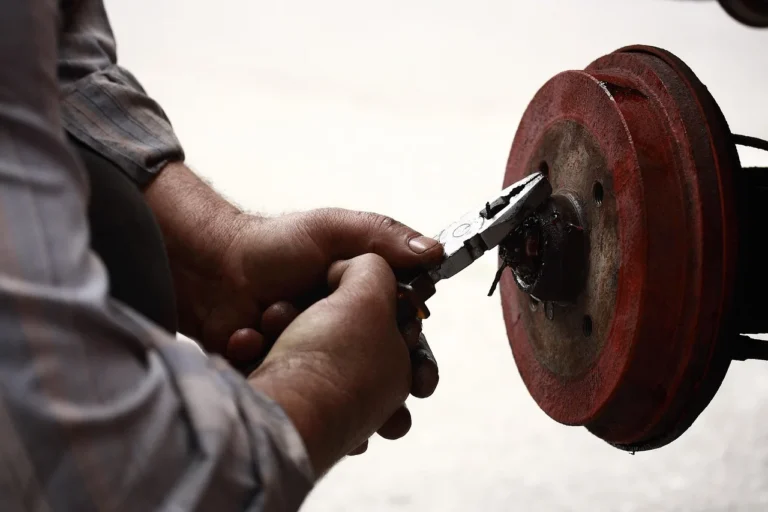
| Drum brake shoes | Often longer than front pads | At the lining service limit, if contaminated, cracked, or wearing unevenly. |
| Brake fluid | Vehicle-specific time interval | At the manufacturer interval or sooner if testing, contamination, a leak, or hydraulic service requires it. |
| Calipers, hoses, and hardware | No routine replacement mileage | If leaking, seized, torn, corroded, damaged, or unable to move correctly. |
Toyota’s brake-pad guidance emphasizes the owner manual and visible or audible wear signs rather than a universal mileage number. Its 2024 Prius owner guidance also says a wear-indicator squeal or scrape calls for prompt pad inspection and replacement when required. Follow the schedule and service limits for your exact model and market.
What a Proper Brake Inspection Measures
- Pad or shoe material: measured at the thinnest point and compared with the service limit.
- Rotor thickness: checked against the minimum value stamped on the rotor or listed in service information.
- Rotor condition: checked for cracks, deep scoring, heat spots, thickness variation, and runout.
- Hydraulics: calipers, hoses, lines, fluid level, leaks, and pedal feel are checked together.
- Side-to-side wear: uneven wear can point to a sticking caliper, seized slide pin, hose restriction, or hardware problem.
Front vs. Rear Brakes and EVs
Front and rear brakes rarely wear at exactly the same rate, but friction parts should normally be replaced as an axle pair—not on only one side. Hybrids and EVs may use regenerative braking enough to extend pad life, yet low use can allow rust or sticking hardware to develop. Inspection still matters even when the pads have plenty of material.
Brake Service Tools for DIY Pad Replacement
Affiliate disclosure: Engine Auditor may earn a commission from qualifying purchases. A caliper tool does not make every brake job beginner-safe; verify fitment, lifting points, torque specifications, and the service procedure for your exact vehicle.
Signs Your Brakes Need Immediate Attention
Mileage guidelines are helpful, but your ears and senses often tell a clearer story. Here are the most common signs that your brakes are telling you they need help, pronto!
1. Squealing or Grinding Noises
This is often the first warning sign your brake pads are wearing thin.
Squealing: Most new brake pads have a small metal indicator built into them. When the pad material wears down to a certain point, this indicator makes contact with the rotor, producing a high-pitched squeal you hear when you apply the brakes. It’s a sound designed to get your attention!
Grinding: If you hear a deep, harsh grinding or scraping sound, this usually means the brake pad material has completely worn away, and the metal backing plate of the pad is now rubbing directly against the metal rotor. This is serious! It can damage your rotors, which are more expensive to replace, and significantly reduce your stopping power.
2. Taking Longer to Stop
Does your car feel like it’s not stopping as effectively as it used to? If you have to push the brake pedal further down, or if you notice a significant increase in the distance it takes to come to a complete stop, your brakes are likely compromised. This could be due to worn pads, issues with brake fluid, or other problems in the system.
3. Vibrations or Pulsations in the Brake Pedal or Steering Wheel
If you feel a pulsing sensation through the brake pedal when you apply the brakes, or a vibration in the steering wheel, this can point to rotor thickness variation, excessive runout, uneven deposits, wheel or suspension faults, or another brake problem. A technician should measure the system instead of diagnosing a “warped rotor” from pedal feel alone.
4. A Spongy or Soft Brake Pedal
The brake pedal should feel firm and consistent when you press it. If it feels “mushy,” spongy, or goes all the way to the floor with little resistance, it’s a sign of a potentially serious problem. This could indicate air in the brake lines or a leak in the hydraulic system. Do not drive if your brake pedal feels this way. Get it checked immediately.
5. Pulling to One Side When Braking
If your car pulls to the left or right when you apply the brakes, it suggests that one brake is applying more force than the other. This can be caused by unevenly worn brake pads, a caliper issue on one side, or a problem with the brake hose.
6. Visible Wear on Brake Pads and Rotors
If you can see your brake pads through the wheel spokes, you might be able to visually inspect them.
Brake Pads: Look at the thickness of the friction material. If the friction material is approaching 1/4 inch (6 mm), plan an inspection and compare the measurement with the vehicle’s actual service limit. Many pads use wear grooves, metal indicators, or electronic sensors, but those features do not replace measurement.
Brake Rotors: Look for deep grooves, scoring, or a lip around the outer edge. These are signs of wear.
Factors That Can Accelerate Brake Wear
It’s not just about raw mileage. Several everyday factors significantly impact how quickly your brakes wear out.
1. Driving Style
This is arguably the biggest factor.
Aggressive Driving: Frequent hard acceleration followed by hard braking will chew through brake pads and rotors at an alarming rate.
City Driving: Constant stop-and-go traffic, especially with hills, puts far more stress on brakes than steady highway driving.
Towing or Hauling: Carrying heavy loads or towing trailers puts an extra burden on your braking system, causing faster wear.
2. Vehicle Type and Weight
Heavy Duty Vehicles: Trucks, SUVs, and performance cars often have larger, heavier-duty brake components designed for their capability, but they still wear out.
Performance Cars: Cars designed for high speeds may have more aggressive brake materials that wear faster but provide superior stopping power at those speeds.
3. Environmental Conditions
Salty Roads: In areas where roads are salted in winter, the salt can accelerate rust and corrosion on brake components, potentially leading to premature failure or poor performance.
Dusty or Gritty Environments: Driving in dusty conditions can cause abrasive particles to get between the pad and rotor, leading to faster wear and scoring.
4. Towing and Heavy Loads
If you frequently tow a trailer, your brake system is working overtime. Ensuring your trailer’s brakes are properly adjusted and functioning can help, but expect faster wear on your tow vehicle’s brakes.
5. Quality of Brake Components
Not all brake parts are created equal. Higher-quality brake pads and rotors, while potentially more expensive upfront, often last longer and perform better than cheaper alternatives.
DIY vs. Professional Brake Checks and Replacement
When it comes to brakes, safety is paramount. Deciding whether to tackle this yourself or let a professional handle it is a big decision.
When to Consider DIY
Basic Inspection: Checking the thickness of your brake pads or looking at your rotors for obvious damage is something many beginners can learn to do safely.
Simple Pad Replacement: If you’re comfortable with basic car tools and have a good, clear guide (like this one!), replacing brake pads can be a manageable DIY project for some. It helps save money on labor costs.
Research is Key: If you plan to DIY, watch videos, read detailed guides, and ensure you have the correct tools.
When to Go to a Professional
Any Uncertainty: If you’re not 100% confident about what you’re doing, it’s always safer to let a professional handle it.
Complex Issues: Diagnosing and fixing problems beyond simple pad replacement (like caliper issues, brake line leaks, or ABS system problems) is best left to experienced mechanics.
Rotor Replacement/Resurfacing: While replacing rotors is often done with pads, it requires precision to ensure proper function.
Brake Fluid Flush: This is a messy job that requires specific procedures to ensure all the old fluid and air are removed from the system.
Time Constraints: If you don’t have the time to do the job properly and safely, a professional can get it done efficiently.
Tools You Might Need for a DIY Brake Pad Replacement (If you choose to do it)
If you’re considering a DIY brake pad replacement, having the right tools makes the job much easier and safer.
Jack and Jack Stands: For safely lifting and supporting your vehicle. Never work under a car supported only by a jack.
Lug Wrench: To remove and reinstall wheel lug nuts.
Socket Set and Ratchet: To remove caliper bolts and other fasteners.
C-Clamp or Brake Caliper Piston Tool: To compress the brake caliper piston back into place when installing new, thicker pads.
Gloves and Safety Glasses: Essential for protecting yourself.
Brake Cleaner Spray: To clean components before reassembly.
Wire Brush: To clean the caliper bracket and slide pins.
Torque Wrench: To tighten bolts to the manufacturer’s specified torque is crucial for safety.
Always refer to your car’s specific service manual for detailed instructions and torque specifications.
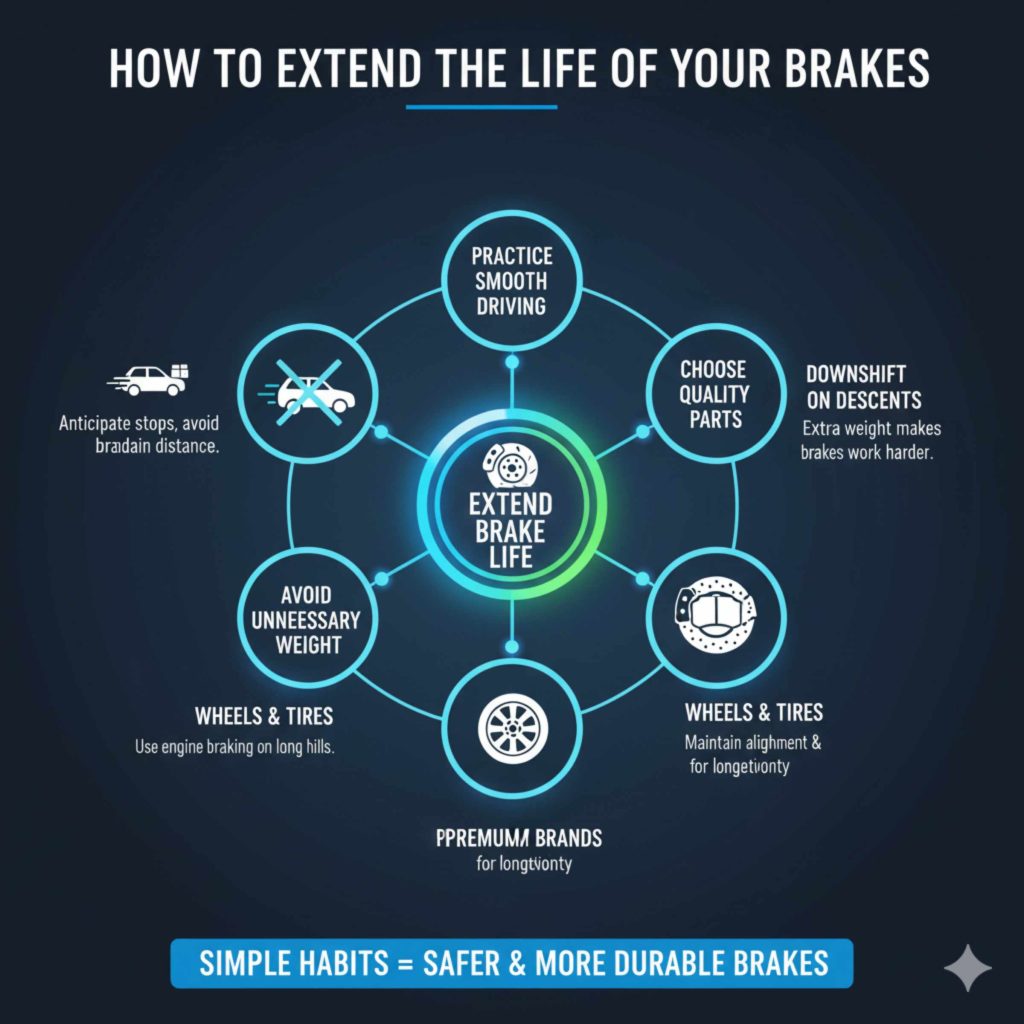
How to Extend the Life of Your Brakes
Want to get the most out of your brake components? A few simple driving habits can make a big difference.
Practice Smooth Driving Techniques
Anticipate Stops: Look ahead and ease off the accelerator early when you see a red light or traffic slowing down. This allows you to slow down gradually rather than slamming on the brakes.
Avoid Sudden Braking: Hard braking is the enemy of brake longevity. Gentle, controlled stops are much kinder to your pads and rotors.
Maintain Distance: Leave plenty of space between your car and the vehicle in front of you. This gives you more time and space to brake gently.
Avoid Carrying Unnecessary Weight
Extra weight means your brakes have to work harder to stop your vehicle. Clean out your trunk and remove any heavy items you don’t need to carry.
Consider Downshifting on Long Descents
When going down a long, steep hill, use your transmission to help slow your vehicle. Downshifting into a lower gear uses engine braking to reduce your speed, taking some of the load off your friction brakes. This is especially helpful for preventing brake fade on long downhill stretches. The U.S. Department of Transportation provides resources on safe driving practices, including managing speed on hills.
Keep Wheels Aligned and Tires Balanced
While not directly related to brake wear, properly maintained tires and alignment contribute to overall vehicle stability and can indirectly help your braking system perform optimally by ensuring even tire contact with the road. A NHTSA resource on tire safety shares valuable information you might find helpful.
Choose Quality Replacement Parts
When it’s time for replacement, investing in reputable brands for brake pads and rotors can pay off in terms of longevity and performance.
Frequently Asked Questions About Brake Replacement
How often should brakes be inspected?
Use the inspection interval in your owner’s manual. A practical default is to have the brake system checked during scheduled service or tire rotation, and immediately if braking sound, feel, or stopping performance changes.
Can I replace brake pads without replacing the rotors?
Yes, if the rotors remain above minimum thickness and are free of cracks, severe scoring, excessive runout, or harmful thickness variation. Measure and inspect both rotors on the axle before deciding.
Do front and rear brakes wear at the same rate?
Usually not. Front brakes often handle more braking load, while vehicle design, stability control, towing, corrosion, and regenerative braking can change the pattern. Replace friction parts as matched axle pairs unless the manufacturer specifies otherwise.
Do hybrid and electric-car brakes last longer?
They often can because regenerative braking reduces friction-brake use. However, underuse can contribute to rotor corrosion or sticking hardware, so low mileage does not eliminate the need for inspection.
Is squealing always a sign of worn brake pads?
No. A wear indicator can squeal when pads are near their limit, but moisture, surface rust, debris, glazing, or hardware can also cause noise. Persistent or new noise deserves inspection; grinding is more urgent.
When should brake fluid be changed?
Follow the interval for the exact vehicle and market. Some manufacturers specify a time interval, while others rely on service reminders or testing. Fluid should also be addressed when contaminated, leaking, or required by hydraulic repairs.
Bottom Line
Use mileage to plan inspections, not to override measurements or warning signs. Check the owner’s manual, replace pads or shoes as axle pairs at the specified wear limit, measure rotors before reusing them, and treat grinding, a sinking pedal, fluid loss, or reduced stopping power as urgent safety problems.
Products related to this article
Sponsored / affiliate links. As an Amazon Associate I earn from qualifying purchases. I may earn additional commission from eligible campaigns.