How to Change a Map Light Bulb Without Damage
Start by identifying the retention style, pry-off lens, push-tab cover, or twist-lock bulb, then use the matching tool and motion. If it resists, stop and inspect, do not force it. Forcing the wrong move can crack the lens, crease the headliner, or snap a clip that rattles later. This guide shows how to remove a map light without damage, verify the bulb type first, and reinstall it cleanly.
What you’ll need


- Plastic trim tool
- Small flat tool wrapped in tape
- Clean cloth or thin fabric gloves
- Correct replacement bulb with the same base type, voltage, and wattage
- Battery-disconnect tool if your vehicle manual calls for it
- Flashlight for seeing hidden clips, screws, or pry points
📊 Halogen bulbs should be allowed to cool for at least 10 minutes before touching them. Source: Wikihow.
How do you identify the retention style?
Look for the fastener type before you touch the lens. Hidden clips, a visible screw, or a twist-lock bulb point to different motions, and the wrong one is what breaks tabs, bends springs, or marks the overhead console. If the lens has a seam, inspect the least visible edge first.
Some map light assemblies use a pry-off lens with hidden tabs. Others use a screw-retained cover, a snap-fit lens, or a bulb that twists and locks into the socket. Match the motion to the part, not the other way around.
How do you know whether your car uses a twist-out or pry-off map light?
A twist-out bulb usually turns a short distance before releasing from its socket. A pry-off lens usually has a seam, tab, or notch at the edge of the cover. If the cover has a visible screw or the lens does not move at a corner, stop and inspect for hidden hardware.
How do you remove the lens without damage?
Work from the least visible edge and protect the trim first. A plastic trim tool is the safest choice because it spreads force across the edge instead of digging into the lens or headliner. A taped flat tool is the backup, not the first choice.
Use controlled pressure. If the lens has a hidden clip, press near the clip location rather than levering hard at the center. If it uses screws, remove and store them before lifting the cover. The ceiling-light reference notes that dome fixtures often have at least one screw holding the cover, which is why a quick visual check matters.
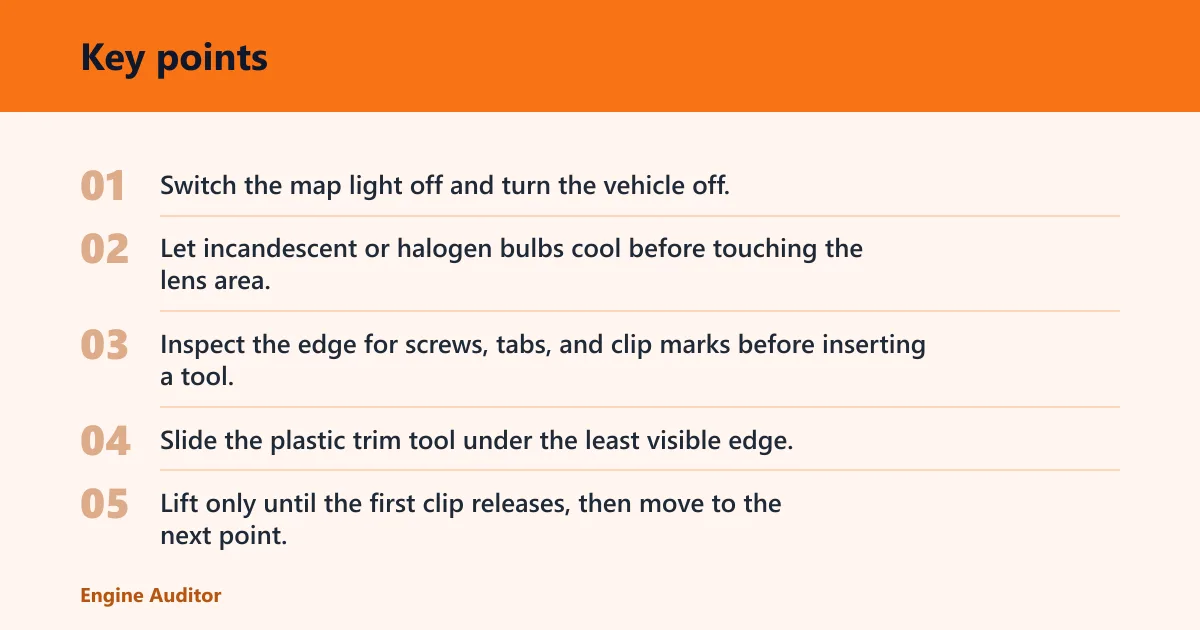
- Switch the map light off and turn the vehicle off.
- Let incandescent or halogen bulbs cool before touching the lens area; halogen bulbs should cool for at least 10 minutes.
- Inspect the edge for screws, tabs, and clip marks before inserting a tool.
- Slide the plastic trim tool under the least visible edge.
- Lift only until the first clip releases, then move to the next point.
- Remove the lens straight down so it does not scrape the headliner.
- Set the cover aside where the tabs will not be bent or stepped on.
What tools do you need to remove a map light cover safely?
You need a plastic trim tool, a taped flat tool, and a clean cloth or gloves. If the lens is tight, the plastic tool helps you avoid marring the headliner trim. Thin fabric gloves also help on hot halogen bulbs and reduce fingerprints on the glass.
How do you replace the bulb safely?
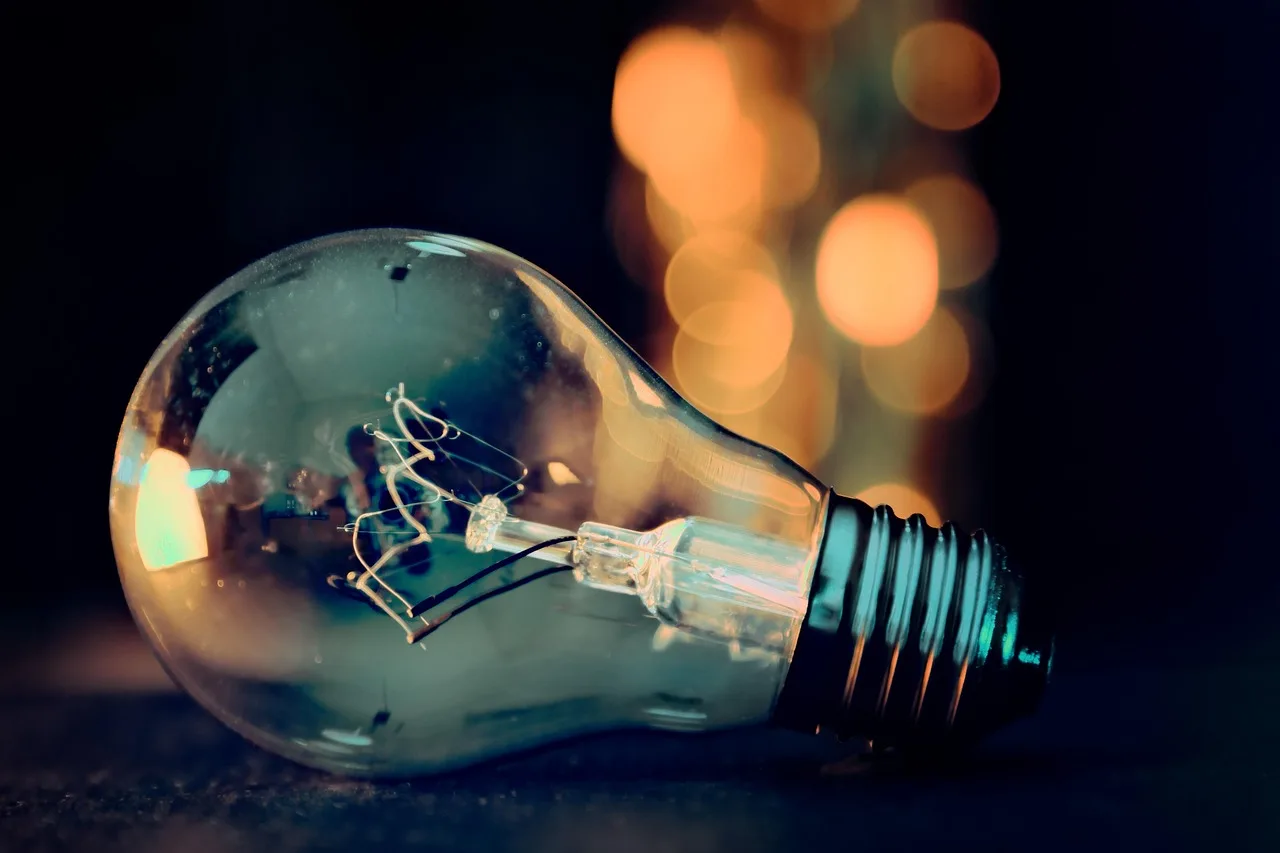
Match the bulb by base type before removal or installation. A wedge bulb pulls straight out. A festoon bulb sits under spring contacts and needs even pressure at both ends. A bayonet or twist-lock bulb releases with a short turn. The replacement must match the original fit, not just the wattage.
LED replacements add one more check: polarity. If the new LED does not light after installation, remove it, rotate it, and reinstall it in the opposite direction if the design allows that. Also compare color temperature before you close the lens if you are upgrading, because the replacement should still suit the cabin lighting.
- Verify the base type against the old bulb before touching the socket.
- Remove a wedge bulb by pulling straight out.
- Remove a festoon bulb with even pressure on both ends so the spring clips do not deform.
- Remove a bayonet or twist-lock bulb with the correct short turn, then lift it free.
- Install the new bulb in the same orientation and seat it fully.
- For LED bulbs, test polarity before reinstalling the lens.
- Recheck fit if the bulb sits crooked or wobbles in the socket.
Picture a 28 mm festoon bulb that looks right but sits loose after replacement. In that case, the shape may be correct while the contact length is not, so the springs never clamp it firmly. The next step is to compare the old bulb’s physical length and contact style, then choose the exact match.
Do you need to disconnect the battery?
Keep the light switch off by default. Battery disconnect is worth considering only when the vehicle manual calls for it or when the overhead console shares sensitive circuits that may react to power loss or accidental shorting. For a simple bulb swap, power-down is usually enough.
If you do disconnect the battery, finish the bulb and cover work first, then reconnect and test the light after everything is back in place. That avoids testing a loose socket or exposed contact while the trim is still open.
What should you inspect if the bulb still does not work after replacement?
Inspect the socket, the contacts, and the retention springs. Corrosion on the terminals, a loose spring, or a bent contact can stop the circuit even when the bulb is correct. If the new bulb is an LED, check polarity first, then check that the socket holds it firmly.
Map light checklist
| Retention style | Safe removal motion | Common failure point | If the bulb still does not work, inspect this |
|---|---|---|---|
| Pry-off lens | Start at the least visible edge and lift gently with a plastic trim tool | Broken plastic tab or marred headliner trim | Clip seats, lens tabs, and socket power feed |
| Screw-retained lens | Remove the screw first, then lower the cover | Stripped screw head or cracked screw boss | Missing screw, cracked mount, or loose ground contact |
| Festoon bulb | Press evenly at both ends and lift straight out | Bent spring contacts | Spring tension, corrosion, and bulb length match |
| Wedge bulb | Pull straight out without rocking the socket | Torn contact sleeve or loose socket grip | Socket tension and terminal oxidation |
| Twist-lock bulb | Turn the bulb only far enough to release the lock | Broken stop tabs or wrong turn direction | Lock tabs, socket damage, and correct rotation path |
| LED replacement | Seat fully, then test in both orientations if the design allows it | Reverse polarity or poor fit | Polarity, contact pressure, and color temperature match |
If the bulb still fails, re-seat the socket, inspect the contacts for green corrosion or bent terminals, and confirm the replacement matches voltage, wattage, and base type. A bulb that fits loosely or sits at the wrong angle can fail even when the lamp itself is fine.
Common mistakes
Forcing the lens before finding the clip location is the fastest way to break a tab. Using a metal screwdriver without tape can leave a visible mark on the lens or overhead console. Installing the wrong base type is another common error; a bulb can look close and still miss the contact points.
A common first-timer mistake is prying at the center of the lens because that area is easiest to reach. The problem is that the retention point is often near one corner, so the lens flexes while the clip stays locked. Use the seam, not brute force.
Another common miss is ignoring a loose socket or bent terminal after the new bulb does not light. If the lens comes off cleanly but the bulb stays dark, the socket may be the problem rather than the bulb.
Frequently asked questions
How do I change a map light bulb without damaging the lens or socket?
Turn the light off, let hot bulbs cool, and identify the retention style before prying. Use a plastic trim tool at the least visible edge, remove the bulb with the correct motion, and seat the replacement without twisting the socket body. Stop if the cover resists.
Do I need to disconnect the car battery before changing an interior light bulb?
Usually, no battery disconnect is needed for changing an interior light bulb. Turn the light switch off and power down the vehicle first. Disconnect the battery only if your owner’s manual calls for it or the overhead console circuit is sensitive enough that you want full isolation before opening the assembly.
How do I avoid breaking the plastic clips on a map light assembly?
Find the clip location before prying and lift only enough to release one point at a time. Use a plastic trim tool, not a bare metal blade. If the lens does not move at the seam, look again for hidden screws or a twist-lock bulb before applying more force.
What bulb type do I need for my map light?
Match the physical base, contact style, voltage, and wattage to the old bulb. A wedge bulb, festoon bulb, bayonet bulb, or twist-lock variant may look similar from the outside, but the socket only works when the base and contact points match exactly.
Can I touch an LED replacement bulb with my fingers?
LED bulbs are less heat-sensitive than halogen, but a clean grip still helps avoid oils and gives you better control while seating the bulb. If the LED does not light after installation, check polarity and rotate it if the design allows that before closing the lens.
What should I do if the map light bulb is stuck or the cover won’t come off?
Stop and inspect the edge for hidden screws, tabs, or a different retention style. If a lens is stubborn, keep the pressure even and work from the least visible side. Do not force the cover; a clipped lens can crack or take a chunk out of the headliner trim.
How long should I wait for a halogen map light bulb to cool?
Wait at least 10 minutes before touching a halogen bulb. Some ceiling-light guidance recommends 15 to 20 minutes, which is a safer wait if the lamp was on for more than a brief moment. Thin fabric gloves or a cloth can also help when handling the bulb. (Wikihow)
Products related to this article
Sponsored / affiliate links. As an Amazon Associate I earn from qualifying purchases. I may earn additional commission from eligible campaigns.