How to Replace a License Plate Light Bulb
Replace a license plate light bulb by opening the rear lamp housing, removing the old bulb, fitting the exact replacement, and checking LED polarity if the new light stays dark. A dead plate light can trigger a citation or inspection failure, and a poor repair can kill the new bulb again. This guide covers fitment, safe removal, testing, and repeat-failure causes.
How a license plate light replacement works


Vehicle variations
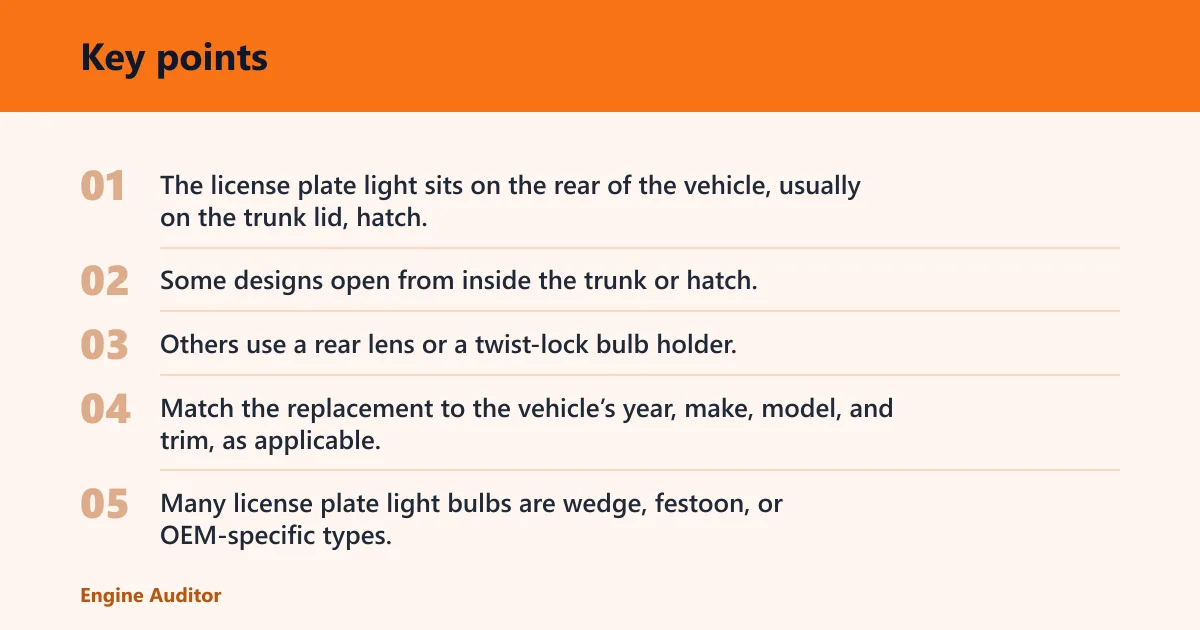
The license plate light sits on the rear of the vehicle, usually on the trunk lid, hatch, tailgate, bumper, or a small external housing. Some designs open from inside the trunk or hatch. Others use a rear lens or a twist-lock bulb holder. Start with the access path, not the bulb.
Match the replacement to the vehicle’s year, make, model, and trim, as applicable. Many license plate light bulbs are wedge, festoon, or OEM-specific types. The wrong base or wrong length may fit loosely, or not fit at all. If the socket is damaged, a new bulb will not fix the fault. For fitment support, use the vehicle owner manual and compare the original bulb side-by-side with the replacement before installation; many parts catalogs and vehicle guides note that exact lamp type can vary by trim and model year. See also the site’s bulb size lookup guide.
For legality and inspection context, a plate lamp that is out can create enforcement or inspection trouble in jurisdictions that require the plate to be illuminated and clearly visible at night. State inspection rules vary, but the risk is real enough that a failed lamp can become a citation or inspection item if the plate cannot be read. See the Cornell Legal Information Institute overview of license plates and your local vehicle code for the specific standard that applies.
What you’ll need
- Screwdriver
- Bent nose pliers
- Flashlight
- Safety gloves
- Safety glasses
- Replacement bulb matched to the original base type and length
- Electrical tape for the Suzuki XL-7 example path
Can you replace it from the trunk?
Access path basics
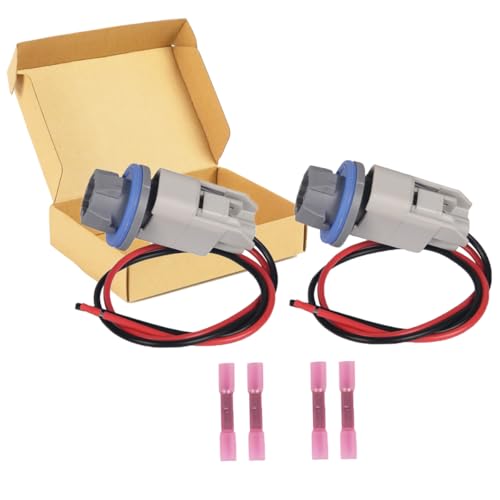
Many vehicles allow rear access from the trunk, hatch, or tailgate. That access may lead to a bulb holder, a rear access panel, or the back side of the license plate light housing. Check whether the design twists, clips, or releases after the lens cover comes off before you apply force.
On some sedans, the lamp comes out from inside the trunk trim. On some hatchbacks and SUVs, the access point is under an interior panel near the liftgate. Trucks often use rear housings mounted in the tailgate or bumper area. The access method changes by trim, so compare the housing shape before prying.
Suppose a hatchback has a lens cover held by clips and the replacement bulb is a festoon type. The cover must come off first, then the bulb releases from its spring contacts. If the housing instead uses a twist-lock socket, the holder turns before the bulb comes free. Force the wrong motion and the tabs break.
How do you remove the old bulb?
- Turn off the lights and open the rear access point. This keeps the socket cold and easier to handle.
- Remove the cover, screws, or clips carefully. A screwdriver helps with fasteners, but do not pry against painted edges.
- Twist or pull the socket free, then remove the old bulb. Many holders twist to release; some clip out from the rear housing.
- Inspect the socket and connector before setting the bulb aside. Corrosion, looseness, or a melted holder points to a deeper fault.
For the Suzuki XL-7 years 2001 through 2006, the example path uses bent nose pliers and electrical tape. That matters because the retaining shape and access space can be tight. Use the pliers only for controlled grip, not as a pry bar.
How do you install the new bulb?
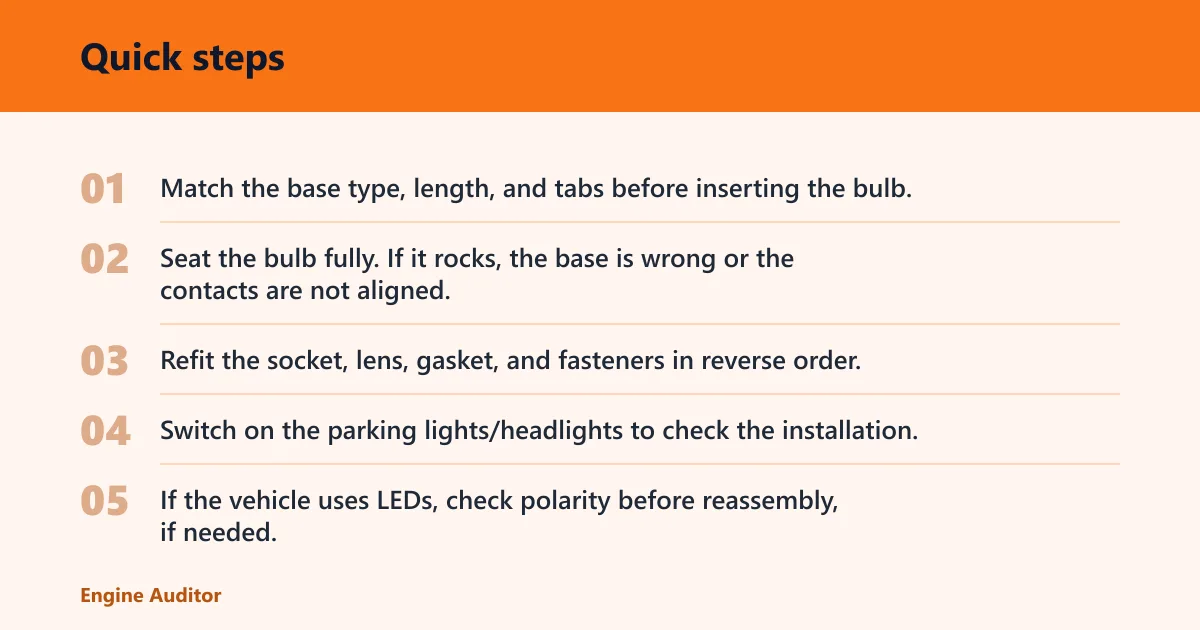
- Match the base type, length, and tabs before inserting the bulb. The replacement should match the original socket without forcing.
- Seat the bulb fully. If it rocks, the base is wrong or the contacts are not aligned.
- Refit the socket, lens, gasket, and fasteners in reverse order. A cracked gasket can let in moisture.
- Switch on the parking lights/headlights to check the installation. Confirm both plate lamps illuminate before closing the housing. Some vehicles require the light switch to be in a specific parking-light or headlight position before the plate lamps power up.
- If the vehicle uses LEDs, check polarity before reassembly, if needed. If the bulb still stays dark, flip it in the socket if the design allows it.
Replace both bulbs together when practical because they often fail close together. That avoids a second teardown soon after the first repair. A common mistake is installing one side and leaving the other original bulb in place, then finding the pair failed within a short span.
For LED upgrades, check polarity, heat, CANBUS compatibility, and local legality rules. Some LED replacements need a CANBUS-compatible design to avoid warning lights or flicker. Halogen-to-LED swaps are common, but they are not always direct fitments. For more background, see the site’s LED compatibility guide and tail light lens moisture repair article if condensation is part of the repeat-failure pattern.
Bulb legality also matters. Some aftermarket LED replacements do not meet road-use requirements for brightness, beam pattern, color, or marked approval, even if they physically fit. The safest approach is to confirm the part is approved for road use where you drive, especially if the vehicle is subject to periodic inspection or roadside checks. See the NHTSA guidance on aftermarket equipment and the bulb maker’s compliance markings for the specific part.
Why does a new bulb still not work?
Both lights out diagnosis
If the new bulb stays dark, the bulb may not be the problem. Corrosion, broken tabs, a loose socket, or a melted connector can stop current from reaching the lamp. Moisture inside the housing or a cracked lens gasket can also repeat the failure after a new bulb goes in.
Start with the socket, then move outward. If both plate lights stay out, check the fuse, ground, and wiring before replacing more bulbs. If the vehicle uses LEDs and the light flashes or stays dark, polarity or a CANBUS mismatch is a common cause.
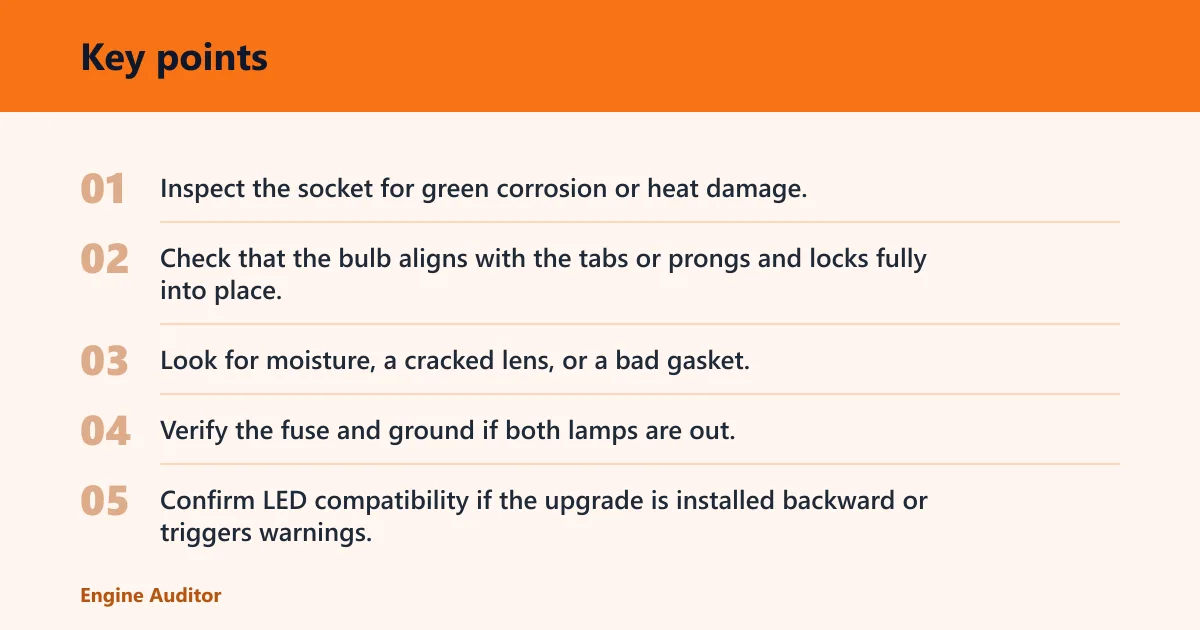
- Inspect the socket for green corrosion or heat damage.
- Check that the bulb aligns with the tabs or prongs and locks fully into place.
- Look for moisture, a cracked lens, or a bad gasket.
- Verify the fuse and ground if both lamps are out.
- Confirm LED compatibility if the upgrade is installed backward or triggers warnings.
If the socket looks dirty or oxidized, clean it before condemning the bulb. Light corrosion can interrupt contact and create intermittent failures. For related troubleshooting, see blown fuse diagnosis and corrosion cleanup.
License plate light replacement fitment check
| Access path | Bulb base type | Socket motion | Expected bulb size | LED compatibility | Symptoms pointing to socket or wiring failure |
|---|---|---|---|---|---|
| Trunk or hatch access panel | Wedge or festoon | Twists out | Match owner manual or existing bulb length | Maybe; check polarity and CANBUS needs | Bulb is good, but no light after swap; socket feels loose |
| External rear housing | OEM-specific | Clips out | Vehicle-specific part number | Only if the lamp accepts the LED profile | Broken clips, cracked lens, or moisture in housing |
| Tailgate or bumper lamp | Wedge or OEM-specific | Twist-lock holder | Same length as original bulb | Often needs CANBUS-compatible LED | Both lamps out, blown fuse, or damaged wiring near hatch hinge |
| Truck tailgate access | Festoon or OEM-specific | Holder clips or twists | Exact fit from manual lookup | Check heat output and legality | Corrosion on terminals, melted socket, or intermittent operation |
Use this table to separate a bulb fit issue from a housing or circuit fault. If the socket style, base type, or bulb length does not line up with the original part, the replacement is wrong even if it looks close. When a fresh bulb still fails, stop treating the bulb as the only cause. To narrow the choice further, compare the owner manual, the original bulb, and the socket together before buying the next part.
Common mistakes
Do not install the wrong base type or bulb length. Do not crack clips or over-tighten the housing screws. Do not skip the function check after reassembly. Do not ignore corrosion or moisture that will kill the next bulb.
Say your sedan uses a twist-lock socket and the replacement bulb is a few millimeters too long. The bulb may seat unevenly, then fail again when the lens is refitted. The better move is to match the owner manual or pull the original bulb and compare the base and length before buying another part.
One more useful check: many owners search by bulb number only, but vehicle fitment can vary by year, make, model, and trim. OEM bulb numbers vary. If the housing, tabs, or connector shape differs, the catalog number alone is not enough. Some catalog entries also leave out whether the part is LED-compatible, so review the listing and the vehicle-specific fit notes before you order.
Frequently asked questions
What bulb size do I need for my license plate light?
Use the owner manual, the original bulb, and the socket style together. Check the base type, the bulb length, and the way the holder locks in. Many lamps use wedge, festoon, or OEM-specific bulbs, so the correct size is vehicle-specific rather than universal.
Why does my new license plate bulb not work?
Start with polarity if the bulb is LED, then inspect the socket, tabs, fuse, ground, and wiring. Corrosion, moisture, or a melted holder can stop power even when the bulb is new. If both lamps stay dark, the problem is usually beyond the bulb itself.
Can I replace a license plate bulb from the trunk?
Often yes. Many sedans, hatchbacks, SUVs, and trucks place the rear access point behind trunk trim, hatch panels, or tailgate covers. Check whether the holder twists out, clips out, or comes out with the lens before applying force. The access path varies by trim and body style.
Products related to this article
Sponsored / affiliate links. As an Amazon Associate I earn from qualifying purchases. I may earn additional commission from eligible campaigns.