How to Replace a Brake Light Bulb Yourself
Replace a brake light bulb by checking the exact bulb number in the owner’s manual, then swapping the failed bulb and testing the lights. If both bulbs on one side are out, check the fuse, socket, or brake-light switch first. A bad brake light can trigger a citation, fail inspection, and leave drivers behind you blind to braking. This guide shows how to replace the bulb safely and how to tell whether the fault is the bulb, socket, fuse, switch, or a sealed LED assembly.
Checking if a simple bulb swap is right


Yes, often you can. On many cars, the brake light is one of the easiest rear bulbs to change because the housing opens from the trunk, hatch, rear quarter panel, or lens screws. The correct bulb can depend on the vehicle’s make, model, year, and trim, and some rear lamps use sealed LED modules instead of a replaceable bulb. The owner’s manual is the safest starting point for bulb type and fuse location, and many manufacturers also list the bulb number in online owner resources or service information. For safety and legality, a working stop lamp matters because rear brake lamps are part of the required lighting equipment on road vehicles, and lighting defects can affect inspection or roadside enforcement depending on your state or province. See the owner’s manual guidance on bulb specs and the lighting requirements in your local DMV or vehicle code, plus the general stop-lamp requirements described by NHTSA. NHTSA vehicle owner safety resources
When the lamp shares a housing with the tail light, turn signal, or reverse light, you still may only be changing one bulb inside that assembly. If the lens or socket is heat-damaged, or if the unit is sealed, a simple bulb swap is not the fix.
When a bulb swap is the right fix
Use a bulb swap when one brake lamp is out, the lens is intact, and the socket shows no heat damage or corrosion. A burned filament, loose twist-lock socket, or dirty connector is common and usually repairable without major disassembly. If the bulb is the same dual-filament or single-filament style listed in the owner’s manual, replacement is straightforward and inexpensive compared with assembly replacement. For exact bulb-number lookup, use the vehicle’s owner manual or a major OEM parts/service catalog before buying parts.
When a bigger repair is likely
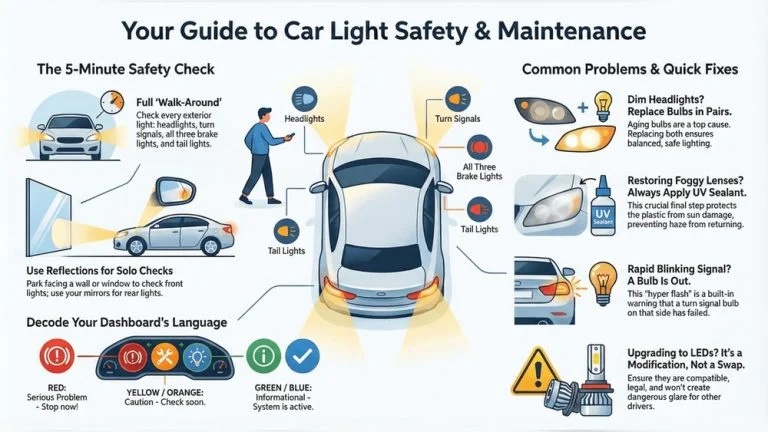
If both brake lights fail at once, start with the fuse and brake light switch. If the rear lamp is a sealed LED board or module, the repair may be an assembly replacement rather than a bulb change.
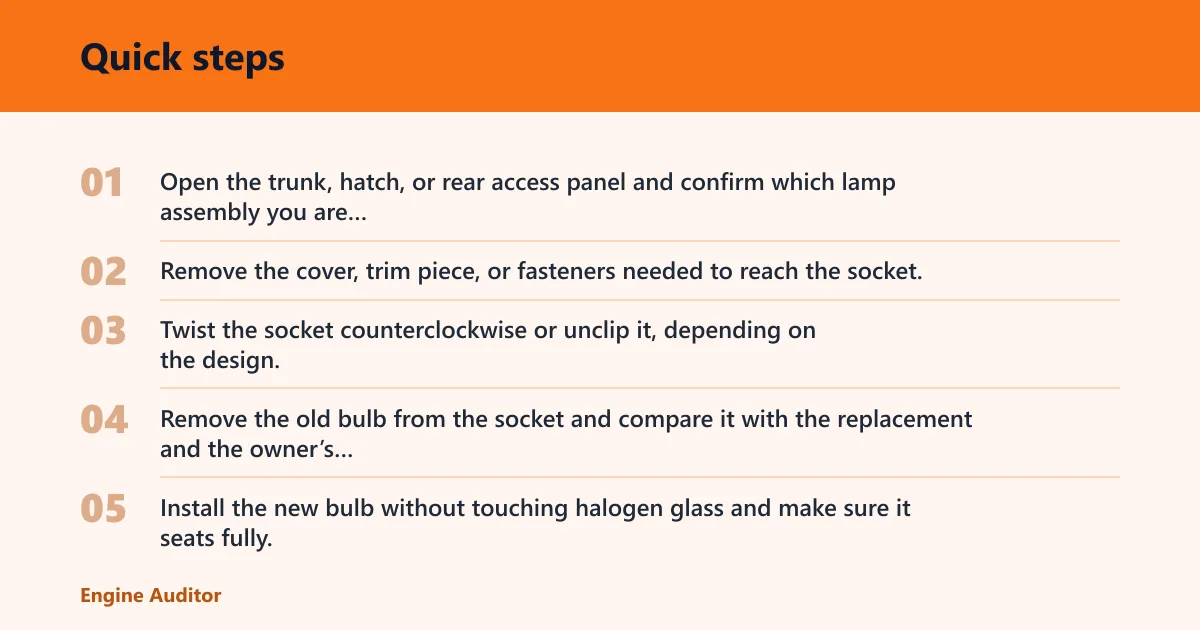
- Open the trunk, hatch, or rear access panel and confirm which lamp assembly you are servicing.
- Remove the cover, trim piece, or fasteners needed to reach the socket.
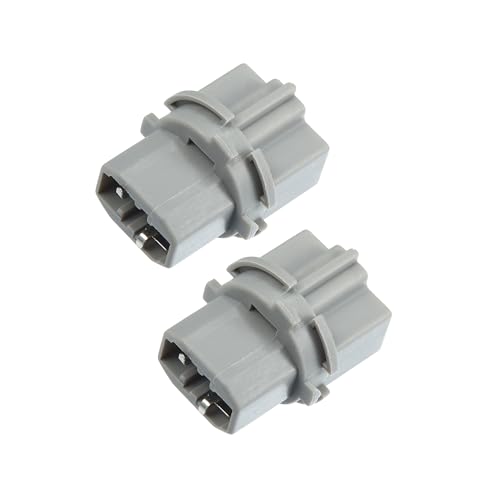
- Twist the socket counterclockwise or unclip it, depending on the design, and pull it straight out.
- Remove the old bulb from the socket and compare it with the replacement and the owner’s manual.
- Install the new bulb without touching halogen glass and make sure it seats fully.
- Reinstall the socket or bulb carrier and confirm it locks without forcing it.
- Test the brake light before reassembling the trim.
- Reinstall the trim, cover, or fasteners only after the lamp works steadily.
Step 1: Remove the bulb socket
Twist the socket counterclockwise or unclip it, depending on the design. Pull it straight out so you do not bend the terminals. If it feels stuck, stop and inspect for a locking tab or corrosion before forcing it.
Look closely at the socket and connector. Burn marks, green corrosion, softened plastic, or bent terminals can cause intermittent operation and can ruin a new bulb if you reinstall without fixing the connection.
Step 2: Install the replacement bulb
Match the replacement bulb to the old part and the owner’s manual. Handle halogen bulbs by the base or with clean gloves; oils on the glass can shorten bulb life. Seat the bulb fully so the contacts line up before you reinstall the socket.
If the new bulb slides in loosely, the base is wrong. Do not bend contacts to make it fit. A bulb that is slightly off-spec can work once, then fail again after vibration or heat build-up.
Step 3: Test before reassembly
Test the light before you put the trim back. Press the brake pedal and confirm the new bulb lights at full brightness. If the light flickers when the socket moves, the connector may be loose or the terminals may be spread.
Confirm that the lens, gasket, and trim still fit after the test. A pinched harness or misaligned bulb carrier can create a new fault even if the bulb itself is fine.
What you’ll need
- Replacement bulb that matches the base type, wattage, and filament layout listed in the owner’s manual
- Work gloves, especially for halogen bulbs
- Flashlight
- Flat screwdriver or trim tool for clips
- Socket set or Phillips/Torx driver for fasteners
- Dielectric grease for a light film on terminals, if needed
How to know which bulb you need
Match the base type first, then the wattage and filament configuration where applicable. The same rear housing can take different bulb types by trim level or market, so do not guess from shape alone. If the lamp is LED, look for an LED module or assembly rather than a loose bulb. Dual-filament bulbs typically handle both tail and brake functions in one bulb, while single-filament bulbs usually serve one function only; that difference changes the diagnosis when the tail lights still work but the brake lights do not. Center high mount stop lamps often have their own bulb, socket, or LED board, so a failed CHMSL can point to a different circuit than the left and right stop lamps.
How do you access the tail light?
Access varies by body style. Many vehicles let you reach the bulb from the trunk or hatch, while others need the rear quarter panel trim removed or exterior lens screws undone. If the lamp uses a bulb carrier, that piece may need to come out before the socket is reachable.
Check the owner’s manual before removing clips. Some trim panels pull free with a trim tool, but brittle clips and hidden fasteners can crack if forced.
- Open the trunk, hatch, or rear access panel.
- Locate the lamp cover, bulb carrier, or fasteners.
- Remove only the clips, screws, or trim needed to reach the socket.
- Set fasteners aside in order so reassembly is simple.
Say your sedan uses a trunk-mounted lamp with two Phillips screws and a plastic access cover. Remove the cover first, then the screws. That path is different from a hatchback that exposes the socket from inside the cargo area, so the access method matters before you touch the bulb.
Brake light decision checklist
| Symptom | Exact inspection order | Likely culprit | Next test | Is DIY repair still realistic? |
|---|---|---|---|---|
| One brake light out | Bulb first, then socket, then connector, then harness | Burned bulb or weak socket contact | Swap in the correct bulb and inspect the socket for corrosion or heat damage | Usually yes |
| Both brake lights out | Fuse first, then brake-light switch, then shared wiring or connector | Blown fuse or failed switch | Check the fuse map, then test the pedal switch and its adjustment | Sometimes, if the fuse or switch is the issue |
| Light works only when tapped | Socket fit, terminal tension, then bulb seating, then connector | Loose socket or intermittent terminal contact | Move the socket gently and look for flicker, heat damage, or a loose bulb base | Usually yes, if the housing is not damaged |
| New bulb still dead | Bulb spec, then socket, then fuse, then switch, then ground or connector | Wrong bulb, bad socket, blown fuse, or switch fault | Compare the bulb to the manual, then move down the circuit order | Maybe, depending on the failed part |
| Sealed LED housing | Confirm the assembly type, then check power, ground, and fuse | Failed LED board or module | Verify that the lamp is not serviceable with a loose bulb | No; assembly replacement is usually needed |
What if the new bulb still does not work?
If the new bulb does not restore operation, move to the next likely cause instead of swapping bulbs again. When both brake lights are out, the fuse and brake light switch rise to the top of the list. When only one side is out, the socket and connector usually deserve the first close look.
- Check the fuse when both brake lights fail at once.
- Inspect the brake light switch near the pedal for misadjustment or failure.
- Examine the socket and connector for corrosion, overheating, or bent terminals.
- Confirm whether the lamp is a sealed LED module that needs assembly replacement.
Suppose both rear brake lamps go dark after a bulb change, but the tail lights still work. That pattern points away from the bulb itself and toward the circuit protection or the pedal switch. A sealed LED board changes the diagnosis again, because there may be no replaceable bulb at all.
That same pattern also changes the troubleshooting order. Tail-lights-working-but-brake-lights-dead usually means the shared rear light circuit is not the first suspect; the stop-lamp side of the circuit is. A brake-light switch problem, fuse issue, or shared connector fault becomes more likely than a bad running-light bulb when the tail lamps still illuminate normally.
If that didn’t work, try this next
Move from least invasive to most invasive: fuse, then switch, then socket and connector, then lamp assembly. If the connector is heat-damaged or the lens is cracked and moisture is present, replacement of the socket or the full lamp housing may be more reliable than another bulb.
For switch diagnosis, use the vehicle’s service information or a manufacturer repair guide that shows the pedal-switch location, fuse layout, and adjustment procedure. That is especially helpful when both rear stop lamps are dead but the center high mount stop lamp still works, because the fault may be in the rear lamp feed rather than the pedal switch itself. If you need a general reference for the switch and circuit check order, use a major OEM service source or the manufacturer’s own repair information before replacing parts.
Common mistakes
The most common errors are simple. Wrong bulb type. Reusing a corroded socket. Reassembling before testing. Those mistakes waste time and can make the new bulb fail again.
- Using a bulb that matches the shape but not the base or wattage
- Touching halogen glass with bare fingers
- Forcing a twist-lock socket that is already damaged
- Skipping the socket inspection for heat damage or loose terminals
- Closing the trim before confirming the lamp works
- Assuming every rear lamp has a replaceable bulb
Cost and time
A DIY bulb change is usually the least expensive path because the part is often inexpensive and the labor is yours. Shop pricing rises fast if the lamp needs diagnostic time, a socket, a switch, or a full sealed assembly. A simple bulb swap may take minutes; access problems or trim removal can stretch it much longer.
Prevention
When you reinstall the socket, make sure it locks firmly and the terminals are clean and dry. A light, sparing application of dielectric grease on clean connectors can help resist corrosion, but it should not be used as a cure for burned or loose terminals.
Frequently asked questions
Can you change a brake light bulb yourself?
Usually yes, if your vehicle uses a replaceable bulb and the access panel is reachable from the trunk, hatch, or rear quarter trim. Check the owner’s manual for the exact bulb number and location before buying parts. Sealed LED assemblies are different and may need a full unit replacement.
How do you know which brake light bulb your car needs?
Use the owner’s manual or the bulb printed on the old part. Match the base type, wattage, and filament setup where applicable. A parts counter can cross-reference by year, make, model, and trim, but the manual is the safer first check before you remove trim or order anything. Many OEM sites and service catalogs also let you search by VIN, which helps avoid the wrong bulb number.
Do you need to remove the whole taillight to replace a brake light bulb?
Not always. Some cars let you reach the socket through an access panel, while others require removing the lamp housing or a bulb carrier. If the lens uses screws or the rear trim blocks access, removing the whole assembly may be part of the job.
Why does my new brake light bulb still not work?
A new bulb can fail to light if the socket is corroded, the connector is loose, the fuse is blown, or the brake light switch is faulty. If both brake lights are out, check the fuse and switch first. If only one side fails, inspect the socket and terminals before replacing anything else. A reputable service manual or OEM repair guide is the best source for the order of tests because it shows the circuit path and any shared fuse points.
Can you drive with one brake light out?
Driving with one brake light out can lead to a citation or inspection failure. The car may still stop, but the missing light reduces warning to drivers behind you. Fix it as soon as possible, and verify that the remaining brake lamp and center high mount stop lamp still work. The reason is simple: brake lamps are safety-critical lighting equipment, and a failed stop lamp can reduce visibility during braking.
How long does it take to replace a brake light bulb yourself?
On a vehicle with easy rear access, the swap can take only a few minutes. If the trim panel is tight, the socket is corroded, or the lamp uses screws and clips, it takes longer. The correct bulb and a flashlight reduce the time more than force ever will.
Products related to this article
Sponsored / affiliate links. As an Amazon Associate I earn from qualifying purchases. I may earn additional commission from eligible campaigns.