How to Test Car Lights at Home in 5 Minutes Step-by-Step
A common home check for car lights can take about 5 minutes: check the bulb first, then the fuse, socket, ground, and switch in that order; the fault often shows up at the first failed step. Skip a dead light and you can waste parts, repeat the same repair, or keep driving with poor visibility. This guide gives a quick fault-isolation checklist for headlights, brake lights, turn signals, and other passenger-car lamps before you buy anything.
What you’ll need
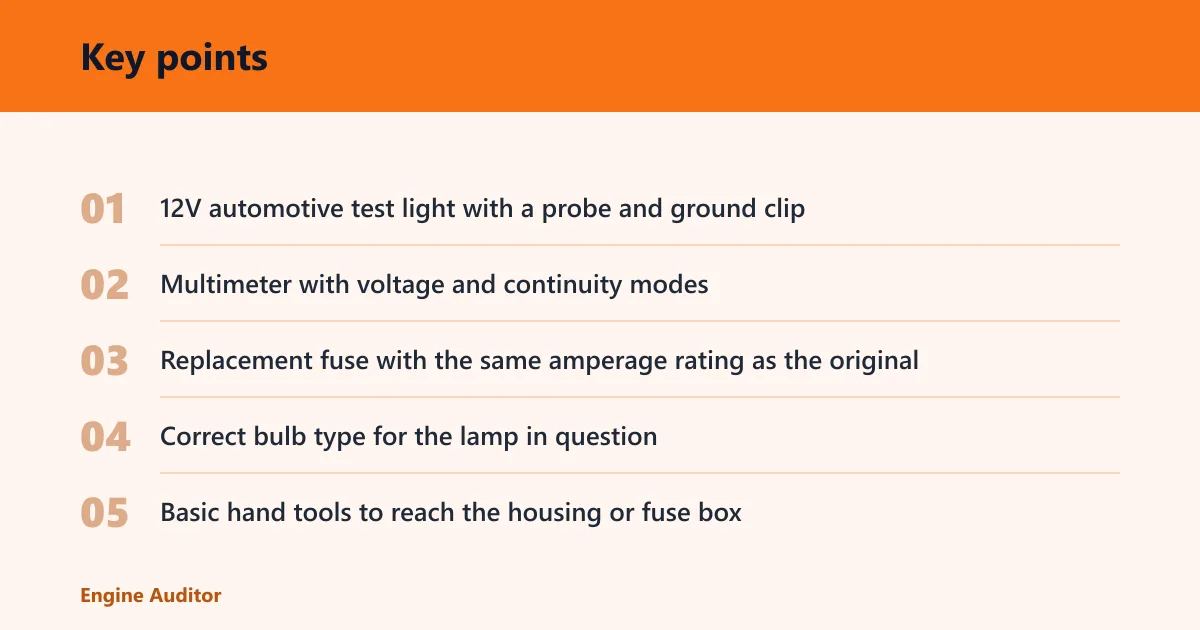


- 12V automotive test light with a probe and ground clip
- Multimeter with voltage and continuity modes
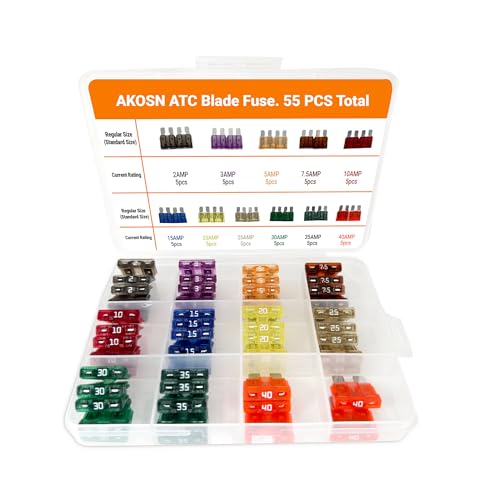
- Replacement fuse with the same amperage rating as the original
- Correct bulb type for the lamp in question
- Basic hand tools to reach the housing or fuse box
- Clean cloth or contact cleaner for light corrosion
How to test the bulb first
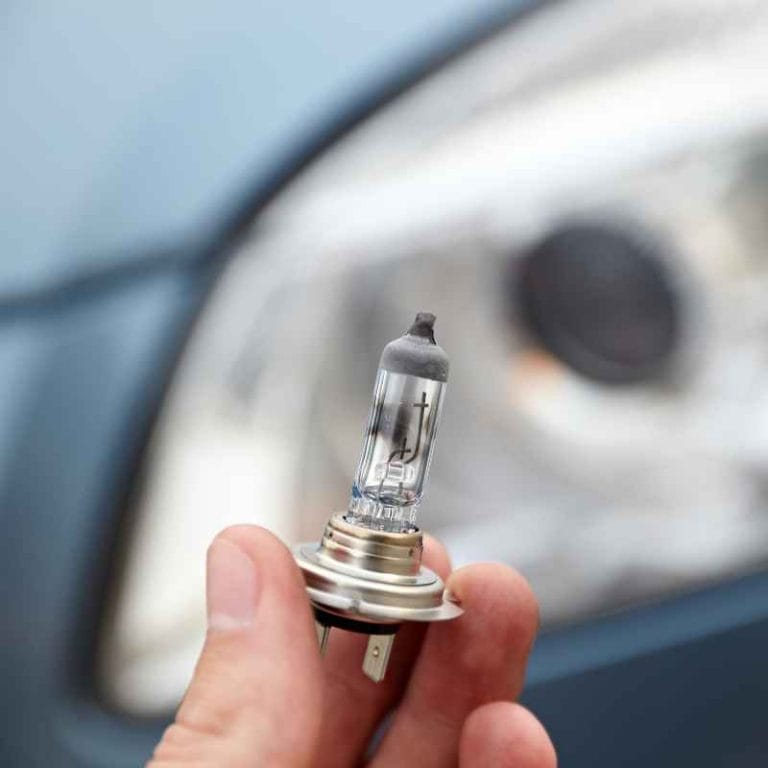
A failed bulb is the fastest thing to rule out, especially on a single dead lamp. Check the filament, base, and fit before touching the wiring, because a good circuit can still fail if the bulb is open or the contacts do not seat correctly.
- Turn the light off and let the bulb cool.
- Remove the bulb or access the rear of the lamp housing.
- Look for a broken filament, darkened glass, or a melted base.
- Check a dual-filament tail light or brake light bulb for one filament open while the other still looks normal.
- Install a known-good bulb only after the visual check.
Say your tail light works on one filament but the brake function is dead. That often points to the brake-side filament, not the whole lamp, so a full housing swap is usually the wrong first move.
How to check the fuse and battery voltage
Check battery voltage before blaming the lighting circuit, because a weak battery can make a healthy circuit look bad. On many passenger cars, engine-off battery voltage around 12.6 volts is typical for a fully charged battery; a much lower reading can distort test results.
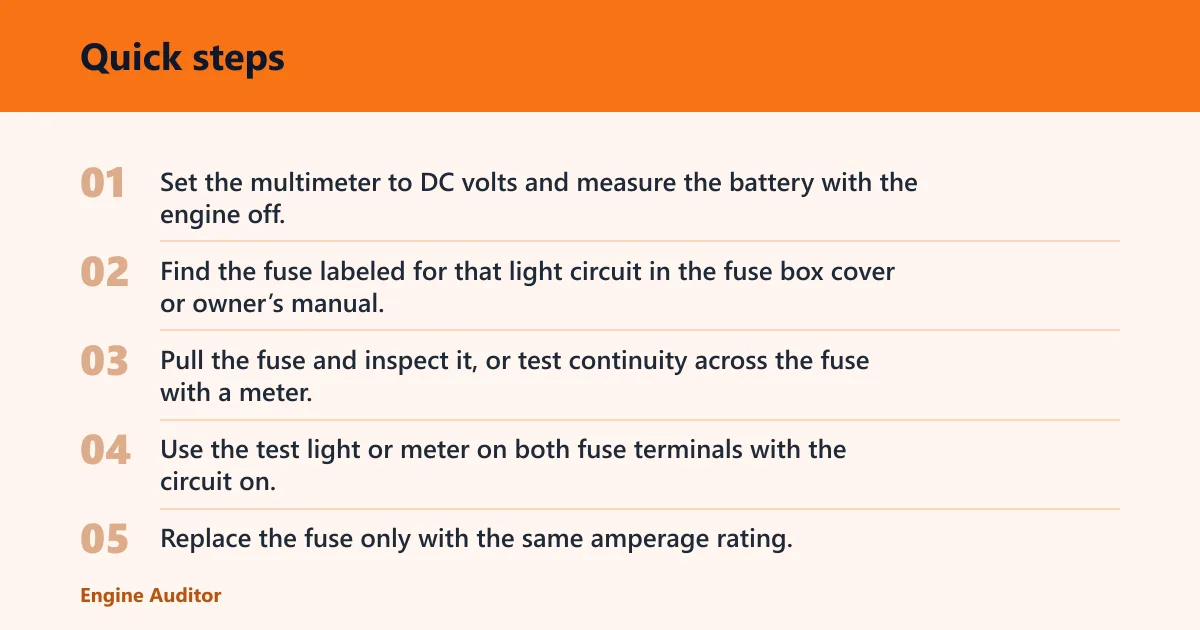
- Set the multimeter to DC volts and measure the battery with the engine off.
- Find the fuse labeled for that light circuit in the fuse box cover or owner’s manual.
- Pull the fuse and inspect it, or test continuity across the fuse with a meter.
- Use the test light or meter on both fuse terminals with the circuit on.
- Replace the fuse only with the same amperage rating.
| Step | Tool needed | Expected result | What it means |
|---|---|---|---|
| Battery check | Multimeter | About 12.6 V engine off | Low voltage can mimic a lamp fault |
| Fuse check | Fuse puller or meter | Continuity across the fuse | No continuity means a blown fuse |
| Fuse power check | Test light or meter | Power on both sides with circuit on | Power on one side only means a failed fuse |
How do you test the socket and ground?
Use a 12V automotive test light or multimeter at the socket to separate a supply problem from a ground problem. If the socket has power but the bulb does not light, the issue often sits in the ground path, the terminal fit, or corrosion inside the car bulb socket.
- Turn the light command on at the switch.
- Probe the socket’s power terminal with the test light or meter.
- Clip the test light to battery positive and probe the ground terminal.
- Look for a bright test-light glow or near-zero ohms on ground continuity.
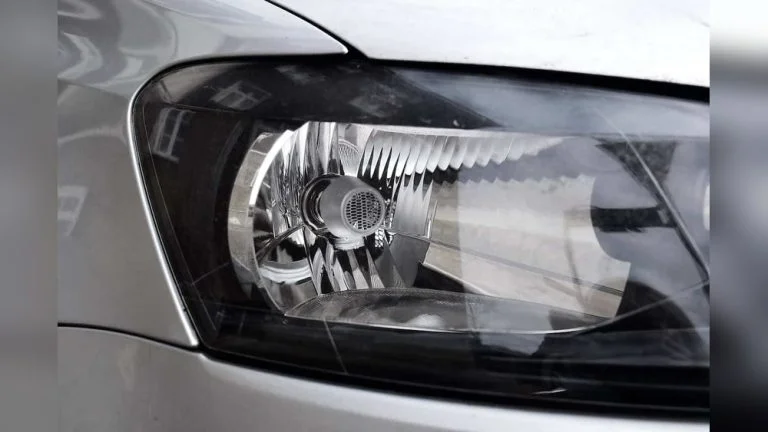
- Inspect the socket for corrosion, heat damage, or a loose fit.
Suppose one rear turn signal flashes fast while the other side behaves normally. That often points to a bulb or socket issue on the fast-flash side, not a global switch failure.
What if the bulb and fuse are good?
If the bulb and fuse both test good, move to the switch and the load side of the circuit. Headlights, brake lights, and turn signals fail in different ways, so compare what works and what does not before replacing parts.
- Cycle the headlight switch through off, parking lights, low beam, and high beam.
- Check whether one mode works and another does not.
- Press the brake pedal or hold it down with a helper or a fixed object while checking the brake lights.
- Watch for an intermittent turn signal or fast flashing that changes with bulb movement.
- Measure for voltage at the switch output if the socket has no power.
A brake light switch fault can leave all bulbs intact and still give you a no-brake-light complaint. A switch that does not close when the pedal moves will stop power before it reaches the rear lamps.
Car light fault checklist
Use this order when you want a fast pass/fail path. It splits the common failures into clear steps and keeps you from replacing parts before you know where the circuit stops working.
- Verify battery voltage with the engine off.
- Inspect the bulb, including dual-filament lamps.
- Check the fuse for continuity and power on both sides.
- Probe the socket for power with a test light or multimeter.
- Check the ground path for continuity or a bright test-light response.
- Test the switch that controls the lamp and retest the light.
If that didn’t work, try this next
If the bulb, fuse, socket power, and ground all check out, follow the harness to the next connector and repeat the same power and ground tests there. A short, broken wire, or corroded connector between the switch and the lamp can leave the light dead even when the parts at the end look fine.
Common mistakes
- Replacing the wrong bulb type, especially on dual-filament tail/brake lamps
- Installing a fuse with the wrong amperage rating
- Skipping the socket inspection for corrosion or heat damage
- Ignoring the ground check and blaming the bulb too early
- Testing only one function when the lamp has separate circuits
Picture a front parking light that works, but the low beam does not. That points you toward the headlight switch, beam circuit, or bulb filament for low beam, not the parking-light fuse.
Frequently asked questions
How to use an automotive test light
Clip the test light to a known good ground for power checks, or clip it to battery positive for ground checks. Probe the socket terminal or fuse terminal. A bright glow means the circuit side you touched has the expected path; no glow points to a break or poor contact.
What tools do I need to test car lights at home?
You need a 12V automotive test light or multimeter, the correct replacement fuse, the correct bulb, and basic hand tools. A clean cloth helps remove light corrosion from the bulb base or socket. You do not need to start the engine for most of these checks.
Can I test car lights without starting the engine?
Yes. Most bulb, fuse, socket, and ground checks work with the engine off. Battery voltage should still be high enough for useful readings, and many lighting circuits are easier to diagnose with the key in the correct accessory or on position.
What if the light still does not work after replacing the bulb?
Test for power at the socket and then check the ground path. If the socket has power, the fault is usually between the bulb contacts and ground, or in the socket itself. If the socket has no power, move upstream to the fuse, switch, or connector.
Products related to this article
Sponsored / affiliate links. As an Amazon Associate I earn from qualifying purchases. I may earn additional commission from eligible campaigns.