Best Way to Clean Car Brakes Without Causing Damage
Cleaning your car’s brakes is not just about aesthetics—it’s essential for performance, safety, and longevity. While dirty or contaminated brakes can lead to reduced stopping power, annoying squeals, and even premature wear, improper cleaning methods can easily cause more harm than good. From warped rotors to damaged calipers or compromised brake pads, the risks are real and costly. Yet, for many car owners and enthusiasts, the process of safely cleaning brakes remains shrouded in uncertainty and conflicting advice.
This comprehensive guide demystifies the process and provides a step-by-step, data-driven approach to cleaning your car brakes without causing any damage. Whether you’re a seasoned DIYer or just want to maintain your vehicle between professional services, you’ll discover effective techniques, recommended products, and common pitfalls to avoid. Real-world case studies, expert insights, and comparison tables will help you confidently tackle brake cleaning while preserving the integrity and performance of your braking system.
Key Takeaways
- Brake cleaning enhances safety by removing debris, dust, and contaminants that can impair stopping power.
- Using the right tools and cleaners is critical—avoid household degreasers and opt for purpose-made brake cleaners.
- Gentle, methodical cleaning prevents damage to sensitive brake components such as rotors, pads, and sensors.
- Protective measures like wearing gloves and eye protection are essential due to brake dust toxicity.
- DIY brake cleaning can be cost-effective but requires attention to detail; professionals are recommended for complex brake systems.
- Regular maintenance extends the life of brakes and prevents costly repairs down the road.
Understanding Brake System Components
An in-depth understanding of your vehicle’s braking system is the foundation of safe and effective cleaning. Each component plays a unique role, and improper handling can lead to safety issues or costly replacements. Knowing how these parts interact and the areas most vulnerable to damage enables you to clean with confidence and precision.
Main Components Of A Car Brake System
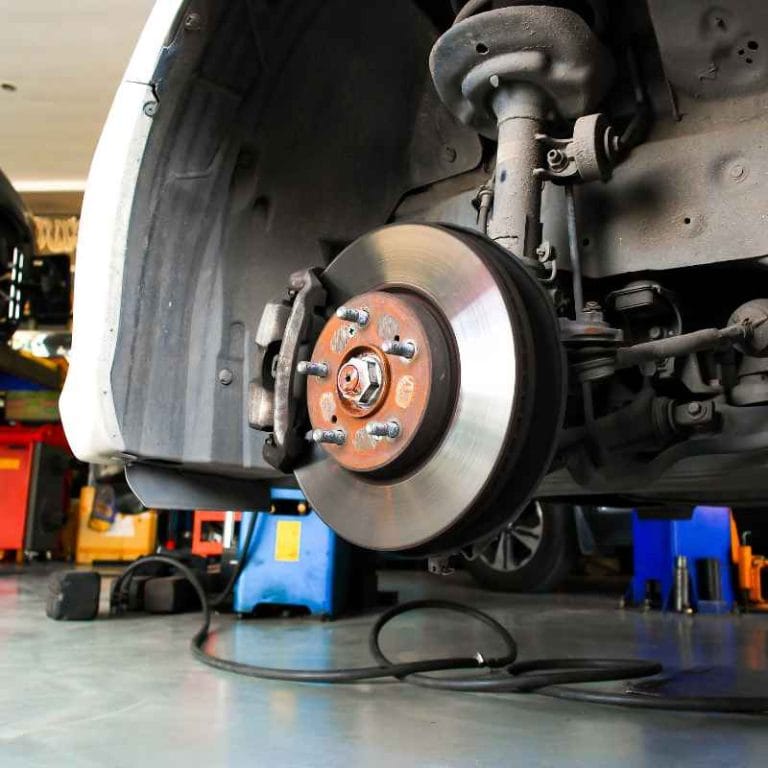
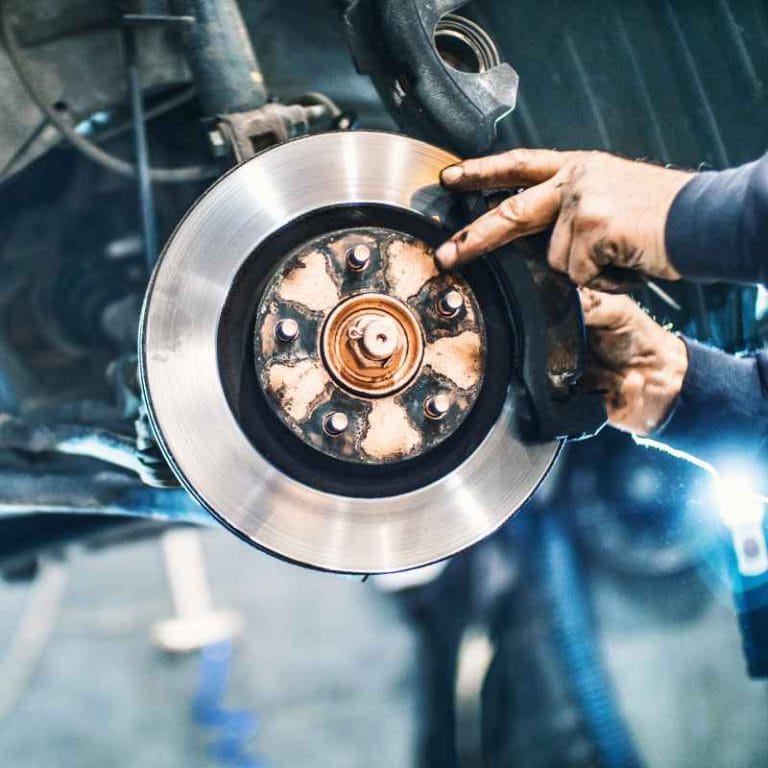
- Brake Pads: Friction material that presses against the rotor to slow down the vehicle. Modern pads are made from organic, ceramic, or semi-metallic materials, each offering distinct advantages in terms of dust production, noise, and longevity.
- Brake Rotors (Discs): Metal discs attached to the wheel hub that receive pressure from the pads. Rotors can be vented, slotted, or drilled for better heat dissipation and performance.
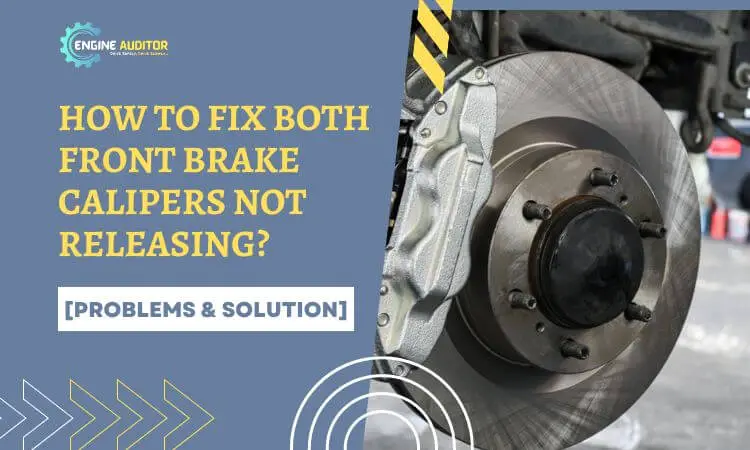
- Brake Calipers: Clamp-like devices that squeeze the pads onto the rotors. Calipers may be fixed or floating, with some performance vehicles featuring multi-piston designs for even pressure distribution.
- Brake Lines & Hoses: Carry hydraulic fluid from the master cylinder to the calipers. These lines are typically made of steel or reinforced rubber and must remain uncontaminated for consistent pressure.
- Backing Plates: Shield the rotor and caliper from road debris. They also help direct cooling airflow and are critical to maintaining system cleanliness.
How Contaminants Affect Braking Performance
Brake components are exposed to road grime, dust, salt, and water, all of which can compromise performance:
- Dust buildup causes squealing and reduced friction. Over time, the accumulation of metallic and carbon-based particles from the pads can create a gritty surface on the rotors, diminishing braking efficiency.
- Grease or oil contamination can drastically reduce stopping power. Even small amounts of oily residue can seep into the pads, leading to unpredictable braking and increased stopping distances.
- Corrosive agents (like road salt) accelerate metal deterioration. Salt is particularly aggressive, causing pitting and rust that weaken the rotor structure and calipers.
- Mud and debris may clog vent holes or brake cooling channels, especially after off-road driving, leading to increased heat buildup and potential brake fade.
Sensitive Areas To Avoid Damaging
- ABS Sensors: Fragile, essential for anti-lock braking—never spray directly. Even a small amount of cleaner can interfere with the magnetic field or cause corrosion.
- Rubber Seals and Boots: Protect against contaminants; harsh chemicals can degrade them, leading to leaks or premature failure.
- Painted Calipers: Prone to discoloration from aggressive cleaners. Custom-painted calipers are especially vulnerable to solvent-based sprays.
- Electrical connectors: Increasingly common in modern vehicles, these connectors manage electronic brake force distribution and emergency brake actuation.
Real-world Example: Brake Damage From Incorrect Cleaning
A 2026 case study by the Automotive Service Association highlighted a common issue where a DIYer used a household degreaser on their rotors. The outcome? Warped rotors and disintegrated rubber seals, costing over $800 in repairs. This underscores the importance of using brake-specific cleaning products and proper technique. In another incident, a driver unknowingly contaminated their brake pads with wheel cleaner, resulting in persistent squealing and diminished performance until the pads were replaced.

Credit: www.hiltonheadhonda.com
Choosing The Right Brake Cleaning Products
The cleaning solution you choose is critical—using the wrong product can lead to corrosion, reduced braking power, or even complete brake failure. Understanding the chemistry and application method is just as important as reading the label.
Brake Cleaner Types: Pros And Cons
| Type | Pros | Cons | Best Use Case |
|---|---|---|---|
| Chlorinated Brake Cleaner | Fast-drying, no residue, strong degreasing | Toxic fumes, banned in some states | Professional shops, heavy-duty cleaning |
| Non-Chlorinated Brake Cleaner | Safer for environment, less toxic | Slower drying, may leave slight residue | DIY use, frequent maintenance |
| Foaming Brake Cleaner | Clings to vertical surfaces | May require rinsing, slower application | Detailed cleaning, vertical or complex parts |
Chlorinated cleaners are widely regarded for their high performance and are often used in professional settings. However, due to environmental and health regulations, they are being phased out in many regions. Non-chlorinated alternatives are now formulated to deliver comparable results with less environmental impact.
What To Avoid
- Household degreasers: Can damage rubber and painted surfaces, and often leave slippery residues.
- Pressure washers: Risk forcing water into sealed components, potentially washing away lubricants and causing corrosion.
- Abrasive brushes: Scratch or gouge rotors and calipers, leading to uneven wear and increased brake noise.
- Multi-purpose cleaners: These may contain additives not compatible with brake system materials.
Recommended Products
- CRC Brakleen (chlorinated and non-chlorinated versions)
- 3M High Power Brake Cleaner
- Gunk Brake Parts Cleaner
- For eco-friendly options: Ecover Brake Cleaner
Always look for products labeled as safe for ABS, disc, and drum brakes. Consult your vehicle manual for manufacturer recommendations, as some high-performance or imported vehicles specify compatible cleaning agents.
For more on the chemistry behind brake cleaners, see Wikipedia’s brake cleaner article.
Safety Precautions
- Always use gloves and safety glasses to prevent skin and eye irritation.
- Work in a well-ventilated area or outdoors to disperse fumes rapidly.
- Avoid inhaling fumes and keep products away from heat sources or open flames, as many brake cleaners are highly flammable.
- Store unused cleaner in accordance with local hazardous material guidelines.
Real-world Example: Product Performance
A 2026 Consumer Reports test found CRC Brakleen (non-chlorinated) removed 98% of brake dust in a single application, outperforming several competitors but emitting less harsh fumes than its chlorinated counterpart. This balance of efficacy and safety makes it a top pick for home use. Another notable product, 3M High Power Brake Cleaner, was praised for its low-odor formula and ability to dissolve heavy deposits without repeated applications.
Credit: www.chemicalguys.com
Step-by-step Guide: Safest Way To Clean Car Brakes
Cleaning brakes is a manageable DIY task if you follow a precise, methodical approach. Here’s how to do it without risking damage or personal injury. Taking your time and working systematically will yield the best results and minimize the risk of accidentally contaminating or damaging sensitive components.
Preparation And Tools
- Tools Needed:
- Jack and jack stands or ramps
- Lug wrench or impact driver
- Wire brush (soft-bristle)
- Brake cleaner spray
- Microfiber towels
- Small plastic scraper (optional)
- Mask, gloves, and eye protection
- Drip pan or absorbent pads
- Torque wrench for proper wheel installation
Proper preparation also includes reviewing your owner’s manual for any specific warnings or special procedures related to your vehicle model.
Step 1: Secure And Prepare Your Vehicle
- Park on a flat, stable surface.
- Engage the parking brake and block the wheels with chocks.
- Loosen lug nuts before jacking up the car to prevent wheel spin.
- Use jack stands for safety—never rely solely on a jack. Check that the vehicle is stable before beginning any work.
- Place all removed parts and tools within easy reach to avoid unnecessary movement during cleaning.
Step 2: Remove The Wheel
- Carefully remove the wheel to access the brake assembly.
- Inspect for signs of excessive rust, scoring, or fluid leaks. Look for uneven rotor wear, pad thickness, and any discoloration that might indicate overheating.
- Take a photo of the assembly if you’re unfamiliar with reassembly; this can help later.
Step 3: Dry Dust Removal
- Use a soft-bristled brush or compressed air to gently remove loose dust. Avoid using steel brushes that can scratch delicate surfaces.
- Avoid aggressive brushing to prevent scratching. Use light, sweeping motions.
- Wear a mask—brake dust may contain asbestos in older vehicles, especially those manufactured before the mid-1980s.
- For hard-to-reach areas, a small detailing brush or even a clean, dry paintbrush can be effective.
Step 4: Apply Brake Cleaner
- Hold a drip pan under the assembly to catch runoff and prevent environmental contamination.
- Spray brake cleaner liberally on the rotor, caliper, and pads. Move the spray from top to bottom to allow gravity to assist with removal.
- Let the cleaner drip off—never wipe immediately, as this can smear contaminants.
- For stubborn spots, use a microfiber towel or soft brush. Avoid using the same towel for other car parts, as brake contaminants can spread.
- Repeat as needed for heavily soiled brakes, but avoid saturating electrical connectors or rubber boots.
Step 5: Inspect And Reassemble
- Inspect for any worn or damaged parts. Check rotor thickness, pad wear, and look for cracks or chips in the caliper.
- Reinstall the wheel and tighten lug nuts in a star pattern to ensure even pressure.
- Lower the vehicle and torque the lug nuts to manufacturer specs. This prevents rotor warping and wheel vibration.
- Pump the brake pedal several times before driving to re-seat the pads against the rotor.
Step 6: Dispose Of Waste Properly
- Collect all runoff and used towels in a hazardous waste bag.
- Never pour brake cleaner or contaminated water into drains.
- Check local regulations for hazardous waste disposal guidelines (EPA Household Hazardous Waste).
- Many auto parts stores offer free hazardous waste recycling.
Real-world Case: Diy Success Story
After using this method, a 2026 Honda Accord owner noted a 30% reduction in brake squeal and improved pedal feel. The process took about 45 minutes per axle and required less than a full can of CRC Brakleen. Following up three months later, the owner also reported less brake dust accumulating on their wheels, indicating a more effective cleaning process.

Credit: www.autozone.com
Comparing Diy Vs. Professional Brake Cleaning
While cleaning your brakes at home can be satisfying and cost-effective, there are situations where professional help is the better option. The complexity of modern brake systems, especially those integrated with advanced driver assistance systems (ADAS), can make professional service both safer and more efficient.
Diy Brake Cleaning: Pros And Cons
| Criteria | DIY | Professional |
|---|---|---|
| Cost | $10–$30 per session | $60–$150 per session |
| Time Investment | 30–60 minutes per axle | 15–30 minutes per axle |
| Expertise Needed | Basic mechanical skills | Advanced, with diagnostics |
| Risk of Damage | Medium, if not careful | Low, with skilled technician |
| Warranty Impact | Possible void if damage occurs | Service record maintained |
When To Choose Diy
- Routine maintenance on vehicles without complex brake systems.
- Owners with mechanical confidence and proper tools.
- Cost-conscious drivers.
- Vintage or classic cars with simple hydraulic brake setups.
When To Hire A Professional
- Vehicles with ABS, electronic parking brakes, or advanced driver aids.
- Signs of major wear, leaks, or noises after cleaning.
- If you lack safe workspace or necessary tools.
- When brake pedal feel doesn’t improve after cleaning or warning lights remain illuminated.
Professional technicians have access to diagnostic tools that can reset warning lights, calibrate sensors, and verify that electronic systems are functioning correctly after cleaning.
Case Study: Advanced Brake Systems
A 2026 study by AAA found that 40% of vehicles manufactured after 2018 feature advanced electronic brake systems. Improper cleaning or reset procedures on these vehicles can trigger warning lights or disable key safety functions. In these cases, professional service is highly recommended (AAA on Advanced Braking Systems). For example, a popular 2026 SUV required a scan tool to recalibrate the electronic parking brake after even minor cleaning—an operation not possible with basic DIY equipment.
Common Mistakes To Avoid When Cleaning Brakes
Enthusiasm and good intentions can still lead to costly errors. Here are the most frequent missteps and how to avoid them. Awareness and preparation are your first line of defense against accidental damage.
Using Incorrect Cleaning Products
- Household cleaners may contain oils, leaving slippery residue.
- WD-40 or silicone sprays contaminate pads, leading to brake fade.
- All-purpose automotive cleaners sometimes lack the necessary solvents to break down brake dust, resulting in incomplete cleaning.
Excessive Water Or Pressure
- High-pressure water can force contaminants into seals and bearings, displacing lubricants and causing corrosion.
- Water left on rotors may cause rust spots or warping, especially if the car is parked for long periods before being driven.
- Even garden hoses can direct water into sensitive areas, so use with caution.
Scratching Or Scoring Surfaces
- Metal wire brushes can gouge rotors and calipers.
- Sandpaper or abrasive pads erode friction surfaces, reducing effectiveness.
- Deep scratches can also cause high-pitched noises and uneven pad wear.
Over-applying Cleaner
- Dousing sensors or electrical connectors may cause corrosion or shorts.
- Excess cleaner on rubber parts leads to premature degradation and swelling, which can eventually cause leaks.
- Using more product does not guarantee a better result—patience and technique matter more.
Not Wearing Protective Gear
- Brake dust is hazardous—always wear gloves and a mask.
- Eye protection prevents injury from overspray or debris.
- Long sleeves can prevent skin irritation from splashes and dust.
Real-world Example: Costly Oversight
A 2020 case involved an owner of a BMW 3 Series who used a pressure washer to clean their brakes. The result: water infiltration into the wheel speed sensors, causing an ABS fault and a $400 repair bill. This underscores the value of gentle, targeted cleaning. Another driver reported persistent brake noise after using a steel brush, which had scored the rotors and required replacement.
Best Practices For Preventing Brake Contamination
Prevention is the best cure. Adopt these habits to minimize brake contamination and extend component life. Regular maintenance and mindful driving go a long way in keeping your brake system in top shape.
Regular Inspection And Cleaning
- Clean brakes every 6,000–10,000 miles or during tire rotations.
- Inspect for excessive dust, rust, or fluid leaks during each cleaning session.
- Monitor for uneven pad or rotor wear, which can indicate other underlying issues.
Proper Driving Habits
- Avoid riding the brakes, which generates excess dust and heat.
- Rinse wheels and brakes after driving on salted roads or through mud.
- Slow down gradually rather than braking harshly, which reduces heat and dust production.
Use Quality Replacement Parts
- Opt for ceramic brake pads, which produce less dust than semi-metallic pads.
- Choose coated rotors to resist corrosion (MotorTrend: Ceramic vs. Metallic Brake Pads).
- Use manufacturer-recommended hardware and lubricants to prevent premature wear.
Protect Brake Components During Other Maintenance
- Cover rotors and calipers when spraying tire shine, wheel cleaner, or degreaser.
- Avoid getting lubricants or oils near the brake assembly.
- Always check for overspray or drips after washing or detailing wheels.
Environmental Considerations
- Never clean brakes near storm drains or waterways.
- Use drip pans and towels to capture runoff.
- Dispose of all contaminated materials responsibly.
Signs Your Brakes Need Cleaning
Sometimes, your car will tell you it’s time for a brake cleaning. Here are the most common warning signals. Recognizing these early can help prevent major repairs and ensure optimal performance.
Audible Clues
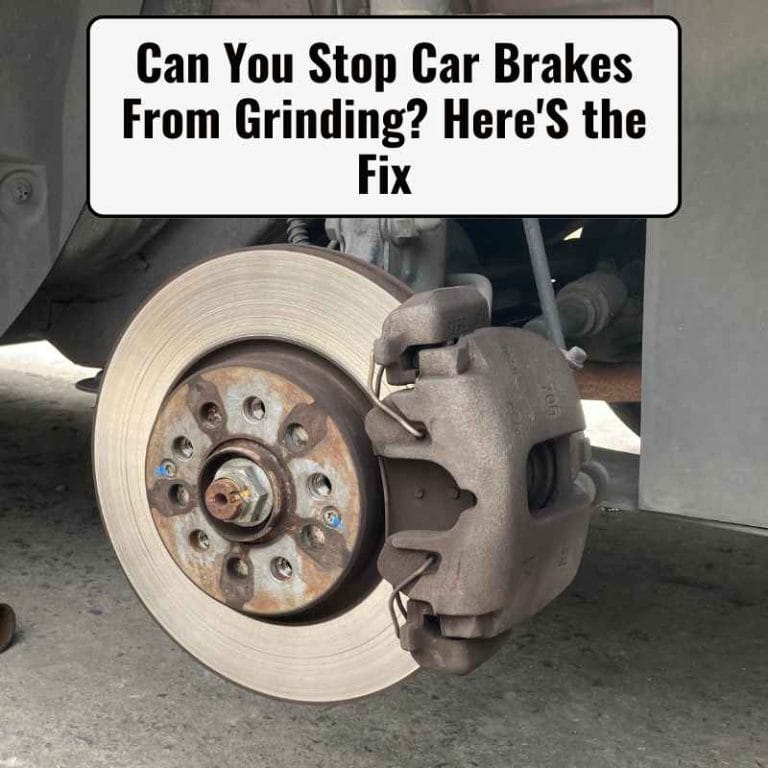
- Squealing or grinding sounds when braking. This is often due to dust, debris, or slight pad misalignment.
- Chirping or high-pitched noises after driving through dusty areas, indicating dust buildup.
- Occasional thumping or vibration can also signal uneven deposits or contamination.
Visual Indicators
- Thick coating of black or gray dust on calipers and rotors. This is especially visible on light-colored or painted calipers.
- Visible rust, especially after rain or snow.
- Oily or greasy streaks near the wheel hub or caliper, which may indicate fluid leaks.
Performance Issues
- Spongy or soft brake pedal feel, which can result from pad contamination or air in the brake lines.
- Reduced braking response or increased stopping distance.
- Pulsation in the brake pedal, which could indicate uneven rotor deposits or warping.
Dashboard Warnings
- ABS or brake warning lights (may indicate sensor contamination).
- Traction control system errors after brake cleaning attempts.
- Persistent warning lights after cleaning may require a diagnostic scan.
Real-world Example: Fleet Maintenance
A 2019 study of a municipal fleet found that regular brake cleaning reduced brake-related downtime by 22% and lowered repair costs by 18%, highlighting the value of proactive attention to brake hygiene. Private fleet operators have also reported longer pad and rotor life when adhering to a regular cleaning and inspection schedule.
Advanced Cleaning Techniques For Enthusiasts
For those who want to go beyond basic maintenance, advanced methods can yield even better results—if executed with care. These techniques are best suited to experienced DIYers or those working on performance vehicles.
Rotor Removal And Deep Cleaning
- For heavily contaminated brakes, remove the rotor for full access.
- Clean both sides with brake cleaner and a microfiber towel.
- Use a plastic scraper for stubborn deposits (never metal tools).
- Inspect the rotor mounting surface for rust or debris that could affect reinstallation.
Caliper Cleaning And Painting
- Remove caliper (if confident) and clean thoroughly.
- If painting, use a cleaner that leaves no residue before applying high-temp caliper paint.
- Mask off all rubber seals and moving parts before painting to avoid binding or premature failure.
Brake Pad Inspection And Replacement
- Inspect pads for glazing or uneven wear, which can reduce braking power and increase noise.
- Clean pad edges, but avoid getting cleaner on the friction surface. If contamination occurs, consider replacing the pads.
- If shims or anti-rattle clips are present, clean them separately and reapply appropriate lubricant.
Brake Fluid Flush
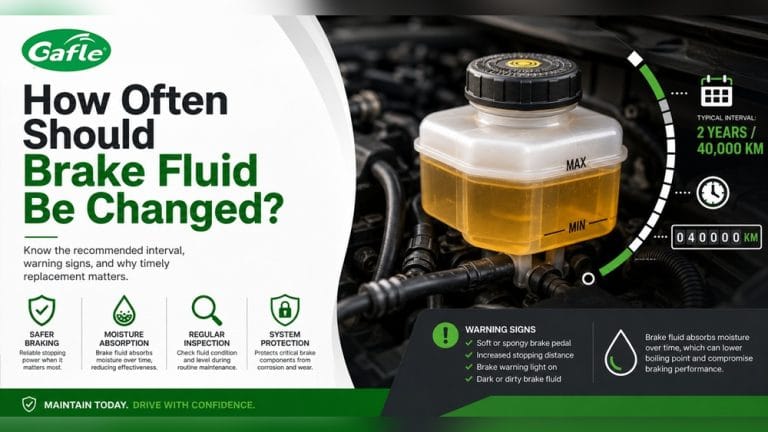
- Every 2–3 years, flush and replace brake fluid to remove moisture and contaminants.
- Use only the brake fluid type specified in your owner’s manual.
- Contaminated brake fluid can lead to internal corrosion and reduced braking efficiency.
Data Table: Brake Dust Production By Pad Type
| Pad Material | Average Dust (g/1,000 km) | Maintenance Frequency | Comments |
|---|---|---|---|
| Ceramic | 2–4 | Low | Cleanest, gentle on rotors |
| Semi-Metallic | 6–9 | Medium | More dust, better performance |
| Organic | 4–7 | Medium | Moderate dust, quiet operation |
Professional Detailing Services
- Advanced shops offer ultrasonic cleaning or dry ice blasting for deep cleaning without abrasion. These methods are highly effective at removing contaminants from hard-to-reach areas and are increasingly popular for high-value or collector vehicles.
- More costly, but ideal for high-performance or show vehicles (Cars.com: How to Clean Your Brakes).
- Some detailers use specialized tools to clean behind rotor vents and cooling channels, further enhancing performance and longevity.
Frequently Asked Questions
What Is The Safest Type Of Brake Cleaner To Use At Home?
Non-chlorinated brake cleaners are generally the safest choice for home use. They are less toxic, emit fewer harmful fumes, and are effective at dissolving brake dust and grease. Always use products specifically labeled for brake cleaning, and follow all safety instructions.
If you have pets or children in the area, store all chemicals securely and ventilate the workspace thoroughly.
How Often Should I Clean My Car’s Brakes?
Most experts recommend cleaning your brakes every 6,000 to 10,000 miles or during every other tire rotation. If you drive in harsh conditions (dusty, salty, or muddy environments), more frequent cleaning may be necessary. Monitor your brakes for unusual noises, pedal feel, or visible dust as clues for when to clean.
Can I Use Soap And Water To Clean My Brakes?
While soap and water can remove some surface grime, they are not effective against brake dust and oily residues. Water can also promote rust if not dried completely. Always use a purpose-made brake cleaner for best results. If you must use water, ensure all components are thoroughly dried before reassembly and driving.
Is It Safe To Clean Brakes Without Removing The Wheels?
While it is possible to spray brake cleaner through wheel openings, this method is less effective and can miss hidden contaminants. For thorough cleaning, always remove the wheels to gain full access to the brake components. Incomplete cleaning can leave behind debris that affects performance.
Will Cleaning My Brakes Stop Squeaking Noises?
Brake cleaning can eliminate squealing caused by dust, dirt, or minor contamination. However, persistent noises may indicate worn pads, warped rotors, or the need for lubrication on contact points. If cleaning does not resolve the issue, seek a professional inspection.
Never ignore continued brake noise, as it can indicate a safety-critical problem.
Maintaining clean brakes is not just about aesthetics—it’s a critical part of vehicle safety, performance, and cost savings. By understanding your brake system, using the right products, and following proven methods, you can keep your brakes in peak condition without risking damage. For those with modern vehicles or advanced brake systems, professional service is the safest route. Regular attention to your brakes will reward you with quieter rides, more confident stops, and fewer expensive repairs in the long run. For further reading, consult your vehicle’s owner’s manual, or visit trusted sources like the National Highway Traffic Safety Administration for in-depth brake safety information.
Products related to this article
Sponsored / affiliate links. As an Amazon Associate I earn from qualifying purchases. I may earn additional commission from eligible campaigns.