How Much Does A Car Light Cover Cost? (Price Breakdown)
You’re not alone in this. Many car owners face this when a headlight lens or a taillight plastic gets cracked, fogged up, or breaks off entirely. It’s more than just an eyesore; it can actually be a safety issue and might even lead to a ticket.
We’re going to walk through all the ways you can tackle this. We’ll look at the prices involved so you can figure out the best path forward for your budget and your car.
A car light cover’s cost varies widely. It can range from under $20 for a simple DIY lens restoration kit to over $500 for a full headlight assembly replacement by a dealer. Most common repairs, like replacing just the plastic cover for a taillight or a single headlight lens, often fall between $50 and $250 when done professionally. Factors like the car’s make and model, the type of light, and whether you DIY or go to a shop all play a big role.
Understanding Car Light Covers and Their Costs
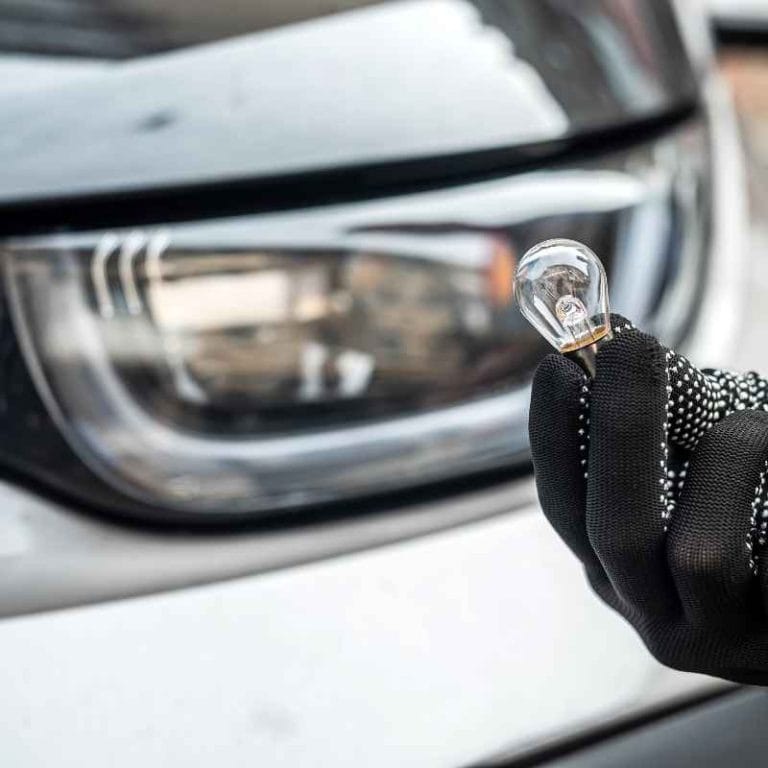
When we talk about a “car light cover,” we’re usually talking about the outer protective shell of a car’s lighting units. This includes the clear plastic on headlights, the colored plastic on taillights, and sometimes even the covers for turn signals or fog lights. These covers aren’t just for looks.
They shield the delicate bulbs and electrical parts inside from weather, dirt, and minor impacts.
The cost to fix or replace these covers really depends on what’s wrong and what kind of car you have. A simple crack in a taillight might be a quick fix. But a yellowed or hazy headlight lens is a different story.
Sometimes the plastic cover itself can be replaced. Other times, the entire headlight or taillight assembly has to go.
Think about it like this: your car’s lights are like its eyes. They need to be clear and bright to see and be seen. When they get damaged, it’s not just about how your car looks.
It’s about how well it works and how safe it is on the road.
My Own Headlight Headache
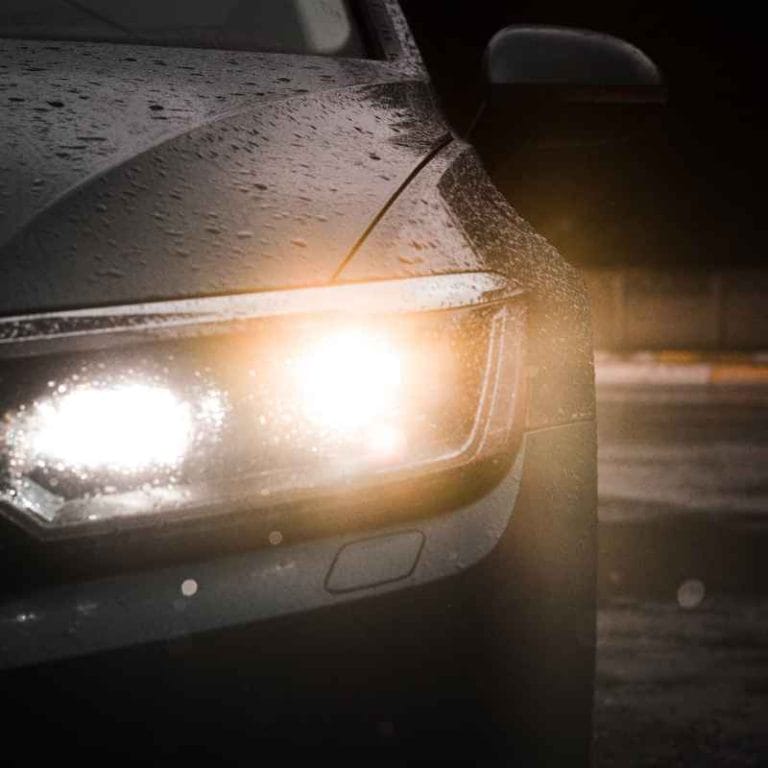
I remember one time, I was driving home after dark, and it was raining. My headlights suddenly seemed so dim. I squinted, trying to see the road ahead.
It felt like I was driving with candles. Later, in my garage, I noticed my headlights weren’t just dim; they were covered in this thick, yellow haze. It looked awful, and driving at night felt genuinely dangerous.
I felt a knot of worry. How much would this cost to fix? Was I going to have to buy a whole new set of headlights?
That seemed like a fortune. I spent a good hour online, just staring at forums, seeing people complain about the same thing. Some said it was a cheap fix, others said their mechanic quoted them thousands.
The uncertainty was the worst part. I just wanted clear headlights again.
That experience taught me a lot about how different car parts can have surprisingly varied repair costs. It pushed me to really dig into what affects those prices, especially for something as common as damaged car light covers.
Common Reasons for Light Cover Damage
Cracks and Chips: Small rocks, debris, or even hailstones can cause cracks or chips. This is very common on highways.
Hazing and Yellowing: Over time, UV rays from the sun break down the plastic. This makes them foggy and yellow, reducing light output.
Scratches: Washing the car with dirty rags or automatic car washes can leave fine scratches.
Moisture Intrusion: A small crack or bad seal can let water get inside, causing fogging or corrosion.
Physical Impacts: Accidents, parking lot mishaps, or even bumping into things can break the covers.
The Price of Different Light Cover Issues
The cost to fix a car light cover really depends on the problem. Let’s break down the most common issues and what you might expect to pay.
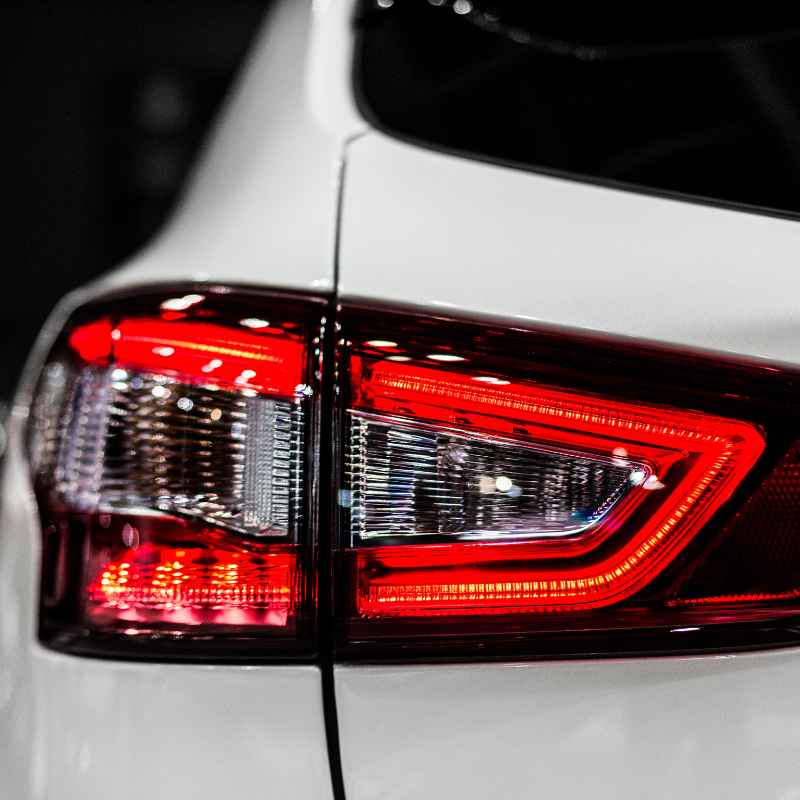
Replacing a Cracked or Broken Taillight Lens
This is often one of the more straightforward fixes. If a taillight’s plastic red or amber cover is cracked, you might be able to replace just that piece. Many cars have taillight assemblies where the outer lens can be bought and replaced separately from the main housing and bulb sockets.
DIY Cost: You can often find aftermarket replacement lenses for $20 to $60. Installation usually involves removing a few screws and clips. It’s a pretty common DIY job.
Professional Cost: A mechanic might charge $50 to $120 for just the part and about an hour of labor. So, you’re looking at $100 to $200 total.
Dealership Cost: A dealership will likely charge more for the part, maybe $75 to $150, and their labor rates are higher. Expect $150 to $250 or more.
DIY vs. Professional Taillight Lens Replacement
Do It Yourself (DIY):
- Pros: Lowest cost, satisfaction of doing it yourself.
- Cons: Requires basic tools, time, and willingness to learn. Risk of mistakes.
- Tools Needed: Screwdriver set, trim removal tools, maybe a putty knife.
Professional Installation:
- Pros: Faster, done correctly, often comes with a warranty on labor.
- Cons: Higher cost.
- When to Choose: If you’re not comfortable with car repairs, have a complex assembly, or want it done quickly.
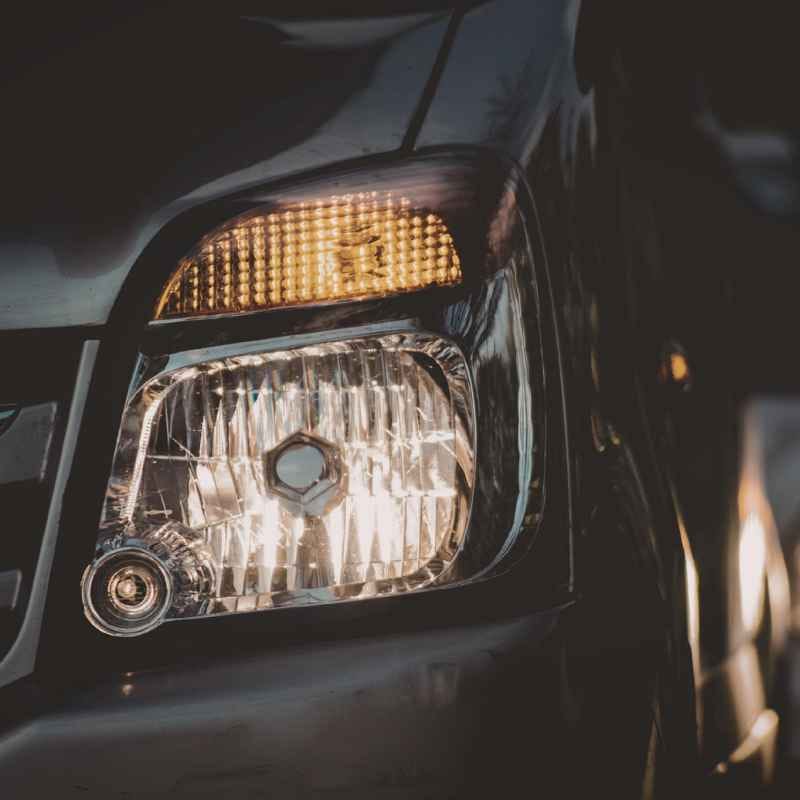
Restoring Foggy or Hazy Headlight Lenses
This is the issue I dealt with. The plastic headlight covers, often called “lenses,” get oxidized and yellowed from the sun. It’s super common on cars that are a few years old.
DIY Cost: This is where DIY can save you a lot. You can buy headlight restoration kits at auto parts stores for $15 to $40. These kits usually have sandpaper, polishing compounds, and a UV protectant spray.
Doing this yourself can make old headlights look brand new.
Professional Cost: Auto detailers or repair shops offer headlight restoration services. They might charge $75 to $150 for both headlights. They have better tools and products sometimes, but the results are often similar to a good DIY kit.
When It’s Not Enough: If the plastic is deeply pitted or cracked, restoration might not work. You might need to replace the whole headlight assembly.
Headlight Restoration Kit Steps (Simplified)
Step 1: Clean Thoroughly wash and dry the headlight lenses.
Step 2: Sand Use the included wet sandpaper to carefully sand away the oxidation. Start with coarser grit, then move to finer grit.
Step 3: Polish Apply the polishing compound and rub it in with a cloth until the plastic becomes clear again.
Step 4: Protect Apply the UV sealant. This is crucial to prevent them from hazing up again quickly.
Replacing a Full Headlight or Taillight Assembly
Sometimes, the damage is too severe for just a lens. This could be a big crack, a broken internal mounting tab, or if moisture has gotten inside and damaged the bulbs or reflectors. In these cases, you have to replace the entire unit.
This is where costs can climb quickly. The price depends heavily on your car’s make and model. Luxury cars or performance vehicles often have much more complex headlight assemblies with LED or Xenon bulbs, sensors, and multiple projector units.
DIY Cost (Aftermarket): For common cars, you might find aftermarket complete headlight assemblies for $100 to $300 per side. Installation can be tricky. It often involves removing the front bumper or grille, which adds complexity.
Professional Cost (Aftermarket Parts): A repair shop using aftermarket parts might charge $200 to $500 for one headlight assembly, including labor. This is often the sweet spot for value.
Dealership Cost (OEM Parts): This is where it gets expensive. Original Equipment Manufacturer (OEM) parts from a dealership can easily cost $400 to $1000+ for a single headlight assembly, plus $150 to $300+ in labor. For some high-end vehicles, a single headlight unit can cost over $1,500 before labor!
Key Factors Affecting Assembly Replacement Cost
Make and Model: European luxury cars and high-performance vehicles have pricier parts.
Technology: Standard halogen bulbs are cheaper than LED, Xenon (HID), or adaptive lighting systems.
Number of Components: Assemblies with integrated fog lights, daytime running lights (DRLs), or cornering lights cost more.
OEM vs. Aftermarket: OEM parts are generally more expensive but guaranteed to fit and match original quality.
Factors That Influence Car Light Cover Prices
So, we’ve seen that the price can be all over the place. Why is that? Several things play a role:
Car Make and Model
This is a big one. Parts for a common sedan like a Honda Civic will be far cheaper than parts for a BMW M3 or a Tesla Model S. Luxury cars and European brands often use more advanced technology and higher-quality materials, which drives up the cost of everything, including light covers and assemblies.
Think about it – a simple plastic taillight lens for a 2010 Toyota Corolla might be a few dozen dollars. The same part for a 2023 Porsche 911 could be hundreds, or you might not even be able to buy just the lens, needing the whole assembly.
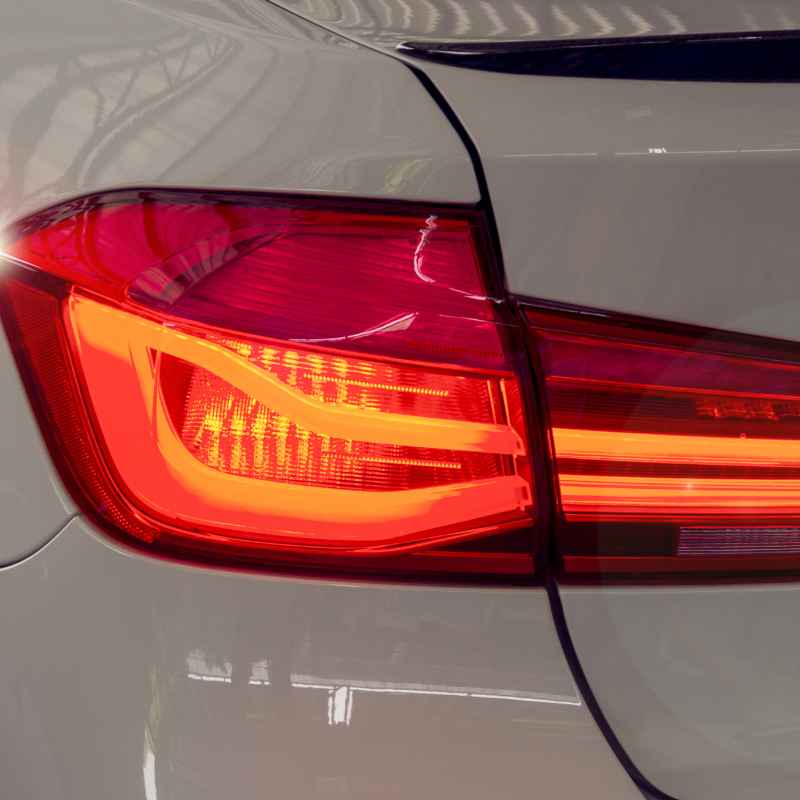
Type of Light
Headlights are generally more complex and expensive than taillights. Headlights often contain multiple bulbs (low beam, high beam, DRLs), internal reflectors, and sometimes advanced features like adaptive lighting that turns with the steering wheel. Taillights are usually simpler, with just brake lights, turn signals, and reverse lights.
Fog lights and smaller marker lights will also have their own price points, usually on the lower end unless they are part of a larger, integrated bumper system.
OEM vs. Aftermarket Parts
This is a critical distinction. OEM (Original Equipment Manufacturer) parts are made by the car manufacturer or a company they contract with. They are designed to be exact matches in fit, finish, and performance.
Aftermarket parts are made by other companies. They can be cheaper, and many are perfectly good. However, quality can vary.
Some aftermarket parts might not fit as precisely, might be made of less durable materials, or might not have the same light output as OEM.
OEM: Usually guarantees perfect fit and quality. Often more expensive.
Aftermarket: Can be significantly cheaper. Quality varies; research brands carefully.
The Repair Shop
Where you get the work done matters. Dealerships have the highest labor rates and often stick to OEM parts. Independent repair shops might offer a mix of OEM and aftermarket parts and usually have lower labor costs.
Mobile mechanics or specialized auto glass/body shops can also be options. Their pricing might fall somewhere in between. Always get a quote before agreeing to any work.
DIY vs. Professional Installation
As we’ve seen, doing it yourself can save you a lot on labor costs. If you’re replacing a simple taillight lens or restoring headlights, the parts cost is often minimal, and you only need basic tools.
However, replacing an entire headlight assembly can be challenging. It might require removing other car parts, fiddling with electrical connections, and ensuring everything is sealed correctly. If you’re not comfortable with this, paying for professional installation is worth the peace of mind and guarantees it’s done right.
Quick Scan: Average Costs for Common Repairs
| Repair Type | DIY (Part Only) | Professional (Aftermarket) | Dealership (OEM) |
|---|---|---|---|
| Taillight Lens Replacement | $20 – $60 | $100 – $200 | $150 – $250+ |
| Headlight Restoration Kit | $15 – $40 | $75 – $150 (Professional Service) | N/A (Dealerships usually replace assembly) |
| Full Headlight Assembly (Common Car) | $100 – $300 (Part) | $200 – $500 | $500 – $1500+ (Part & Labor) |
| Full Taillight Assembly (Common Car) | $70 – $200 (Part) | $150 – $350 | $300 – $800+ (Part & Labor) |
Real-World Scenarios: When to Worry and When to Relax
Not every little scratch or bit of fog means you need to spend big money. Understanding what’s normal is key.
When a Little Fog is Okay
Sometimes, especially after a heavy rain or a car wash, you might see a tiny bit of condensation inside your headlight or taillight housing. If it’s very minor and disappears within a few hours as the sun dries it out, it’s usually not a big deal. It could just be a tiny bit of moisture escaping through a vent.
However, if you see large water droplets, puddles of water, or the fogging doesn’t go away, that’s a sign that the seal is broken. This can lead to corrosion of the bulbs and internal components, and it definitely needs attention.
Dealing with Scratches
Fine scratches on your headlight or taillight lenses are common and often caused by improper washing. If they are very light and don’t affect visibility, you can often live with them. Many people choose to.
If you want them gone, a headlight restoration kit (for headlights) or a plastic polish and wax (for taillights) can often buff them out.
Deep scratches, however, can weaken the plastic. If a scratch is deep enough to catch your fingernail, it might be worth considering replacement if it’s in a critical area, like the main beam pattern of a headlight.
Cracks and Pits
A small chip or crack on a taillight lens might not be an immediate safety hazard if it’s not letting water in. However, it’s technically illegal in most places because it can make the light harder to see. Also, cracks can spread over time.
For headlights, even a small crack can allow moisture in, which can then freeze in winter and expand the crack. It can also lead to the degradation of the internal reflectors and bulbs, reducing light output and potentially causing electrical issues.
The Yellowing Problem
Yellowed headlights are a visual annoyance and a safety hazard. The plastic coating on headlights is designed to protect them, but it breaks down. This yellowing is like wearing sunglasses all the time – it blocks light from getting out.
If your headlights are yellowed, it’s time to address it. The good news is that restoration kits are very effective and affordable.
Contrast Matrix: Normal vs. Concerning Signs
| Normal Signs (Usually Okay) | Concerning Signs (Needs Attention) |
|---|---|
| Very light, temporary fogging that clears quickly. | Significant condensation, puddles of water inside. |
| Minor surface scratches that don’t impede light. | Deep scratches, cracks, or chips that compromise the plastic. |
| Slight hazing on very old headlights that doesn’t significantly reduce visibility. | Heavy yellowing or cloudiness that drastically reduces light output. |
| Dust or dirt on the outside of the lens that can be washed off. | Debris or moisture inside the light housing. |
Quick Tips to Keep Your Light Covers in Shape
Preventing damage is always better than fixing it. Here are a few simple things you can do:
- Wash your car gently: Use clean microfiber towels and proper car washing soap. Avoid abrasive sponges or dirty wash mitts.
- Use a headlight protectant: After restoring your headlights or when they look good, apply a UV protectant spray. This helps them resist yellowing. Some restoration kits include this step.
- Be careful in parking lots: When parking, pay attention to how close you are to other cars, curbs, and shopping carts.
- Check for damage regularly: While washing your car, take a moment to look over all your lights. A quick check can catch small issues before they become big ones.
- Consider protective films: For expensive or easily damaged headlights, you can get clear protective films applied. They can add a layer of defense against rock chips and scratches.
Quick Fixes for Minor Issues
For Slightly Hazy Headlights: Try a toothpaste and cloth method. Apply a dab of non-gel toothpaste to a soft cloth and rub in a circular motion. Rinse and dry.
This is a mild abrasive that can help with very light haze.
For Small Scratches on Taillights: Use a plastic polish (like Novus Plastic Polish) or even car wax. Apply a small amount to a clean cloth and rub gently. Buff with a separate clean cloth.
For Minor Cracks (Temporary): In a pinch, you can use clear packing tape or specialized taillight repair tape to seal a small crack and prevent water from entering. This is a temporary fix until you can properly repair or replace the lens.
Frequently Asked Questions About Car Light Cover Costs
How much does it cost to replace just the clear plastic cover of a headlight?
Replacing only the clear plastic lens of a headlight is often not feasible or cost-effective for many modern cars. Most headlight units are sealed assemblies. If the plastic lens is damaged, you typically have to replace the entire headlight assembly.
However, for some older or simpler headlight designs, a separate replacement lens might be available, costing anywhere from $30 to $100 for the part itself.
Can I fix a cracked taillight cover myself?
Yes, for many common cars, you can replace a cracked taillight lens yourself. You can buy aftermarket replacement lenses, which usually cost $20 to $60. The process typically involves removing a few screws and clips holding the taillight assembly in place, then separating the old lens and attaching the new one.
Online tutorials for your specific car model can be very helpful.
Is it worth getting my headlights restored or should I replace them?
If your headlights are foggy, hazy, or yellowed but not cracked or physically damaged, restoration is almost always worth it. A DIY kit costs $15-$40, and professional restoration is $75-$150. Replacing the entire headlight assembly can cost hundreds or even thousands of dollars.
Restoration can make them look like new and significantly improve visibility for a fraction of the cost.
What makes headlight assemblies so expensive?
Headlight assemblies are expensive due to several factors. They often contain complex internal components like multiple bulbs (halogen, LED, HID), precise reflectors, projectors, and sometimes even advanced features like adaptive lighting systems that steer with your car. The materials used, the technology involved, and the precision required for manufacturing all contribute to the high cost, especially for OEM parts from luxury or high-performance vehicles.
Can a damaged light cover cause me to fail an inspection?
Yes, absolutely. Most states have regulations regarding the condition of your vehicle’s lights. Cracked, broken, significantly foggy, or missing light covers can cause your car to fail its safety inspection.
This is because they can impair visibility, make your lights less effective, or cause glare, all of which are safety concerns.
How often should I expect my headlights to need attention?
Headlights can start to show signs of hazing or yellowing after about 3 to 5 years, depending on your climate and how much sun exposure your car gets. Driving on dusty or unpaved roads can also cause minor pitting. Regular washing and applying a UV protectant can help extend their clear life.
Significant damage from impacts would obviously require attention sooner.
Conclusion: Making the Right Choice for Your Car Lights
Deciding how much to spend on a car light cover boils down to the problem, your car, and your approach. A simple cracked taillight lens might be a quick, cheap fix. Restoring foggy headlights is a fantastic value DIY project.
But a full headlight assembly replacement, especially on a newer or luxury car, can be a significant investment.
Always assess the damage carefully. Is it just cosmetic, or is it a safety issue? Get quotes if you’re unsure.
And remember, keeping your lights in good shape isn’t just about passing inspection; it’s about seeing and being seen safely on the road, every single drive.