What to Do When Your Car Tyre Punctures (Step-by-Step)
Knowing what to do when your car tyre punctures can keep you safe and get you back on the road quickly. This step-by-step guide walks you through the entire process from stopping safely to installing your spare tyre.
Simply put, when your car tyre punctures, your priority is safety: find a flat, stable spot away from traffic, turn on hazard lights, apply the handbrake, and follow a clear sequence to change the tyre. With the right steps, you can swap a punctured tyre in under 20 minutes.
Key Takeaways
- Car tyre puncture safety starts with pulling over to a flat, stable surface away from moving traffic.
- Changing a punctured tyre requires the right sequence: loosen nuts, jack up, swap, tighten, and lower.
- Always keep your spare tyre, jack, and wheel wrench in good condition and accessible in your vehicle.
- If you are on a motorway, soft shoulder, or tight curve, call for professional roadside assistance instead.
- After installing a spare tyre, drive at or below 80 km/h and visit a garage to repair or replace the punctured tyre.
What You Need to Change a Punctured Tyre
Before you can handle a car tyre puncture, you need to make sure your vehicle has the right equipment. Most cars include a spare tyre, a jack, and a wheel nut wrench as standard equipment. Some modern cars come with a tyre repair kit instead of a full-size spare, so check your owner’s manual to know what you have.
Your roadside emergency kit should also include a reflective warning triangle, a high-visibility vest, gloves, and a torch. These items keep you visible and protected while you work.
Essential Tools Checklist
- Spare tyre (full-size or space-saver)
- Car jack (scissor jack or hydraulic jack)
- Wheel nut wrench (also called a tyre iron or spider wrench)
- Reflective warning triangle
- High-visibility vest
- Pair of work gloves
- Torch or phone light
- Wheel chocks or large stones (optional but helpful)
Tip: Check your spare tyre pressure once a month. A flat spare is just as useless as a punctured tyre.
Step 1: Find a Safe Location to Stop
The moment you feel a sudden vibration, hear a loud thump, or notice your car pulling to one side, do not slam the brakes. Keep a firm grip on the steering wheel, ease off the accelerator, and let the car slow down gradually. Your goal is to reach a flat, solid surface well away from traffic.
Look for a wide shoulder, a rest area, a petrol station forecourt, or a car park. Avoid soft ground, gravel, mud, or steep slopes — the jack will not be stable on uneven terrain. According to the Highways Agency, around 12% of breakdown-related accidents happen because drivers stop in unsafe locations.
Where to Stop Safely
- Hard, level ground such as concrete or asphalt
- At least 10 metres away from the nearest traffic lane
- A straight section of road where other drivers can see you from a distance
- Well-lit area if it is dark or low visibility
- Never stop on a bridge, curve, or blind hill
Warning: Never change a tyre on a motorway hard shoulder unless absolutely necessary. Call roadside assistance instead. The hard shoulder is designed for emergencies only and passing traffic travels at high speed.
Step 2: Turn on Hazard Lights and Apply the Handbrake
Once you have stopped, turn on your hazard warning lights immediately. This alerts other drivers that you are stationary and in distress. Hazard lights are required by law in most countries when you stop on a road or shoulder.
Next, apply the handbrake (parking brake) firmly. If your car has an automatic transmission, shift into Park. For manual transmissions, leave the car in first gear or reverse.
These steps prevent the car from rolling while you work. If you have wheel chocks or heavy stones, place them behind the wheels on the opposite side of the punctured tyre.
Position your reflective warning triangle 50 metres behind your vehicle on a normal road, and 150 metres behind on a motorway or high-speed road. This gives approaching drivers enough time to react.
| Road Type | Triangle Distance Behind | Visibility Needed |
|---|---|---|
| Urban road (speed limit ≤ 60 km/h) | 50 metres | Day or night |
| Highway / motorway | 150 metres | Always |
| Curve or hill | 200 metres or more | Extreme caution |
The table above gives you clear positioning distances based on road type. Placing the triangle too close or too far reduces its effectiveness.
Step 3: Gather Your Tools and Spare Tyre
Now that you are safely stopped and visible, retrieve your spare tyre, jack, and wheel nut wrench from your vehicle. The spare tyre is usually located in the boot under the floor panel, underneath the car chassis, or on the rear door of some SUVs. The jack and wrench are typically stored alongside it or in a separate compartment.
Place the spare tyre flat on the ground near the punctured wheel. If you are changing a rear tyre, position the spare behind the punctured wheel. For a front tyre, place it in front of the wheel.
This makes it easy to swap without moving the spare twice.
Common Storage Locations for Spare Tyre
- Under the boot floor (most common in saloons and hatchbacks)
- Underneath the rear of the vehicle (accessed by a crank or bolt)
- On the rear tailgate or door (typical for off-road vehicles)
- Tyre repair kit in a foam insert (no spare — uses sealant and compressor)
Important: If your car has a tyre repair kit instead of a spare, only use it for small punctures in the tread area. Sidewall damage, large cuts, or torn rubber require a professional tyre replacement.
Step 4: Loosen the Wheel Nuts Before Jacking Up
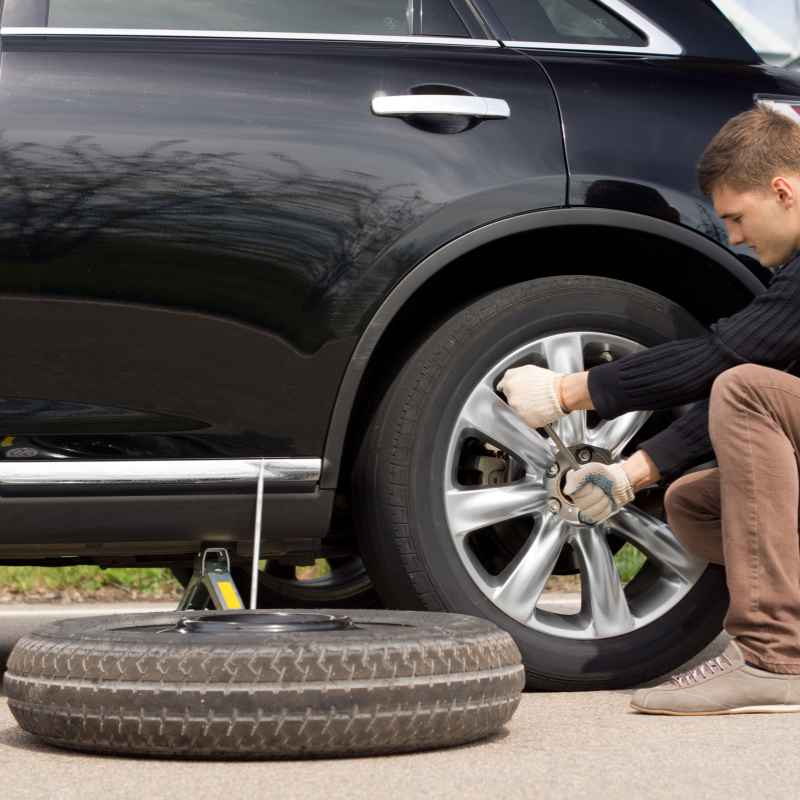
This step is critical and often overlooked by beginners. You must loosen the wheel nuts while the tyre is still on the ground and bearing the car’s weight. If you jack the car up first, the wheel will spin freely, and you will not be able to break the nuts loose.
Place the wheel nut wrench onto each nut and turn it anti-clockwise. Use your body weight — push down with your foot on the wrench handle if needed. Do not remove the nuts yet.
Loosen each nut by about half a turn to one full turn. Most wheels have four or five nuts, and you should loosen them in a crisscross or star pattern to avoid binding.
Wheel Nut Loosening Sequence
- Apply the wrench to the first nut and turn anti-clockwise
- Move to the nut diagonally opposite (not the next one in line)
- Continue with the next nut in the star pattern
- Repeat until all nuts are loosened by half a turn
- Do not remove any nut completely yet
| Nut Pattern | Tightening / Loosening Order | Why It Matters |
|---|---|---|
| 4 nuts | Cross pattern (top-left, bottom-right, top-right, bottom-left) | Even distribution of clamping force |
| 5 nuts | Star pattern (skip one nut each time) | Prevents warping the brake disc |
Using the correct pattern prevents damage to the wheel studs and brake components. A crisscross or star pattern keeps the wheel centred and avoids stress on any single stud.
Step 5: Jack Up the Car and Remove the Punctured Tyre
Position the jack under the vehicle at the designated jacking point. Every car has specific jacking points marked by notches, arrows, or reinforced metal sections along the sill. Consult your owner’s manual if you are unsure.
Placing the jack in the wrong spot can damage the underbody or cause the car to fall.
Raise the jack slowly until the punctured tyre is about 5 to 10 centimetres off the ground. You need enough clearance to slide the spare tyre onto the wheel hub. Give the car a gentle shake to confirm it is stable before you work underneath it.
Now remove the loosened wheel nuts completely by hand and place them in a clean spot like a pocket or a tray. Pull the punctured tyre straight towards you. It may be stuck due to rust or corrosion — if it resists, kick the tyre sidewall firmly near the bottom to break it loose.
Safe Jacking Checklist
- Jack is on solid, level ground — never on gravel or grass
- Jacking point matches the vehicle manufacturer’s specification
- Car is on level surface with handbrake applied
- All passengers are out of the car and standing well clear
- Jack is raised slowly and checked for stability before removing the tyre
Warning: Never put any part of your body under the car while it is supported only by the jack. If you need to go underneath, use proper axle stands rated for your vehicle weight.
Step 6: Mount the Spare Tyre and Tighten the Nuts
Lift the spare tyre and align its bolt holes with the wheel studs on the hub. Slide the spare tyre onto the studs as far as it will go. If it does not slide on easily, lift it slightly to adjust the alignment — do not force it.
Once the spare is flush against the hub, screw the wheel nuts back on by hand.
Tighten each nut finger-tight first — meaning you turn them by hand until they are snug and the wheel is pressed firmly against the hub. Do not use the wrench yet. This ensures the wheel sits evenly and the nuts are not cross-threaded.
After all nuts are finger-tight, use the wrench to tighten them in the same crisscross or star pattern you used to loosen them.
Mounting Tips for a Smooth Fit
- If the spare tyre is heavy, use your knee to support its weight while aligning the studs
- Wipe any rust or dirt off the wheel studs with a cloth before mounting
- Turn each nut until you feel resistance — that is finger-tight
- Do not fully tighten any single nut before the others are started
Step 7: Lower the Car and Do a Final Tightening
Lower the jack slowly until the spare tyre makes contact with the ground and bears the car’s weight, but before the full weight is on the tyre. At this point, the wheel cannot spin, so you can apply full torque to the nuts. Use the wheel nut wrench and tighten each nut firmly in the crisscross or star pattern again.
Once all nuts are tight, lower the jack completely and remove it from under the vehicle. Give each nut one more quarter-turn check with the wrench to confirm they are secure. The recommended torque for most passenger cars is between 80 Nm and 120 Nm — if you have a torque wrench, use it at a garage as soon as possible.
Stow your punctured tyre, jack, wrench, and warning triangle back in the vehicle. Do not leave any equipment on the roadside.
| Step | Tightening Stage | Method |
|---|---|---|
| 1 | Finger-tight (wheel in air) | Hand only — prevents cross-threading |
| 2 | Partial tightening (wheel touching ground) | Wrench — crisscross pattern |
| 3 | Final tightening (full weight on ground) | Wrench — quarter-turn check on each nut |
This three-stage tightening sequence keeps the wheel centred and the nuts evenly tensioned. Skipping the partial tightening step increases the risk of a loose wheel later.
Tip: After driving about 80 kilometres, recheck the wheel nut torque. The nuts can settle and loosen slightly as the spare tyre seats itself on the hub.
Common Mistakes to Avoid When Changing a Tyre
Even experienced drivers make errors during a roadside tyre change. The most common mistake is failing to loosen the wheel nuts before jacking up the car. This forces you to lower the car again, wasting time and effort.
Another frequent error is placing the jack on an uneven or soft surface, which can cause the car to tip.
Many drivers also forget to re-stow their equipment, leaving the jack or triangle on the road. This creates a hazard for other drivers and can lead to lost or damaged gear. According to the RAC, tyre changes are responsible for nearly 15% of roadside breakdown callouts where the driver ran into trouble during the swap.
Top 5 Mistakes to Avoid
- Loosening wheel nuts after jacking up the car
- Placing the jack on gravel, mud, or an incline
- Forgetting to apply the handbrake before lifting the car
- Using the wrong jacking point and damaging the sill
- Driving on a space-saver spare above 80 km/h
Important: Space-saver spare tyres are designed for temporary use only. Drive at reduced speed and visit a tyre shop within 80 km of installation to replace or repair the punctured tyre.
When to Call for Professional Help
Not every punctured tyre situation is safe to handle on your own. If you are on a motorway, dual carriageway, or busy urban road with no shoulder, do not attempt to change the tyre yourself. Call your breakdown cover provider or roadside assistance service.
The small wait is far safer than risking your life near fast-moving traffic.
You should also call for help if the punctured tyre is on a rear wheel of a front-wheel-drive car and you are inexperienced, if the spare tyre is missing or flat, or if the wheel nuts are rusted and cannot be loosened. Extreme weather like heavy rain, snow, or high winds also makes a DIY tyre change unsafe. Data from the AA shows that around 28% of tyre-related callouts involve situations where the driver should not have attempted the change alone.
Situations That Require Professional Assistance
- Motorway or high-speed dual carriageway with no hard shoulder
- Blind curves, tunnels, or bridges with no safe stopping area
- Rusted or stripped wheel nuts that will not turn
- Missing or damaged spare tyre or jack
- Heavy rain, snow, ice, or severe winds
- Driver is alone and physically unable to lift the spare tyre
Frequently Asked Questions
How long does it take to change a punctured tyre?
With practice, changing a punctured tyre takes 15 to 25 minutes. First-time drivers may need up to 35 minutes. The most time-consuming part is usually loosening stubborn wheel nuts for the first time.
Can I drive on a run-flat tyre after a puncture?
Yes, run-flat tyres are designed to be driven at speeds up to 80 km/h for about 80 kilometres after a puncture. Check your owner’s manual for exact limits. They do not need immediate roadside replacement but should be inspected as soon as possible.
What should I do if I do not have a spare tyre?
Use the tyre repair kit if one is provided with your vehicle. It includes sealant and a compressor for small punctures. For larger damage, call roadside assistance.
Many new cars no longer come with a spare tyre to save weight and space.
Is it safe to change a tyre at night?
Changing a tyre at night is riskier but doable if you take extra precautions. Wear a high-visibility vest, use a bright torch or work light, and position your warning triangle further behind than during the day. If traffic is heavy, call for help instead.
What does a punctured tyre feel like while driving?
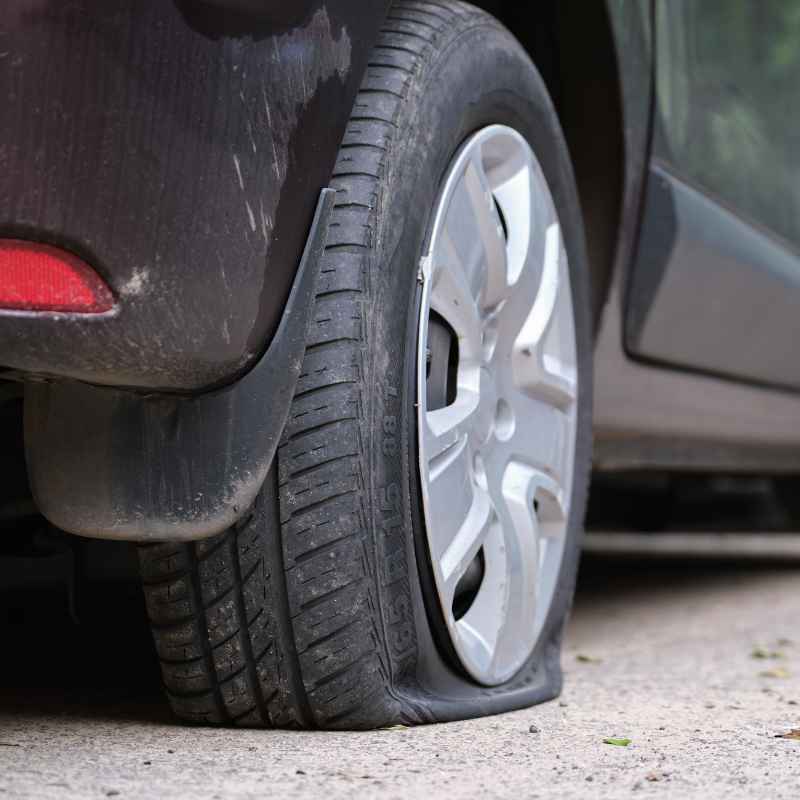
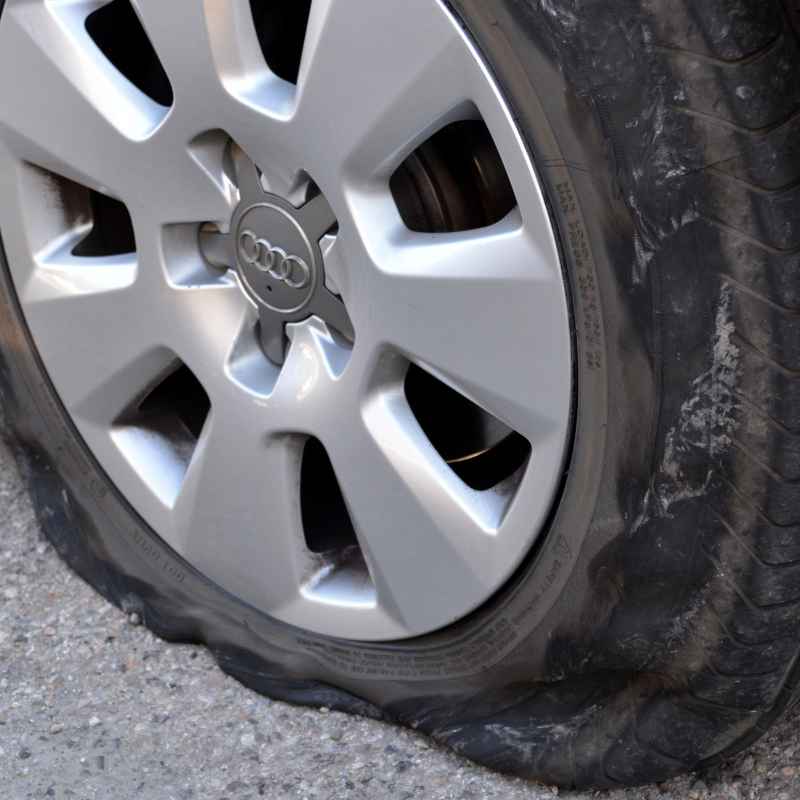
A punctured tyre usually causes a sudden vibration, a thumping sound, and the steering wheel pulling to one side. You may also hear a loud bang if the tyre blows out. Do not brake hard — ease off the accelerator and steer gently to a safe stop.
Final Thoughts
Knowing what to do when your car tyre punctures is a practical skill that every driver should have. The key is staying calm, stopping in a safe location, and following the correct sequence: loosen nuts first, jack up, swap, tighten, and lower. Always keep your spare tyre, jack, and wrench in good working condition.
A little preparation and the steps above will get you back on the road safely and quickly.
See also why is my car tire losing air common causes and fixes.
Products related to this article
Sponsored / affiliate links. As an Amazon Associate I earn from qualifying purchases. I may earn additional commission from eligible campaigns.