How Do You Bleed Air Out of a Cooling System?
Bleed air from a cooling system with the method the vehicle was built around: a bleed screw, vacuum fill, elevated radiator neck, or scan-tool purge. Then run the engine until heater output stays steady and the upper hose warms. Skip this, and you can end up with repeat overheating, weak cabin heat, and false sensor readings that waste parts.
What you’ll need


- Correct coolant for the vehicle and distilled water, or the correct premix
- Spill-free funnel
- Vacuum fill tool, if the system traps air easily or the service procedure calls for one
- Basic hand tools for a bleeder screw or hose clamp, if equipped
- Gloves, rags, and a catch pan
- Coolant temperature gauge data or a scan tool, if available
How do you know air is trapped?
Air in the cooling system usually shows up as overheating, heater output that swings from hot to cool, gurgling, or a temperature gauge that spikes and then drops. It often appears after a coolant drain, hose replacement, thermostat replacement, or leak repair. If air returns after a proper bleed, look beyond trapped air alone.
Symptom patterns that matter
A radiator or reservoir that reads full does not rule out air in the heater core or cylinder head. If the heater goes cold at idle but warms at speed, or if the gauge climbs and then falls, that pattern deserves attention before more parts are replaced.
Say your sedan gets hot after a thermostat swap, but the heater blows lukewarm air at idle and hot air on the road. That points to trapped air or a thermostat issue, not a random sensor glitch.
When it is probably not just air
Repeated bubbling after a proper bleed is a warning sign. So are coolant loss with no visible spill, a cap that will not hold pressure, or steady overheating with no change in hose temperature. Those patterns can fit a weak radiator cap, a stuck thermostat, a leak, or combustion gas intrusion.
Choose the right bleed method
Use the fill point the vehicle was designed around. On open-radiator systems, that is the radiator neck. On many sealed systems, the coolant reservoir or expansion tank is the bleed and fill reference. Some vehicles also use a dedicated bleeder screw. If the layout traps air easily, a vacuum fill tool is the cleanest start.
Open radiator neck systems
Use this path when the cap sits on the radiator. The radiator cap is a pressure cap, and its rating varies by vehicle. Wait until the engine is completely cool before opening it. Many systems use that neck as the fill and bleed point.
Sealed degas bottle systems
Use this path when the reservoir or expansion tank has the MIN and MAX marks and acts as the service fill point. On many modern vehicles, the bottle is part of the bleed path, not a separate overflow can. Fill to the mark the service data calls for, not past it.
Bleeder-screw systems
Use this path if the radiator, thermostat housing, or heater hose has a bleeder screw or bleed valve. Open it only until coolant or a steady stream appears. Plastic and metal versions both strip easily, so use light hand force.
Bleed the cooling system
Start with a cool engine and the cabin heater set to full hot on many vehicles. That opens the heater core circuit so coolant can move through it. Then fill to the correct mark or neck, bleed the high point, and run the engine until the temperature settles without fresh bubbles or gauge spikes.
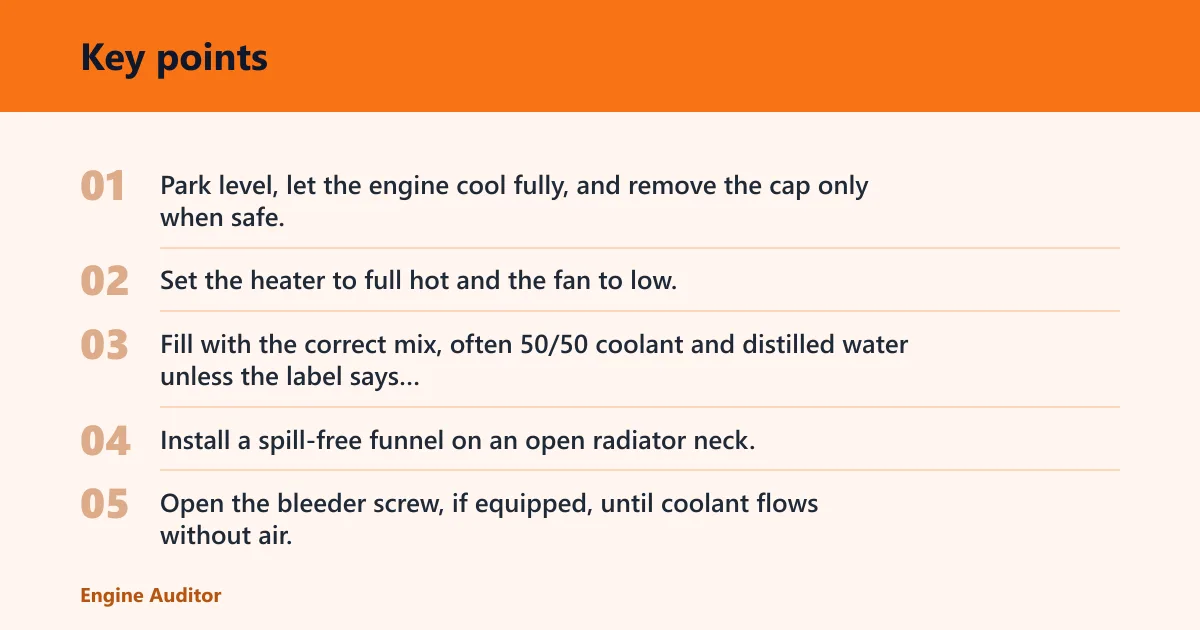
- Park level, let the engine cool fully, and remove the cap only when safe.
- Set the heater to full hot and the fan to low.
- Fill with the correct mix, often 50/50 coolant and distilled water unless the label says premix.
- Install a spill-free funnel on an open radiator neck, or fill the reservoir or expansion tank to the service mark.
- Open the bleeder screw, if equipped, until coolant flows without air, then close it gently.
- Start the engine and let it idle. Add coolant in about 100 to 200 mL increments as the level drops, then recheck.
- Warm the engine until the thermostat opens and the upper hose gets hot.
- Watch the gauge or scan data. Stop when temperature stabilizes, heat stays steady, and no fresh air appears.
- Shut down, cool completely, and recheck the level at the radiator neck or MIN/MAX marks.
A vacuum fill tool can shorten the job on systems that trap air easily. It pulls the system under vacuum before refill, which reduces the chance of an air pocket returning after service. That is common in professional service and in some DIY kits.
What the coolant mix changes
Use the ratio the manufacturer specifies. A common mix is 50/50 coolant and distilled water, but concentrate and premix are not the same thing. Too much water lowers boiling protection, and the wrong mix can make the bleed less stable during warm-up.
Picture a crossover SUV with a sealed expansion tank and a heater that stays cold for the first five minutes. If the tank is filled past MAX, the system can push coolant out early and hide the remaining air problem. The level has to sit where the service data says.
What stops the process
Stop bleeding when the level holds, the heater blows steadily hot, the upper hose warms after thermostat opening, and the gauge or scan data stays stable through a full warm-up. If the level keeps dropping after several top-offs, or the gauge still spikes, treat it as a fault, not leftover air.
Thermostat, cap, or leak problems
A stuck thermostat can mimic trapped air because coolant never reaches the heater core or radiator in the right flow pattern. A weak radiator cap can let the system boil sooner than it should. A small leak can pull air back in after shutdown and create the same symptoms again.
When head-gasket trouble moves higher on the list
If the system fills normally but bubbles return fast, the heater goes cold under load, or pressure builds in the hose before the engine is fully warm, combustion gas intrusion becomes a real concern. That is not a bleed problem alone.
How long does it take to bleed air out of a cooling system?
Simple open-radiator systems may bleed in one warm-up cycle, often about 15 to 30 minutes of run time plus cooldown. Sealed systems and vehicles with long heater circuits can take longer and may need a second heat cycle. If a vacuum fill tool is used, the refill stage is faster, but you still need a full warm-up check.
Why some systems take longer
Long hose runs, rear heater circuits, and high-mounted thermostat housings hold air longer. A low-temperature thermostat can open early and help the process, while a thermostat that sticks closed can make the bleed look incomplete even when the radiator is full.
When extra time is a bad sign
If the same pocket returns after about two careful heat cycles, stop assuming it is leftover air. Check the radiator cap rating, the thermostat, hose clamps, and any signs of exhaust gas in the tank.
Common mistakes
Most bad bleeds come from one of a few errors. These are easy to avoid.
- Opening a hot radiator cap. Wait until the engine is fully cool.
- Using the wrong bleed point. Open the radiator neck, reservoir, expansion tank, or bleeder only where the design calls for it.
- Leaving the heater off. That can trap air in the heater core circuit.
- Using the wrong coolant mix. Match concentrate versus premix correctly.
- Over-tightening a bleeder screw. Many are plastic or thin metal and strip easily.
- Ignoring repeated spikes after a proper bleed. That pattern calls for diagnosis, not more top-offs.
Suppose a truck with a bleeder screw runs warm at idle, then steadies after the second heat cycle. If the screw was opened only until coolant flowed and the heater now stays hot, that is a normal bleed result. If the gauge still spikes on the next drive, look for a thermostat or cap fault.
Bleed-method decision checklist
| System type | Required tools | Likely bleed point | Stop condition | Red flags beyond air |
|---|---|---|---|---|
| Open radiator neck | Spill-free funnel, correct coolant, rags | Radiator neck and upper hose | No bubbles, steady heat, stable gauge | Repeated bubbling, pressure loss, overheating after cooldown |
| Sealed degas bottle | Correct coolant, funnel, scan data if available | Coolant reservoir or expansion tank at MIN/MAX marks | Level holds at the mark and heater stays hot | Coolant pushed out, cold heater, repeated temp spikes |
| Bleeder-screw system | Basic hand tools, gloves, catch pan | Bleeder screw on radiator, thermostat housing, or heater hose | Steady stream of coolant, no air hiss, stable temp | Stripped screw, no flow, return of air after a proper bleed |
Frequently asked questions
How do you bleed air out of a cooling system?
Use the vehicle’s fill point, not a generic method. Open the radiator neck, reservoir, or bleeder the way the design calls for, set the heater to hot, then run the engine until the thermostat opens and the level stays stable. Recheck after a full cool-down.
How do you remove air from a cooling system?
Fill slowly, keep the bleed point high, and move coolant through the heater core circuit. A spill-free funnel helps on open systems, while a vacuum fill tool is better on systems that trap air easily. Stop only when the heater output and temperature gauge stop changing.
What happens if you don’t bleed air out of a cooling system?
Trapped air can cause overheating, poor cabin heat, gurgling, and false temperature swings. It can also leave part of the engine or heater core dry, which stresses the thermostat and can make the gauge read in ways that do not match actual coolant flow.
How do you bleed the air out of a Toyota cooling system?
Treat it by system design, not badge alone. Many Toyota layouts use a sealed reservoir or expansion tank, while some service procedures call for a spill-free funnel or vacuum fill. Follow the fill point, heater setting, and bleed steps listed for that exact engine.
How to bleed air out of a cooling system on a Chevy
Use the fill point the specific Chevy engine uses. Some have radiator-neck bleeding, while others rely on a reservoir or expansion tank and may benefit from a vacuum fill tool. The right method depends on whether the system is open, sealed, or has a bleeder screw.
Products related to this article
Sponsored / affiliate links. As an Amazon Associate I earn from qualifying purchases. I may earn additional commission from eligible campaigns.