
Why Is My Radiator Leaking From the Top?
A radiator leak at the top is often caused by a bad cap, upper hose connection, split plastic tank, or cracked top seam. Clean the area and pressure-test before replacing parts. Ignoring it can overheat the engine and lead to unnecessary repairs. This guide shows how to trace the wet spot to the exact failure point and separate cap, hose, seam, and tank leaks.
Why is coolant leaking from the top?


- 27-piece kit covers common cooling-system checks
- 22 adapters fit many cars, SUVs, and light trucks
- Helps pinpoint leaks before replacing parts
Start at the highest wet point you can see, then work downward. Coolant often runs along the top tank, hose neck, or support bracket before it drips, so the source is not always where the puddle forms. A top-side leak can also be splash, belt fling, or overflow from thermal expansion and excess pressure.
Check the wettest point first
Look for fresh coolant on the radiator cap seat, the upper hose neck, the crimp seam between the tank and core, and the plastic end tanks if the radiator uses them. Ethylene glycol and propylene glycol coolant can leave a damp sheen or crusty residue after the water in the mix evaporates.
Top-side leaks often begin small and then worsen as the system heats and expands. Clean the area, then recheck after the engine reaches operating temperature so the first wet point is easier to identify.
Rule out splash, fling, and overflow
If the hose area is wet but the seam is dry, check whether coolant is being flung by the fan or a rotating belt. A streaked pattern across nearby parts points away from a true top-tank failure. Overflow tube discharge usually leaves a different trail: dampness near the reservoir neck, not a fresh seam leak on the radiator itself.
Coolant loss can reduce cooling efficiency and lead to overheating. If the temperature gauge is climbing or you keep adding coolant, the leak needs attention before more driving.
Radiator leak diagnosis table
| Symptom pattern | Likely source | How to confirm it | First repair to try |
|---|---|---|---|
| Wet ring around the cap, no hose wetness | Cap seat | Inspect the rubber seal, spring feel, and cap rating; pressure-test with the cap installed | Replace the radiator cap with the correct pressure rating |
| Wetness centered on the upper hose neck | Upper hose | Look for cracks at the hose end, hardened rubber, or a clamp that has lost tension | Reset or replace the hose and clamp |
| Coolant line along the plastic-to-metal joint | Seam | Pressure-test and watch for seepage at the crimp seam where tank meets core | Replace the radiator if the seam is leaking |
| Wet trail near the overflow tube or reservoir hose | Overflow | Check whether excess pressure forced coolant into the overflow path when hot | Test the cap and the overflow routing before swapping the radiator |
| Green, pink, or orange crust on a plastic end tank | Tank crack | Flex the tank lightly when cold and pressure-test for a split that opens under pressure | Replace the radiator assembly |
Say your sedan shows a damp line only after a long uphill drive, and the upper hose feels dry by hand. That pattern can fit a cap that opens too early or a seam that leaks only under heat and pressure. The fix is a pressure test and a close look at the cap seat and seam.
Why is my coolant leaking from the top hose?
The upper radiator hose is a common top-of-radiator leak source because it connects at one of the hottest and most pressurized parts of the system. A crack at the hose neck or a loose clamp can seep only when the engine warms up, which makes the leak look like the radiator itself is failing.
Upper hose cracks at the neck
The hose end can split where it slides over the radiator neck. That damage often hides under the clamp, so the visible leak appears to come from above or behind the hose. Check for soft rubber, a flattened sealing bead, or coolant tracks that start at the clamp and run downward.
Loose clamp seepage at the connection
Hose clamp behavior changes with heat cycles. Worm-drive clamps can relax if they were not seated squarely, and spring clamps can lose tension with age or distortion. Inspect for coolant around the clamp, then verify whether the wet path begins at the hose-to-neck joint rather than the radiator core.
A dry radiator face with a wet upper hose end usually points to the hose, neck, or clamp. Tightening a clamp that has stripped or replacing a hardened hose is a better first move than ordering a radiator.
Can the cap or overflow tube be the cause?
Yes. A radiator cap is a pressure-controlled seal, and the wrong cap or a weak seal can push coolant out at the top when pressure rises. The overflow tube can also move coolant into the reservoir as the coolant expands, which can make a healthy radiator look guilty.
Cap seal failure and wrong pressure rating
The cap should match the vehicle’s pressure rating. If the spring is weak, the seal is damaged, or the rating is wrong, coolant can escape near the cap seat or spill into the overflow path too early. That problem may show up only when the engine is hot and pressure climbs.
OEM service information commonly ties the cap to system pressure control, and established references note that the cap raises the boiling point by maintaining pressure in the cooling system. If the seal looks dry, flattened, or damaged, replace it before blaming the radiator.
Overflow tube flow from excess pressure
Thermal expansion is normal: hot coolant expands as the engine warms. If the system cannot hold pressure, that extra volume can move through the overflow tube and out of the reservoir. A leak that appears only after a drive may be pressure relief, not a split tank.
Check the coolant reservoir when the engine is fully cold. Coolant level should be read cold, not immediately after shutdown, because hot expansion can hide the real leak path.
How do you tell a real radiator leak?
A pressure test is the standard way to separate a hose leak, cap-seat problem, seam leak, or tank crack under system pressure before replacing parts. It helps distinguish a true radiator failure from coolant that was sprayed, flung, or vented through the overflow path. Service manuals and pressure-test tool instructions use this approach to confirm the first point of failure.
Pressure test the cooling system
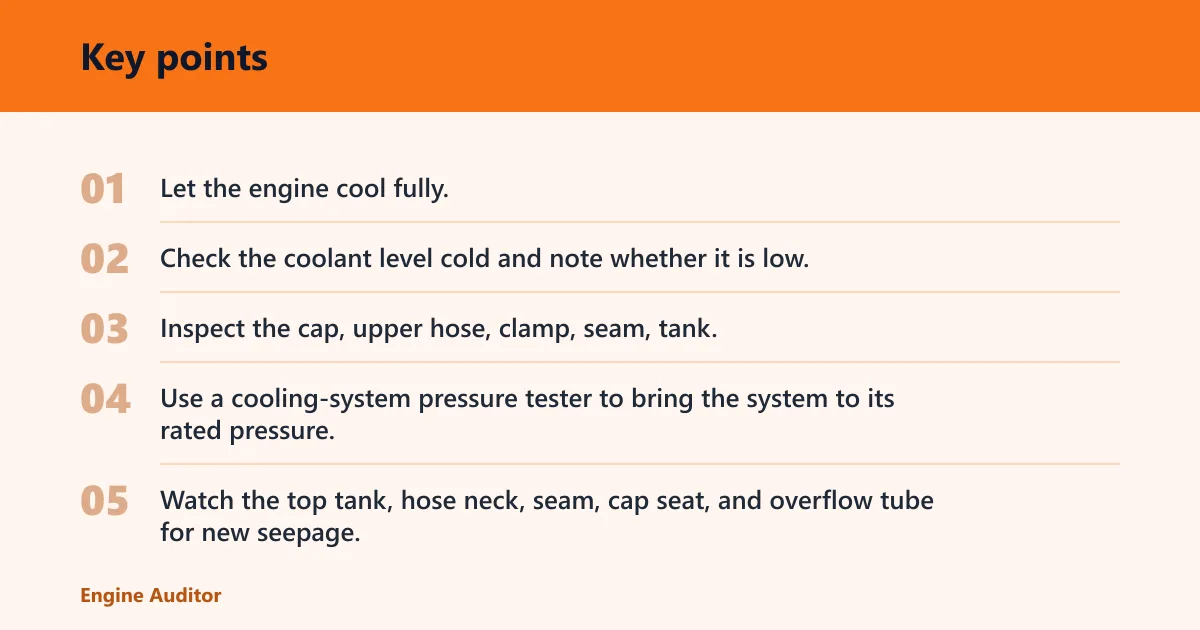
- Let the engine cool fully.
- Check the coolant level cold and note whether it is low.
- Inspect the cap, upper hose, clamp, seam, tank, and overflow hose for dry crust or fresh wetness.
- Use a cooling-system pressure tester to bring the system to its rated pressure.
- Watch the top tank, hose neck, seam, cap seat, and overflow tube for new seepage.
- Confirm the first point that wets, not the last place coolant runs to.
Read the seam, tank, and core signs
A seam leak usually leaves a line of moisture along the crimp. A plastic tank crack tends to open at an edge, nipple, or molded corner. Core damage shows wetness in the fin area, often with a spray pattern rather than a single neat line.
Corrosion and material fatigue are common causes, especially where aluminum core sections meet plastic tanks or crimp joints. Physical damage can crack the radiator or end tanks, but corrosion may start as pinholes that only appear under pressure.
A pressure test can show whether the leak opens at the seam only when pressurized or whether the upper hose clamp is the true source. That sequence prevents a bad parts guess.
Is it safe to keep driving?
Sometimes a short, low-load trip to a nearby shop is reasonable, but a climbing temperature gauge, visible steam, or a rapid coolant drop means stop driving. If the leak is significant, the engine is overheating, or you cannot confirm the source, towing is the safer choice.
When to stop and cool down
Stop immediately if the gauge climbs, the heater blows cold after being warm, or coolant is seen spraying onto the engine. These signs point to low coolant or air in the system, both of which can follow from a top-side leak. Let the engine cool before any inspection.
When towing is the safer choice
Choose towing if coolant pours from the seam, the tank is split, or the car needs constant top-ups just to stay running. A failed radiator can cause overheating and serious damage. Once the system cannot hold pressure, further driving can turn a small leak into a larger repair.
Roadside checks before you move the car
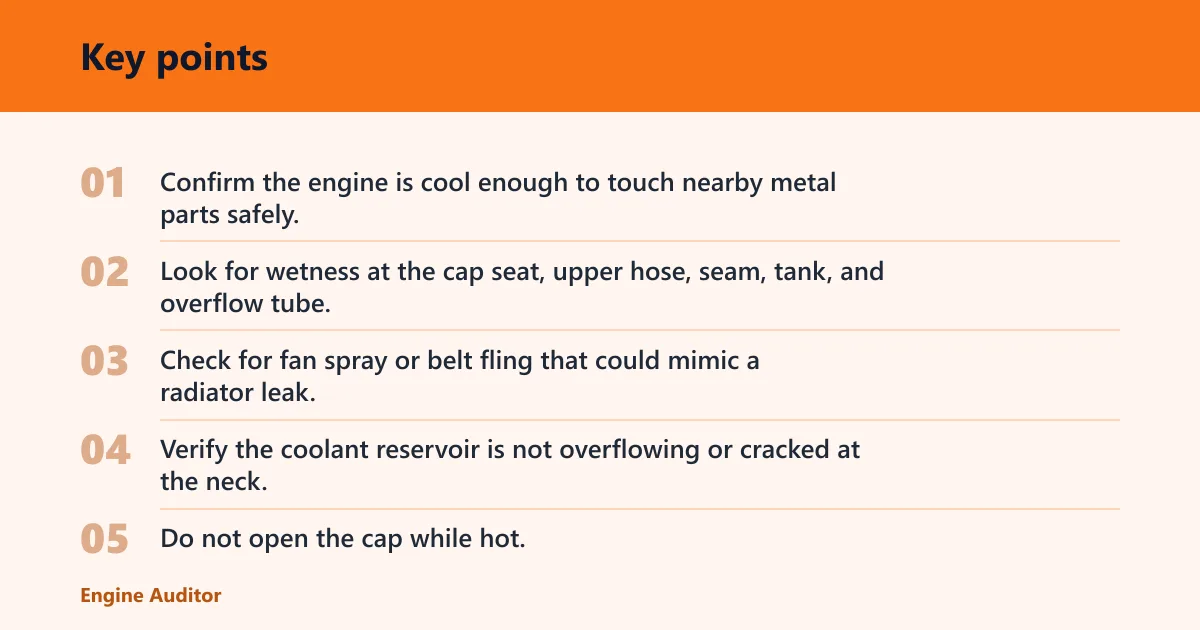
- Confirm the engine is cool enough to touch nearby metal parts safely.
- Look for wetness at the cap seat, upper hose, seam, tank, and overflow tube.
- Check for fan spray or belt fling that could mimic a radiator leak.
- Verify the coolant reservoir is not overflowing or cracked at the neck.
- Do not open the cap while hot.
Leak severity matters. A misting hose clamp may allow a short move to a repair bay. A split tank, a cracked seam, or an overheating engine should not be treated the same way.
Frequently asked questions
Why is my radiator leaking from the top?
Top-side leaks usually trace to the cap seat, upper hose connection, plastic end tank, or crimp seam. The wettest point is the best clue. Clean the area, test the system under pressure, and confirm where the first fresh coolant appears before buying parts.
Why is my coolant leaking from the top?
Coolant at the top can come from a radiator cap that vents too early, an upper hose that seeps at the neck, or overflow from excess pressure. A pressure test helps separate those paths. Check the level cold, because hot coolant can expand and mislead you.
Why is my radiator leaking coolant from the top?
If coolant is coming from the radiator top, the likely points are the cap seat, seam, or tank. Fan spray and belt fling can make the wet area look larger than it is. Pressure testing under system pressure is the cleanest way to confirm the leak source.
Why is my car radiator leaking from the top?
A car radiator can leak from the top when heat, pressure, or a weak seal opens a fault near the cap, hose neck, or top tank. Plastic end tanks and crimp seams are common failure points. If the gauge is climbing, stop driving and inspect cold.
Why is my radiator leaking from the bottom?
A bottom leak is usually a different problem from a top leak. It can come from the drain plug, lower hose, core, or the bottom tank. Trace the highest wet point first, because coolant often runs down and makes the lower area look like the source.
Why is my coolant reservoir leaking from the top?
A coolant reservoir leaking from the top usually points to a cracked neck, loose cap, split seam, or hose connection at the tank inlet. Hot coolant expands and can force seepage through a weak seal. Check the reservoir cap, the hose fit, and the plastic around the filler neck when the engine is cold.
What does “towel radiator leaking from the top” mean?
That phrase usually refers to a towel radiator in a home heating system, not a car radiator. The likely causes are different: a valve, vent, or joint on a heated towel rail rather than an automotive cooling component. If the issue is on a vehicle, look for a radiator, cap, hose, or reservoir leak instead.
Sources
- OEM service information for cooling-system pressure testing and radiator cap inspection procedures
- Motor Age Technician resources on cooling-system diagnosis and pressure testing
- Gates Automotive technical information on radiator caps, cooling-system pressure, and boiling point control
- Haynes and Chilton repair references for radiator, hose, and overflow-system diagnosis
- SAE and OE cooling-system design references describing thermal expansion, pressure control, and overflow routing
Products related to this article
Sponsored / affiliate links. As an Amazon Associate I earn from qualifying purchases. I may earn additional commission from eligible campaigns.