How to Test Car Wiring for Continuity and Shorts
Use a multimeter to check each wire end to end. Near 0–1 ohm means continuity, infinite resistance means an open, and any continuity from the wire to chassis ground on an isolated circuit points to a short. Skip the test, and you can replace good parts while missing a fault that blows fuses or causes intermittent failures. This guide shows a step-by-step flow for continuity, shorts to ground, and high-resistance faults in car wiring.
What you’ll need


- Digital multimeter with continuity buzzer and ohms/resistance mode
- Wiring diagram PDF for the circuit you are checking
- Fuse puller or needle-nose pliers
- Basic hand tools to reach connectors and panels
- Inspection light
- Optional cable/wire tracer short finder rated for 6-42V DC
- Trim tools for opening loom clips without cutting insulation
Digital multimeter setup
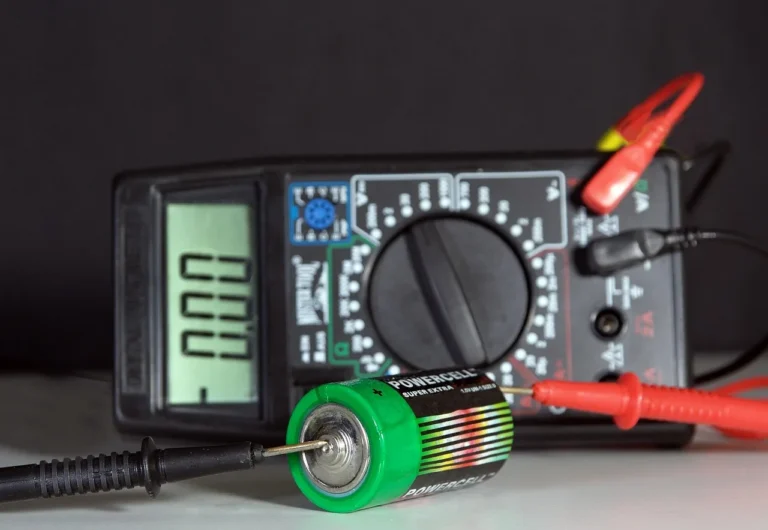
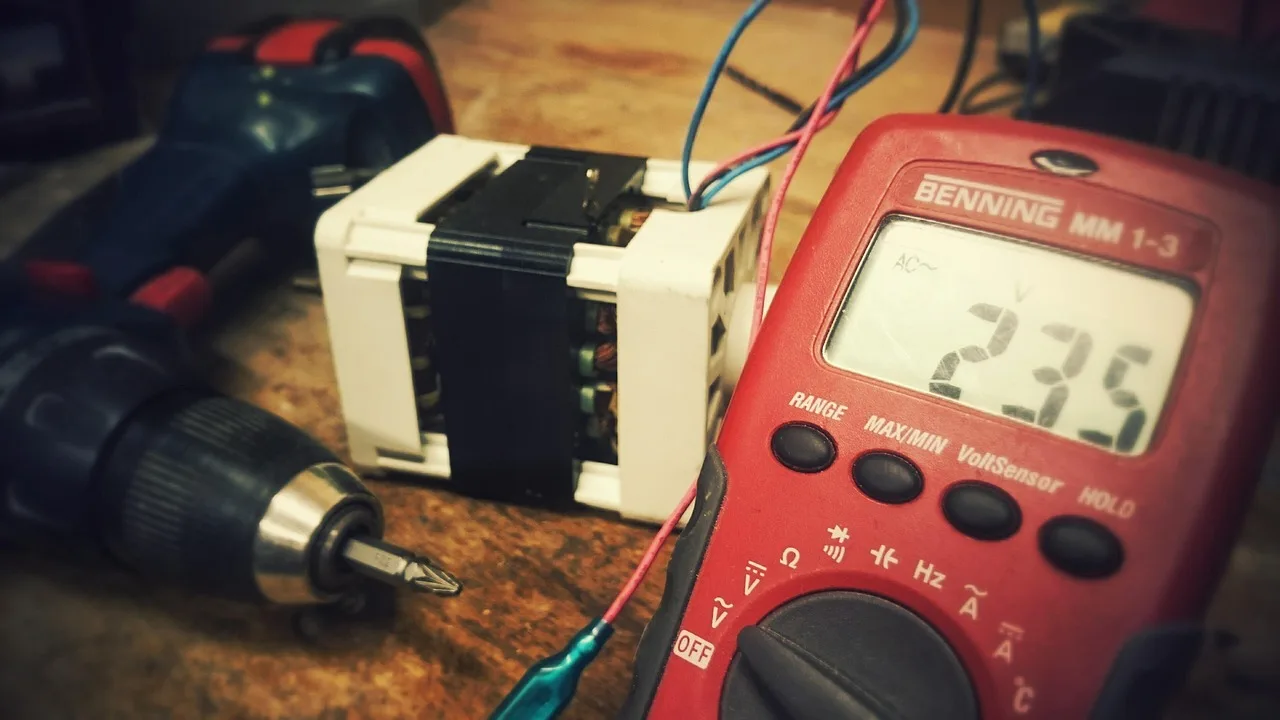
Use the continuity buzzer for quick checks and the ohms range for confirmation. A good continuity result is a beep or near-zero resistance. An open circuit shows OL, infinite, or no continuity. Keep the meter on power-disconnected circuits only.
Wiring diagram and fuse access
Use the wiring diagram PDF to identify the wire color, connector pin, fuse, relay, and ground path. That matters on many modern vehicles because the same loom can carry power, ground, and CAN-Bus data lines. Pull the correct fuse before you test resistance or continuity.
Basic hand tools and inspection light
You need access, not force. Remove covers, loosen clamps, and inspect for insulation rubbed through on edges, melted spots near heat sources, crushed sections under fasteners, corroded terminals, and rodent damage before you probe anything. A clean view often points to the branch that needs isolation.
Optional short-finder tool
A cable/wire tracer short finder can help when the fault is buried inside a loom. Some short-finder tools operate on about DC 6-42V and may give audible receiver feedback. Use it for hidden shorts or open wires you cannot isolate with a meter alone.
How do you prep the circuit?
Disconnect power first, remove the fuse for the circuit, and unplug the correct connectors before any continuity or resistance test. That prevents backfeeding modules and gives you a clean reading on the exact wire you want to check. If the circuit includes a relay, unplug the relay too.
Disconnect power first
- Turn the ignition off.
- Disconnect the battery negative terminal if the circuit is routed through modules or shared grounds.
- Wait for all modules to power down before testing.
Remove the fuse for the circuit
- Use the wiring diagram to find the correct fuse.
- Pull that fuse before continuity testing.
- Check the fuse itself with the meter; a blown fuse should show open.
Unplug the right connectors
- Unplug the connector at each end of the wire you want to test.
- Disconnect branch connectors that share the same feed if the diagram shows them.
- Do not pierce insulation unless there is no other access point.
How do you test for continuity?
Check a wire end to end with the meter in continuity or low-ohms mode. A beep or near-zero ohms means the conductor is intact. OL means the wire is open. Test fuses, switches, and connectors the same way once they are out of circuit.
Check a wire end to end
- Place one probe on each end of the isolated wire.
- Watch for a beep or a resistance reading near 0–1 ohm.
- If the reading jumps when you wiggle the loom, suspect an intermittent break.
Test fuses, switches, and connectors
- Remove the part from the circuit first.
- Probe across the fuse or switch terminals.
- For connectors, test the pin pair named in the wiring diagram.
Read beep, near-zero ohms, and OL
Beep and near-zero ohms point to a closed path. OL or no beep means no continuity. Unexpected resistance above a clean wire reading suggests corrosion, a partial break, or damage that may only fail under load.
How do you check for shorts to ground?
For short-to-ground checks, place one meter lead on the power wire and the other on a known good ground point. Use clean, unpainted chassis or engine metal. A short to ground can blow a fuse instantly, so test the isolated wire before reinstalling anything.
Probe the wire against a clean ground point
- Confirm the wire is disconnected from the load and fuse panel.
- Touch one probe to the wire and the other to bare metal ground.
- Look for a beep or low resistance where the circuit should read open.
Watch for low resistance where it should read open
An isolated power wire should typically not show continuity to ground. If it does, the wire may be touching chassis metal, engine metal, or a grounded component internally. Shared grounds can confuse the result, so keep the diagram in view.
Narrow the short to a loom branch
- Split the loom at the nearest connector or branch point.
- Retest each branch to ground.
- Keep dividing the section that still shows continuity until the reading clears.
How do you find a hidden harness fault?
Move section by section through the loom once the meter shows a problem. Focus on bulkheads, sharp edges, moving parts, clips, and connector backshells. That is where insulation often chafes, melts, or crushes, and where an intermittent fault is most likely to hide.
Check common chafe points and connector backshells
- Inspect spots where the loom passes a bulkhead.
- Check bends near hinges, fans, pulleys, and brackets.
- Look closely at tape wraps, loom ends, and clip points for exposed copper or flattened insulation.
Use a short-finder tool when the fault is buried
A short-finder tool can help locate hidden shorts and open wires without damaging cables. Use the transmitter on the circuit only within the tool’s 6-42V range, then follow the receiver’s audible feedback along the loom. It is useful when a meter proves there is a fault but cannot show where.
Work branch by branch, not wire by wire
Start with one branch of the circuit, then split it again at each connector or splice point. Suppose a fuel pump circuit loses power and the fuse keeps failing. The diagram shows battery, fuse, relay, and pump. Test each branch between the relay and pump before touching the main loom, because the fault may sit only in one leg near a connector or clamp.
Common mistakes
Most bad diagnoses come from sequence errors, not bad tools. Use the meter with power disconnected, and use the diagram before you probe. A wire can pass continuity and still fail under load if corrosion or partial damage raises resistance enough to drop voltage.
- Testing with power still connected: disconnect the battery or circuit feed first, or you may damage the meter and the module.
- Confusing continuity with a good load path: a wire can beep and still fail when current flows.
- Skipping the wiring diagram: you may test the wrong pin or the wrong ground.
- Missing damaged insulation: inspect for rubbed-through spots, crushed sections, and melted sections before you chase an electrical ghost.
- Using a probe through insulation as the default: avoid piercing unless there is no access point and you can reseal the spot.
Picture a tail lamp that flickers over bumps but still beeps good at the connector. That points to an intermittent break or corroded strand, not a clean open. Flex the loom near the trunk hinge and retest each section while watching the meter.
If a wire shows continuity only when moved, keep the loom unsupported and retest at the nearest branch. That is the point where a cracked conductor often opens and closes.
Wiring decision table
| Symptom | Meter setup | Expected reading | Next isolation step |
|---|---|---|---|
| Open wire | Continuity mode, power disconnected, probes end to end | OL, infinite, or no beep | Split the loom at the nearest connector and retest each side |
| Short to ground | Ohms mode, isolated power wire to clean chassis or engine ground | Beep or low resistance when it should be open | Unplug branch connectors and test each branch against ground |
| High resistance | Ohms mode, end to end on the isolated wire | Continuity may beep, but resistance is higher than a clean wire path | Check for corrosion, damaged strands, loose pins, or heat at connectors |
| Intermittent fault | Continuity mode while gently flexing the loom | Reading changes from beep to OL or jumps around | Wiggle test each branch, then inspect the loom at clips, bends, and moving parts |
Frequently asked questions
How to test a wire for continuity
Disconnect power, remove the fuse, and probe both ends of the isolated wire in continuity or low-ohms mode. A beep or near-zero ohms means the conductor is intact. OL or no beep means the wire is open. If the reading changes while you flex the loom, suspect an intermittent break.
How to test wire for short
Place one probe on the isolated wire and the other on a clean, unpainted chassis or engine ground point. A short-to-ground check should read open on a healthy power wire. If you get a beep or very low resistance, split the loom and retest each branch.
How do I know if a car wire is open or shorted?
An open wire gives OL, infinite, or no continuity end to end. A shorted power wire often shows continuity to chassis ground when it should not. Test both conditions separately, because a wire can be open in one section and shorted in another.
Can I use a multimeter continuity setting on car wiring?
Yes, as long as power is disconnected. Use continuity mode for quick checks on wires, fuses, switches, and connectors. Switch to ohms mode when you need to judge whether a wire that beeps is still carrying enough current path quality to be trustworthy.
How do I find a short to ground in car wiring?
Check the isolated power wire against a known good ground point, then divide the loom until the short disappears. Focus on bulkheads, sharp edges, moving parts, and clip points. If the fault is deep in the loom, a short-finder can speed up the search.
What should I unplug before testing car wiring for continuity?
Unplug the battery feed, remove the fuse, and disconnect both ends of the wire you are checking. If the circuit uses a relay or shared branch connector, unplug those too. That prevents backfeeding modules and keeps the meter from reading through other loads.
How do I test a harness without damaging the insulation?
Use connector pins, fuse terminals, and accessible ends first. Avoid piercing insulation unless there is no other way to reach the conductor. If you must probe a wrapped loom, open the loom at a service point and reseal it after the fault is found.
Products related to this article
Sponsored / affiliate links. As an Amazon Associate I earn from qualifying purchases. I may earn additional commission from eligible campaigns.