Drawing car headlights might seem tricky. You see those shiny, complex shapes on cars. How do artists make them look so real on paper?
It’s easier than you think. You just need a few simple steps. We will break it down so anyone can learn.
Let’s get those headlights looking great!
It’s possible to draw car headlights step by step. This guide will show you how to start with basic shapes. You will learn to add details and shading. By following these simple instructions, beginners can create realistic drawings of car headlights.
Understanding Headlight Basics
Car headlights are not just lights. They are designed pieces of art. They have specific shapes.
They also reflect light in special ways. Most headlights have a main lens cover. This is often clear plastic or glass.
Behind that, you see the bulbs and reflectors. These parts create the light pattern.
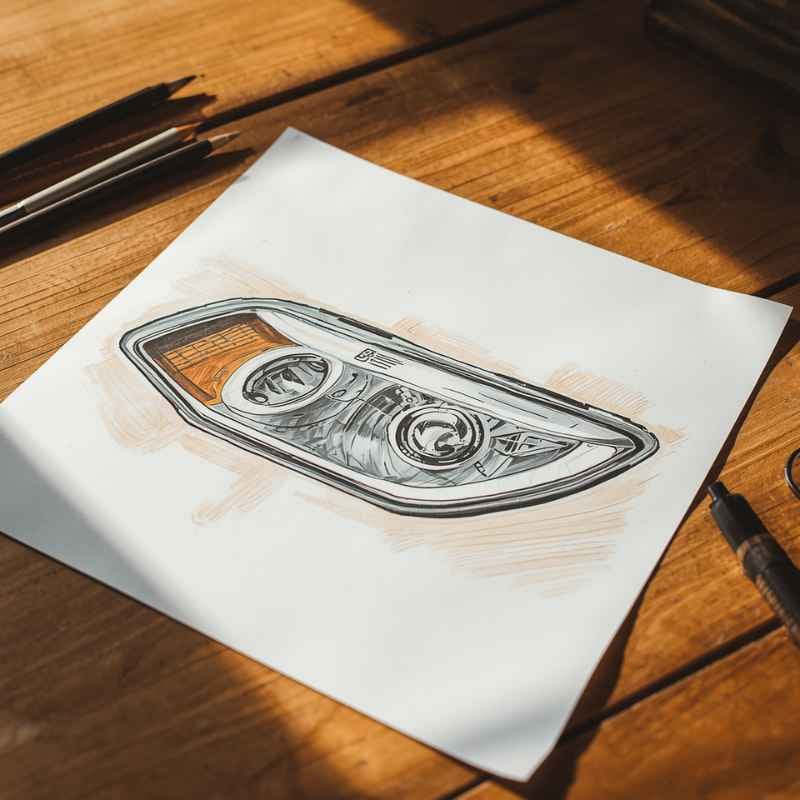
The overall shape of a headlight can vary a lot. Some are round. Others are square or rectangular.
Many modern cars have very complex, angular shapes. These often sweep back towards the fender. This shape is part of the car’s overall look.
It helps define the car’s personality.
Understanding these shapes is the first step. Before you draw, look at real car headlights. Notice their curves and edges.
See where the light hits them. This observation helps a lot. It gives you clues for your drawing.
Think about the main form first. Then add the smaller parts.
Getting Started: Your Drawing Tools
You don’t need fancy tools to draw. A pencil is your best friend. Start with a regular HB pencil.
This is good for sketching. You might also want a softer pencil, like a 2B or 4B. These make darker lines for shading.
They help create depth.
Paper is also important. Any drawing paper will do. Thicker paper is better if you plan to use erasers a lot.
Erasers are key. A regular pink eraser is fine. A kneaded eraser is also very useful.
You can shape it to erase small spots. Or use it to lift graphite for highlights.
A ruler can help with straight lines. But don’t rely on it too much for organic shapes. Hand-drawing curves looks more natural.
Practice freehand drawing. You will get better with time. For now, just have your pencil, paper, and eraser ready.
That’s all you truly need.
Step 1: The Basic Shape
Every headlight starts with a simple shape. Look at the car you want to draw. What is the main outline of the headlight?
Is it a smooth oval? Is it a sharp rectangle? Or is it a more complex, jagged shape?
Lightly sketch this main outline. Use your HB pencil. Don’t press hard.
These are guide lines. They will be erased later. Imagine you are drawing a stencil.
Focus only on the outer edge. This shape is the foundation. Everything else builds on this.
For many cars, the headlight is somewhat triangular or trapezoidal. It often has rounded corners. Some older cars have round headlights.
Modern ones can be very angular. They might have a swept-back look. Just get the basic outer edge down.
That’s the most important part right now.
Step 2: Dividing the Headlight
Most headlights have sections inside. There’s usually a main light area. There might be turn signals.
There could be high beams or low beams. Look at your reference photo. See how the main lens is divided.
Draw light lines to show these divisions. These lines often follow the outer shape. They might be curved or straight.
They create separate areas within the headlight. Think of it like drawing panels on a screen. These panels will help you organize your shading.
Pay attention to the details. Some headlights have chrome accents. Others have intricate patterns within the lens.
You don’t need to draw every single detail yet. Just mark the main sections. This makes the next steps much clearer.
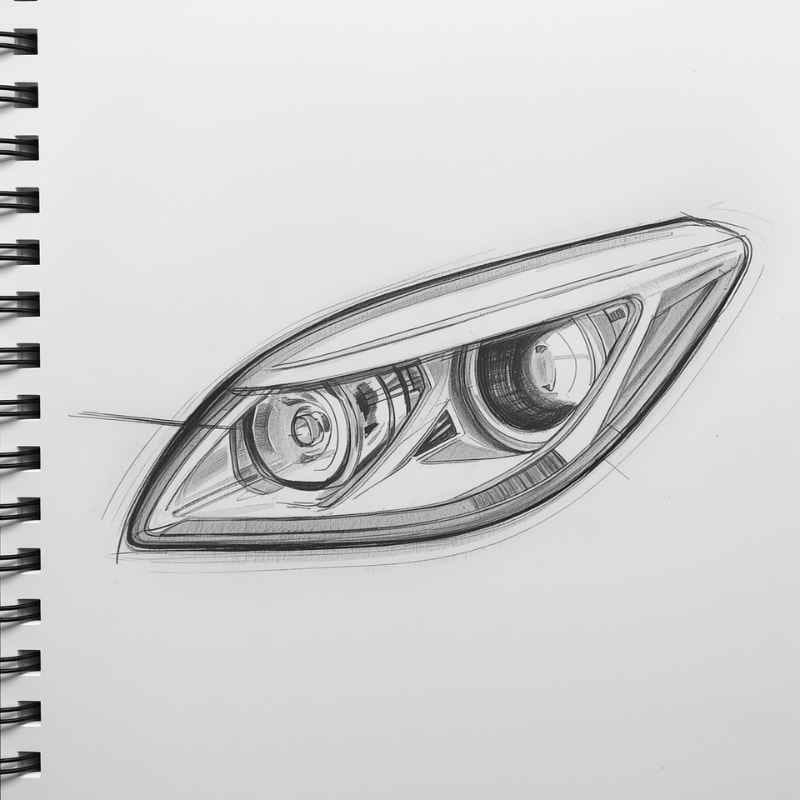
Step 3: Adding Depth and Volume
Headlights are not flat. They are three-dimensional objects. You need to show this roundness.
Think about how light curves around a ball. Headlights do the same. The main lens is often rounded.
Add curved lines inside the main shape. These lines suggest the curvature of the lens. They follow the overall form.
Imagine drawing horizontal slices across a sphere. These lines show the form. Do the same for your headlight shape.
This step is crucial for realism. It makes the headlight look like it pops out from the paper. It’s not just a flat drawing.
These subtle curves make a big difference. Even angular headlights have some roundness to their edges.
Step 4: Shading the Lens
Shading is how you create form. It shows where light hits and where it doesn’t. For a headlight lens, it’s usually quite reflective.
This means you’ll have bright spots and darker areas.
Start by lightly shading the whole lens. Use your HB pencil. Go in one direction.
This creates a base tone. Then, look at your reference. Where are the darkest shadows?
These are usually on the curved edges. Or where one part of the headlight overlaps another.
Use your 2B or 4B pencil for dark areas. Apply gentle pressure. Build up the darkness slowly.
Blend gently if needed. But don’t over-blend. Smudged headlights can look muddy.
Keep your shading smooth and controlled.
Shading Tips for Lenses
Smooth Gradients: Aim for smooth changes in tone. This shows the roundness.
Highlight Placement: Look for bright reflections. These are key to making it look like glass.
Edge Control: Darken the edges where the light curves away. This makes it pop.
Internal Reflections: See reflections within the lens? Add those too.
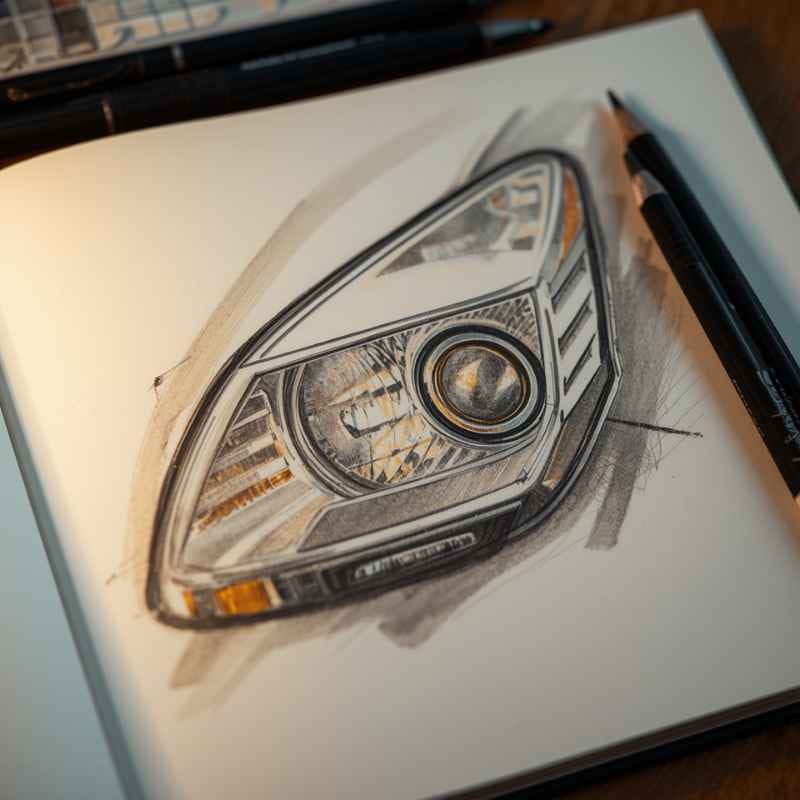
Step 5: Drawing the Inner Components
Now you can focus on what’s inside. This includes the bulbs and reflectors. These parts are often metallic or black.
They have their own shapes and shadows.
The reflector is usually a complex shape. It’s designed to bounce light forward. It might have curved surfaces.
Add shading to show these curves. Metallic surfaces reflect light. So, you’ll see highlights on them too.
The bulb itself is often a smaller shape. It might be round or cylindrical. It’s usually white or a very light grey.
Add a soft shadow around it. This makes it stand out. Don’t make these parts too dark unless they are deep inside.
Inside the Headlight
Reflector Shape: Draw its main form first. Then add shading.
Bulb Detail: Often a simple circle or oval. Keep it light.
Wires/Mounts: Small details. Add them if visible and important.
Lens Texture: Some lenses have lines or dots. Draw these if they are clear.
Step 6: Adding Highlights
Highlights are the brightest spots. They are what make a drawing look shiny. Headlight lenses are very shiny.
You’ll have many highlights.
Use your kneaded eraser to lift graphite. Press the eraser onto a dark area. Lift it off to create a bright spot.
You can shape your eraser to make sharp highlights. Or dab it for softer ones.
Look closely at your reference photo. Where are the strongest reflections? They are often on the curved surfaces.
They can be small dots or long streaks. Place them carefully. They should follow the form of the lens.
Don’t add too many highlights. Too many can make it look flat. Place the most important ones.
Think about the main light source. The highlights should match that.
Highlighting Techniques
Eraser Tool: Use a kneaded eraser to lift graphite. It’s versatile.
White Gel Pen: For very bright, crisp highlights. Use sparingly.
Negative Space: Leave areas of the paper white. This is the purest highlight.
Placement is Key: Highlights show the shape and material. Put them where the light hits.
Step 7: Refining the Details
Now it’s time to refine everything. Look at your drawing. Compare it to your reference.
Are the lines clean? Is the shading smooth? Are the highlights in the right places?
You can add subtle textures. Some lenses have a slight pattern. Or they might have small dots.
Draw these very lightly. They add a touch of realism.
Check the edges. Are they too hard? Or too soft?
Headlights have sharp edges where they meet the car body. The lens edges might be softer curves. Adjust them as needed.
Clean up any stray marks. Use your eraser to sharpen lines. Make sure the dark areas are dark enough.
The light areas are light enough. This balancing act is important. It brings the drawing to life.
Refinement Checklist
Edge sharpness: Where does it meet the car body?
Shading smoothness: Are transitions even?
Highlight clarity: Are they bright and sharp?
Internal details: Are they visible and correct?
Overall form: Does it look round and three-dimensional?
A Real-Life Drawing Experience
I remember trying to draw headlights for the first time. I was working on a drawing of my friend’s sporty sedan. The headlights looked so complicated.
They had multiple layers and sharp angles. My first attempt was flat and lifeless.
I had drawn the outline okay. But I shaded it like a solid block. There were no reflections.
No sense of depth. It looked more like a sticker than glass. I felt a bit frustrated.
I almost gave up on that part of the drawing. But then I remembered what my art teacher always said. “Look closer.”
So, I grabbed my reference photo. I zoomed in. I saw tiny bright spots everywhere.
The curves of the lens were defined by subtle shifts in grey. The inner parts were dark and mysterious. I grabbed a new piece of paper.
This time, I started with the basic shape again. But I added the curved guide lines immediately. I used my eraser to lift out the brightest highlights before I even added much shadow.
It felt strange to erase so much. But the result was amazing. The headlight started to look like glass.
It had a shine. It felt like it was actually there. That experience taught me that highlights and subtle curves are everything.
Real-World Context: Headlights in Different Cars
The way headlights are designed says a lot about a car. Think about classic cars. Their headlights were often simple circles.
This was due to the technology of the time. They were functional and clear.
Sports cars often have sleek, aggressive headlights. They might be narrow and swept back. This design gives the car a fast look.
It helps with aerodynamics too. The shapes are often sharper and more angular. Shading these can be challenging but rewarding.
Luxury cars might have very complex headlights. They can feature multiple projector lenses. They might have intricate LED daytime running lights.
These have many small details to capture. They often have a very clean, precise look.
Trucks and SUVs might have large, sturdy headlights. They are built for durability and function. They often have a more rugged appearance.
The lenses might be tougher. They might have more visible internal components.
Car Type & Headlight Style
Classic Cars: Round, simple shapes. Easy to sketch.
Sports Cars: Sleek, angular, swept-back. Need sharp lines and strong contrast.
Luxury Cars: Complex, multi-lens. Requires attention to detail.
SUVs/Trucks: Robust, functional. Often have a clearer lens focus.
What This Means for Your Drawing
When you draw car headlights, remember they are reflections of their environment. They pick up colors and shapes from the road, the sky, and other cars. This is why observing your reference is so important.
A headlight that looks too flat probably needs more contrast. It needs darker shadows and brighter highlights. The shape might also be wrong.
It might not have enough of a curve shown.
If your headlight looks messy, it might be over-blended. Or you might have too many lines. Simplify where you can.
Focus on the main shapes and the most important reflections.
Understanding that headlights are reflective surfaces changes how you draw them. You are not just drawing a shape. You are drawing light bouncing off a curved surface.
This perspective shift is key to making them look real.
Quick Fixes and Tips
Tip 1: Start Light. Always sketch with a light hand. You can always go darker.
It’s hard to erase dark lines without leaving marks.
Tip 2: Observe Reflections. Look at the strongest highlights. Where are they?
What shape are they? They tell you about the light source and the lens shape.
Tip 3: Use Your Eraser as a Drawing Tool. Don’t just use it to fix mistakes. Use it to create highlights.
A kneaded eraser is perfect for this.
Tip 4: Practice Different Shapes. Draw round headlights, square headlights, and angular ones. Each has its own challenges and rewards.
Tip 5: Keep Shading Smooth. Use light, even strokes. Build up tone gradually.
This is especially important for the main lens cover.
Tip 6: Don’t Forget the Internal Parts. Even if they are dark, they have shapes. Show the reflector’s curves and the bulb’s position.
Tip 7: Step Back Often. Look at your drawing from a distance. This helps you see mistakes you might miss up close.
Super Simple Headlight Drawing Steps
1. Outline: Draw the main outer shape.
2. Divide: Mark internal sections with light lines.
3. Curve: Add subtle lines to show the lens’s roundness.
4. Shade Base: Lightly shade the whole lens.
5. Darken Shadows: Add darker tones where light doesn’t hit.
6. Add Details: Draw internal parts like bulbs and reflectors.
7. Create Highlights: Use an eraser to make bright spots.
8. Refine: Clean up lines and adjust shading.
Frequently Asked Questions About Drawing Car Headlights
What is the best pencil to use for drawing car headlights?
For drawing car headlights, start with a standard HB pencil for sketching the basic shapes and guidelines. Then, use softer pencils like a 2B or 4B for darker shadows and to build up tonal values. A light pencil is good for initial outlines, and a darker one helps create depth.
How do I make headlights look shiny and reflective?
To make headlights look shiny, focus on creating strong contrast. Use smooth shading for the curved surfaces and leave areas completely white for the brightest highlights. A kneaded eraser is excellent for lifting graphite to create these sharp, reflective spots.
Pay close attention to the reflections in your reference image.
What is the hardest part about drawing headlights?
Many artists find capturing the complex curves and the precise placement of highlights to be the hardest part. Headlight shapes are often irregular, and showing how light bounces off them requires careful observation and technique. Getting the balance between shadow, mid-tone, and bright highlight is also tricky.
Can I draw headlights without a reference photo?
While you can draw a generic headlight shape without a reference, it’s very difficult to make it look realistic. Reference photos are crucial. They show you the exact shape, the specific reflections, and the internal components.
Using a reference helps you understand the light and form accurately.
How do I draw the internal parts of a headlight, like the bulb and reflector?
Draw the basic shape of the reflector first, then add shading to show its curves and metallic shine. The bulb is often a simple circle or oval. Keep it very light, and add a soft shadow around it to make it stand out.
Look for any wires or mounting points and add them lightly.
Should I draw the lens cover or the internal parts first?
It’s generally best to start with the main outline of the lens cover. Then, lightly sketch the internal sections. After that, you can begin shading the lens cover to establish its form and reflectivity.
Finally, add the details and shading for the internal components. This layering helps maintain focus on the overall shape first.
Final Thoughts
Drawing car headlights is a skill that improves with practice. Don’t get discouraged if your first few attempts aren’t perfect. Each drawing teaches you something new.
Focus on the basic shapes, the light, and the reflections. Soon, you’ll be drawing realistic headlights with ease.