How to Adjust a Brake Pedal for Better Comfort
Adjust the brake pedal only to the factory spec for height, free play, and stoplamp switch clearance; if free play cannot be kept within spec without drag, stop and inspect the linkage or booster instead. On some vehicles, pedal comfort can only be improved if there is an OEM pedal-position adjustment feature, and many vehicles do not have a user-adjustable brake booster or master-cylinder pushrod. Wrong adjustment can leave brakes dragging, lights staying on, or stopping distance changing. Use OEM service information or an authoritative manual for the exact vehicle procedure and limits.
What brake pedal adjustment can fix


Brake pedal adjustment can correct pedal position and some of the feel that comes from excess free play. It can improve reach, reduce delayed engagement caused by too much travel before the brakes bite, and restore correct switch timing. It cannot cure air in the system, worn pads, or a master-cylinder fault, and OEM service manuals caution against using adjustment to mask hydraulic problems.
Free play versus pedal height
Brake pedal free play is the small initial movement before the push rod begins to load the master cylinder. Brake pedal free height is the pedal position measured from the pedal pad to the floor panel. Those are related, but they are not the same check, and both matter in factory service procedures.
Say your pedal sits high but still has normal free play. That points more toward pedal position than pedal action. Suppose the pedal feels too loose and the brake lights flicker late. That points toward excessive free play or switch timing, not a cosmetic issue.
When a comfort problem is really a brake fault
If the pedal feels odd because air, pad wear, or a master-cylinder problem is present, adjustment will not fix the root cause. A pedal that sinks, returns slowly, or changes feel from one stop to the next needs system inspection first. OEM manuals and brake safety references warn that setting the pedal around a hidden hydraulic fault can create a delayed warning sign.
What better pedal feel should and should not change
Reducing free play is meant to lessen slack before the brakes start to apply. Done correctly, that can make the brakes feel more immediate. It should not remove all free play, force the pads into drag, keep the brake lights on, or move the pedal outside the vehicle’s specified range.
What you’ll need before you start
- Factory shop manual or the vehicle’s pedal specification
- Appropriate wrench for the locknut
- Ruler, tape measure, or caliper for pedal height
- A second tool or finger for checking free play at the pedal top
- Flashlight for under-dash access
- Wheel chocks for the follow-up drag check
Brake pedal decision table
| Symptom | Likely cause | Safe DIY check | Adjustment point | Stop-work warning |
|---|---|---|---|---|
| Pedal sits too high | Rod setting out of spec | Measure free height from pedal top to floor panel | Actuator rod at the firewall end of the pedal linkage | Stop if the brake lights no longer go off with the pedal released |
| Excessive free play | Too much gap before the brakes start to bite | Press the pedal lightly and note the initial dead travel | Actuator rod / push rod length after loosening the locknut | Stop if free play disappears and the brakes begin to drag |
| Brake lights staying on | Switch timing changed by pedal setting or switch position | Release the pedal and confirm the lamps go out | Rod setting and stoplamp switch clearance | Stop if lamps stay on after a simple release check |
| Pedal return issues | Linkage bind, booster issue, or over-adjustment | Release the pedal and watch for a full, clean return | Do not force a rod correction first | Stop if the pedal returns slowly or does not return fully |
| Post-adjustment drag checks | Pads contacting rotors too hard | Check for heat, noise, or vibration after a short drive | Back off the adjustment if drag appears | Stop if abnormal sounds or vibrations show up |
How do you adjust the actuator rod?
Locate the actuator rod near the top of the brake pedal next to the firewall, if your vehicle uses an adjustable pedal or pushrod arrangement, then loosen the locknut before turning the rod. Factory manuals generally call for the adjustment specified for that vehicle, then a full recheck of pedal height, free play, and stoplamp switch operation. Do not guess at the final position or skip the locknut.
- Park on level ground and switch the ignition off.
- Move the driver seat back for under-dash access.
- Find the actuator rod near the top of the brake pedal next to the firewall, if equipped.
- Use the correct wrench for the locknut to loosen it.
- Adjust only by the amount specified in the service information, then recheck the pedal.
- Tighten the locknut again before checking height, free play, and switch behavior.
That adjustment step matters. A bigger change can wipe out free play, shift switch timing, and start drag before it is obvious from the pedal alone.
How do you set pedal height and free play?
Measure brake pedal free height from the pedal top to the floor panel, then compare it with the shop manual specification for that exact make and model. Do not apply a universal number to every vehicle. After that, check free play at the pedal face. The pedal should have some travel before the brakes start to bite, but not so much that the pedal feels vague.
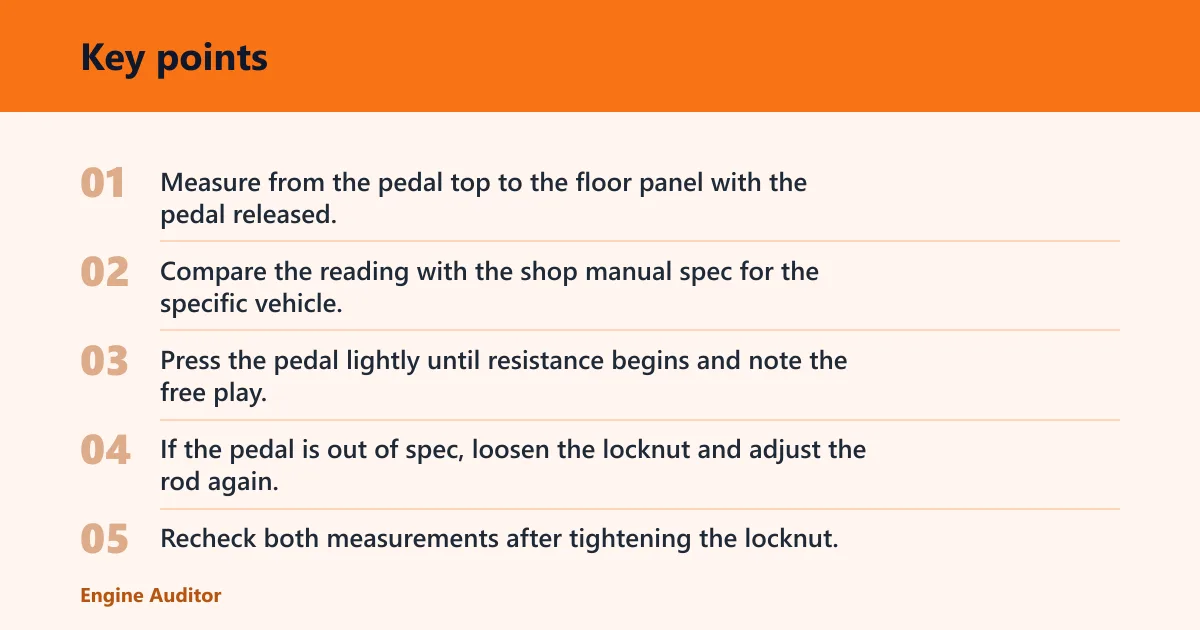
- Measure from the pedal top to the floor panel with the pedal released.
- Compare the reading with the shop manual spec for the specific vehicle.
- Press the pedal lightly until resistance begins and note the free play.
- If the pedal is out of spec, loosen the locknut and adjust the rod again.
- Recheck both measurements after tightening the locknut.
Why does free play matter first?
Factory service information puts free play first because it protects the master cylinder from constant preload and gives the brake pedal room to return fully. If free play is removed, the push rod can hold the piston slightly applied, which can create drag, heat, brake fade, or a brake lamp that never fully turns off.
If that didn’t work, try this next
If pedal height and free play stay out of range after repeated adjustment, stop chasing the rod setting. A bent pedal arm, worn pedal bushings, a faulty booster, or a hydraulic issue can keep the pedal from settling where it should. That is the point for a brake-system inspection, not more rod travel.
How do you confirm the brakes are not dragging?
After the adjustment, check that the brake lights go off when the pedal is released and that the pedal returns normally. Then make a short, low-speed road check. OEM service procedures and safety references treat drag as a stop-work issue because it can overheat pads and rotors, create noise, and change braking performance quickly.
- Press and release the pedal several times and watch the stoplamp switch behavior.
- Confirm the brake lights go off when the pedal is released.
- Drive a short, low-speed loop.
- Stop and check for heat, noise, or vibration at the wheels without touching hot components directly; use a non-contact thermometer if needed.
- Reinspect if you hear rubbing, feel vibration, or smell hot brakes.
If the pedal feels normal but the brakes are warm or noisy, the issue is not fixed. Back off the adjustment and inspect before more driving. Heat, a burnt smell, or a wheel that feels significantly warmer than the others can indicate drag from incorrect push-rod setting or a separate brake fault.
How do you replace a worn brake pedal pad?
A worn brake pedal pad affects comfort and foot grip, not pedal free play or hydraulic travel. Replace it when the rubber is cracked, slick, loose, or worn smooth enough to reduce traction under your shoe. It is a separate job from pedal adjustment, though a badly worn pad can make the pedal feel smaller or harder to locate.
Basic brake pedal pad replacement steps
Pull the old pad away from the pedal arm, compare the replacement pad shape and retainer points, then press the new pad into place until it seats securely. Make sure it covers the pedal face evenly and does not interfere with full pedal movement or the return stop. Recheck the pedal after installation.
Pad wear alone does not change free play, switch timing, or pedal height. If the pedal still sits wrong after a new pad is installed, the issue is elsewhere in the linkage or braking system.
Common mistakes
Over-adjusting the rod is the fastest way to create a new problem. If free play is removed, the stoplamp switch can stay active and the pads can drag. Skipping the brake-light check is another common miss. So is ignoring a pedal that returns slowly, because that can signal a linkage or hydraulic problem. OEM manuals also warn against using pedal feel as the only pass/fail test.
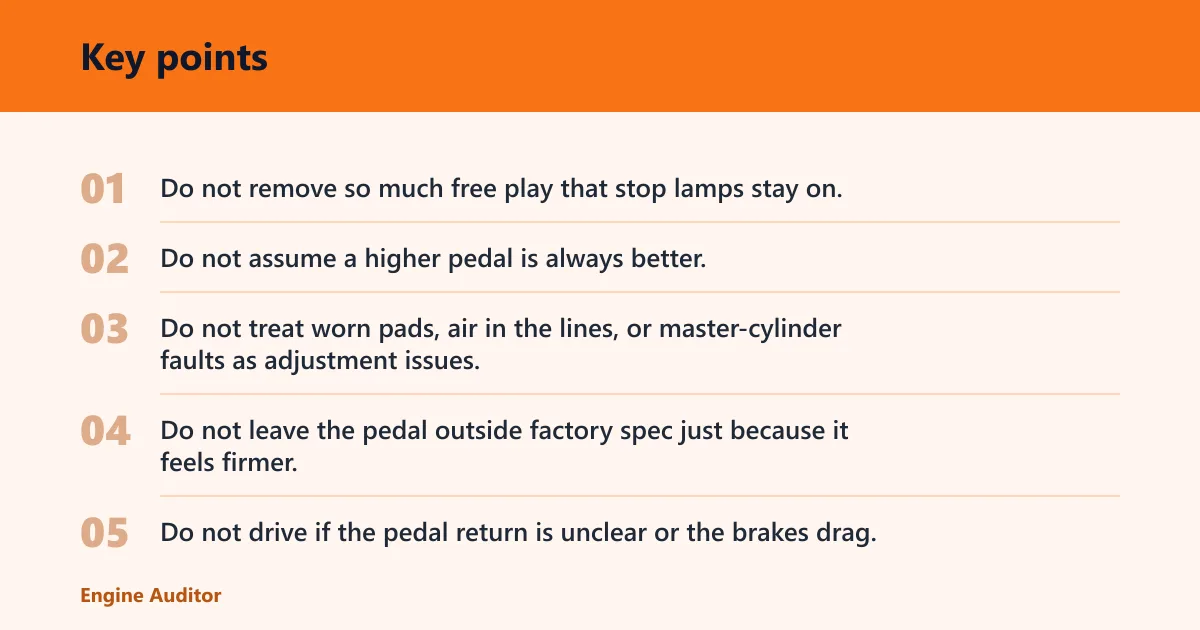
- Do not remove so much free play that stop lamps stay on.
- Do not assume a higher pedal is always better.
- Do not treat worn pads, air in the lines, or master-cylinder faults as adjustment issues.
- Do not leave the pedal outside factory spec just because it feels firmer.
- Do not drive if the pedal return is unclear or the brakes drag.
A common first-timer mistake is turning the rod until the pedal feels right in the driveway, then finding a hot rotor after a short trip. That is a drag problem, not a comfort win.
How do you adjust the brake lights and switch timing?
After pedal changes, the stoplamp switch should let the brake lights go off when the pedal is released. Follow the model-specific self-adjusting or threaded procedure in the service information after every adjustment, because a changed push-rod setting can alter switch clearance. If the lamps stay on, correct the clearance or pedal setting before driving. This is a standard brake safety check in OEM service information.
How do you know when to stop and inspect the brake system?
Stop if the pedal returns slowly, the free play cannot be set within spec, the lights stay on, or the brakes drag after a short drive. Those signs point away from simple pedal adjustment and toward linkage, booster, switch, or hydraulic inspection. Safety references treat those symptoms as reasons to stop driving until the cause is known.
How do you verify the adjustment worked?
Use a short post-adjustment checklist before normal driving. The goal is to confirm the pedal is within spec, the switch is correct, and nothing is binding. If any one check fails, back up and inspect rather than trying to “drive it in” to a better feel.
- Free play is within factory spec.
- Pedal height matches the vehicle specification.
- Pedal returns fully and cleanly.
- Brake lights go off when the pedal is released.
- No drag, heat, noise, or smell appears after a short drive.
Frequently asked questions
Can the brake pedal height be adjusted?
Yes, within the factory range. The pedal height is checked from the pedal top to the floor panel and should match the shop manual specification for that specific vehicle. Do not lower or raise it past the spec to chase a certain feel.
Why does my brake pedal feel like it has too much free play?
Too much free play usually means the initial pedal travel is taking up slack before the brakes bite. That can come from rod setting, linkage wear, or a hydraulic issue. Check the free play first, then confirm pedal height and stoplamp timing before assuming the feel problem is normal.
Should brake lights turn off after brake pedal adjustment?
Yes. Brake lights should go off when the pedal is released after adjustment. If they stay on, the switch clearance or pedal setting needs correction, and the vehicle should not be left in that state because drag or battery drain can follow.
Products related to this article
Sponsored / affiliate links. As an Amazon Associate I earn from qualifying purchases. I may earn additional commission from eligible campaigns.