How to Adjust Brake Pedal Height in a Car
Adjust brake pedal height by comparing the pedal position to the factory specification or, if none is listed, the brake-light switch point; do not adjust it if the pedal is low, spongy, or sinks, because that suggests a hydraulic fault rather than a height setting. A bad adjustment can leave the brakes dragging, the brake lights on, or the master cylinder port covered. This guide shows how to measure the pedal, separate normal free-play issues from faults, and adjust the stop or pushrod only when the manual calls for it.
Brake pedal height overview
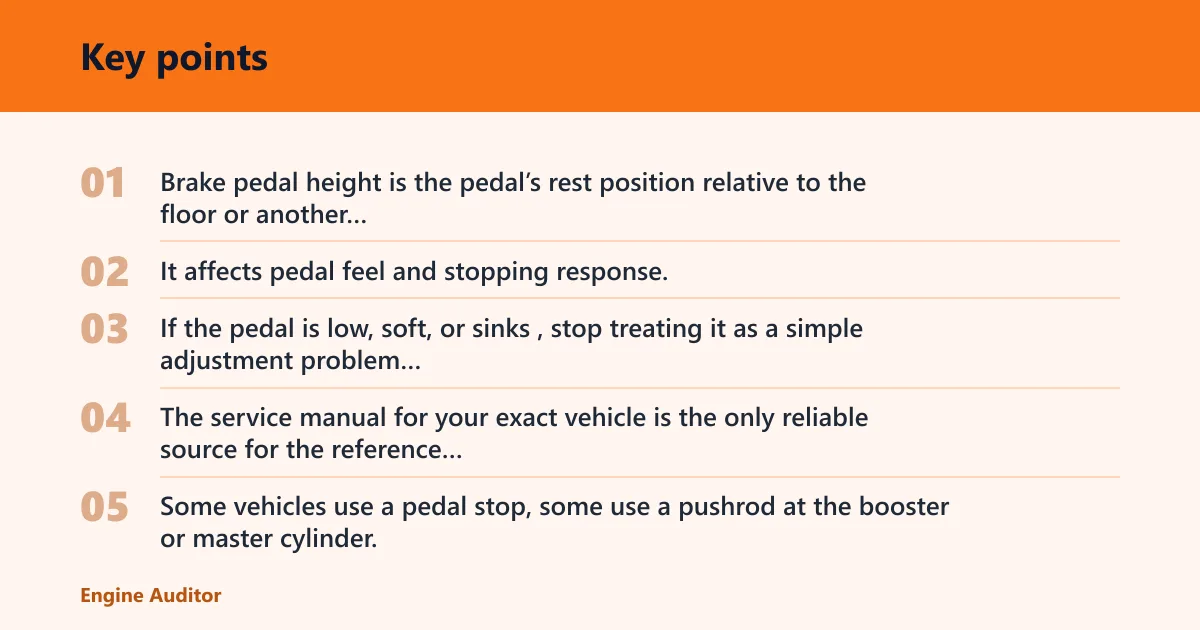


Brake pedal height is the pedal’s rest position relative to the floor or another manufacturer-chosen reference point. It affects pedal feel and stopping response, but it is not the same thing as free play or pedal ratio. If the pedal is low, soft, or sinks, stop treating it as a simple adjustment problem and inspect the hydraulic system first.
The service manual for your exact vehicle is the only reliable source for the reference point and acceptable range. Some vehicles use a pedal stop, some use a pushrod at the booster or master cylinder, and some use both. A mistaken adjustment can create brake drag or keep the master cylinder from returning fully.
What you’ll need
- Tape measure or ruler
- Flashlight
- Vehicle service manual
- Basic hand tools for the lock nut and adjustment screw
- Gloves and eye protection
How do you measure brake pedal height?
Measure the pedal at rest on level ground with the engine off, then compare that number to the vehicle service manual. Use the manual’s reference point, because some manufacturers measure from the floorboard to the top of the pedal pad, while others use a different fixed point. If the reading is outside spec, do not adjust until you know which part is meant to move.
- Park on a level surface and engage the parking brake.
- Switch the engine off and make sure the pedal is fully released.
- Use a tape measure or ruler to measure from the manual’s reference point to the pedal at rest.
- Compare the result with the listed specification before touching any fastener.
- Check whether the pedal feels firm and returns fully without interference.
If the manual specifies a floor reference and the pedal measures 8 mm low, that points you toward adjustment only if the pedal is otherwise firm and returns normally. If the same pedal is soft, go back to the hydraulic system instead of trying to “raise” it with the pushrod.
Brake pedal decision table
| Symptom | Likely cause | What to measure | Adjustment allowed or not allowed | When to stop and inspect the hydraulic system |
|---|---|---|---|---|
| Pedal is slightly high or low, but firm | Stop position or pushrod setting out of spec | Rest height against the manual | Allowed, if the manual gives an adjustment point | Stop if the pedal binds or the brakes drag after the change |
| Pedal is soft or spongy | Air in the brake lines | Pedal firmness and travel | Not allowed as a height-only fix | Inspect for air, leaks, or bleeding needs |
| Pedal goes to the floor | Serious hydraulic fault, including leak or master cylinder failure | Travel under steady pressure | Not allowed | Stop immediately and inspect the hydraulic system |
| Pedal travel keeps increasing over time | Rear drum adjuster problem or brake wear condition | Rear brake adjustment and pedal travel | Do not force a pedal-height change first | Inspect drums, adjusters, and hydraulic condition |
| Pedal position seems high because it returns differently | Booster or pushrod relationship | Free play and return behavior | Allowed only per the manual | Stop if return is incomplete or the pedal stays partially applied |
Adjust only after the measured height matches the height-setting procedure in the vehicle service manual. Locate the pushrod or pedal stop, loosen the lock nut, make the specified adjustment with the adjustment screw, then retighten and remeasure. The goal is correct height with required free play, not the highest possible pedal.
- Locate the pushrod, pedal stop, or stop lamp switch area named in the manual.
- Loosen the lock nut before turning the adjustment screw.
- Adjust the pushrod only within the manual’s range and without binding the pedal.
- Fine-tune the setting in small increments, then remeasure after each change.
- Retighten the lock nut and recheck the height, free play, and pedal return.
- Confirm that the master cylinder returns fully and the pedal does not sit on the brakes.
A common first-time mistake is to remove all free play because the pedal feels better at the top of the stroke. That can keep the master cylinder port covered and create drag as the brakes warm up. If the manual does not call for the adjustment, stop there.
What should you check after adjustment?
After adjustment, verify pedal free play, full return, brake light operation, and whether the pedal still matches spec. A correct height setting that turns the brake lights on early, or leaves the pedal dragging, is still wrong. The final check matters as much as the measurement.
- Measure the pedal height again from the manual’s reference point.
- Press and release the pedal several times to confirm smooth return.
- Check that the brake lights turn on and off at the correct rest position.
- Inspect for pedal drag by making sure the brakes release fully after pedal release.
- Recheck the lock nut and any fastener you touched.
If your brake lights stay on after a pushrod change, that usually means the stop lamp switch or pedal rest position needs a recheck, not another height increase. Back the adjustment out to spec and verify the switch position again.
Common mistakes
Adjusting without the manual is the biggest mistake. The reference point, the allowable movement, and the adjustment location vary by vehicle. A second mistake is treating a soft or sinking pedal as a height issue. That is a hydraulic problem until proven otherwise.
Another error is over-adjusting the pushrod until free play disappears. That can create brake drag and keep the master cylinder from fully returning. Skipping the brake light check is also a problem, because a changed pedal rest position can alter switch activation.
Why is my brake pedal too high or too low?
A pedal that sits too high or too low can come from a misset stop, an incorrect pushrod setting, or a pedal assembly that no longer matches the manual. If the pedal is also soft, sinks, or feels spongy, the cause is more likely hydraulic. Do not force the height to compensate for a fault.
Brake pedal travel can also change when rear drum adjusters are not set correctly, when air is trapped in the lines, or when a master cylinder is bypassing internally. A brake pedal that goes to the floor is a serious safety issue and needs inspection before any adjustment.
Frequently asked questions
Can you adjust brake pedal height?
Yes, on vehicles that provide an adjustment procedure. Some use a pedal stop or stop lamp switch, while others use a pushrod with a lock nut and adjustment screw. If the manual does not list an adjustment, do not improvise one. Use the service information for that exact model.
Can brake pedal height affect brake light activation?
Yes. The stop lamp switch often uses the pedal rest position as its trigger point, so a changed pedal height can make the brake lights come on too early, stay on, or activate too late. Recheck switch operation after any pushrod or stop adjustment.
What should you check after adjusting the brake pedal?
Check final height, free play, pedal return, brake light operation, and brake drag. Then verify that the reading still matches the manual. If the pedal feels abnormal after adjustment, or the brakes stay partially applied, reverse the change and inspect the hydraulic system.
How do I know if my brake pedal adjustment is within spec?
The only reliable check is the manufacturer’s specification for your exact vehicle. Compare the measured rest height to that number, then confirm that the pedal moves and returns normally and that the brake lights operate correctly. If any of those checks fail, the setup is not complete.
What tools do I need to adjust brake pedal height?
Use a tape measure or ruler, a flashlight, and the correct hand tools for the lock nut and adjustment screw. The vehicle service manual matters as much as the tools, because it tells you where to measure and which part is adjustable. Without it, the risk of over-adjustment is too high.
Products related to this article
Sponsored / affiliate links. As an Amazon Associate I earn from qualifying purchases. I may earn additional commission from eligible campaigns.