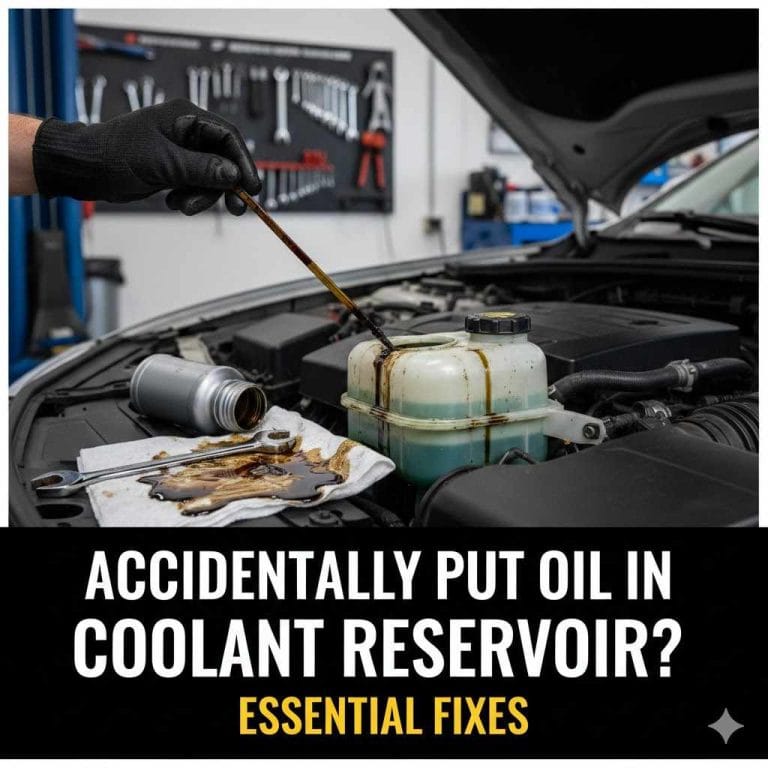
Accidentally Put Oil In Coolant Reservoir: Essential Fixes
If you accidentally put oil in your coolant reservoir, stop driving immediately. You must drain and flush the entire cooling system to prevent severe engine damage caused by overheating and lubrication failure. This mistake is fixable with careful, step-by-step cleaning.
We’ve all had those moments in the garage where our hands slip, or we grab the wrong can. If you realize you’ve mixed motor oil into your car’s bright green or pink coolant reservoir, don’t panic! This is a common, yet serious, mistake that needs immediate attention. Oil floating in the coolant system can block passageways and cause your engine to overheat very quickly.
But the good news is that fixing this is totally achievable with the right steps. We’re going to walk you through exactly how to clean this mess up safely, so you can get back on the road with confidence.
Why Mixing Oil and Coolant Is a Big Problem
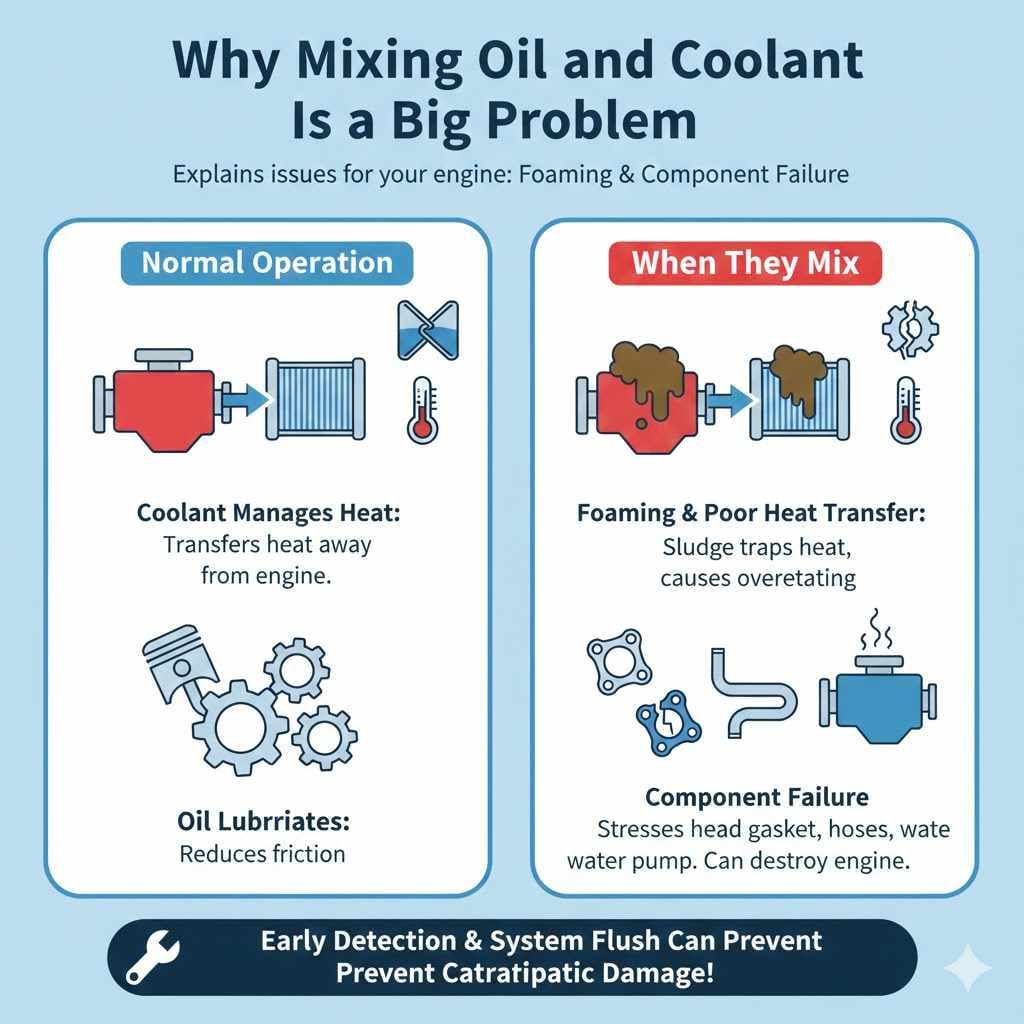
Before we grab our tools, let’s quickly understand why this mixture is bad news for your engine. Coolant (antifreeze) has one main job: to manage the heat transfer from your engine block to the radiator. Oil has a completely different job: lubricating moving parts.
When oil gets into the coolant system, it causes two major issues:
- Foaming and Poor Heat Transfer: Oil doesn’t mix well with water-based coolant. It creates a thick, sludgy film that coats the inside of the radiator and engine passages. This film acts like an insulator, trapping heat inside the engine.
- Component Failure: This trapped heat stresses the water pump, hoses, and head gasket. In severe cases, this can lead to catastrophic engine overheating, which is very expensive to repair.
The good news is that if you catch this early and stop driving, you can usually avoid major damage by performing a thorough system flush.
Immediate Action: What To Do Right Now
Safety first! If you suspect you’ve put oil in the coolant, do not start the engine or drive the car. Moving the car will circulate that oil throughout the entire system, making the cleanup much harder.
Step 1: Shut Down and Let It Cool
If the engine is running, turn it off immediately. Allow the engine to cool down completely—this can take several hours. Never open the radiator cap or coolant reservoir cap when the engine is hot; pressurized hot coolant can spray out and cause severe burns. Check the system only once the engine is cool to the touch.
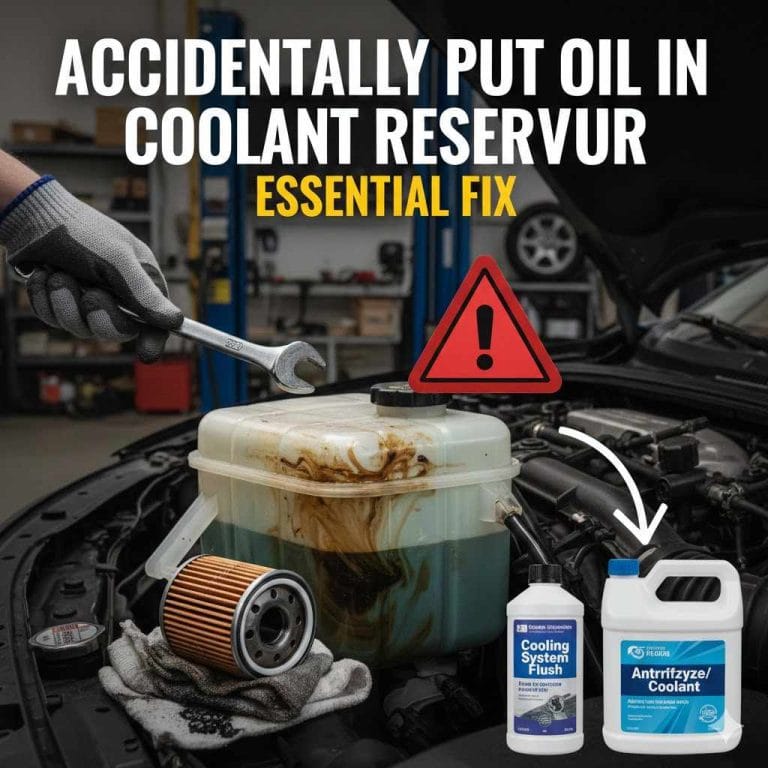
Step 2: Assess the Damage
Carefully open the cap on the coolant reservoir (usually a plastic tank near the radiator). Look inside. You will likely see one of three things:
- A thin layer of oil floating on top of the green/pink liquid.
- A thick, milky, frothy appearance (if the mix is fresh and agitated).
- The oil has already started to solidify or coat the inside of the tank.
Even if it’s just a little bit, the entire system needs cleaning. We need to remove every trace of that oil.
Tools and Supplies You Will Need
This job requires some basic tools and specific cleaning agents. Having everything ready makes the process much smoother. Remember to wear safety glasses and gloves throughout this process, as coolant is toxic.
| Tool/Supply | Purpose |
|---|---|
| Safety Gear (Gloves, Goggles) | Protect skin and eyes from chemicals. |
| Drain Pan (Large Capacity) | To safely catch all the old coolant/oil mixture. |
| Distilled Water | For final rinsing; tap water minerals can cause scale buildup. |
| New Coolant (Correct Type) | To refill the system after flushing. |
| Cooling System Flush Chemical | A dedicated cleaner to break down the oil residue. |
| Pliers or Screwdriver | To safely remove hose clamps. |
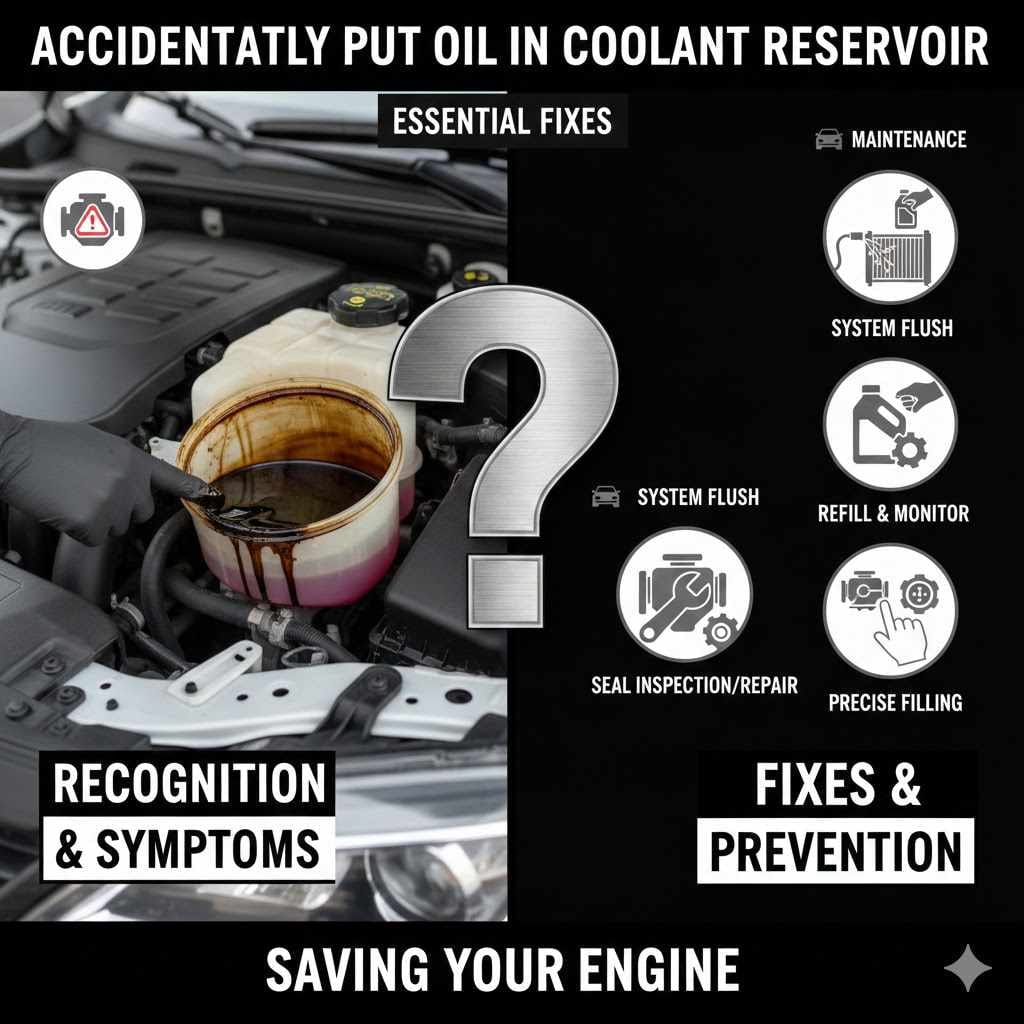
The Essential Fix: Step-by-Step System Flush
The most reliable way to fix this is a complete system flush. This process involves draining the old fluid, introducing a degreasing agent, running the engine briefly to circulate the cleaner, draining that mixture, and repeating until the system runs clean. Always check your vehicle’s specific service manual for the exact location of the radiator drain plug (petcock).
Phase 1: Draining the Contaminated Fluid
Safety Note: Coolant is toxic to pets and children. Dispose of it properly according to your local environmental regulations. Many auto parts stores accept used coolant for recycling.
- Locate the Drain Point: Find the radiator drain plug (petcock) at the bottom of the radiator, or prepare to disconnect the lower radiator hose. If you are unsure, consulting reliable resources like the SAE International technical papers on engine fluid management can provide general context, but always refer to your specific car manual first.
- Position the Pan: Place your large drain pan directly under the petcock or hose connection point.
- Open the Cap: Ensure the coolant reservoir cap is open to allow air in, which speeds up draining.
- Drain: Slowly open the petcock or carefully remove the lower radiator hose clamp and wiggle the hose off the radiator neck. Let all the oil-contaminated fluid drain completely into the pan.
- Reinstall: Securely close the petcock or reattach the lower hose, making sure the clamp is tight.
Phase 2: Introducing the Cleaning Agent
Now we use a dedicated flushing agent. Do not use dish soap or harsh detergents unless specifically recommended by the flush chemical manufacturer, as they can foam excessively.
- Fill with Water and Cleaner: Fill the radiator completely with plain water and add the cooling system flush chemical, following the instructions on the bottle for the correct ratio. Fill the reservoir as well.
- Close Up: Put the radiator cap on (or the reservoir cap, depending on your vehicle design).
- Circulate the Cleaner: Start the engine. Turn your climate control system inside the car to the highest heat setting. This opens the heater core valve, ensuring the cleaning solution reaches all parts of the cooling system.
- Run Time: Let the engine run until it reaches normal operating temperature (when the upper radiator hose gets hot and the thermostat opens). Allow it to run for the time specified on the flush chemical container (usually 10–15 minutes).
- Shut Down: Turn the engine off and let the system cool down again before proceeding to the next drain.
Phase 3: Rinsing Until Clear
This is the most crucial phase for ensuring no chemical residue or lingering oil remains. You might have to repeat this rinse process several times.
- Drain Again: Drain the hot, soapy water mixture into your designated used fluid pan.
- First Rinse (Water Only): Refill the system entirely with plain tap water (or distilled water if preferred). Run the engine up to temperature again with the heater on high. Shut down and let cool.
- Drain Rinse Water: Drain the water. Observe its color. If you see any hint of brown, gray, or oil sheen, you must repeat the rinse.
- Repeat Rinsing: Continue repeating the water-only rinse cycle (drain, refill, run hot, cool, drain) until the drained water is perfectly clear and free of bubbles or residue. This might take three to five full cycles, depending on how much oil was added.
Pro Tip for Visibility: If you have a clear overflow reservoir, it’s often easier to see the residue there. Once the fluid coming out of the drain hose is perfectly clean, you are ready for the final fill.
Finalizing the Coolant Change
Once the water runs perfectly clear, you are ready to put the correct fluid back in. This is not the time to skimp; using the wrong coolant type can cause internal corrosion.
Checking Coolant Compatibility
Modern vehicles require specific coolant formulas (e.g., OAT, HOAT, IAT). Mixing incompatible coolants can cause gelling, which leads to immediate blockages. Always refer to your owner’s manual to confirm the required coolant type and color (e.g., Dex-Cool is usually orange/red, traditional green is IAT).
| Coolant Type | Common Color | Primary Use |
|---|---|---|
| Inorganic Acid Technology (IAT) | Green | Older vehicles; requires frequent replacement. |
| Organic Acid Technology (OAT) | Orange, Red, or Pink | Newer vehicles; longer service life (up to 5 years/150,000 miles). |
| Hybrid Organic Acid Technology (HOAT) | Yellow or Orange | Mid-range vehicles; combines IAT and OAT properties. |
Refilling and Bleeding the System
After draining the final rinse water, reattach the lower hose and secure the clamp.
- Add Coolant Mixture: Slowly pour the correct, freshly mixed coolant (usually a 50/50 mixture of concentrated antifreeze and distilled water) into the radiator or reservoir until full.
- Bleed the Air: Air pockets trapped in the system cause hot spots. Start the engine with the radiator cap off (or reservoir cap slightly loose). Let it run until it reaches temperature and the thermostat opens. Watch the coolant level drop as air escapes. Top off as needed.
- Find the Bleeder Screw (If Applicable): Many engines have a small bleeder screw, often located on a hose near the engine or on the thermostat housing. If you have one, open it slightly after the engine warms up until a steady stream of coolant (no bubbles) comes out, then close it.
- Final Level Check: Once all air is out, replace the cap securely. Let the car cool down, then check the reservoir level the next morning and top off if necessary.
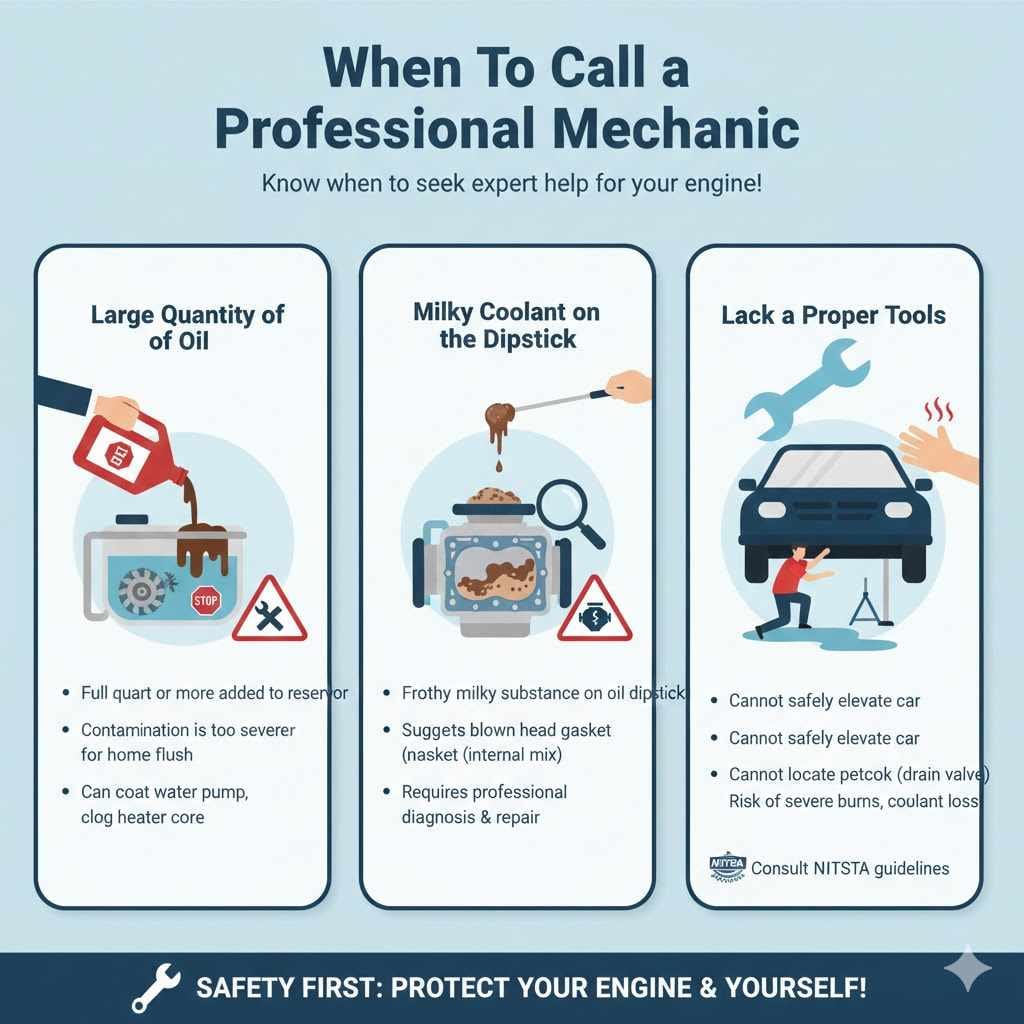
When To Call a Professional Mechanic
While this flush is manageable for most DIYers, there are times when calling a trusted mechanic is the safest bet:
- Large Quantity of Oil: If you accidentally poured a full quart or more of engine oil into the reservoir, the contamination is too severe for a simple home flush. Oil can coat the water pump impeller or clog the heater core beyond simple cleaning.
- Milky Coolant on the Dipstick: If you check your engine oil dipstick and see a milky, frothy substance there as well, this suggests a blown head gasket, meaning the oil and coolant have mixed internally. This requires professional diagnosis and repair.
- Lack of Proper Tools: If you cannot safely elevate the car or cannot locate the petcock, forcing the job can lead to severe burns or significant coolant loss onto the ground.
When dealing with serious internal engine issues, consulting reputable consumer resources like the National Highway Traffic Safety Administration (NHTSA) guidelines on vehicle maintenance is always a good safety measure.
Frequently Asked Questions (FAQ)
Q1: How much oil does it take to ruin my coolant system?
A: Even a small amount, like a few ounces, is enough to cause issues. The problem isn’t the volume, but the film it creates that stops heat transfer. Any amount requires a flush to be safe.
Q2: Can I just siphon out the oil from the top?
A: Siphoning the top layer might remove some oil, but the oil will immediately mix back in as soon as you start the engine. The only safe way is to drain the entire system completely.
Q3: How long does it take to do a full flush?
A: A thorough, multi-rinse flush can take anywhere from three to five hours, depending on how many cycles are needed to get the rinse water totally clean, plus the time needed for the engine to cool down between cycles.
Q4: What happens if I drive with oil in the coolant?
A: You risk rapid overheating. This can warp the cylinder head, blow the head gasket, or cause the engine to seize due to excessive internal temperatures. It is not worth the risk.
Q5: Can I use simple water to flush out the oil?
A: Plain water can rinse out some oil, but a dedicated cooling system cleaner is highly recommended. These cleaners contain surfactants designed to break down petroleum residues, making the oil much easier to wash away.
Q6: Is it safe to reuse the old coolant if I siphon the oil out?
A: No. Coolant breaks down over time and loses its anti-corrosion properties. Once oil contaminates it, the fluid is compromised regardless of how much oil you manage to remove. Always replace it with fresh fluid.
Conclusion: Confidence Restored After the Cleanup
Accidentally introducing engine oil into your coolant reservoir feels like a major disaster when it happens, but by staying calm and following a methodical flush procedure, you can absolutely resolve it yourself. Remember, the key to success lies in patience—especially during the rinsing phase.
Keep flushing until the water runs perfectly clear, and then refill only with the manufacturer-specified coolant type mixed correctly with distilled water. By taking these necessary, hands-on steps, you’ve protected your engine from overheating damage and learned a valuable lesson in vehicle maintenance. You’ve got this!