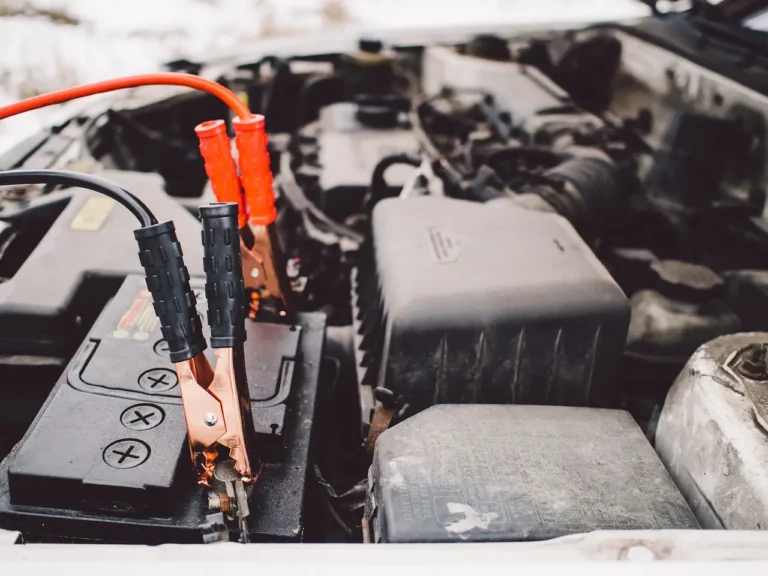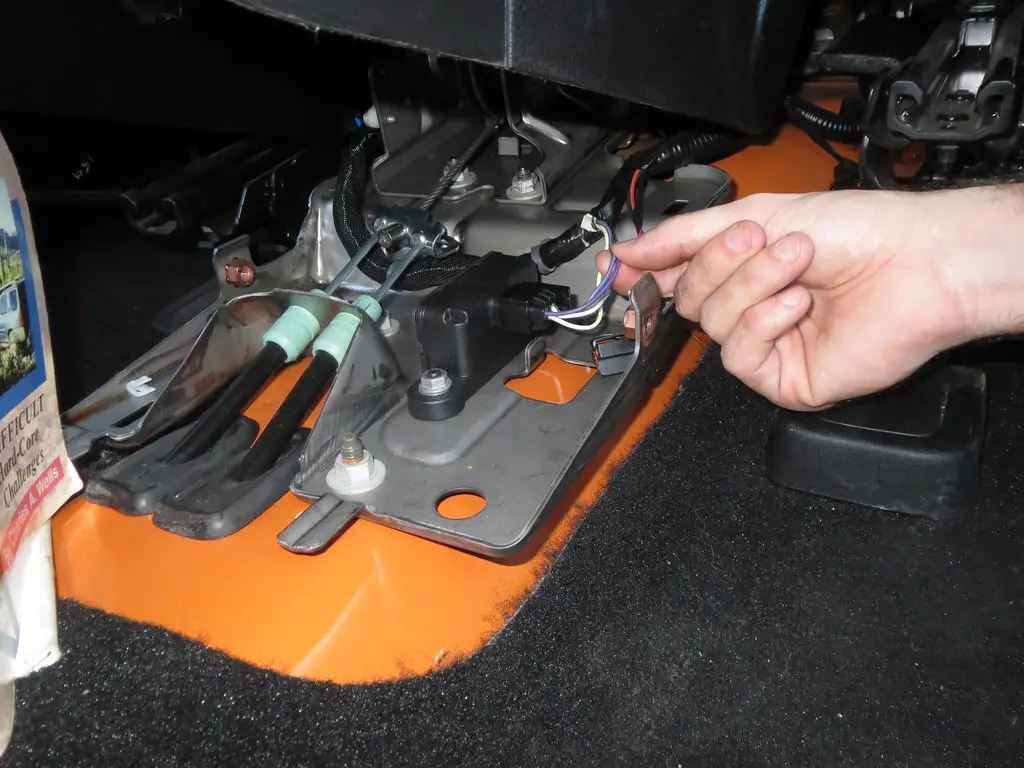
When to Repair Car Wiring vs Replace the Full Harness
Repair wiring when damage stays in one or two reachable conductors, terminals, or a short loom section; replace the loom when heat, corrosion, rodent damage, or prior splices hit multiple circuits or sealed branches. Bad calls can turn a no-start, intermittent fault, blown fuse, or electrical fire into a bigger repair bill fast. This guide breaks damage into repair, partial loom repair, and full-loom replacement by symptom, location, and access.
This guide is part of our Car electrical troubleshooting guide series.
| Factor | When to repair car wiring | replace the harness | Winner |
|---|---|---|---|
| Damage scope | Best when damage stays in one or two reachable conductors, terminals, or a short accessible branch. | Best when multiple conductors, sealed branches, or damage spread through the loom. | Tie |
| Heat and corrosion condition | Works when insulation is intact outside the fault point, copper is clean, and nearby wires test normal. | Preferred when insulation is melted, jackets are brittle, green corrosion is present, or heat-damaged connectors show wider damage. | replace the harness |
| Recurrence risk | Appropriate when the fault is one-time and traceable to a clear physical break. | Better when the same fuse, short, or open keeps returning after prior repairs. | replace the harness |
| Access and labor | Best for open routing, visible splice points, and simple branch repairs. | Better for buried loom, dash wiring, firewall pass-through, or multi-pin connector damage. | Tie |
| Cost and time | Usually lower parts cost and shorter labor. | Usually higher parts cost and longer labor. | When to repair car wiring |
| Best-fit use | Repair is the right call when the fault is local, the copper is sound, and the nearby loom still passes continuity and short checks. | Replacement wins when the damage is no longer local and piecemeal repair would become a chase instead of a fix. | replace the harness |
| Single-wire vs multiple-conductor damage | Best when the problem is a single wire with good copper on both sides of the break. | Better when two or more conductors are damaged or the loom has been scraped flat across a long run. | Tie |
| Branch or connector damage | Can be used for an open, visible run or a branch that can be repaired, rewrapped, and routed properly. | Often the cleaner answer when damage reaches connector bodies, sealed sections, or the connector is heat-damaged or loose. | replace the harness |
| Performance and reliability after repair | Can restore continuity if the conductor is bright, flexible, and continuous after a clean cut back to good material. | More likely to restore new routing and new branch integrity when the loom has hidden weak spots, heat spread, or corrosion. | replace the harness |
| Partial repair vs full-loom replacement | Use a section repair when the branch is damaged but the rest of the loom tests clean. | Use full replacement when multiple circuits, heat spread, green corrosion, repeated shorts, or sealed loom failure are present. | replace the harness |
When can you repair car wiring instead of replacing the loom?
Repair is the right call when the fault is local, the copper is sound, and the nearby loom still passes continuity and short checks. That usually means one broken conductor, a clean cut, a single burned terminal, or a short branch with no spread into adjacent wires.
Single-wire damage versus multiple conductors
A splice repair works best when the problem is a single wire with good copper on both sides of the break. If two or more conductors are damaged, or if the loom has been scraped flat across a long run, a section repair is usually safer than stacking several splices into the same area.
Where the damage sits: open area, branch, or connector end
An open, visible run is the easiest case. A branch that splits into several circuits is harder, because the repair has to protect every leg of that branch and keep routing close to factory shape. Damage at a connector end often pushes the job toward depinning, terminal repair, or replacement of that connector body.
Signs the repair is still unsafe after a splice
A repaired wire is not automatically safe if the insulation beside it is hard, cracked, or heat-marked. If the loom still has loose strands, charred tape, or a connector that runs hot, the fault may be wider than the visible break. That is when the splice becomes a bandage on a larger failure.
According to How to Replace a Wiring Harness: A Step-by-Step Guide… — A simpler engine bay harness might take a skilled DIYer 4-6 hours.
Damage-severity decision table: repair, section repair, or replace

This is the field rule set. Count conductors, inspect heat and corrosion, and judge recurrence before choosing the fix. If the damage crosses into sealed branches or connector bodies, the decision usually moves away from a single splice.
| Tier | Damage pattern | Best use case | Sample cost | Sample time | Winner |
|---|---|---|---|---|---|
| Tier 1: repair a single wire | 1 conductor, no spread, no connector melt, no hidden corrosion | Accessible open run, clean cut, rodent bite on one wire, one broken strand path | $25 to $125 | 30 minutes to 2 hours | Repair |
| Tier 2: repair a branch or loom section | 2 to 6 conductors in one branch, minor adjacent jacket damage, terminals still usable | Short section in engine bay or body loom where the loom can be opened and resealed | $100 to $400 | 2 to 6 hours | Repair section |
| Tier 3: replace the full loom | Multiple circuits, heat spread, green corrosion, repeated shorts, connector damage, sealed loom failure | Damage extends into a major run, dash wiring, firewall pass-through, or several branches | $250 to $3,000+ | 4 to 16 hours | Replace |
Tier 1: repair a single wire
This tier wins when the fault is obvious and isolated. A splice repair should preserve wire gauge, keep insulation integrity, and finish with heat shrink tubing or proper loom sealing so moisture and abrasion do not start the failure again.
Tier 2: repair a branch or loom section
Use this when the branch is damaged but the rest of the loom tests clean. The labor rises because the branch has to be opened, rebuilt, rewrapped with wire loom tape, and routed so it does not rub on brackets, hot surfaces, or moving parts.
Tier 3: replace the full loom
Full replacement wins when the damage is no longer local. A wiring loom is the vehicle’s electrical network, and some looms contain over 1,500 individual wires; if the defect is spread through sealed sections, piecemeal repair becomes a chase instead of a fix.
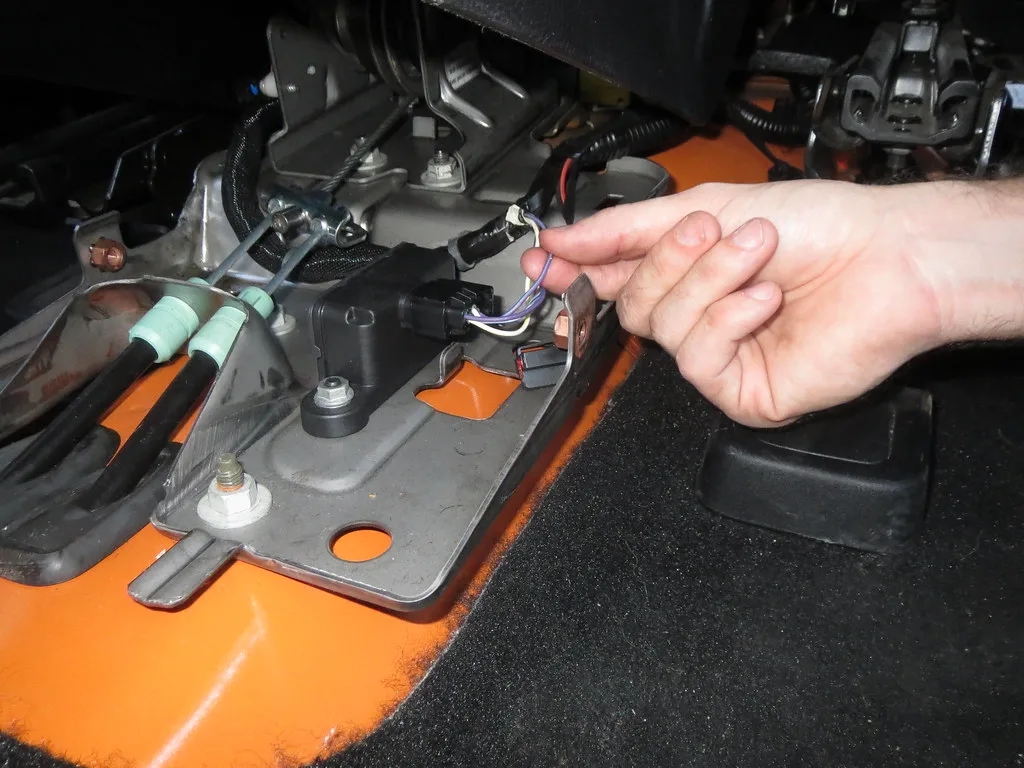
What damage means the whole loom should be replaced?
Replace the loom when the damage is spread, repeated, or hidden inside sections you cannot trust. Heat damage, corrosion inside the loom, recurring faults after prior repair, and connector destruction are all signs that the remaining loom may fail again soon.
Heat damage and melted insulation
Melted insulation is a red flag because heat rarely stops at the first damaged wire. Nearby conductors can be softened, their jackets can stick together, and terminal tension can be weakened even when they still look usable. That is why a branch with burn marks often needs more than a simple splice.
Corrosion inside the loom or at terminals
Green corrosion on copper or terminals tells you moisture has already moved through the system. If corrosion is visible at a connector, it often continues farther into the branch than the eye can see. A cleaned end may work for a while, then fail again under vibration or load.
Repeated faults after earlier repairs
When the same fuse blows again, or the same sensor drops out after a previous repair, the fault may be elsewhere in the loom. Repeated recurrence usually means the original fix did not find the full damage path, or the loom has more than one weak spot.
Connector and terminal damage
Connector damage is the point where repair often stops being efficient. If the plastic is heat-formed, the terminals are loose, or a multi-pin connector has arc damage, a splice on the wire alone may not restore contact quality. In those cases, loom replacement or a connector-end repair is the cleaner answer.
Can brittle insulation or corrosion be repaired safely?
Brittle insulation and corrosion can be repaired only when the copper is still trustworthy and the damage is truly local. If the jacket cracks along the wire or the copper is dark and pitted, the safe choice is usually to replace a longer section or the full loom.
When the copper can still be trusted
A repair is acceptable when the conductor is bright, flexible, and continuous after a clean cut back to good material. The splice should be mechanical first, then sealed with heat shrink tubing, because exposed copper and taped joints fail early in wet or vibrating locations.
When adjacent wires should be treated as suspect
If one wire is brittle, the neighbors may be aging the same way. That matters most in engine-bay looms, where heat cycles harden insulation faster than in the cabin. A single visible failure in a heat-soaked branch can justify opening and testing the entire nearby section.
Why some old looms fail again after a patch
Old looms often fail where the insulation has already lost flexibility. A patch may restore continuity today, but the next vibration event can crack the jacket beside the splice or pull the repaired wire against a sharp edge. That is why the surrounding route has to be checked, not only the break point.
How much does repair compare with loom replacement?
Repair is usually cheaper and faster when the defect is local. Replacement costs more because it buys new routing, new branch integrity, and fewer hidden surprises, especially when the existing loom has heat, corrosion, or multiple prior repairs.
Typical cost and time for a splice repair
A single-wire splice repair is the lowest-cost option because it uses limited parts and limited labor. In an open area, the job can be done in a short window; in a cramped engine bay, the same repair can take longer because access, tracing, and retesting consume time.
Typical cost and time for a branch or section repair
A branch repair costs more because the tech has to open the loom, repair several conductors, rewrap the section, and verify nearby circuits. It is still cheaper than a full loom swap when the damage stays inside one branch and the connectors survive.
Typical cost and time for OEM, aftermarket, and salvage replacement
A full replacement can range from a simpler engine bay loom that might take a skilled DIYer 4-6 hours to a full vehicle wiring loom that can take a professional 8-16 hours to replace. OEM looms are described as a guaranteed perfect fit with correct connectors and wire gauges, but cost $500 to $3,000+; aftermarket looms run $250 to $1,500; salvage yard looms run $100 to $600.
How do you inspect whether damage is localized or spread through the loom?
Start by disconnecting the battery and giving modules time to power down; a modern car may need 15 minutes after battery disconnect. Then inspect for damage from the point of failure outward, because the visible bite mark, rub spot, or burn mark is often smaller than the real problem.
Using a digital multimeter for continuity and shorts
A digital multimeter is the basic diagnostic tool for this job. Use it to check continuity, verify grounds, and look for shorts to power or ground. If a wire passes continuity but fails under load, the copper may be partially broken or the connector may be the real fault.
Checking grounds, connectors, and routing points
Every inspection should include grounds, connector shells, and places where the loom touches brackets or passes through grommets. Pinching and chafing often happen at those points, and a repair that ignores them is likely to come back with the same symptoms.
Looking for pinches, chafing, and heat spread
Heat spread leaves a wider footprint than the damaged wire itself. Look for glossy insulation, warped tape, stiff branches, and nearby conductors with brittle jackets. If several wires share the same heat path, the branch is usually a better repair unit than a single conductor.
Watching for rodent damage beyond the obvious bite marks
Rodent chewing rarely stops at one wire. Search beyond the visible damage for shredded loom, missing insulation, and droppings around connectors or box sections. A clean bite on one wire with untouched neighbors is repairable; scattered chewing in the same area often means the branch is already compromised.
Which loom replacement option should you buy?
Choose the loom type that matches the vehicle’s connector layout, routing, and budget. OEM fits best and is the safest choice when the job is already big; aftermarket saves money but may need modifications; salvage is cheapest but carries the most uncertainty.
OEM loom: fit and routing match
OEM looms fit the vehicle’s connectors and wire gauges by design, and they include factory routing clips. That makes them the best choice when the old loom is deeply damaged or when the vehicle has many electronic modules that need exact pinout matching.
Aftermarket loom: lower cost, possible modification
Aftermarket looms, including vehicle-specific and universal options from vendors like Painless Performance and American Autowire, can save money. The tradeoff is fit. Some need trimming, repinning, or different routing decisions, so they are best when the installer can verify every circuit before power-up.
Salvage yard loom: low cost, higher risk
A salvage yard loom is the cheapest direct-fit path, but it comes with pre-existing corrosion and no warranty. It can make sense for older vehicles with low parts availability, yet the buyer has to inspect every connector, terminal, and branch as if the loom were already a used component with unknown history.
Choose when to repair car wiring if…
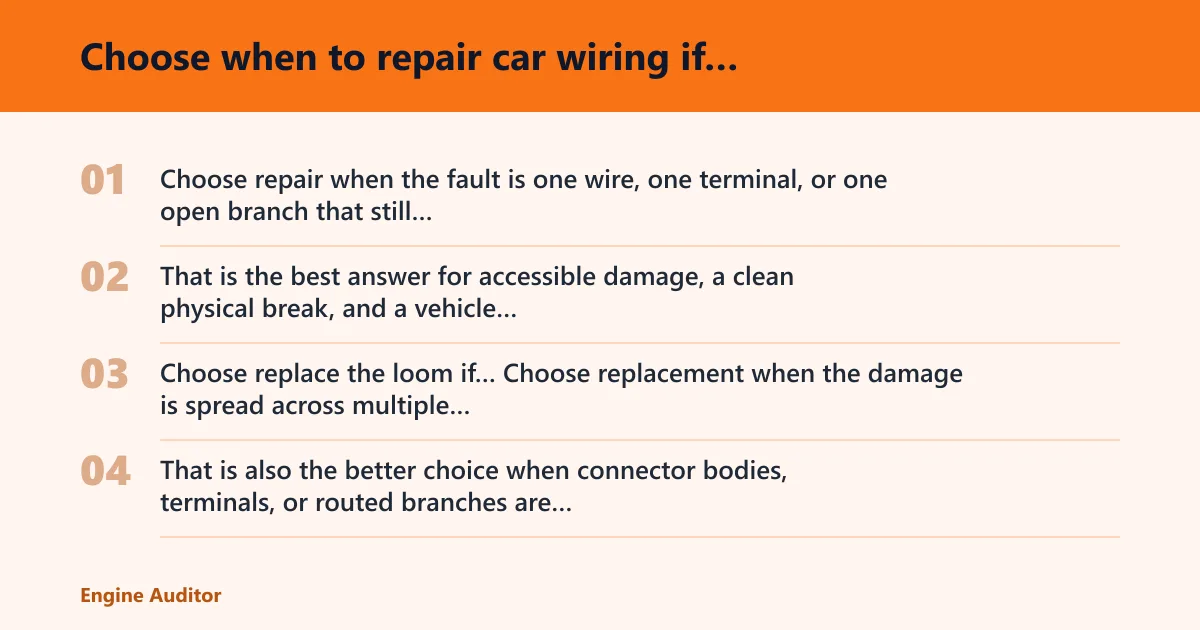
Choose repair when the fault is one wire, one terminal, or one open branch that still has healthy insulation around it. That is the best answer for accessible damage, a clean physical break, and a vehicle where the rest of the loom tests normal on a multimeter.
Choose replace the loom if…
Choose replacement when the damage is spread across multiple conductors, the insulation is brittle or melted, corrosion is inside the loom, or the same fault keeps returning after repair. That is also the better choice when connector bodies, terminals, or routed branches are heat-damaged and no longer trustworthy.
Frequently asked questions
When is it safe to splice car wiring instead of replacing the loom?
It is safe to splice when the damage is isolated to one or two accessible conductors, the copper is clean, and the surrounding insulation is intact. The splice should preserve wire gauge and be sealed with heat shrink tubing or proper loom sealing so moisture and abrasion do not restart the fault.
What wiring damage means the whole loom should be replaced?
Replace the whole loom when heat damage, green corrosion, melted insulation, repeated shorts, or connector damage extends beyond one point. If the same fault keeps returning after an earlier repair, the loom likely has hidden damage that a simple splice will not cure.
How much does it cost to repair car wiring versus replace a loom?
A single-wire repair is usually the cheapest path, while a branch repair costs more because it involves more conductors and resealing work. Full replacement is far higher, with OEM looms listed at $500 to $3,000+, aftermarket at $250 to $1,500, and salvage yard looms at $100 to $600.
Can a car wiring loom be repaired if the insulation is brittle or corroded?
Only sometimes. If the copper is still bright and flexible, a localized repair may hold. If the insulation is cracking, the copper is dark, or corrosion is visible at the terminals and nearby wires, the safer move is usually a larger section repair or full replacement.
How long does it take to replace a wiring loom?
A full vehicle wiring loom can take a professional 8-16 hours to replace. A simpler engine bay loom might take a skilled DIYer 4-6 hours, but that still assumes the connectors, routing, and ground points are straightforward and the old loom comes out cleanly.
What tools are needed to inspect car wiring damage?
Use a digital multimeter for continuity and shorts, a connector depinning tool for multi-pin connectors, heat shrink tubing for repaired conductors, wire loom tape for branch resealing, and a Class C electrical fire extinguisher within arm’s reach. Battery disconnect and photo documentation should happen before any probing or disassembly.
Products related to this article
Sponsored / affiliate links. As an Amazon Associate I earn from qualifying purchases. I may earn additional commission from eligible campaigns.