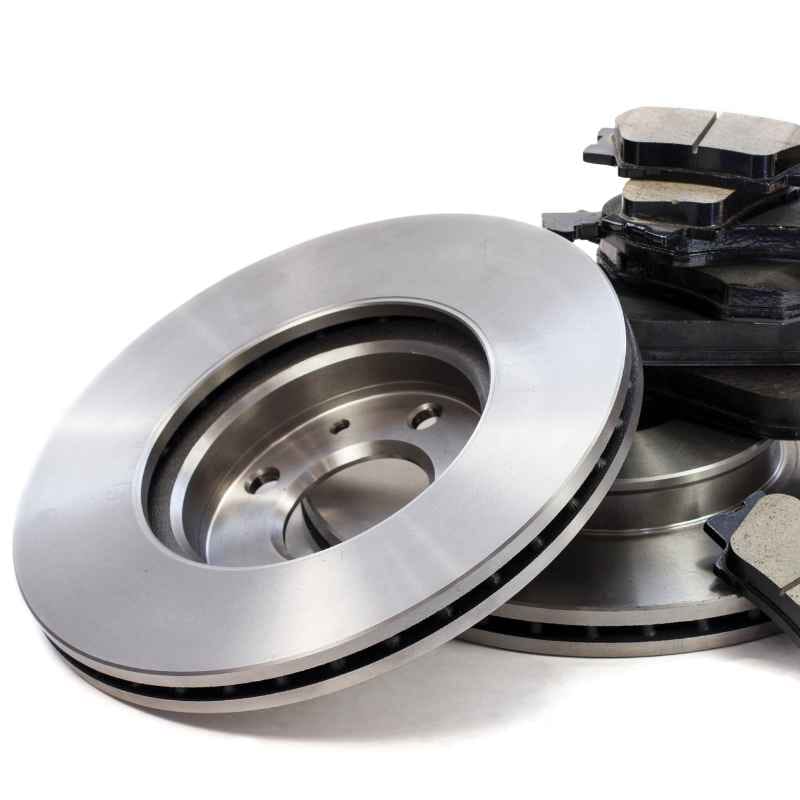
How to Make Car Brakes Stop Squeaking for Good
Making car brakes stop squeaking is a common challenge for vehicle owners who want a safe and quiet ride. This comprehensive guide walks you through the exact steps to diagnose and fix brake noise permanently, whether you have worn pads, glazed rotors, or simply need proper lubrication.
Simply put, most brake squeaks are caused by worn brake pads, lack of lubrication at contact points, or glazed rotors. The permanent fix involves inspecting the pads and rotors, cleaning all metal surfaces with brake cleaner, applying high-temperature brake lubricant, and replacing any worn components like brake pads or rotors.
Key Takeaways
- Stop brakes squeaking by first identifying the root cause through visual inspection and sound analysis.
- Brake noise often comes from vibration between the pad and caliper, easily fixed with proper lubrication and new shims.
- Worn brake pads or warped rotors require immediate replacement to ensure safety and silence.
- Using the correct high-temperature brake lubricant is critical for long-lasting results.
What Causes Car Brakes to Squeak?
Brake noise is primarily caused by high-frequency vibration between the brake pad and the rotor. When the pad material hardens or glazes over from excessive heat, it loses its ability to grip smoothly and starts to vibrate against the rotor surface.
Several factors contribute to this annoying squeaking sound:
- Glazed Brake Pads: Excessive heat hardens the pad surface, creating a shiny, glass-like layer that vibrates against the rotor.
- Worn Brake Pads: The built-in wear indicators (metal tabs) scrape against the rotor to alert you that replacement is needed.
- Lack of Lubrication: Metal-to-metal contact at the caliper contact points causes vibration and noise during braking.
- Thin or Missing Shims: Shims act as a buffer between the pad and caliper piston, dampening vibration.
- Warped or Uneven Rotors: Thickness variation in the rotor causes the pads to jump and vibrate during braking.
- Environmental Factors: Moisture, dust, and road salt can create a temporary squeak that usually fades after a few stops.
| Cause | Primary Symptom | Recommended Fix |
|---|---|---|
| Glazed Pads | High-pitched squeal during light braking | Sand pad surface or replace pads |
| Wear Indicators | Constant squealing, stops when braking hard | Replace brake pads immediately |
| Dry Contact Points | Squeak or creak at low speeds | Apply brake lubricant |
| Warped Rotors | Vibration in the steering wheel or pedal | Resurface or replace rotors |
| Loose Components | Rattling or clicking noise | Tighten caliper bolts and hardware |
Understanding the root cause of your specific brake squeak is the first step toward a permanent solution. Each cause requires a slightly different approach to fix effectively.
How to Diagnose the Type of Squeak
Not all brake noises are the same. Your car is telling you exactly what is wrong through the sound it makes. Learning to identify the specific type of noise will save you time and money on unnecessary repairs.
Here is how to diagnose brake noise by sound:
- Intermittent Squeal: A high-pitched noise that only happens in the morning or after rain. This is usually surface rust or moisture and often goes away after a few stops.
- Constant Squealing: A continuous metal-on-metal scraping sound while driving, even without braking. This is a classic sign of fully worn brake pads and the wear indicator digging into the rotor.
- Grinding Noise: A deep, rough sound when braking. This indicates the brake pad material is completely gone, and the metal backing plate is grinding against the rotor. Stop driving immediately.
- Clicking or Rattling: A loose sound coming from the caliper area. This suggests missing hardware, worn caliper guides, or loose shims that need attention.
- Squeak When Reversing: Often caused by a change in direction of the pad against the rotor, highlighting a lubrication issue on the back of the pads or worn hardware.
Warning: If you hear a constant grinding noise, do not drive the vehicle. Driving with metal-on-metal contact can destroy the rotors and compromise the calipers, leading to a much more expensive repair and a dangerous safety hazard.
Once you have identified the type of noise, you can move forward with the correct repair procedure.
What You Need to Fix Squeaky Brakes
To successfully stop brakes from squeaking, you need the right tools and materials. Using the wrong lubricant or skipping the proper cleaning steps will lead to the noise returning quickly after just a few miles.
Here is a complete list of what you will need:
| Item | Purpose |
|---|---|
| Brake Cleaner (Spray) | Removes dust, grease, and oil from rotors and pads |
| High-Temperature Brake Lubricant | Prevents vibration at contact points |
| Jack and Jack Stands | Safely lift and support the vehicle |
| Lug Wrench | Removes the wheels |
| C-Clamp or Caliper Compression Tool | Compresses the caliper piston for new pads |
| Wire Brush | Cleans rust and debris from caliper brackets |
| New Brake Pads (if worn) | Replaces worn friction material |
| New Rotors (if warped/thin) | Provides a smooth surface for the pads |
Gathering these items beforehand will make the job smoother. Never use standard anti-seize or grease on brake components, as they will burn off and create a mess that attracts more dust.
Step 1: Inspect the Brake Pads and Rotors
Before you start replacing parts, you need to see what is happening inside the caliper. A thorough visual inspection will tell you if the pads are worn out or if the rotor surface is damaged beyond repair.
Follow these steps for a proper inspection:
- Securely lift the vehicle and remove the wheel.
- Look through the top of the caliper to see the outer brake pad. It should have at least 3-4mm of friction material left.
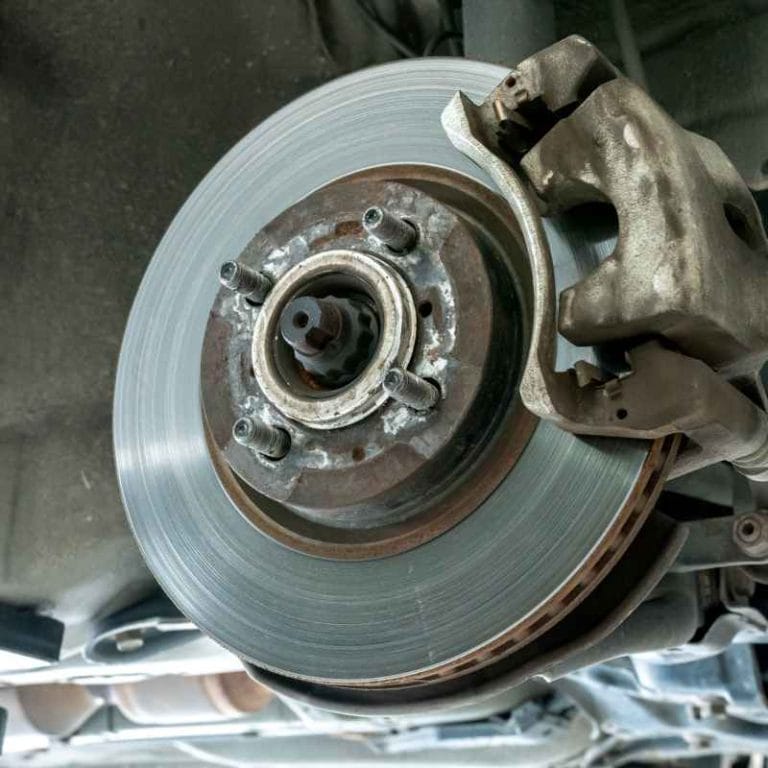
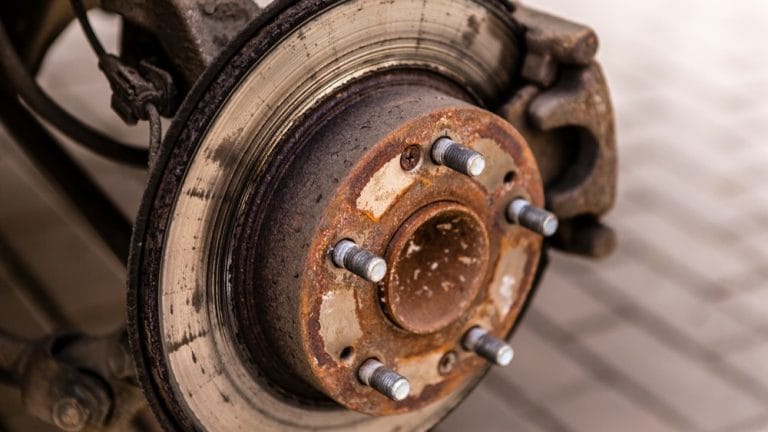
- Inspect the rotor surface. It should be smooth and have a consistent silver color. Deep grooves, blue discoloration from heat, or a thick lip on the edge indicate the rotor needs replacement.
- Check the inner pad. Sometimes one pad wears faster than the other. Compare both sides and pay attention to uneven wear patterns.
- Look for any rust buildup on the caliper bracket or the edges of the pad backing plate.
Important: Measure the rotor thickness using a micrometer. If it is below the minimum thickness stamped on the rotor edge, it must be replaced. Reusing rotors below spec is dangerous and will cause poor braking performance and persistent noise.
If your pads are thin or your rotors are warped, replacement is the only reliable way to fix brake squeaking. If the pads have material but are making noise, proceed to cleaning and lubrication.
Step 2: Clean and Lubricate the Brake Components
Most brake squeaks are caused by vibration at the contact points. When the caliper clamps the pad, any microscopic movement between the pad and the caliper bracket creates a high-frequency noise that drives you crazy.
Here is the exact procedure to stop brakes squeaking with lubrication:
- Remove the brake pads from the caliper bracket carefully.
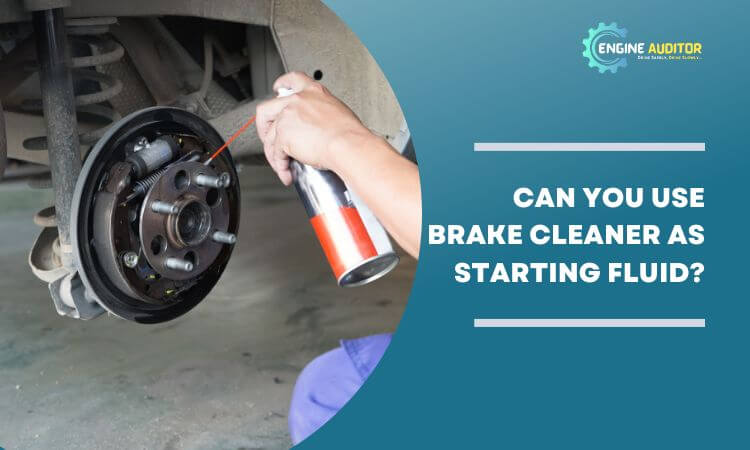
- Spray brake cleaner on the pads, the caliper bracket, and the rotor. Let it dry completely. Do not touch the rotor surface with your hands after cleaning.
- Use a wire brush to remove rust from the caliper bracket where the pads slide.
- Apply a thin layer of high-temperature brake lubricant to the following areas:
- The edges of the pad backing plate where it sits in the bracket.
- The back of the brake pads where the caliper piston pushes.
- The caliper guide pins if applicable to your vehicle.
- Reinstall the pads and caliper. Pump the brakes before driving to reseat the piston.
Tip: Apply lubricant sparingly. Excess lubricant can squeeze out and contaminate the rotor surface, which will cause a different type of noise and reduced braking power. A little goes a long way toward a quiet brake system.
Proper lubrication absorbs the micro-vibrations that cause squeaking. This step alone fixes around 60-70% of all non-wear-related brake noise complaints, making it the most cost-effective repair you can do.
Step 3: Replace Worn Brake Pads and Rotors
If cleaning and lubricating did not solve the problem, or if your pads were below 3mm, replacement is the next step. Installing new pads and rotors is the most effective way to eliminate brake noise permanently and restore full stopping power.
When choosing replacement parts, consider the material carefully:
| Pad Material | Noise Level | Dust Level | Best For |
|---|---|---|---|
| Organic | Low | Low | Daily commuters, light duty |
| Ceramic | Low-Moderate | Low | Premium street use, clean wheels |
| Semi-Metallic | Moderate-High | High | Towing, performance, heavy-duty |
For most passenger vehicles, ceramic pads offer the best balance of low noise, low dust, and good stopping power. Always replace rotors and pads as a set. If you replace the pads but leave the old rotors, the new pads will not properly mate with the worn rotor, often leading to persistent brake squeak and reduced braking efficiency.
How to Bed in New Brake Pads Correctly
The bed-in process, also called burnishing, is a critical step that many DIYers skip. It transfers a thin layer of pad material onto the rotor surface, which creates maximum friction and stops noise from developing later.
Follow this exact bed-in procedure to prevent brakes from squeaking:
- Find a safe, empty road where you can drive without traffic.
- Accelerate to about 40 mph.
- Brake firmly and smoothly down to 5 mph. Do not come to a complete stop.
- Accelerate back to 40 mph and repeat the braking process.
- Repeat this cycle 8-10 times. The brakes will get hot and may smell slightly. This is normal.
- After the final run, drive for 5-10 minutes without using the brakes to allow them to cool down.
Warning: Do not come to a complete stop while the brakes are hot. Holding the brake pedal down when the pads are hot can transfer uneven pad material to the rotor, causing a shudder and a permanent squeak. Park the car and let the brakes cool completely before engaging the parking brake.
Properly bedding in your brakes ensures the pad and rotor mate perfectly. This step is essential for long-term quiet operation and maximum braking performance that you can rely on.
Common Mistakes to Avoid When Fixing Brakes
Even experienced mechanics make mistakes that lead to brake noise. Avoiding these common pitfalls will save you from having to redo the job and spending more money on parts.
- Not cleaning the hub: Rust between the wheel and the rotor hub can cause a wobble that produces noise and vibration.
- Skipping the lubricant: Installing pads dry is the number one cause of post-replacement squeak that comes back within days.
- Using too much lubricant: Excess lubricant on the rotor surface causes noise and fading during hard braking.
- Mixing pad materials: Never use different brands or types on the left vs right axle. This causes uneven braking.
- Forgetting the anti-rattle clips: These clips hold the pads tight and prevent vibration during driving.
| Mistake | Resulting Problem |
|---|---|
| Reusing old hardware | Rattling and uneven pad wear |
| Not torquing lug nuts | Warped rotors and vibration |
| Ignoring the wear indicator | Damaged rotors and expensive repairs |
| Failing to pump pedal after install | Brake pedal goes to the floor, risk of accident |
Taking your time and following a systematic approach will ensure you make car brakes stop squeaking reliably and safely without having to revisit the job.
Frequently Asked Questions
Why do my brakes squeak even after replacing the pads?
This usually happens when the rotors are not replaced or resurfaced, or when the contact points are not lubricated. Old rotors have a worn pattern that will not mate correctly with new pads. Also, if the shims or hardware were not replaced, vibration can persist and cause the same noise.
Can I use WD-40 to stop brake squeak?
No. WD-40 is a solvent and light lubricant that will burn off immediately due to the heat generated by braking. It can also contaminate the rotor surface, drastically reducing stopping power.
Always use a dedicated high-temperature brake lubricant for this job.
Is it safe to drive with squeaky brakes?
It depends on the type of squeak. If it is a high-pitched squeal from dust or moisture, it is usually safe. However, if you hear grinding or a constant metal-on-metal sound, the brake pads are likely completely worn out, and driving is dangerous and could cause further damage.
How much does it cost to fix squeaky brakes at a shop?
Professional diagnosis and repair typically costs between $150 and $300 per axle for pad replacement. If rotors need replacement, the cost increases to $300-$600 per axle. Doing it yourself costs roughly $50-$100 for parts and lubricant, saving you significant money.
Will brake pad shims stop the squeaking?
Yes, shims are very effective at dampening vibration between the brake pad and the caliper piston. Many premium brake pads come with shims pre-installed. Adding shims to pads that lack them can significantly reduce noise and improve braking comfort.
Final Thoughts
Stopping car brakes from squeaking is a straightforward process if you follow a systematic approach. Start with a thorough inspection, always clean and lubricate the contact points, and never skip the bed-in procedure for new parts. By addressing the root cause rather than the symptom, you can enjoy quiet, reliable braking for thousands of miles ahead. See also stiff brake and car won’t start here’s what’s wrong.
Products related to this article
Sponsored / affiliate links. As an Amazon Associate I earn from qualifying purchases. I may earn additional commission from eligible campaigns.
 BOSCH BC905 QuietCast Premium Ceramic Disc Brake Pad Set - Rear | Compatible with Select Infiniti; Nissan 350Z, 370Z, Altima, Juke, Maxima, Murano, Pathfinder, Quest, Rogue, Sentra + More
 R1 Concepts Front Brake Kit Fits 2017-2020 Hyundai Elantra | Ceramic Pads, Blank eLINE Rotors| Hardware| 11.0" Front