What Pressure Radiator Cap Do I Need?
Use the radiator cap pressure rating specified by the vehicle maker or cooling-system builder, and never exceed the lowest-rated hose, radiator, or overflow-tank component. The wrong cap can cause coolant loss, overheating, tank damage, or weak heater performance. This guide shows how to identify the correct cap by pressure, neck style, and system layout before you buy it.
How to choose the right radiator cap


Use the cap specified for the exact cooling system: correct pressure rating, correct neck style, and the correct mounting location. Pressure alone is not enough. OEM service information and cap makers such as Motorcraft, Gates, and Dorman consistently tie cap choice to the application, because a cap that seals the wrong neck or opens at the wrong pressure changes boil-over behavior and can create new problems.
A radiator cap is a pressure-rated sealing cap with a spring and relief valve. It keeps the system sealed until pressure reaches its set point, then allows excess coolant to move into the overflow tank. That controlled pressure raises coolant boiling point, but only within the limits of the radiator, hoses, and the vehicle’s design. Service references from OEM manuals and cap manufacturers describe that pressure control as the core function of the cap.
Radiator cap decision table
| Cooling-system setup | What to check first | What to buy or verify | When to stop and confirm |
|---|---|---|---|
| Factory radiator-mounted cap | OEM cap part number, neck depth, sealing lip, psi rating | Cap style that matches the radiator neck and the exact OEM pressure rating | Stop if the old cap is missing, the neck is damaged, or the catalog lists more than one cap for the same vehicle |
| Overflow- or expansion-tank system | Whether the cap belongs on the tank, not the radiator | Correct tank cap style and pressure rating for that system design | Stop if the radiator has no filler neck or the vehicle uses a remote reservoir with a different cap shape |
| Aftermarket radiator | Neck diameter, cap depth, seal surface, and whether the radiator changes the original cap fit | Cap that matches the actual neck and still meets OEM pressure spec | Stop if the radiator instructions call for a different cap or a different fill point |
| Swapped engine or mixed parts | Engine family, hose routing, thermostat housing, and filler location | Cap selected from the exact cooling-system layout, not from the chassis alone | Stop if the parts catalog and the installed hardware disagree |
| Unknown cap or no label | Service manual, parts catalog, or OEM cap number | Verified cap by application, style, and pressure rating | Stop if you can only guess from appearance or generic psi advice |
Replacement caps are usually rated 13-16 psi, but that range is not a buying shortcut. The right figure still comes from the application. Many OEM manuals and aftermarket catalogs show common bands in that neighborhood, but the cap still has to match the exact system. Some vehicles use a conventional radiator cap, while others use a cap on a remote tank, and the cap must match that design before pressure is considered.
Say your sedan has a radiator-mounted cap and the old cap is missing. You still should not buy the first 16 psi cap on the shelf. If the catalog calls for a different neck style or a lower rating, the wrong cap can change when coolant moves to the overflow tank and can trigger boil-over sooner. That is why OEM fitment guidance matters more than the number printed on the package.
How to match the cap to the system
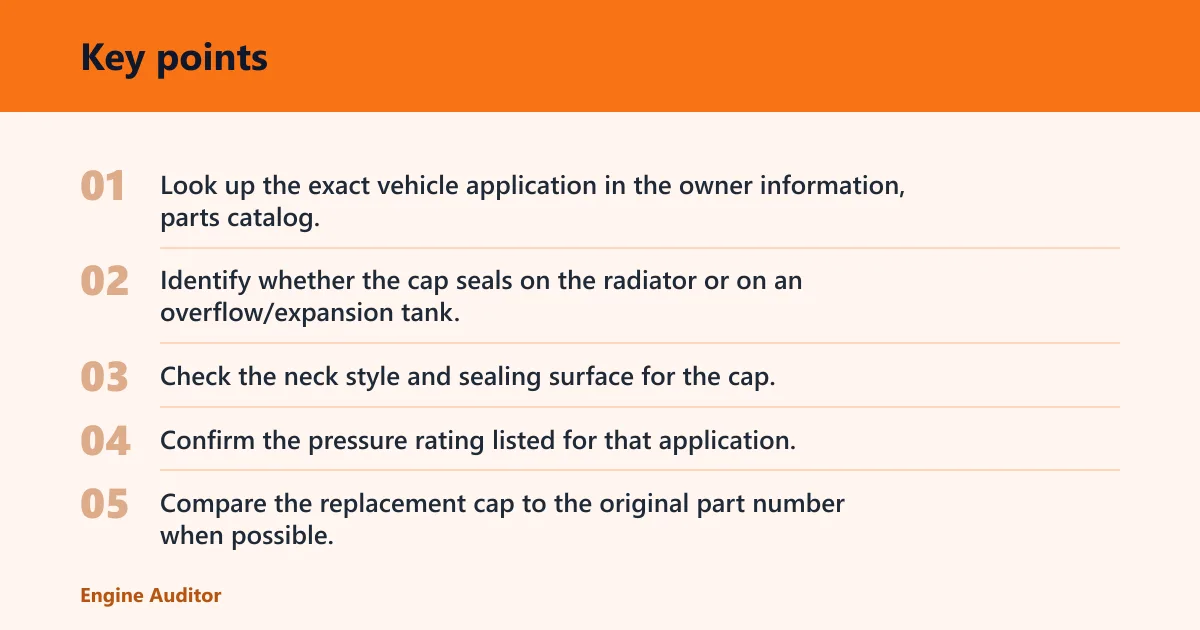
Match the cap in this order: vehicle specification, cap style, neck type, then pressure rating. If any one of those does not line up, stop and verify. A cap can look close from the outside and still fail to seal because the lugs, spring depth, or sealing surface do not fit the neck; cap makers and OEM fitment charts flag those details for exactly that reason.
- Look up the exact vehicle application in the owner information, parts catalog, or service manual.
- Identify whether the cap seals on the radiator or on an overflow/expansion tank.
- Check the neck style and sealing surface for the cap.
- Confirm the pressure rating listed for that application.
- Compare the replacement cap to the original part number when possible.
That sequence matters more on older vehicles, modified cooling systems, and mixed-component setups. An aftermarket radiator can change neck depth or fill-point design. A swapped engine can change the pressure cap location. In both cases, the cap must match the actual hardware, not the vehicle’s original assumption.
Suppose a pickup has an aftermarket radiator with a different filler neck than stock. The old cap may fit loosely even if the psi number looks right. That loose fit can let coolant escape early or make the system hiss at the neck, which can look like a much larger cooling fault.
What radiator cap should I use?
Use the cap that matches the vehicle’s specified system design, not the cap that simply has the same diameter or a common psi number. The correct choice depends on the OEM application, the cap style, the neck type, and whether the cap belongs on the radiator or on a remote tank.
If the parts catalog or service manual lists one exact cap, start there. If it lists several caps across trims or engine codes, choose by the installed cooling system, not by body style alone. When parts are missing or mixed, the safest move is to verify the exact application before ordering.
Can you use a higher or lower pressure cap?
A higher-pressure cap is not automatically better. It can stress weak hoses, old radiators, or marginal seals, especially if the rest of the system was not built for it. A lower-pressure cap can allow boil-over sooner, push coolant into the overflow tank too early, or contribute to overheating complaints.
Use a higher pressure cap only if the vehicle maker or cooling-system builder specifies it for that system. Do not use pressure as a repair for leaks, overheating, or poor fan operation. The cap is one part of the system, and the safe ceiling depends on the radiator, hoses, and overflow hardware. OEM cooling-system specs and cap makers’ testing guidance both treat overpressure as a system-limit issue, not a universal upgrade.
What a higher psi cap changes
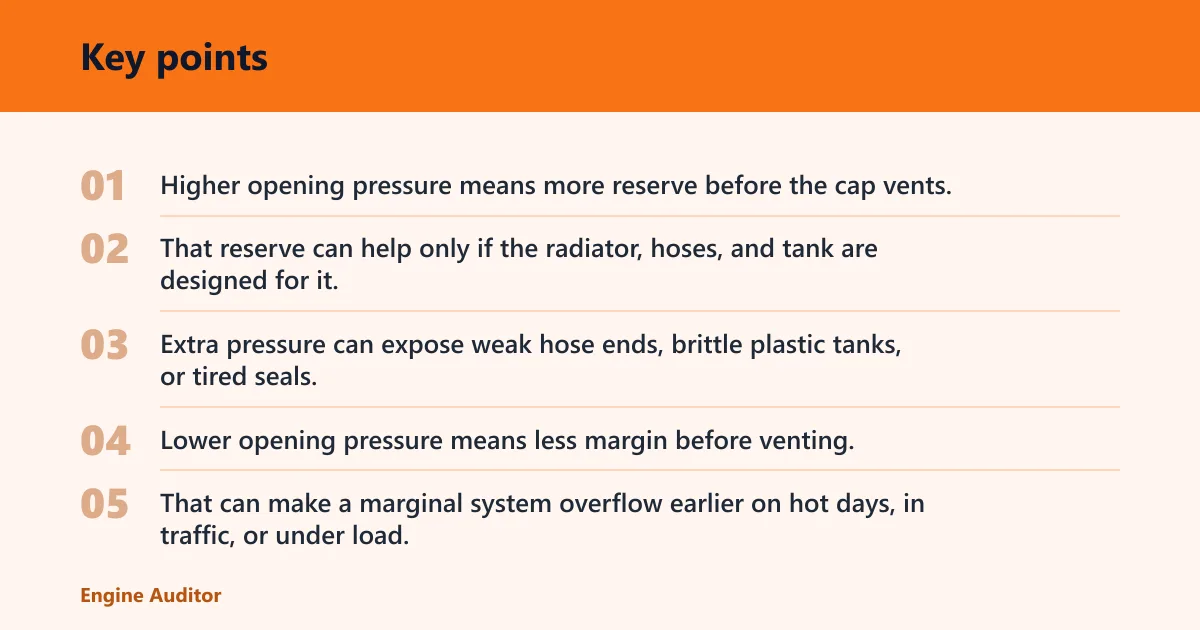
A higher psi cap delays relief valve opening, so the system holds more pressure before it sends coolant to the overflow tank. That can raise the boiling point, but it also raises stress on weak parts. If hoses near the clamps are soft or the radiator is aged, the extra load can make a marginal system fail sooner. Cooling-system checks should include hose inspection near clamps.
- Higher opening pressure means more reserve before the cap vents.
- That reserve can help only if the radiator, hoses, and tank are designed for it.
- Extra pressure can expose weak hose ends, brittle plastic tanks, or tired seals.
What a lower psi cap changes
A lower psi cap opens earlier. That can let coolant move into the overflow tank too soon and can create boil-over or heater complaints under load. If the engine is already running hot, a lower cap may hide the real issue for a short time while the system loses reserve pressure.
- Lower opening pressure means less margin before venting.
- That can make a marginal system overflow earlier on hot days, in traffic, or under load.
- It can also make the vehicle look “fixed” briefly while the underlying overheating problem remains.
Do not use pressure rating as a guess when the vehicle has been modified. A cap that looks close may still be wrong for the neck and wrong for the pressure limit. If the catalog does not settle the question, stop and verify the exact application in the service manual or parts listing.
How do you pressure test a radiator cap?
Use a radiator cap pressure test tool and test the cap at its rated value. The tool checks whether the cap holds pressure and when the relief valve opens. A good test can confirm the cap’s sealing and opening behavior, but it does not rule out all cooling-system faults. Common service references from OEM manuals and test-tool manufacturers use the same basic approach: verify the cap against its stated rating, not against a guess.
Test the cap only when it is cool. Inspect the seal first for cracks, hardening, rust, or bent parts. If the cap is damaged, testing may not be worth the time. A weak cap can imitate head gasket symptoms, so a simple test can save a lot of guesswork.
How to judge pass or fail
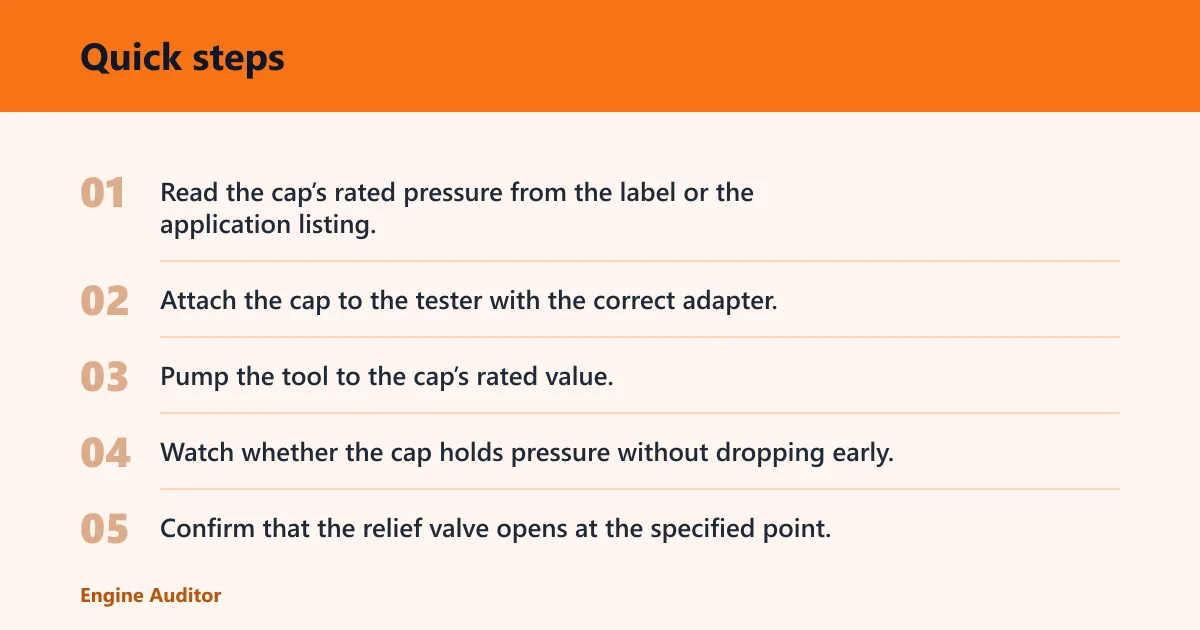
- Read the cap’s rated pressure from the label or the application listing.
- Attach the cap to the tester with the correct adapter.
- Pump the tool to the cap’s rated value.
- Watch whether the cap holds pressure without dropping early.
- Confirm that the relief valve opens at the specified point.
- Reject the cap if it leaks, opens early, or will not hold its set pressure.
If the cap passes but the vehicle still overheats, do not stop there. Check coolant level and mix, hose condition, radiator condition, fan operation, and visible leaks. Cooling-system checks should include fan verification. If those items look normal and the symptoms continue, verify the exact cap application again and consider broader diagnosis. If you are already in the pressure-testing process, that is also the right time to confirm the cap matches the radiator neck and the system layout before replacing more parts.
How to pressure test a radiator cap matters because a cap that opens too soon can mimic a cooling fault, while a cap that sticks closed can trap pressure in the wrong way. The test is useful, but it is only one check in the chain.
What to do if it still overheats after replacing the cap
If the vehicle still overheats after a cap replacement, use a simple flow: verify the cap is the correct application, confirm coolant level and mix, inspect for hose collapse or leakage, check fan operation, and make sure the radiator is not restricted. A cap that was correct on paper can still be wrong for a swapped radiator or remote reservoir setup.
- Confirm the cap is the right pressure and neck style.
- Check for low coolant or the wrong coolant mix.
- Inspect the upper and lower hoses, especially near the clamps.
- Verify the fan comes on when it should.
- Look for signs of radiator restriction, seepage, or tank damage.
Signs of a bad radiator cap
Common signs include overheating, coolant loss, boil-over, bubbling, hissing, and weak sealing at the neck. A bad cap can also mimic larger problems such as head gasket trouble. Do not assume the cap is the only fault, because the same symptoms can come from low coolant, a bad hose, or poor fan operation.
If the overflow tank fills too quickly, stays overfull, or bubbles after shutdown, the cap is one place to check. That said, the symptom is not proof by itself. The cap may be weak, the seal may be damaged, or another part of the system may be causing pressure changes that the cap is reacting to.
A common first-timer mistake is swapping in a cap because the old one looked tired, then skipping the hose and fan checks. If the upper hose softens at the clamp or the fan does not come on, the new cap will not cure the overheating complaint. It may only delay the next boil-over.
Coolant matters too. Correct coolant mix helps prevent boil-over. Low coolant or the wrong mix can act like a bad cap because the system loses margin and boils sooner. If the level is low, fix that before judging the cap.
Frequently asked questions
What pressure radiator cap should I use?
Use the pressure rating specified by the vehicle maker or cooling-system builder. Do not pick a number because it is common or because a shop counter lists it as a universal fit. The right pressure must stay within the limits of the radiator, hoses, and overflow-tank design.
How do I know which radiator cap pressure rating to get?
Check the owner information, parts catalog, or service manual for the exact application. Then confirm cap style, neck type, and whether the cap seals on the radiator or a remote tank. If the system has been modified, verify the installed parts instead of trusting the original vehicle setup alone.
Can I use a higher pressure radiator cap?
Only if the system is designed for it. A higher-pressure cap can raise the boiling point, but it also increases load on hoses, the radiator, and seals. If those parts are aged or marginal, the higher rating can create new leaks or stress failures instead of solving the problem.
How do I remove a radiator cap safely?
Wait until the engine is fully cool. Cover the cap with a thick cloth, turn it slowly to the first stop, and let any remaining pressure vent before removing it fully. Never open a hot radiator cap, since pressurized coolant can spray out and cause burns. OEM service manuals and cap manufacturers both warn to relieve pressure first for exactly this reason.
Products related to this article
Sponsored / affiliate links. As an Amazon Associate I earn from qualifying purchases. I may earn additional commission from eligible campaigns.