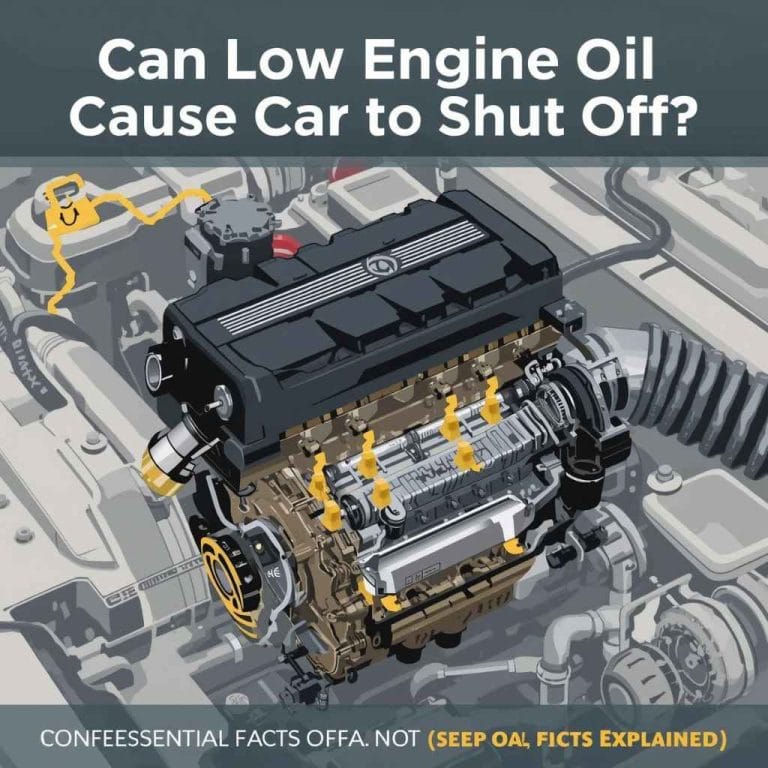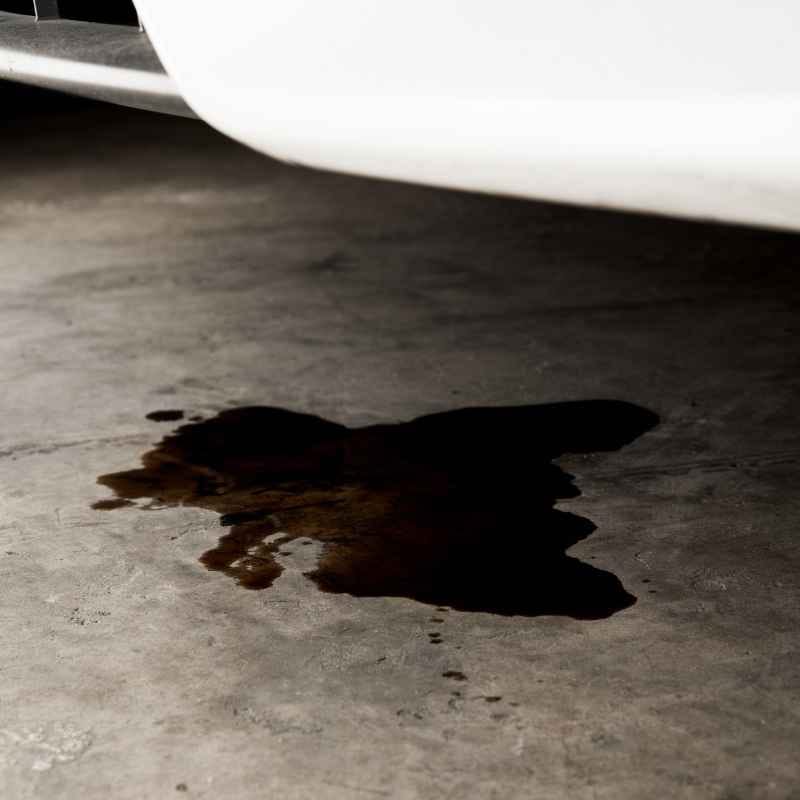
How to Stop a Car Engine Oil Leak Before It Gets Worse
Stopping a car engine oil leak early can save you hundreds in repairs and prevent major engine damage. This guide walks you through the most common causes, step-by-step fixes, and when to call a pro.
Simply put, the best way to stop an engine oil leak is to identify the source first — whether it’s a worn gasket, loose drain plug, or cracked seal — then apply the right fix. In many cases, a simple tightening or sealant can buy you time, but replacement parts offer a permanent solution.
Key Takeaways
- Engine oil leaks usually come from gaskets, seals, or the oil drain plug.
- A simple tightening or sealant can stop minor leaks, but replacing worn parts is the permanent fix.
- Ignoring an oil leak can lead to low oil pressure, engine overheating, or total engine failure.
- Costs range from $5 for a new drain plug washer to over $1,000 for a rear main seal replacement.
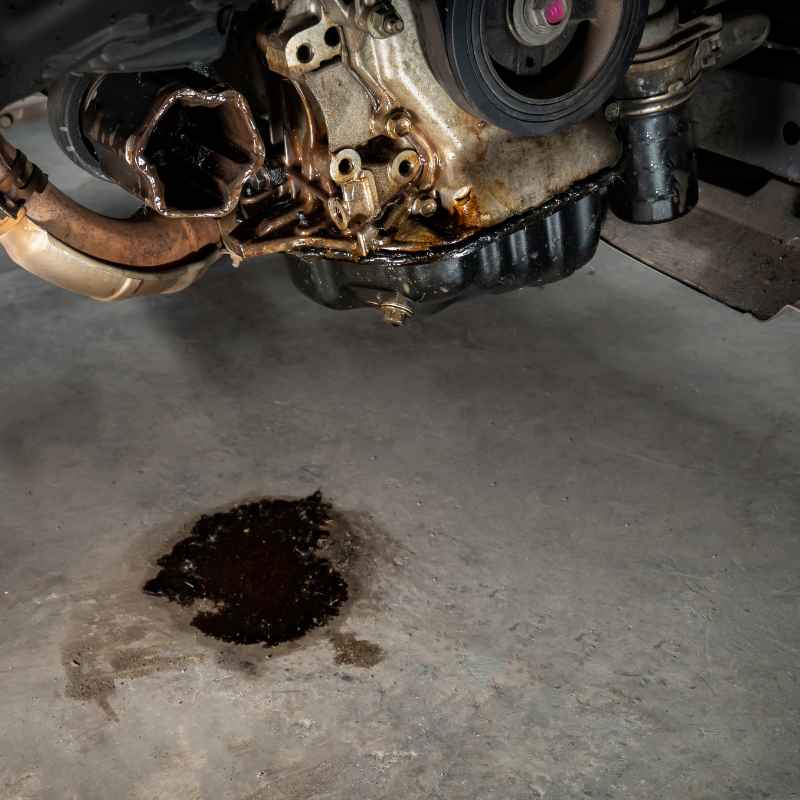
What Causes an Engine Oil Leak?
An engine oil leak happens when oil escapes from any part of the lubrication system. The most common culprits are gaskets, seals, and drain plugs that have worn out over time.

Lucas Oil
Lucas Oil 10278 Engine Oil Stop Leak…
- Compatible with petroleum, semi-synthetic, and full synthetic motor oils
- Renews worn seals with no risk of damage or eventual corrosion
- Reduces engine noise and oil consumption, while raising oil pressure
As an Amazon Associate I earn from qualifying purchases.
Heat cycles, mileage, and age cause rubber and cork components to harden, crack, or shrink. When that happens, oil finds the path of least resistance and seeps out.
Here are the main sources of oil leaks, ranked by frequency:
- Valve cover gasket — most common, easy to replace
- Oil pan gasket — often caused by over-tightening or corrosion
- Oil drain plug — loose plug or missing/worn washer
- Oil filter — incorrectly installed or double-gasketed
- Rear main seal — labor-intensive, expensive repair
- Timing cover gasket — common on higher-mileage engines
- Oil pressure sensor — small but can leak steadily
Warning: A leaking rear main seal can dump a quart of oil every 100–200 miles. If you see a large puddle under the bell housing area, get it diagnosed immediately.
According to the Car Care Council, 78% of vehicles inspected at community car care events needed maintenance — and oil leaks ranked among the top five issues found. Catching them early is key.
How to Identify the Source of an Oil Leak
Before you can fix an engine oil leak, you need to know where it’s coming from. Guessing leads to wasted time and money. Use this systematic approach to pinpoint the exact source.
Start by parking on a clean, dry surface. Let the engine cool completely — hot oil burns and can give false readings. Then follow these steps:
Visual Inspection Checklist
- Check the oil drain plug — is it tight? Is the washer crushed or missing?
- Inspect the oil filter — look for oil dripping from the seal area
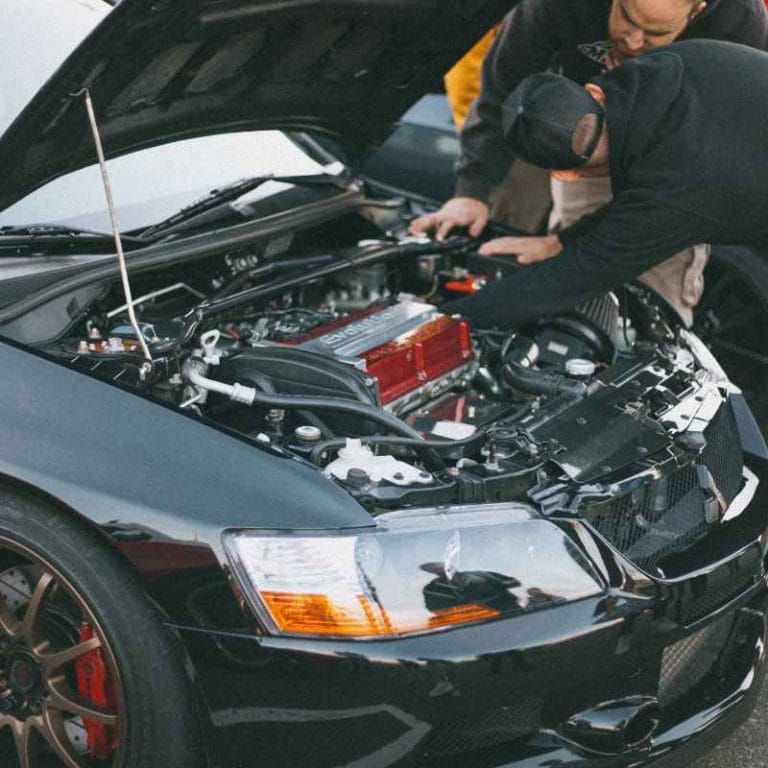
- Look at the valve cover gasket — oil streaks running down the side of the engine
- Examine the oil pan gasket — oil pooling on the bottom of the pan
- Check the timing cover area — oil on the front of the engine
- Inspect the oil pressure sensor — oil on the back or side of the engine block
- Look at the rear main seal area — oil between the engine and transmission
Tip: Use a UV dye kit. Add the dye to your oil, run the engine for 10 minutes, then shine a UV light. The leak will glow bright green or orange — no guesswork involved.
Oil Leak Source Comparison Table
| Leak Source | Typical Location | Severity | Avg. Fix Cost |
|---|---|---|---|
| Valve cover gasket | Top of engine, under the cover | Low to medium | $50 – $200 |
| Oil pan gasket | Bottom of the engine block | Medium | $200 – $500 |
| Rear main seal | Between engine and transmission | High | $500 – $1,200 |
| Oil drain plug | Bottom of the oil pan | Low | $5 – $30 |
| Oil filter | Side or bottom of the engine | Low | $10 – $50 |
The table above shows that not all leaks are created equal. A drain plug leak is cheap and easy, while a rear main seal is a major job. Knowing the source helps you decide whether to DIY or hire a mechanic.
Step-by-Step: How to Stop a Car Engine Oil Leak
Once you’ve identified the source, you can take action. Here’s a step-by-step process for the most common fixes. Always work on a cool engine and wear gloves and safety glasses.
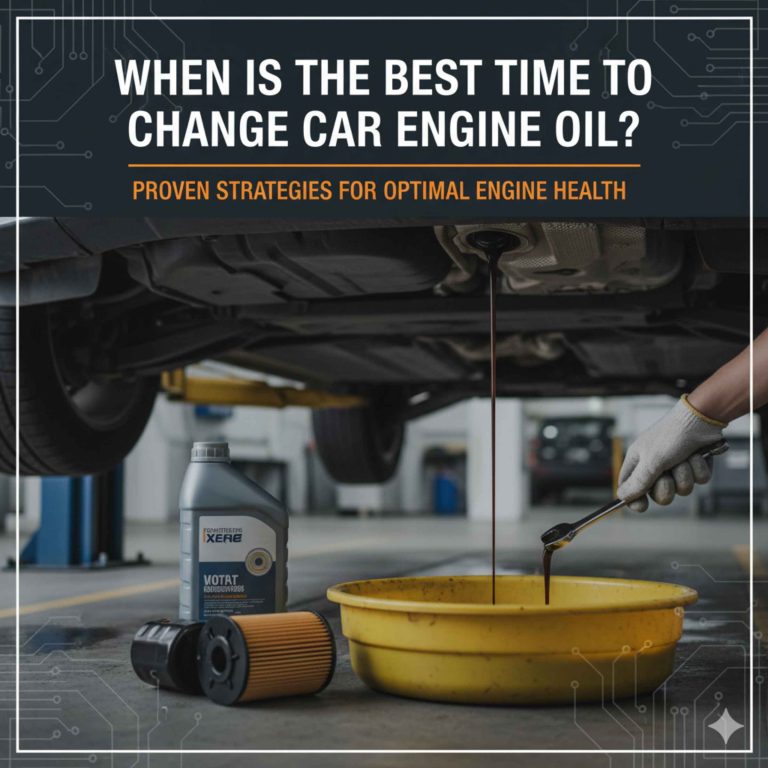
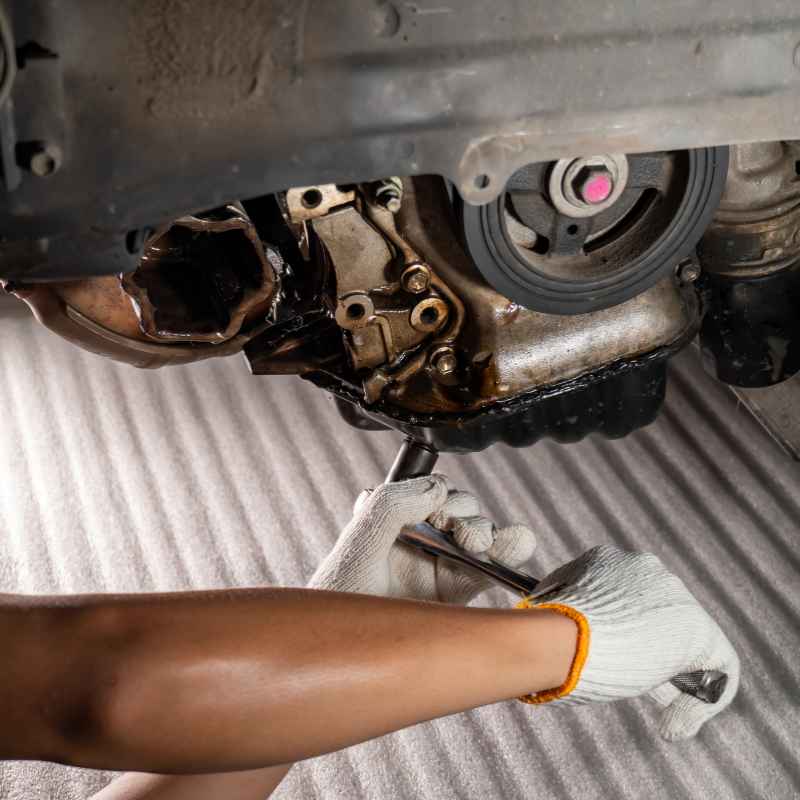
Step 1: Tighten the Oil Drain Plug
Use a socket wrench to tighten the drain plug to the manufacturer’s torque spec (usually 20–30 ft-lbs). If it’s already tight but still leaks, replace the crush washer. This is the cheapest fix in the book.
Step 2: Replace the Oil Filter
Remove the old filter by hand or with a filter wrench. Before installing the new one, apply a thin layer of fresh oil to the rubber gasket. Hand-tighten it — no tools needed.
Over-tightening causes leaks, not prevents them.
Step 3: Replace the Valve Cover Gasket
Remove the valve cover bolts, lift the cover off, and scrape away the old gasket material. Install a new gasket — rubber or silicone types last longer than cork. Apply a small bead of RTV silicone at the corners where the timing cover meets the head.
Reinstall the cover and torque the bolts in a crisscross pattern to spec.
Tip: For valve cover gaskets, use a torque wrench. These bolts are easily stripped, and an uneven clamp load causes leaks.
Step 4: Fix the Oil Pan Gasket
Drain the oil, remove the oil pan bolts, and drop the pan. Clean both mating surfaces with brake cleaner. Install a new gasket or apply a bead of oil-resistant RTV silicone around the pan rail.
Reinstall the pan and torque the bolts to spec in a spiral pattern from the center outward.
Step 5: Add a Leak-Stop Additive (Temporary Fix Only)
Products like Lucas Oil Stop Leak or Bar’s Leaks can swell dried-out seals and reduce minor weeping. These are not permanent solutions — they buy you time. Use them only if you cannot do a full repair right away.
| Fix Method | Time Required | Difficulty | Permanence |
|---|---|---|---|
| Tighten drain plug | 5 minutes | Easy | Permanent |
| Replace oil filter | 10–15 minutes | Easy | Permanent |
| Valve cover gasket | 1–2 hours | Moderate | Permanent |
| Oil pan gasket | 2–4 hours | Moderate to hard | Permanent |
| Leak-stop additive | 5 minutes | Easy | Temporary |
This table helps you decide which fix matches your skill level and time. If you’re short on time, a leak-stop additive can slow things down. For a permanent fix, replace the gasket or seal.
Common Mistakes When Fixing an Oil Leak
Many DIYers make fixable errors that turn a small leak into a big problem. Avoid these common mistakes when you’re trying to stop an engine oil leak.
One of the biggest errors is over-tightening bolts. This warps the valve cover or oil pan, creating a new leak path. Always use a torque wrench and follow the manufacturer’s spec.
Another mistake is reusing old gaskets or crush washers. A gasket that has been compressed once will not seal properly again. Always install a new gasket or washer when you disassemble any oil-sealing component.
Top 7 DIY Oil Leak Mistakes
- Over-tightening bolts — causes warping and cracks
- Reusing old gaskets or crush washers — they lose sealing ability
- Using the wrong type of RTV silicone — some types dissolve in oil
- Not cleaning mating surfaces — old gasket material prevents a tight seal
- Mixing sealant brands — incomplete cure leads to leaks
- Ignoring torque specs — uneven clamping force causes leaks
- Using a stop-leak additive as a permanent fix — it only helps temporarily
Important: If you use RTV silicone, let it cure for at least 1 hour before adding oil. Some formulas need 24 hours. Check the label and follow the instructions exactly.
According to a study by the National Institute for Automotive Service Excellence (ASE), improper fastener torque is the leading cause of gasket failure in DIY repairs. Taking the time to do it right the first time saves you from doing the job twice.
How Much Does It Cost to Fix an Oil Leak?
The cost to fix an engine oil leak varies widely based on the source, your car’s make and model, and whether you DIY or hire a mechanic. Here’s a realistic breakdown.
Labor rates at independent shops average $80–$120 per hour, while dealerships charge $130–$200 per hour. Parts are usually cheap — gaskets, seals, and washers cost anywhere from $5 to $50. The labor is where the cost adds up.
Cost Breakdown by Leak Source
| Leak Source | DIY Cost | Shop Cost | Dealership Cost |
|---|---|---|---|
| Drain plug washer | $1–$5 | $20–$50 | $50–$100 |
| Oil filter replacement | $8–$15 | $30–$70 | $60–$120 |
| Valve cover gasket | $20–$50 | $150–$400 | $300–$600 |
| Oil pan gasket | $30–$80 | $300–$700 | $500–$1,000 |
| Rear main seal | $50–$150 | $600–$1,200 | $800–$1,800 |
As the table shows, DIY repairs save a lot of money. A valve cover gasket that costs $30 in parts can run $400 at a shop. For the more complex jobs like the rear main seal, most people opt for a professional to avoid the risk of damaging the transmission or engine block.
When to Call a Professional Mechanic
Not every engine oil leak is a DIY job. Some leaks require specialized tools, a lift, or experience that the average car owner doesn’t have. Knowing when to call a pro saves you from making the problem worse.
If the leak is from the rear main seal, the timing cover, or the oil pan on a front-wheel-drive vehicle, you’re better off hiring a mechanic. These jobs often require removing the transmission or engine mounts, which is risky without a lift and proper support.
Here are clear signs you should stop DIY-ing and call a shop:
- The leak is coming from between the engine and transmission (rear main seal)
- You need to remove the timing belt or chain to access the seal
- Oil is mixing with coolant (head gasket or oil cooler leak)
- You don’t have a torque wrench or the right socket set
- The car is still under warranty — DIY repairs can void it
- You’ve already tried a fix and the leak got worse
- You don’t have a safe place to work (jack stands on level ground are mandatory)
Warning: Never use a single scissor jack to support a car while working underneath. Always use two jack stands on solid, level ground. A car falling on you can be fatal.
The American Automobile Association (AAA) reports that 1 in 5 roadside assistance calls involve mechanical failures, many of which result from neglected oil leaks. If you’re unsure about your repair, paying a mechanic $100 for a diagnosis is cheaper than a tow truck and an engine rebuild.
Preventative Tips to Avoid Future Oil Leaks
Once you’ve fixed your current engine oil leak, you want to keep it that way. Preventative maintenance is the best way to avoid repeat leaks and extend the life of your engine.
Most oil leaks develop because of neglect — old gaskets, over-tightened bolts, or dirty oil that wears out seals faster. A few simple habits can make a big difference.
5 Habits That Prevent Oil Leaks
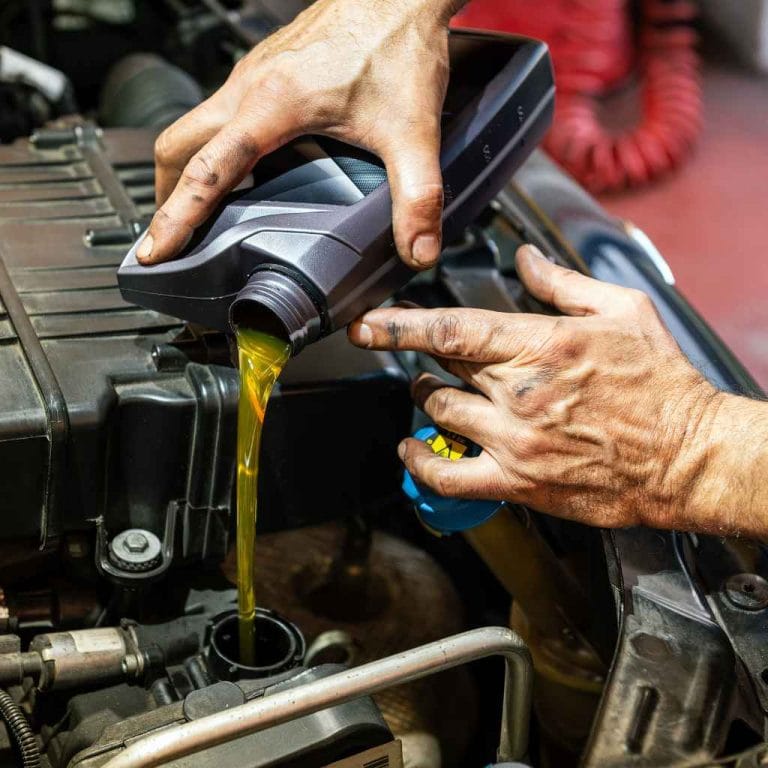
- Change your oil on time. Old, thick oil puts extra pressure on seals and gaskets. Follow the manufacturer’s interval, usually every 5,000–7,500 miles.
- Use the correct oil viscosity. Using the wrong weight (e.g., 20W-50 instead of 5W-30) can cause internal pressure changes that push oil past seals.
- Don’t overfill the oil. Too much oil creates excess crankcase pressure, forcing oil out of gaskets and seals. Check the dipstick after every fill.
- Inspect your engine bay regularly. A quick look under the hood every month can catch a small drip before it becomes a major leak.
- Use high-quality gaskets and seals. OEM or premium aftermarket parts last longer than cheap replacements. Spend a few extra dollars now to save hundreds later.
Tip: Use a magnetic oil drain plug. It catches metal particles and has a built-in crush washer that seals better than a standard plug. It costs about $10 and pays for itself in peace of mind.
According to Consumer Reports, vehicles that follow the manufacturer’s maintenance schedule experience 40% fewer oil leaks over 100,000 miles compared to those that skip intervals. Consistency is the cheapest insurance you can buy.
Frequently Asked Questions
Can I drive with an engine oil leak?
You can drive short distances with a minor leak, but it’s risky. Low oil levels can cause engine overheating, increased friction, and catastrophic failure. Check your oil level every time you fill up with gas.
If the leak is large — a puddle after parking — have it fixed immediately.
Will a stop-leak additive damage my engine?
Most quality stop-leak products, like Lucas or Bar’s Leaks, are safe for your engine when used as directed. They work by swelling dried rubber seals. However, overuse can clog oil passages and reduce lubrication.
Use them only as a temporary measure, not a permanent fix.
How do I know if my oil leak is serious?
Check under your car after parking overnight. A few drops are usually manageable. A puddle larger than the size of a dinner plate is serious.
Also check your dipstick — if you’re losing more than a quart every 1,000 miles, the leak needs attention soon.
Why does my car leak oil only when it’s cold?
Cold oil is thicker and flows more slowly, but thermal contraction of metal parts can open up gaps in gaskets and seals. As the engine warms up, the metal expands and can close those gaps. This is common with older valve cover gaskets and rear main seals.
Can a loose oil filter cause a leak?
Yes. A loose oil filter allows oil to seep past the rubber gasket and drip down the side of the engine. Always hand-tighten the filter as tight as you can — about 3/4 turn after the gasket makes contact.
Use a filter wrench only for removal, not installation.
Final Thoughts
Stopping an engine oil leak early is the smartest move you can make for your car’s health. Identify the source, choose the right fix — whether it’s a simple drain plug washer or a valve cover gasket replacement — and don’t ignore the problem. Regular maintenance and paying attention to your engine bay will keep leaks at bay for years to come.
Related pick: Check today's price on Amazon See also how many months between oil changes here’s the answer.
Products related to this article
Sponsored / affiliate links. As an Amazon Associate I earn from qualifying purchases. I may earn additional commission from eligible campaigns.
 DongJinK Engine Oil Level Gage Dipstick Compatible with Toyota 4Runner 1984-1995 for Toyota Celica 1984-1985 for Toyota Pickup 1984-1995 Replace# 15301-35020 1530135020
 Suifaqi Engine Oil Dipstick Oil Level Dipstick - Replace Part 120 589 07 21 00, 120589072100 - Compatible with Mercedes-Benz CLS55 AMG 2006(2026 NEW)