
How to Inspect Car Tires Before a Road Trip
Inspect each tire in about 10 minutes: check tread depth, sidewall damage, pressure, and uneven wear. If pressure is low, add air and recheck. If damage or cords are visible, replace it before departure. If tread is near 2/32 inch or below the wear bars, do not road-trip on it; that threshold is the common minimum tread screen, and the penny test is only a quick pass/fail check rather than a substitute for a close inspection. TheDrive notes these are the core go/no-go checks for road-trip tires, and the legal-style tread minimum is 2/32 inch. (Thedrive)
What you’ll need


- Tire pressure gauge
- Air source or compressor
- Penny and quarter
- Flashlight
- Gloves, if you want cleaner hands
- Owner’s manual or door-jamb placard reference
How do you know a tire is roadworthy?
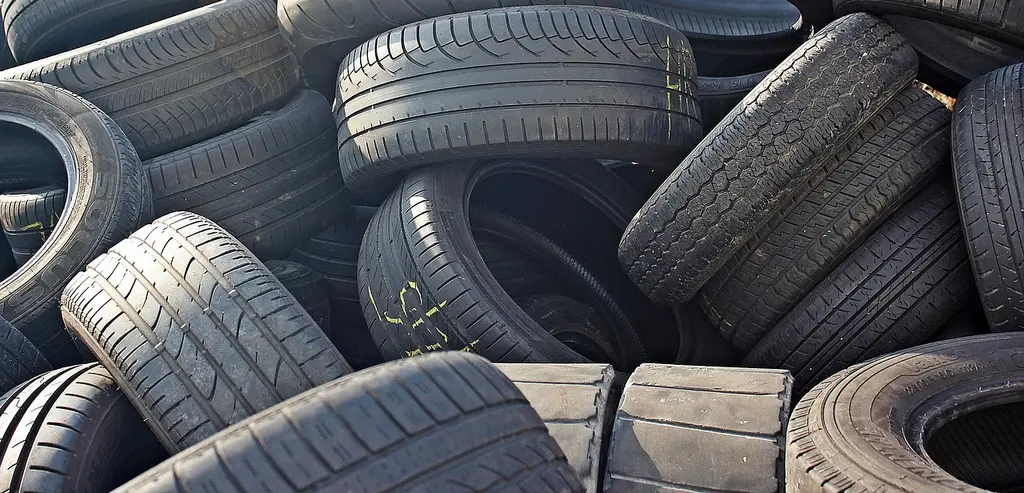
Use a quick triage. A tire is ready to go only if its cold pressure matches the door-jamb placard, tread is above the wear bars at several points, and the sidewall, shoulder, bead, valve stem, and wheel show no damage. The placard is the car’s target; the sidewall number is only a maximum. If any of those checks fail, move from inflate to service or replace before you leave.
Road trip tire triage table
| Verdict | Tread depth | Pressure | Sidewall, wheel, valve | Age and wear pattern | Spare readiness | Action |
|---|---|---|---|---|---|---|
| Go | Above wear bars in the inner, center, and outer grooves; penny test does not show Lincoln’s head | Matches the door-jamb placard when cold | No cuts, cracks, bulges, leaks, bends, or wobble signs | Wear is even across the tread; age is not a concern | Inflated, intact, and the jack and lug wrench fit | Load the car and leave |
| Inflate | Acceptable tread, but the tire is underinflated | Below placard by a few psi or obviously soft | Valve cap missing or stem looks dry but not damaged | No abnormal wear pattern tied to the pressure loss | Ready or nearly ready after top-up | Add air in small increments, then recheck with a gauge and make sure the tire holds pressure after a short wait |
| Service | Uneven wear, cupping, inside-edge wear, or outside-edge wear | May hold air, but the tire still needs inspection | Minor damage near shoulder, bead, or wheel edge; no exposed cords | DOT age or wear pattern suggests alignment, suspension, or storage trouble | Spare needs attention before departure | Book inspection, rotation, balance, alignment, or wheel repair before the trip |
| Replace | At or near 2/32 inch, or penny shows Lincoln’s head | Repeated loss after inflation can signal internal failure | Bulge, deep crack, cut through rubber, exposed cords, or bead damage | Old DOT date plus visible cracking or stiffening | Spare is flat, damaged, or missing tools | Do not road-trip on it; replace before departure |
- Park and start cold. Check the tires before driving or after they have sat long enough to be cold. Cold pressure is the baseline for the placard number, and heat from driving can make a tire read higher than it should. That is why a cold check is the one that matters.
- Read the placard first. Find the driver’s door or door-jamb placard and use that pressure, not the sidewall max number. The placard is the vehicle’s correct cold target; the sidewall number is the tire’s maximum, not the setting you should use. If the car will carry extra passengers or luggage, make sure the load stays within the placard payload limit.
- Measure pressure with a gauge. Check each tire and compare it with the placard number. If a tire is low, add air in about 2 psi increments, then recheck; that can help avoid overshooting and keep the reading accurate. If the tire drops again after you top it off, treat that as a service issue rather than a normal adjustment.
- Check tread in several spots. Use a penny and a quarter at multiple grooves around each tire, including the inner, center, and outer tread, not just one place. The penny test is a minimum screen: if Lincoln’s head is visible, the tire is at or below the common replacement threshold. The quarter test is the more conservative road-trip buffer, especially when you want extra margin.
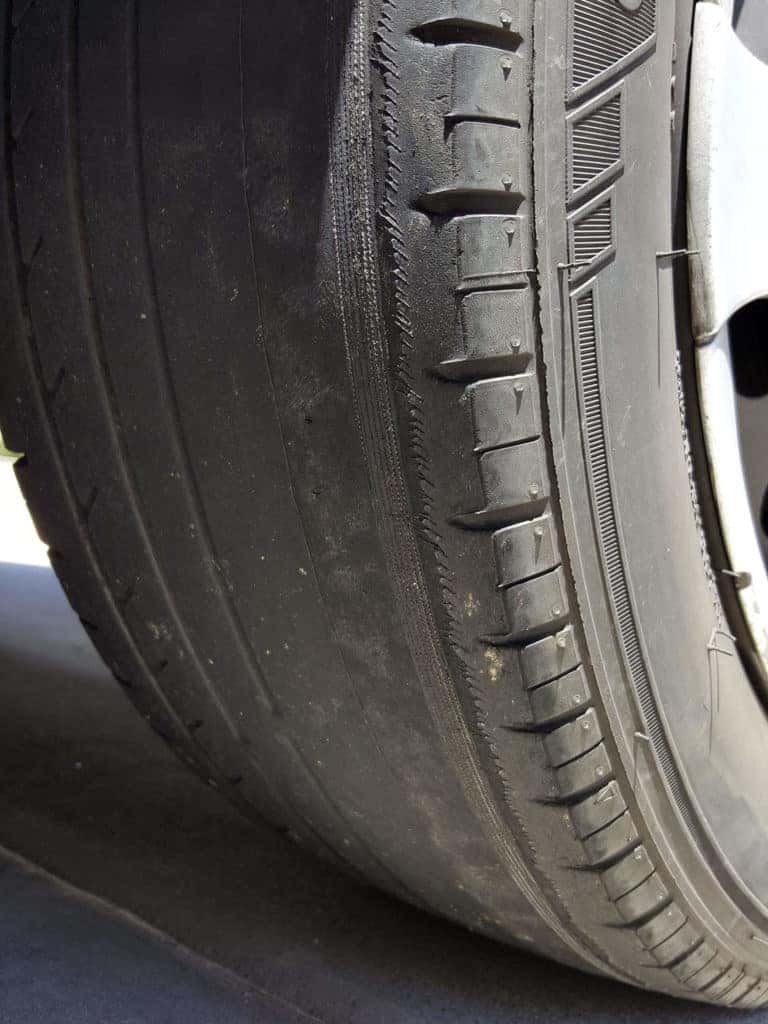
- Inspect the full tread pattern. Look for inside-edge wear, center wear, and cupping or chopping around the circumference. Uneven wear can point to alignment or suspension trouble, and a tire like that deserves service even if the tread depth still looks usable. If the inside edge is wearing faster than the rest, the tire should not be treated as road-trip ready.
How to check a tire
Check a tire by matching cold pressure to the door-jamb placard, then reading tread depth in more than one groove and in more than one spot around the tire. A tire can look fine from one angle and still be too worn, underinflated, or unevenly worn to trust on a long trip, so the quick walk-around should still include a full close look.
Pressure check
Use a gauge on each tire when the tires are cold. Do not rely on a visual guess or the sidewall max pressure, because neither tells you the car’s actual target. The placard tells you the proper cold pressure for the vehicle; the sidewall number is only the tire’s upper limit. If the reading is low, inflate, then recheck before moving to the next tire.
Tread check
Use the penny test as a fast screen and the quarter test as a second look. Measure across multiple grooves and around the tire, because wear bars can hide a problem in one section while another section still looks usable. Check the inner, center, and outer tread so you do not miss shoulder wear or an inside-edge problem that can change the verdict.
Say your front-left tire shows acceptable depth at the outer grooves, but the inside edge is much more worn. That tire should not be treated as good just because one groove passes the penny test. The wear pattern deserves service, and the car should not leave packed for a vacation until someone checks alignment or suspension.
How do you spot sidewall, wheel, and valve damage?
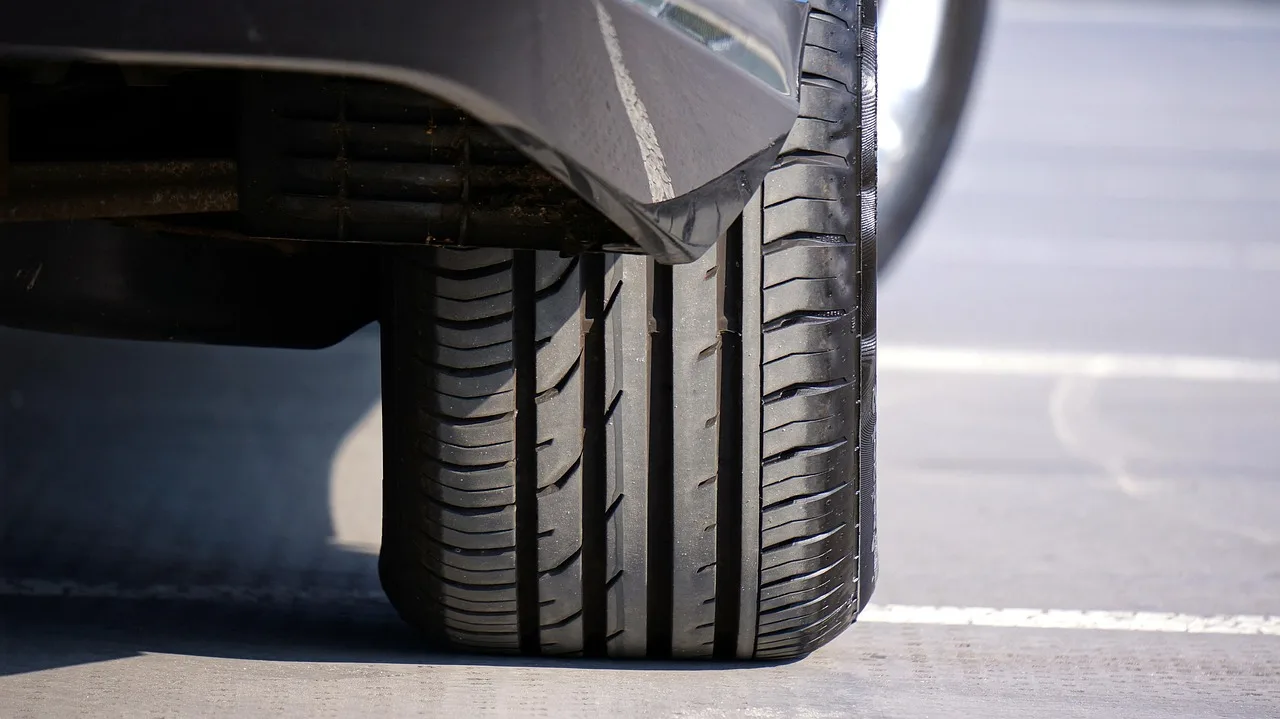
Look for cuts, cracks, bulges, and impact marks on the sidewall, shoulder, and bead area, then check the valve stem, cap, and wheel edge. Any bulge, exposed cord, deep crack, or bead damage is a replacement or inspection issue, not a “drive and watch it” issue. A tire with visible structural damage should not be counted as road-trip safe, even if the tread looks acceptable.
Sidewall and shoulder
Scan the full sidewall with a flashlight. A cut, bulge, or crack that reaches into the rubber structure can mean internal damage, and damage near the shoulder or bead area can leak air or fail under load. If cords show, the tire should come out of service. If the damage is on the inside shoulder, it still counts even when the outside looks clean.
Valve stem and cap
Make sure the valve cap is present and snug. Check the stem for cracks, bends, or wetness around the base that could signal a leak. A missing cap is not the same as a damaged stem, but a damaged stem deserves service before you start a long drive. If the stem looks dry, brittle, or split, plan on repair rather than a quick top-off.
Wheel edge and wobble signs
Look at the rim for bends, curb rash, and impact marks. A bent wheel can sometimes create air loss or a wobble at speed, even when the tire itself looks sound. If the car recently hit a pothole or curb, do not skip this check. Wheel damage can also make a tire seem like it is leaking when the real issue is the rim.
How do age, wear patterns, and load change the verdict?
Age, wear pattern, and cargo weight can change a tire from acceptable to unsafe even when the tread still looks decent. Read the DOT date code on the sidewall, watch for uneven wear, and compare the planned passengers and luggage against the door-placard payload limit before you decide the car is ready. Age and loading both matter because they change how much stress the tire can safely handle.
Read the DOT date code
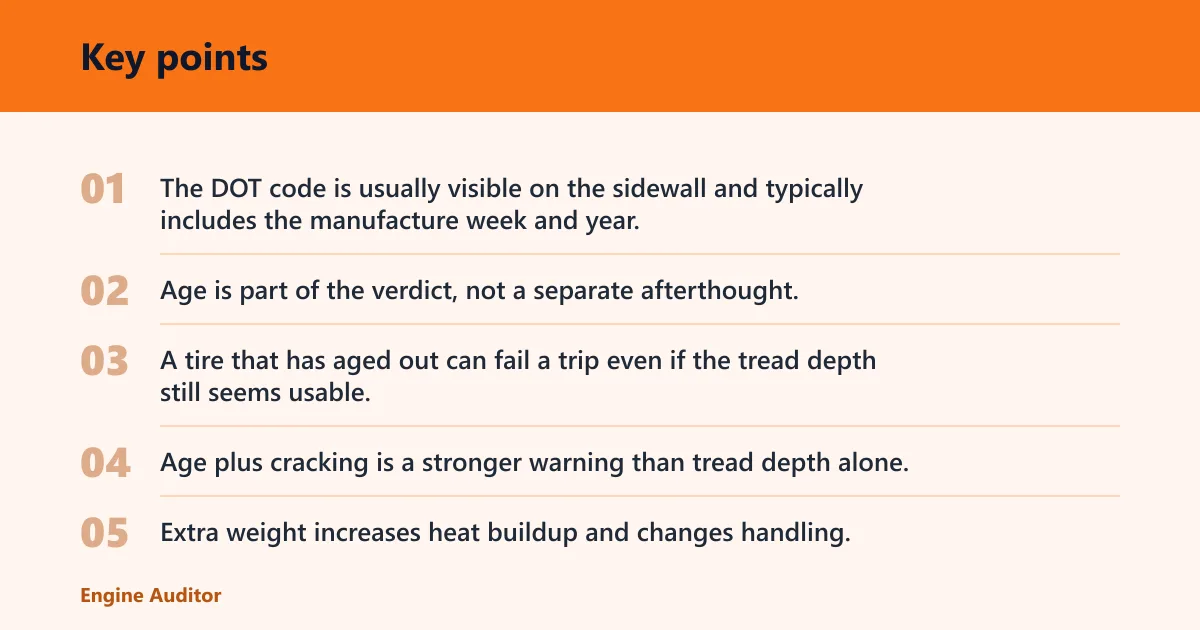
The DOT code is usually visible on the sidewall and typically includes the manufacture week and year. Old tires can be a replacement concern even if the tread is still present, especially when the rubber shows cracking or stiffening. Age is part of the verdict, not a separate afterthought. A tire that has aged out can fail a trip even if the tread depth still seems usable.
Suppose one tire has decent tread but the DOT date code shows it is much older than the others and the sidewall has fine cracks near the bead. That tire should be treated as a replacement candidate before a road trip, not as a pass just because the penny test looks acceptable. Age plus cracking is a stronger warning than tread depth alone.
Account for passengers and luggage
Extra weight increases heat buildup and changes handling. If the car will be packed for a road trip, check the placard payload limit and keep the load inside it. A tire that is borderline on pressure or wear has less margin once the car is full, so a packed vehicle deserves a stricter go/no-go call than an empty one.
Check the spare tire now
Inspect the spare before you leave, not after a flat. Inflate it to spec, check the tread and sidewall, and confirm the jack and lug wrench fit the car. A spare that is flat or unusable turns a simple roadside fix into a tow. If the spare or tools are missing, the vehicle is not fully trip-ready.
Common mistakes
- Checking only one tire. Inspect all four tires, because one weak tire can still end the trip.
- Using the sidewall number as the target. The sidewall shows a maximum, while the placard shows the correct cold pressure for the car.
- Trusting a single tread spot. Measure across several grooves and around the tire, or you can miss inside-edge wear.
- Ignoring a slow loss. A tire that keeps going low after inflation needs service, not a second guess.
- Skipping the spare and tools. A road trip check is incomplete if the spare is flat or the jack does not fit.
- Overloading the car. Passenger and luggage weight can push a marginal tire into hotter, harsher service.
Frequently asked questions
How to check a tire: check one tire by reading
Check one tire by reading its pressure when cold, then inspecting the tread in several grooves and the full sidewall surface. Look for cracks, cuts, and uneven wear. A tire that is low, damaged, or worn unevenly needs more than a quick glance before a long drive. The goal is not just to see rubber, but to spot anything that changes the tire’s safety margin.
How to check if tires are good
Good tires match the placard pressure when cold, show even wear, and have no sidewall, bead, valve, or wheel damage. The spare should also be usable. If the tread is still above the wear bars but the tire has a bulge or keeps losing air, it is not good enough for a trip. Good means the tire is stable, not merely still inflated.
How to tell when need new tires
Replace tires when the penny test shows Lincoln’s head, the tread is at or near the wear bars, or the tire has cords, bulges, deep cracks, or bead damage. Age matters too. An old tire with visible cracking can need replacement even before the tread is fully gone. When age, cracking, and wear stack up together, replacement is the safer call.
What to check car before a road trip
At minimum, check tires, the spare, lights, fluids, brakes, wipers, and cargo load. Consumer Reports notes hoses and belts should be checked because they can cause breakdowns before a vacation. Tires matter first because they carry the load, affect braking, and are the easiest trip-stopper to catch early. A quick tire check can prevent a delay that the rest of the prep would not solve.
How to inspect a tyre
Use the same process: cold pressure from the door-jamb placard, tread check in multiple grooves, sidewall scan for cracks or bulges, and a look at the valve stem and wheel. The spelling does not change the result. A tyre with irregular wear or age-related cracking still needs service or replacement, and the same pressure rules apply no matter how the word is spelled.
Products related to this article
Sponsored / affiliate links. As an Amazon Associate I earn from qualifying purchases. I may earn additional commission from eligible campaigns.