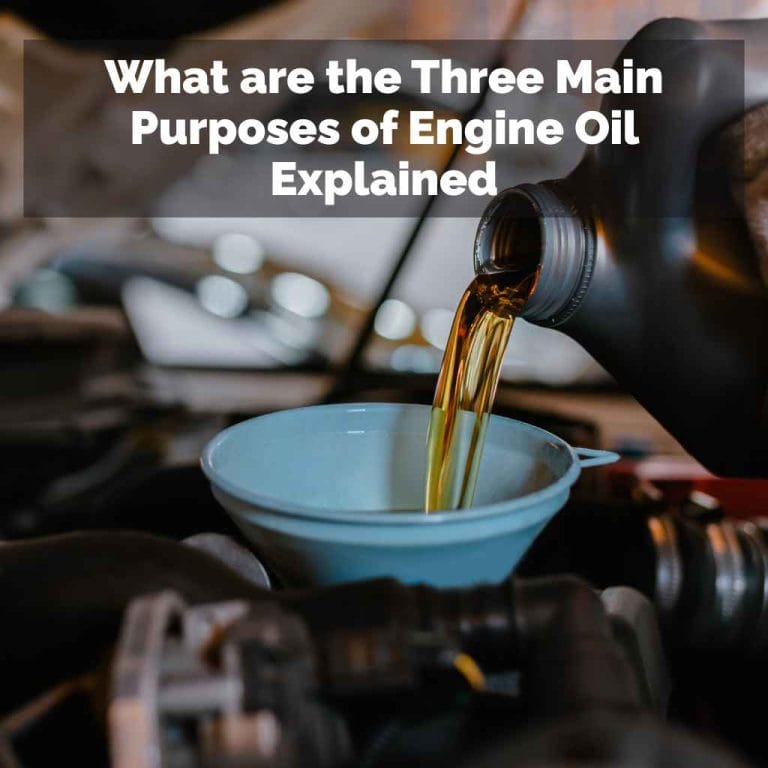
How to Fix a Car Engine Oil Leak Without Going to a Shop
Fixing a car engine oil leak yourself can save you hundreds of dollars in mechanic fees and prevent long-term damage to your engine. This guide walks you through common leak sources, the tools you need, and step-by-step repair methods you can handle at home.
Simply put, most oil leaks come from a loose drain plug, worn gasket, or damaged valve cover. With basic tools and a replacement part costing under $30, you can stop the leak in under an hour. You do not need a shop for the majority of these fixes.
Key Takeaways
- Fixing a car engine oil leak at home requires identifying the source first — most leaks come from the drain plug, valve cover gasket, or oil filter.
- You can fix an oil leak with common hand tools like a socket set, torque wrench, and replacement gaskets or seals.
- Always clean the leak area thoroughly before applying any sealant or replacing parts to ensure a proper seal.
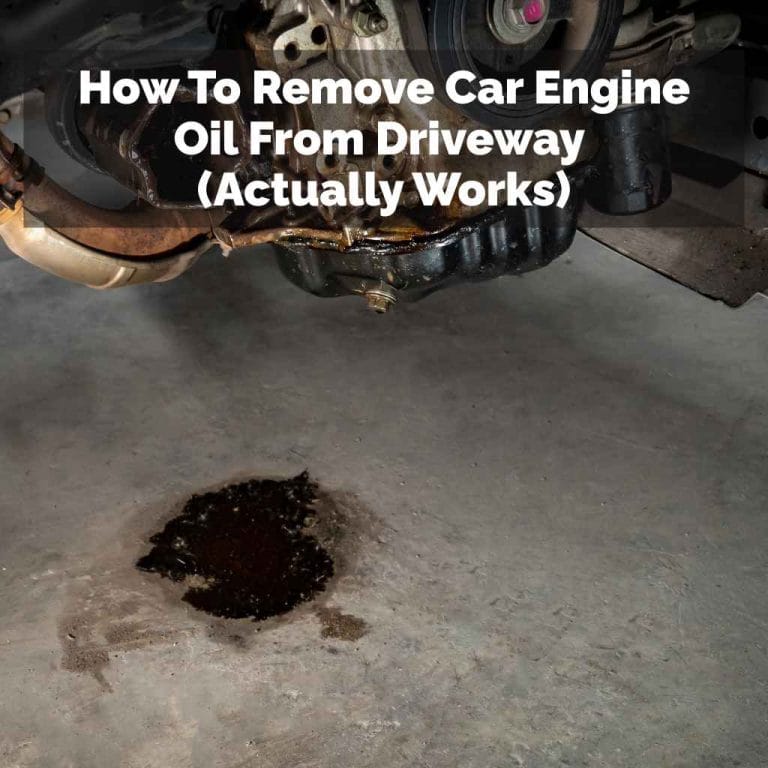
- Stop driving immediately if you notice puddles under your car — low oil pressure can destroy your engine in minutes.
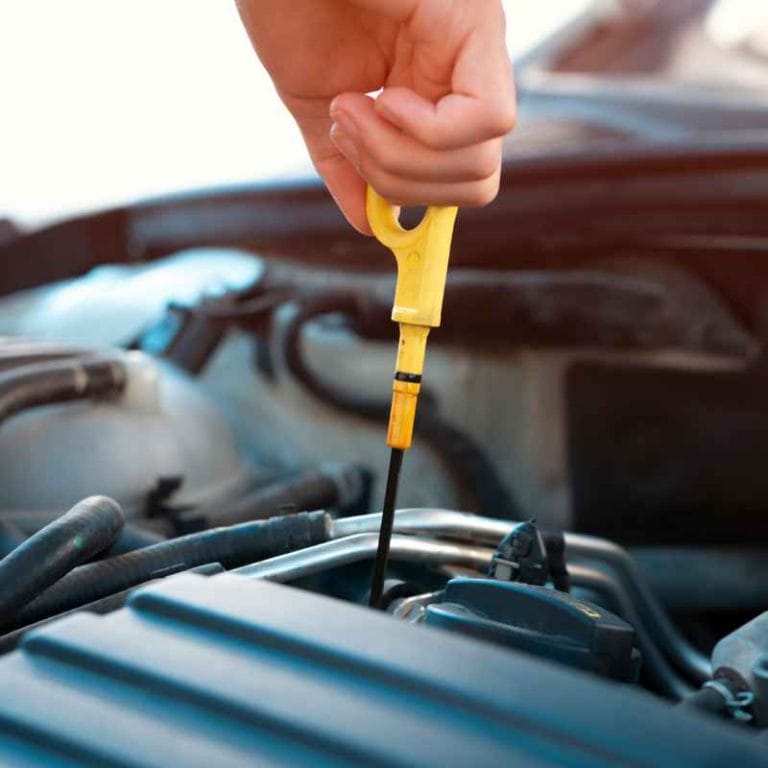
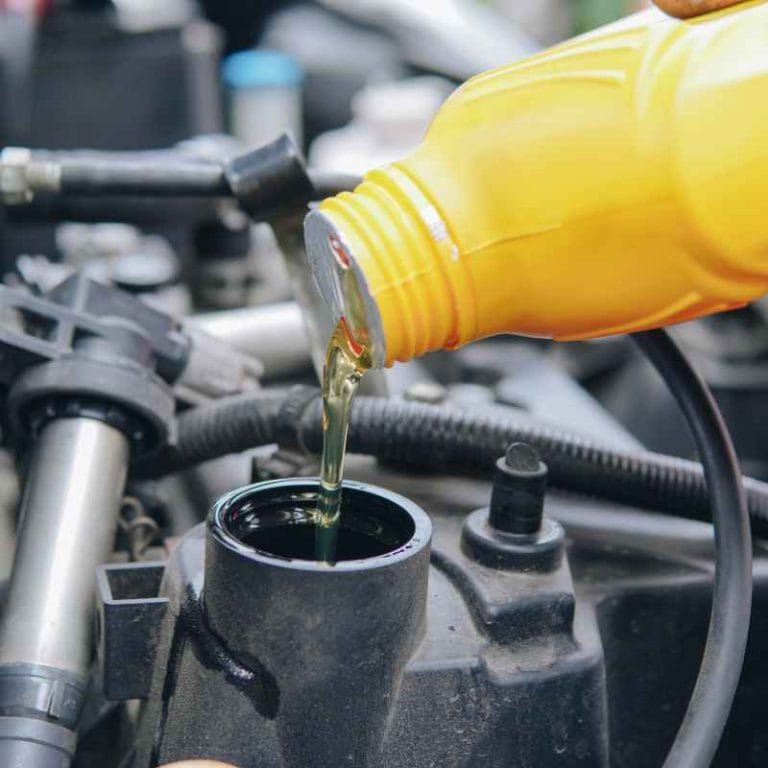
If the level has already dropped below the MIN mark, see what to do if your car engine oil is low for the safe step-by-step process to top it off.
What Causes a Car Engine Oil Leak?
Oil leaks happen when a seal, gasket, or component fails to contain the pressurized oil circulating through your engine. Over time, heat cycles, vibration, and normal wear degrade these parts. The leak can start as a slow seep and turn into a steady drip if ignored.
The most common culprits include the valve cover gasket, oil pan gasket, rear main seal, and the oil filter housing. Each of these components experiences constant heat and pressure, making them prone to cracking or shrinking after years of use.
- Valve cover gasket — Aged rubber or cork that hardens and shrinks, creating gaps at the top of the engine
- Oil pan gasket — Large seal between the oil pan and engine block, often damaged by road debris or over-tightening
- Rear main seal — Internal seal behind the flywheel or flexplate, difficult to access but common in high-mileage engines
- Oil drain plug — Loose, stripped, or missing crush washer can cause a steady drip after oil changes
- Oil filter — Hand-tightened incorrectly or double-gasketed from a previous filter change
- Oil pressure sensor — Plastic or metal sensor that cracks and leaks around its threads
According to the Car Care Council, 9 out of 10 vehicles on the road have at least one fluid leak, with oil being the most common. Regular inspection of these six areas can catch a leak before it becomes a major repair.
Warning: Never confuse an oil leak with a transmission fluid or coolant leak. Oil is typically brown or amber and smells like burnt hydrocarbons. Coolant is sweet-smelling and often green or pink. Check your dipstick to confirm the fluid type.
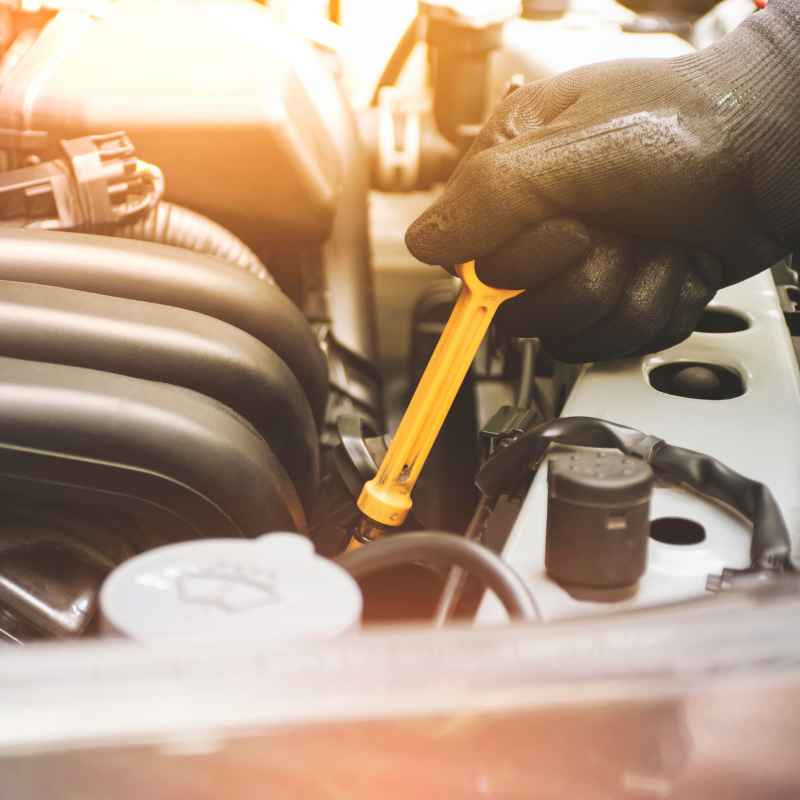
How to Diagnose Where the Oil Leak Is Coming From
Before you can fix anything, you need to pinpoint the exact source. Guessing and replacing parts randomly wastes money and time. A systematic diagnosis takes about 15 minutes and requires only a few basic items.
Start by parking your car on a clean, level surface. Let the engine cool completely — hot oil can burn you and is harder to trace. Place a piece of cardboard under the engine overnight to catch fresh drips and identify the drip location relative to the front or rear of the engine.
- Clean the engine bay — Use a degreaser and a pressure washer or hose to remove all old oil and grime. A clean surface makes fresh leaks obvious.
- Add UV dye — Pour a small bottle of UV leak detection dye into the oil fill cap. Run the engine for 10 minutes to circulate the dye through all seals.
- Shine a UV light — In a dark garage, shine the UV light over every gasket, seal, and plug. The dye glows bright green or yellow at the exact leak point.
- Check the highest wet spot — Gravity pulls oil downward, so the highest oily area on the engine is likely the true source. Trace upward from the drip.
- Inspect the drain plug and filter — These are the easiest access points and the most common leak sources. Tighten or replace the crush washer first.
| Leak Location | Common Signs | Diagnostic Method |
|---|---|---|
| Valve cover gasket | Smoke from exhaust manifold, oil on spark plugs | Visual inspection under the engine cover |
| Oil pan gasket | Oil dripping from bottom center of engine | Cardboard overnight test, UV dye |
| Rear main seal | Oil between engine and transmission | Flashlight inspection from under the car |
| Drain plug | Drips directly under the oil pan drain hole | Wipe and check for tightness |
| Oil filter | Oil running down side of filter housing | Hand-tightness check, look for double gasket |
Once you identify the source, you can choose the right repair method. The table above helps you match symptoms to the most likely location, saving you from unnecessary disassembly.
Important: If you cannot find the leak after cleaning and using UV dye, take the car to a professional. Some leaks, like those from the rear main seal or timing cover, require engine removal and are not DIY-friendly.
What Tools and Parts You Need to Fix an Oil Leak at Home
Most home repairs require only basic hand tools and a replacement part. You likely already own a socket set and a few screwdrivers. Specialty tools like a torque wrench are nice to have but not strictly necessary if you are careful.
Before starting, verify your car’s make, model, and engine size. Parts like valve cover gaskets and oil filters vary widely. Use an online parts lookup tool or call a local auto parts store with your VIN to get the exact fit.
- Socket set — Metric and SAE sizes from 8mm to 19mm, including extensions and a ratchet
- Torque wrench — Essential for tightening bolts to factory spec without stripping threads or warping gaskets
- Replacement gasket or seal — Valve cover gasket, oil pan gasket, drain plug crush washer, or oil filter as needed
- Silicone gasket maker — High-temperature RTV silicone for sealing corners or uneven surfaces
- Degreaser and rags — Brake cleaner or engine degreaser for cleaning the mating surfaces
- UV dye kit — Dye and UV flashlight for precise leak detection (optional but highly recommended)
- Jack and jack stands — Needed for oil pan and rear main seal access; never work under a car supported only by a jack
| Tool | Estimated Cost | Needed For |
|---|---|---|
| Socket set | $20–$50 | All gasket and plug repairs |
| Torque wrench | $30–$60 | Valve cover and oil pan bolts |
| Valve cover gasket | $15–$40 | Common top-end leak repair |
| Oil pan gasket | $20–$60 | Bottom-end leak repair |
| Crush washer | $1–$3 | Drain plug leak fix |
The total cost for a typical home repair ranges from $10 to $60 depending on the part. Compare that to a shop charging $150 to $400 for the same job. Just make sure you have all the tools on hand before you start — running to the store mid-repair with oil dripping is frustrating.
Step 1: Fix a Loose or Stripped Oil Drain Plug
A loose or stripped drain plug is the easiest oil leak to fix. It typically happens after a recent oil change. The plug may have been under-tightened, or the crush washer may be worn out.
In some cases, overtightening strips the threads in the oil pan.
Start by draining the oil into a clean container if you plan to reuse it. Remove the plug with a socket and inspect the threads. If they look good, replace the crush washer with a new one of the correct size.
Hand-tighten the plug, then torque it to your vehicle’s specification — usually between 18 and 30 ft-lbs.
- Place a drain pan under the plug and loosen it with a socket. Let the oil drain completely.
- Inspect the plug threads and the oil pan threads. If either is stripped, you will need a thread repair kit or a new oil pan.
- Install a new crush washer onto the plug. The washer deforms under torque to create a seal.
- Tighten the plug by hand until snug, then use a torque wrench to apply the final torque. Do not overtighten.
- Refill the engine with the correct oil type and quantity. Check for leaks at the plug after running the engine for a few minutes.
Tip: If the drain plug threads are stripped but the pan is otherwise fine, use a self-tapping oversized plug or a thread repair insert like a Heli-Coil. These are available at any auto parts store and cost under $15.
If the plug is stripped beyond repair, you will need to replace the oil pan. That is a bigger job but still doable at home with basic tools. A new oil pan typically costs $50 to $150 for most passenger cars.
Step 2: Replace a Leaking Valve Cover Gasket
The valve cover gasket is the most common oil leak source on higher-mileage engines. It seals the top of the engine where the valve cover meets the cylinder head. When the gasket hardens or cracks, oil seeps out and can drip onto the exhaust manifold, causing a burning smell.
Replacing it takes about 30 to 60 minutes on most four-cylinder engines. V6 and V8 engines take longer because the valve covers are harder to access. You will need a new gasket, a tube of RTV silicone, and a socket set.
- Remove any engine covers or air intake tubes blocking access to the valve cover.
- Unplug any spark plug wires or ignition coils that cross over the valve cover. Mark their positions with tape.
- Remove the bolts holding the valve cover in place. Note the bolt pattern and torque sequence — some engines require a specific order during reinstallation.
- Lift off the valve cover. Scrape away all old gasket material from both the cover and the cylinder head. Use a plastic scraper to avoid gouging the metal.
- Apply a thin bead of RTV silicone at the corners where the timing cover meets the cylinder head — these are common leak points.
- Install the new gasket into the groove on the valve cover. Press it in firmly so it stays seated.
- Place the valve cover back on and hand-tighten all bolts. Torque them in the correct sequence to the manufacturer’s specification, typically 5 to 10 ft-lbs.
Important: Overtightening valve cover bolts is the number one cause of warped covers and recurring leaks. Use a torque wrench every time. Plastic valve covers are especially sensitive — they crack easily under excessive force.
After installation, run the engine for five minutes and inspect the edges of the valve cover for any fresh oil. If the leak is gone, you have successfully completed one of the most common DIY oil leak repairs.
Step 3: Fix an Oil Leak from the Oil Pan Gasket
The oil pan gasket seals the bottom of the engine. A leak here usually appears as a steady drip directly under the center of the car. Fixing it is more involved than the valve cover because you must lift the vehicle and drain the oil.
You will need jack stands, a socket set, a new oil pan gasket, and RTV silicone. Some modern engines use a formed rubber gasket that simply bolts in place. Others require a thin layer of silicone gasket maker applied to the pan flange.
- Jack up the car securely and place it on jack stands. Chock the rear wheels for safety.
- Drain the engine oil into a clean container. Remove the oil pan by unscrewing all bolts around its perimeter.
- Scrape off the old gasket material from both the oil pan flange and the engine block. Use a razor blade carefully — do not gouge the aluminum surfaces.
- Clean both surfaces with brake cleaner and a lint-free rag. They must be completely dry and oil-free.
- Apply a continuous bead of RTV silicone around the oil pan flange if using a formed-in-place gasket. For a pre-cut rubber gasket, place it into the groove on the pan.
- Reinstall the oil pan and hand-tighten all bolts. Torque them in a crisscross pattern to the factory spec, usually 8 to 15 ft-lbs.
- Wait at least one hour for the RTV to cure before refilling the engine with oil. Then refill and check for leaks.
Tip: If your car has a steel oil pan, check for rust holes caused by road salt. A rusted pan cannot be sealed — you must replace the entire pan. Aluminum pans rarely rust but can crack from impact with road debris.
Oil pan gasket replacement is one of the most effective repairs for stopping a bottom-end oil leak. According to AAA, this job costs $250 to $500 at a shop. Doing it yourself costs about $30 to $60 in parts and a couple of hours of labor.
Step 4: Stop an Oil Filter Leak
An oil filter leak is almost always caused by improper installation. The most common mistake is leaving the old filter gasket stuck to the engine block when installing a new filter. This creates a double gasket situation that cannot seal, causing oil to pour out as soon as the engine starts.
Other causes include over-tightening the filter, which distorts the gasket, or under-tightening it, which leaves the filter loose enough to vibrate and leak. Fixing this takes less than 10 minutes.
- Place a drain pan under the oil filter to catch dripping oil.
- Loosen the filter by hand or with an oil filter wrench. Turn it counterclockwise.
- Inspect the mounting surface on the engine block. Look for a stuck rubber gasket from the old filter. Remove it if present.
- Apply a thin film of fresh oil to the new filter’s rubber gasket with your finger. This prevents the gasket from sticking and tearing during future removal.
- Screw the new filter on by hand until the gasket contacts the mounting surface. Then tighten it another three-quarters of a turn by hand. Do not use a wrench for tightening.
Start the engine and let it idle for two minutes. Check around the base of the filter for any oil seepage. If it is dry, the leak is fixed.
If it continues to drip, you may have a damaged filter housing or a crack in the engine block near the filter mount — both are rare but require professional attention.
Warning: Never drive with a leaking oil filter. A sudden loss of oil pressure can seize the engine in less than 30 seconds. If the filter is loose and oil is gushing out, turn off the engine immediately and tighten the filter by hand.
Common Mistakes When Fixing an Oil Leak at Home
Even experienced DIYers make errors when fixing a car engine oil leak at home. Knowing these common pitfalls can save you from wasting parts, time, or causing worse damage. The most frequent mistake is misdiagnosing the leak source and replacing the wrong part.
Another major mistake is overtightening bolts. Many home mechanics believe tighter is better. In reality, bolts on gasketed surfaces have a narrow torque window.
Exceeding it warps the parts, stretches the bolts, or cracks the gasket. This guarantee of a leak is worse than the one you started with.
- Failing to clean surfaces — Old gasket residue or oil residue prevents the new gasket from sealing properly. Always scrape and degrease thoroughly.
- Using too much RTV silicone — Excess silicone can squeeze into the oil passages and block lubrication. Apply a thin, even bead only where needed.
- Ignoring the torque spec — Guessing the tightness leads to warped flanges or loose bolts. Look up the spec in your vehicle repair manual or online.
- Mixing gasket types — Some engines require a specific gasket material. Cork, rubber, and silicone gaskets are not interchangeable. Use what the manufacturer recommends.
- Skipping the test drive — After any repair, drive the car for 10 minutes and recheck for leaks. Some leaks only appear under engine load and heat.
| Mistake | Consequence | Prevention |
|---|---|---|
| Overtightening bolts | Warped gasket surface, recurring leak | Use torque wrench every time |
| Not cleaning old gasket | New gasket fails to seal | Scrape and degrease thoroughly |
| Wrong gasket type | Premature failure, short lifespan | Check OEM specs before buying |
| Skipping leak detection | Replacing wrong part, wasted money | Use UV dye and clean first |
Learning from these mistakes helps you get the repair right the first time. The National Institute for Automotive Service Excellence reports that improper gasket installation causes 40% of repeat oil leak repairs. Take your time and follow the steps carefully.
Tip: Keep a small notebook with your car’s torque specifications and bolt patterns. Write them down when you look them up. This simple habit saves hours of guesswork on future repairs.
When to Call a Professional Instead of DIY
Not every oil leak is a DIY job. Some seals and gaskets are buried deep inside the engine and require special tools, lift access, and experience. Attempting these repairs without the right equipment can lead to costly damage or personal injury.
The rear main seal is the most notorious example. It requires removing the transmission or engine to access. On front-wheel-drive cars, that means hours of labor just to get to the seal.
The part itself costs under $30, but the labor is substantial.
- Rear main seal leak — Requires transmission removal; professional labor $400–$900
- Timing cover gasket leak — Requires timing chain or belt removal; labor $500–$1,000
- Oil pump gasket or O-ring leak — Deep inside the engine, often behind the timing cover
- Head gasket leak — Oil mixed with coolant or white smoke from exhaust; major engine repair
- Cracked engine block — Visible crack or oil seeping from a non-gasket area; entire engine replacement may be needed
If you identify any of these conditions, stop DIY work and take the car to a certified mechanic. The cost of professional repair is still far less than the cost of a new engine from a failed DIY attempt.
Warning: If your car is leaking more than one quart of oil every 300 miles, or if you see oil pressure warning light on the dash, do not drive the car. Call a tow truck and take it to a shop immediately. Low oil pressure can destroy bearings and rods in seconds.
Frequently Asked Questions
Can I use stop-leak additives to fix an oil leak?
Stop-leak additives can temporarily reduce seepage from minor gasket leaks by swelling the rubber. However, they are not a permanent fix. They can also clog oil passages and damage seals over time.
Use them only as a short-term emergency measure while you plan a proper repair.
How much does it cost to fix an oil leak at a shop?
Professional oil leak repair costs vary widely by location and severity. A simple drain plug or oil filter fix runs $50 to $100. A valve cover gasket replacement costs $150 to $300.
Complex repairs like the rear main seal or timing cover gasket can range from $500 to $1,200.
Is it safe to drive with a small oil leak?
A small seep that leaves a few drops on the ground overnight is generally safe for short trips, but you must monitor the oil level closely. Any leak that creates a puddle or causes the oil pressure warning light to illuminate requires immediate attention. Driving with low oil pressure can cause catastrophic engine failure.
How do I know if the leak is oil or another fluid?
Oil is typically brown, amber, or black and feels slick between your fingers. It smells like burnt hydrocarbons. Transmission fluid is red or pink and smells sweet.
Coolant is green, orange, or pink and has a sweet, syrupy odor. Power steering fluid is usually clear or amber and smells like burnt marshmallow. Place a white paper towel under the drip to compare color and texture.
Can a loose oil filter cause an oil leak?
Yes, a loose oil filter is one of the most common causes of a sudden oil leak. If the filter is not tightened enough, engine vibration can loosen it further, causing a steady stream of oil. Always hand-tighten the filter until the gasket contacts the mount, then give it three-quarters of a turn.
Never use a wrench to tighten it.
Final Thoughts
Fixing a car engine oil leak without going to a shop is a practical skill that saves money and keeps your car running reliably. Most leaks originate from just a few common points — the valve cover gasket, oil pan gasket, drain plug, or oil filter — and each of those repairs is well within the ability of a home mechanic with basic tools. Take the time to diagnose the exact source, use the correct replacement parts, and follow the torque specifications.
Your engine will reward you with years of leak-free service.
See also engine oil additives for cars are the benefits worth it . See also which is the best car engine oil our top picks listed.
Products related to this article
Sponsored / affiliate links. As an Amazon Associate I earn from qualifying purchases. I may earn additional commission from eligible campaigns.
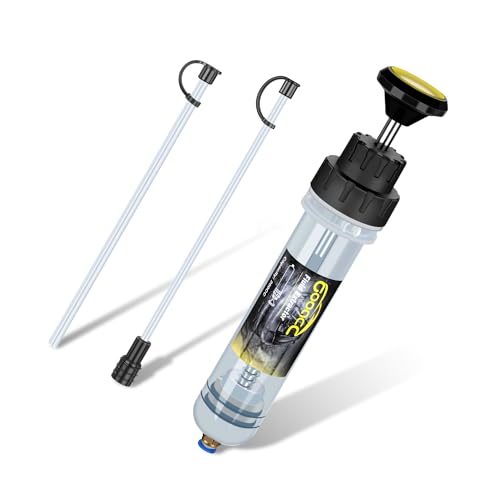 GOOACC Oil Extractor Pump Automotive, Fluid Extractor with Hose Oil Change Syringe Vacuum Pump Extractor, 200CC Manual Brake Fluid Extractor for Car Engine Oil Transfer Suction Extraction
 FEL-PRO OS 30693 R Engine Oil Pan Gasket Set for Chevrolet Silverado 1500 | Replaces 12558760 16792 OS32241 OS32441 OS6315P. OE-grade replacement.