
How to Clean Carburetor Jets with Simple Tools
Clean carburetor jets with the smallest safe tool, usually a nylon bristle, tag wire, or soft copper strand, then confirm fuel or spray passes freely after each pass. If you push steel wire through a brass jet, you can enlarge the orifice and turn a clog into a permanent mixture problem. This guide shows a no-damage method, tool choices, and the flow check that tells you when to stop.
Why carburetor jets clog
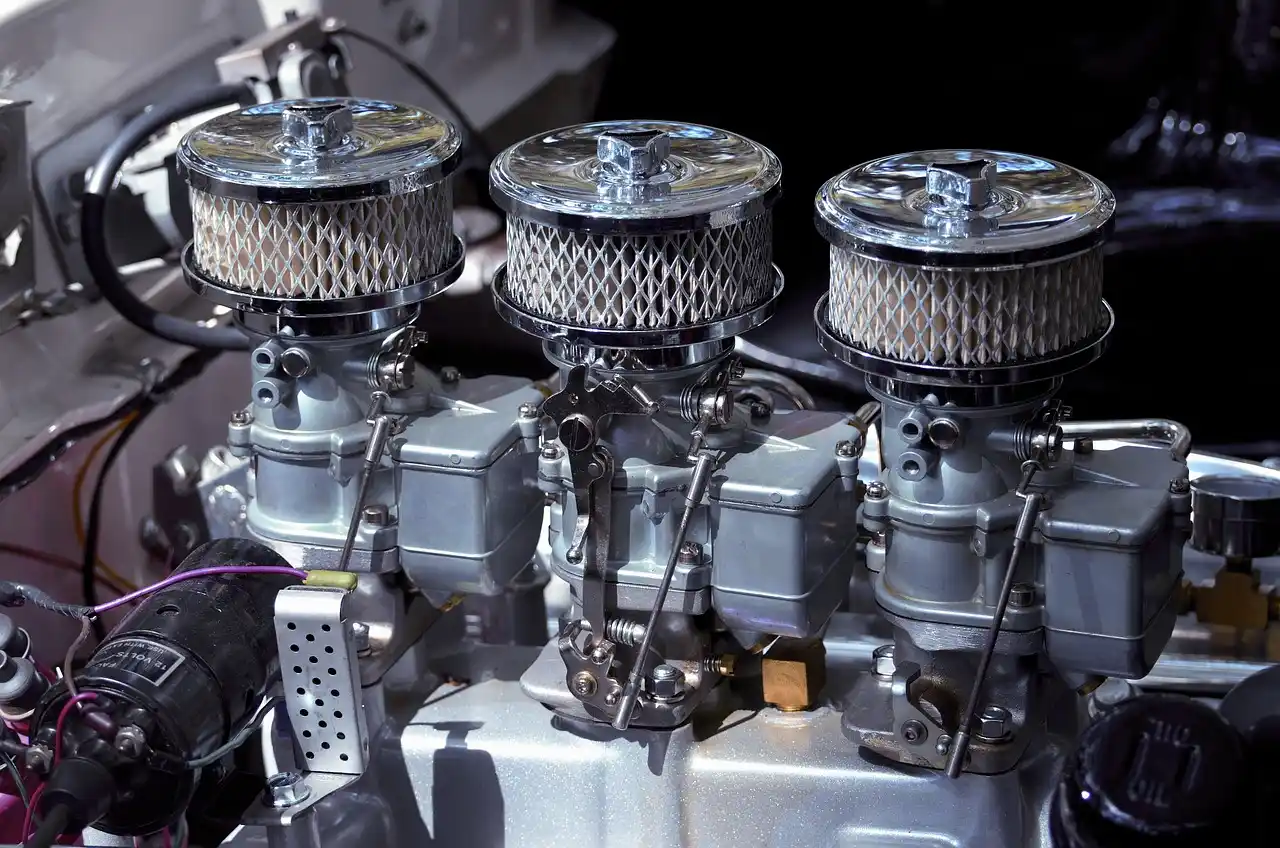


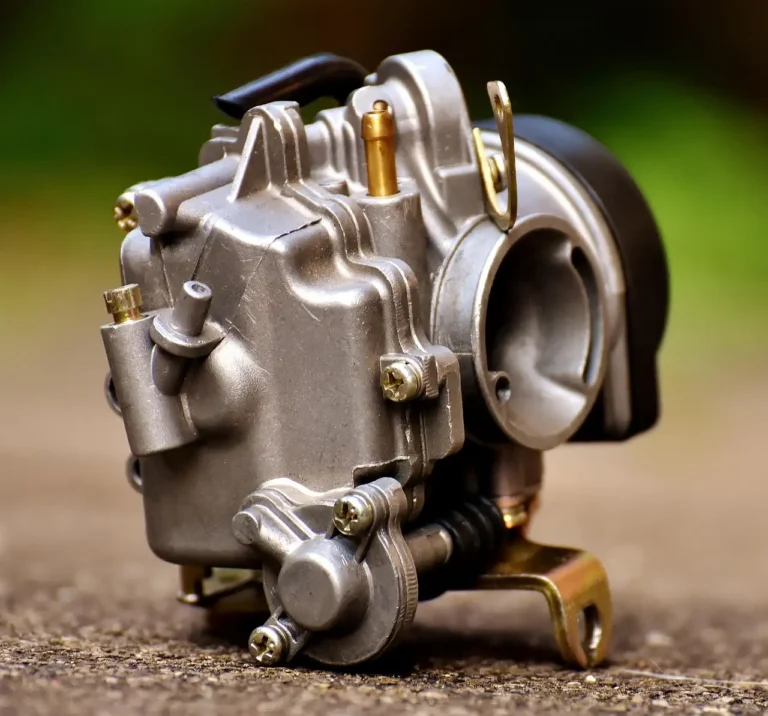
A carburetor meters air and fuel for combustion. Old fuel, varnish, and grit are the usual clog sources, and a clogged carburetor can cause hard starting, rough idling, stalling under load, poor acceleration, black smoke, or fuel leaks.
The symptom pattern helps narrow the circuit. A main jet issue usually shows up under throttle or load. A pilot jet problem usually shows up at idle, during cold start, or when the engine only runs with choke. Emulsion tube blockage can mimic either one because it affects fuel metering after the main jet begins feeding.
Main jet symptoms
The main jet is the larger jet in the carburetor. If it is restricted, the engine may start and idle, then bog, surge, or die when you open the throttle. On a small-engine carburetor, that often looks like a mower that runs briefly and then falls flat as soon as cutting load begins.
Pilot jet symptoms
The pilot jet is the smaller jet and may be fixed or removable depending on the carburetor. A blocked pilot jet can prevent the engine from running at all, or it may cause rough idle and repeated stalling unless you keep the choke partly on. It is often the smallest hole in the carburetor.
Emulsion tube blockage
The emulsion tube, sometimes called a nozzle or needle jet, is often behind the main jet on many carburetors and has many tiny holes. When varnish and debris plug those holes, fuel flow can look weak even if the main jet itself seems open. That is why the tube needs spray-through and air clearing.
What you’ll need
- Carburetor cleaner spray that is compatible with rubber and plastic parts
- Compressed air
- The smallest soft wire or jet cleaning tool that fits
- Nylon bristles, soft copper strand, or a tag wire
- Flat and Phillips screwdrivers
- Socket tools or nut drivers
- Needle-nose pliers
- Safety glasses and gloves
- Clean rags or a tray for small parts
- Replacement gaskets and O-rings if the originals are flattened or cracked
Can you clean jets without removing the carburetor?
Yes, sometimes. Light buildup can be cleared in place with short bursts of carb cleaner into the intake, followed by compressed air if the passages are reachable. That can help a lightly gummed small engine carburetor, but it is better only when the blockage is minor and you can still verify flow.
Say your mower starts on choke but dies when you move the lever to run. A brief in-place spray may free a lightly restricted pilot circuit. If the engine still will not take throttle after a few short bursts, removal is the better move because the jet or emulsion tube likely needs direct access.
When removal is the better move
Remove the carburetor when the jet is hidden, the passage is fixed or recessed, the float bowl contains crust or goo, or in-place spray does not restore flow. Many small-engine cleaning jobs include removing the float bowl, float needle, float pin, jets, and emulsion tube. That gives you a clear path to inspect each passage.
Identify the jet before you remove anything
Do not force every jet out the same way. Some pilot jets are fixed, some are removable, and some are recessed deep in the carburetor body. Identify the part first so you do not strip threads or enlarge a brass orifice while trying to clean the wrong piece.
Main jet
The main jet is the larger fuel metering jet and is often brass. It is usually easier to spot and easier to check for daylight through the orifice. Clean it with carb cleaner and compressed air first, then only move to a soft wire if spray and air do not open the passage.
Pilot jet
The pilot jet is smaller and often hides in a bore or side passage. On some carburetors it is removable; on others it is fixed. Because blocked pilot jets can stop the engine from running, check whether the jet can actually be removed before you try to back it out with force.
Emulsion tube or nozzle
The emulsion tube sits behind the main jet on many carburetors and has multiple tiny holes that need cleaning. Spray through the tube, then blow air through each opening until you can see light. If the holes stay blocked, use the smallest soft cleaner that fits, not a hard probe.
Carb jet decision table
| Symptom | Likely clogged circuit | Safest tool to use first | Escalation step | Stop/replace threshold |
|---|---|---|---|---|
| Hard start, dies without choke, rough idle | Pilot jet | Carb cleaner spray, short burst | Compressed air, then a soft nylon bristle or soft copper strand | Stop if the jet is fixed, the passage is recessed, or the brass is already scored |
| Runs at idle, bogs on throttle, stalls under load | Main jet | Carb cleaner spray through the jet and passage | Compressed air, then the smallest soft wire that fits | Stop if daylight never appears after cleaning or the orifice looks oval |
| Weak fuel draw through main circuit, uneven metering | Emulsion tube or nozzle | Spray-through from both ends | Air blast through each tiny hole, then soft bristle cleaning | Replace if holes remain blocked after spray, air, and soft cleaning |
| Any jet still seems blocked after cleaning | Any of the above | Daylight check and airflow test | Repeat spray, then air, then a soft tool one more time | Stop if a hard wire would be needed or the brass is visibly damaged |
Clean the main jet, pilot jet, and emulsion tube
-
Shut down safely.
Disconnect the spark plug wire, shut off fuel, and work in open air with eye protection and gloves. That lowers the chance of an accidental start and keeps cleaner and debris out of your eyes. -
Drain the bowl.
Remove the float bowl and empty any fuel, varnish, crust, or goo into a safe container. Inspect the bowl gasket and O-ring; replace them if they are flattened, cracked, or hard. -
Remove the correct jet.
Take out the main jet, then the pilot jet or access plug if the design allows it, and then the emulsion tube if it sits behind the main jet. Use only the driver that fits the slot or hex cleanly so you do not strip brass. -
Spray the passage.
Use carburetor cleaner in short bursts through each jet and passage, then let it sit briefly and spray again. Short bursts matter because they help dissolve gum and reduce the chance of flooding small passages or damaging nearby rubber parts. -
Blow out the passages.
Use compressed air with eye protection and blow through the jet until you can see light through the orifice. Repeat for the emulsion tube and the idle circuit, since each tiny hole has to pass air freely. -
Use the smallest soft tool.
If solvent and air do not clear the clog, use the smallest soft wire or jet cleaning tool that fits. A nylon bristle, soft copper strand, or purpose-made jet cleaner is generally safer than a hard steel probe, which can enlarge brass jets.Suppose the pilot jet still will not pass spray after two cleaning cycles. Try one soft pass through the opening, then spray and air again. If the hole still refuses to pass daylight or air, stop before you round out the brass.
-
Check flow and finish.
Hold each jet up to light and confirm daylight through the orifice, then verify air passes cleanly through each passage. Reinstall the jets, bowl, gasket, and O-ring, and return the fuel screw or mixture screw to the same setting by counting turns before removal.
What if cleaner and air do not clear the jet?
If spray and compressed air do not clear a jet, do not keep forcing a harder tool through brass. The next move depends on whether the jet is removable, fixed, or already damaged. Stop when the bore looks enlarged, the tool must be forced, or the threads begin to strip.
Stuck removable jets
Use the correct screwdriver or socket, steady pressure, and a short soak with carb cleaner at the jet seat. If the head starts to deform or the jet will not budge, stop and replace it with a rebuild kit part instead of chewing up the carb body. A stripped brass jet can cost more than the jet itself.
Fixed or recessed pilot jets
Some pilot jets are fixed or sit too deep for normal removal. In that case, clean the exposed passage, spray from both directions if access allows, and blow out the circuit with air. If the pilot circuit still blocks flow, the carburetor may need a rebuild kit or full replacement rather than more force.
When to stop and replace parts
Replace damaged jets, gaskets, or O-rings when they are cracked, flattened, or visibly enlarged. Replace the entire carburetor if corrosion is severe, threads are stripped, or the passages do not clear after spray, air, and soft-tool cleaning. That is the point where more cleaning risks more damage.
Common mistakes to avoid
Do not assume every jet is removable. Check the carburetor layout first, because a fixed pilot jet or recessed passage can be ruined by forced removal.
Do not use drill bits, hard steel wire, or any oversized probe. Brass is soft, and even a slight enlargement changes fuel metering.
Do not skip the float bowl, gasket, and O-ring check. A clean jet can still leak fuel or air if the seal surface is damaged.
Do not forget the fuel screw or mixture screw setting. Count the turns before removal so you can return to the same baseline on reassembly.
Do not keep blasting cleaner forever and calling it done. If a jet will not pass daylight or air after repeated cleaning, stop and replace the part.
Frequently asked questions
How do you clean jets on a carburetor?
Remove the float bowl, identify the main jet, pilot jet, and emulsion tube, then spray each passage with carb cleaner in short bursts. Blow through with compressed air, check for daylight, and use only the smallest soft tool if spray and air do not clear the blockage.
How do you clean a small engine carburetor jet?
Start with the carburetor cleaner spray and compressed air, then clean the jet with a soft bristle or soft copper strand if the clog remains. On a small engine carburetor, the pilot jet may be fixed or removable, so inspect the design before forcing anything out.
How do you clean lawn mower carburetor jets?
Shut off fuel, disconnect the spark plug wire, remove the bowl, and clean the jets one at a time. A lawn mower usually responds best when the main jet, pilot jet, and emulsion tube are all checked, because old fuel often leaves deposits in each passage.
What tools do I need to clean carb jets?
Use screwdrivers, socket tools, needle-nose pliers, carburetor cleaner, compressed air, and small wire or bristle tools. Add safety glasses and gloves. Choose the smallest soft tool that fits, because the goal is to clear the brass jet without enlarging it.
Can you clean carb jets without removing the carburetor?
Yes, for light buildup only. Short bursts of cleaner into the intake can help, followed by air if the passages are reachable. If the engine still stalls, the clog is deeper, or the pilot jet is recessed, removal is the better next step.
What should I do if carb cleaner and air do not clear the jet?
Stop using hard force. Try one soft-wire pass, then repeat spray and air, and inspect the jet under light. If the bore will not open or the brass looks damaged, replace the jet or move to a rebuild kit rather than enlarging the orifice further.
Products related to this article
Sponsored / affiliate links. As an Amazon Associate I earn from qualifying purchases. I may earn additional commission from eligible campaigns.
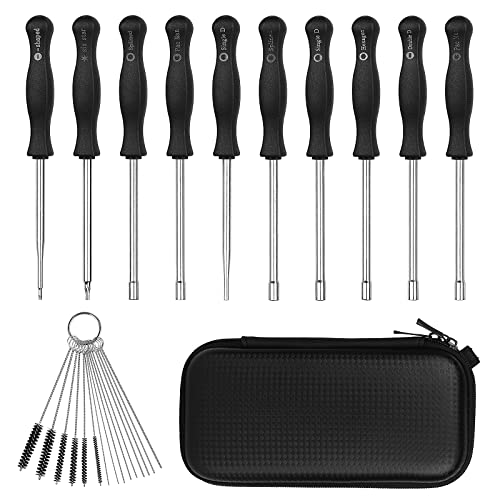 10 Pcs Carburetor Cleaning Tool Screwdriver Kit for Common 2 Cycle Carburator Adjustment Small Engine Carb Tune up Adjusting Tool- Carb Kit
 Carburetor Adjustment Tool Screwdriver Kit for 2 Cycle Small Engine Poulan Husqvarna ECHO Trimmer Weedeater Chainsaw,Carburetor Adjustment Tool Set Carburetor Tune up Adjusting Tool (11pcs +bag)