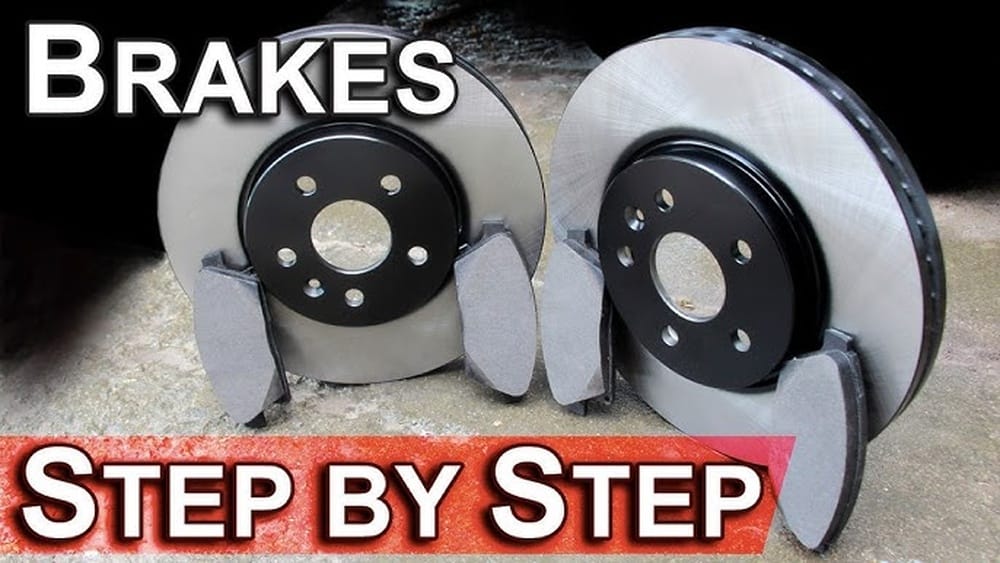
How to Change Car Brake Pads Yourself (Step-By-Step)
Changing your own car brake pads can be a rewarding, cost-saving DIY project that also enhances your understanding of vehicle safety and maintenance. Whether you’re a seasoned home mechanic or just starting out, learning to replace brake pads is an essential skill that can save you hundreds of dollars in labor costs each year and ensure that your car stops as reliably as possible.
Most importantly, doing it yourself means you’ll know the job was done with care, using quality parts and the proper techniques.
However, this task isn’t something to approach lightly. Brake systems are critical for safety, and errors can have serious consequences. That’s why this guide provides an in-depth, step-by-step process backed by expert tips, data comparisons, and real-world examples to help you successfully change your car’s brake pads.
By the end, you’ll be equipped with the knowledge, tools, and confidence to tackle this job and recognize when it’s best to call in a professional.
Key Takeaways
- Replacing your own brake pads can save $150–$300 per axle compared to dealership or shop service.
- The process requires basic mechanical skills, safety precautions, and a few specialized tools.
- Choose the right brake pad material based on your driving needs and car type.
- Properly bedding in new pads is critical for optimal performance and longevity.
- Always inspect rotors, hardware, and fluid condition during the job.
- When in doubt, consult your vehicle’s manual or a certified mechanic for guidance.

Credit: www.youtube.com
Understanding Brake Pads And When To Replace Them
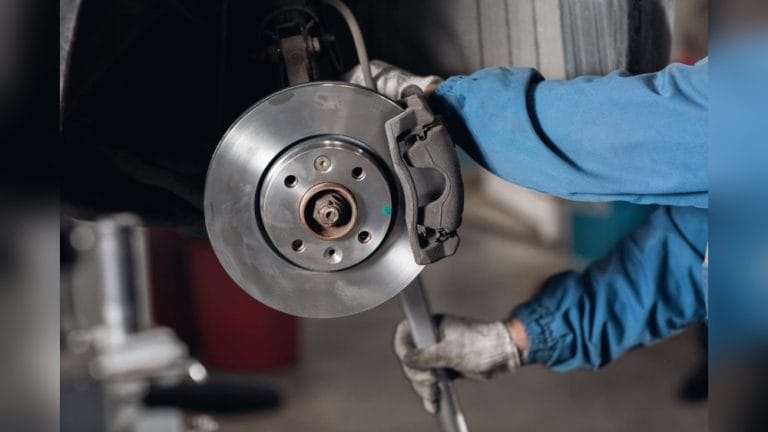
Car brake pads are essential friction components that press against rotors to slow or stop your vehicle. Over time, these pads wear down and must be replaced to maintain safe braking performance.
How Brake Pads Work
When you press the brake pedal, hydraulic fluid transmits force to the calipers, which squeeze the brake pads against the spinning rotors. This friction converts kinetic energy into heat, slowing the vehicle. Modern brake systems often use disc brakes for the front wheels, and sometimes for the rear, while drum brakes are common on older vehicles or the rear of economy cars. Disc brakes are generally more efficient and easier to service.
The caliper houses the brake pads and piston, which pushes the pad against the rotor. As the pads wear down, the piston extends further to compensate for the reduced pad thickness, a process that can eventually lead to the need for replacement.
Signs Your Brake Pads Need Replacement
Look for these common symptoms that indicate your brake pads are due for replacement:
- Squeaking or squealing noises when braking, often from wear indicators built into the pads.
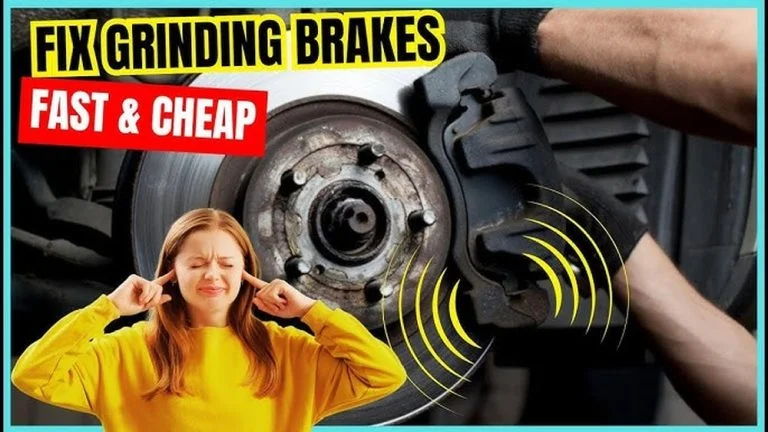
- Grinding sounds (metal-on-metal contact), which indicate pads are worn past their useful life and could damage rotors.
- Longer stopping distances and reduced braking responsiveness.
- Vibration or pulsation in the brake pedal, which can signal warped rotors or uneven pad wear.
- Dashboard brake warning light illuminated, especially in newer vehicles with pad wear sensors.
- Pad thickness less than 3mm (visually inspect through wheel), which is below the recommended minimum.
Routine inspections can help catch these signs early. Some cars have electronic pad wear sensors that trigger a dashboard warning when pads reach a critical thickness. If your vehicle doesn’t have this feature, regular visual checks every oil change or tire rotation are a good practice.
According to the National Highway Traffic Safety Administration (NHTSA), worn-out brakes are a top cause of preventable accidents, emphasizing the importance of timely maintenance (NHTSA).
Typical Brake Pad Lifespan
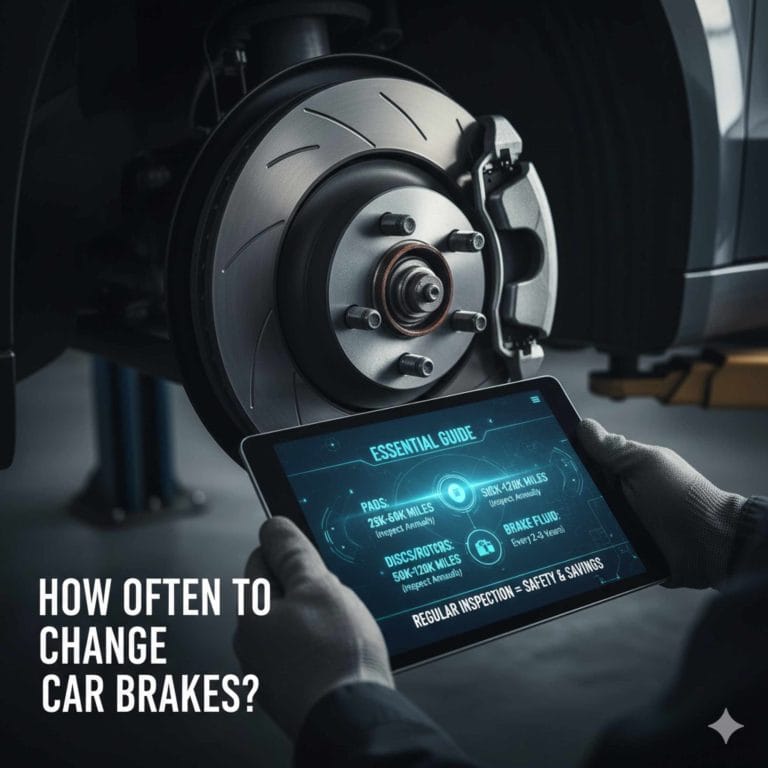
The lifespan of brake pads depends on driving habits, vehicle type, and pad material. On average, brake pads last between 30,000 and 70,000 miles. Urban driving, aggressive braking, and heavy vehicles can reduce this lifespan.
For instance, a city commuter who frequently stops and starts will wear out pads faster than a highway driver. Towing heavy loads, driving in mountainous regions, and spirited driving styles further decrease pad longevity. Conversely, highway driving with minimal braking can extend pad life significantly.
Pad lifespan also depends on pad material and rotor condition. If rotors are worn or damaged, they can prematurely wear out new pads. Always check both pads and rotors during brake inspections.
Types Of Brake Pads
There are several types of brake pad materials, each with its own pros and cons:
| Type | Typical Lifespan | Noise Level | Performance | Cost | Common Applications |
|---|---|---|---|---|---|
| Semi-Metallic | 30,000–50,000 miles | Moderate | High | $$ | Most passenger vehicles |
| Ceramic | 50,000–75,000 miles | Low | Moderate | $$$ | Luxury, daily drivers |
| Organic (Non-Asbestos) | 20,000–35,000 miles | Low | Moderate | $ | Older/small cars |
| Low-Metallic NAO | 30,000–50,000 miles | High | High | $$ | Performance cars |
Semi-metallic pads are robust and provide excellent stopping power, especially in high-heat situations, but tend to be noisier and produce more dust. Ceramic pads are quieter, cleaner, and more durable, but may not perform as well in extreme conditions. Organic pads are softer and quieter but wear out faster.
Low-metallic NAO pads are used in performance settings but can be noisy.
Choosing the right pad depends on your driving style, budget, and vehicle requirements. For more on pad types, visit Wikipedia.
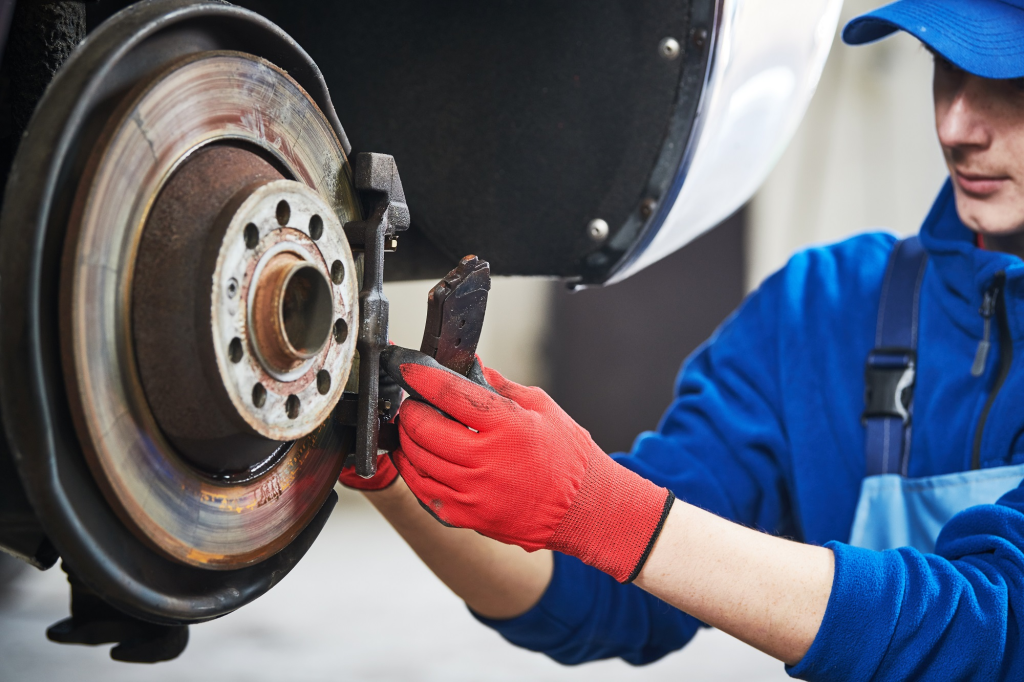
Credit: www.mccarthyhyundaioflawrence.com
Tools, Parts, And Preparation
Proper preparation ensures a smooth and safe brake pad replacement process. Gather all necessary tools and materials before starting.
Essential Tools And Supplies
- Jack and jack stands (or ramps) to safely lift and support your vehicle.
- Lug wrench or impact wrench for wheel removal.
- Socket set (metric or standard, depending on your car) for caliper bolts.
- C-clamp or brake caliper tool to compress the caliper piston.
- Flathead screwdriver for prying and removing clips.
- Torque wrench to ensure bolts are tightened to manufacturer specs.
- Brake cleaner spray to remove dust and grease.
- Disposable gloves and eye protection for safety.
- New brake pads (correct for your make/model).
- Anti-squeal brake lubricant (optional, but recommended).
- Bungee cord or wire hanger (to support caliper).
- Shop towels/rags for cleanup and handling greasy parts.
Depending on your car, you may also need a caliper wind-back tool for rear brakes, especially if your vehicle has an integrated parking brake. Always check your vehicle’s manual for any special tools required.
Choosing The Right Brake Pads
- Consult your owner’s manual or use online parts catalogs to ensure compatibility.
- For daily driving, ceramic pads are quiet and clean. For performance or towing, semi-metallic may be best.
- Read reviews and choose reputable brands such as Akebono, Bosch, or Brembo.
Don’t just rely on price—cheap pads often compromise safety, longevity, and performance. Look for pads with positive user feedback, robust warranties, and proven durability. Some pads come with new hardware, like anti-rattle clips and shims, which can make installation easier and improve results.
Safety Precautions
- Work on a flat, stable surface to prevent accidents.
- Engage the parking brake and block the wheels to prevent rolling.
- Never rely on a jack alone—always use jack stands to support the vehicle.
- Wear gloves and eye protection to protect against dust, debris, and chemicals.
- Keep all parts organized and track which bolts go where, using magnetic trays or labeled containers.
It’s also wise to keep your phone nearby in case you need to look up a procedure or call for help.
Real-world Example: Cost Savings
Sarah, a Subaru Outback owner, was quoted $275 per axle for a front brake pad replacement at her local dealership. She completed the job herself for $62 in parts and $15 for a rented tool, saving over $400 on a full brake service. Her success illustrates the significant financial benefits of DIY brake maintenance.
For more context, many home mechanics report similar savings on sedans, SUVs, and light trucks. In addition to direct savings, DIYers avoid upsell tactics common at shops, such as unnecessary rotor replacement or fluid flushes. The satisfaction and empowerment from completing the job yourself can also be invaluable.
Step-by-step Guide: Changing Brake Pads
This section provides a detailed, stepwise walkthrough for replacing typical disc brake pads. Always follow your vehicle’s specific procedures as outlined in its service manual.
Step 1: Preparing Your Vehicle
- Park on a level surface. Engage the parking brake and place wheel chocks behind the rear wheels.
- Loosen the lug nuts (but do not remove them yet) on the wheel(s) you’ll be working on. This prevents the wheel from spinning while elevated.
- Raise the vehicle using a jack and secure it with jack stands. Never work under a vehicle supported by a jack alone.
- Fully remove the lug nuts and take off the wheel to expose the brake assembly.
For extra safety, place the removed wheel under the frame as a backup support. If you’re working outdoors, avoid windy conditions that could shake the car.
Step 2: Removing The Caliper
- Locate the brake caliper (it straddles the rotor and pads).
- Identify the caliper bolts (typically on the back side of the caliper).
- Use the correct socket to remove these bolts. Support the caliper using a bungee cord or wire—do not let it hang by the brake hose, which could cause damage.
- Slide the caliper off the rotor and set it aside.
Some calipers use slide pins instead of bolts. If you find pins, remove them as instructed in your manual. Take care not to twist or kink the brake hose, as this can cause leaks or failure.
Step 3: Removing Old Brake Pads
- The brake pads are now visible in the caliper bracket.
- Remove any retaining clips or springs (note their orientation for reassembly).
- Slide out the old pads. Inspect them for uneven wear or damage, which could indicate underlying issues.
- (Optional) Inspect the brake rotor for grooves, rust, or scoring. If severe, the rotor may require resurfacing or replacement.
If pads are stuck, gently pry them out with a screwdriver, but avoid damaging the bracket. Uneven wear can indicate a sticking caliper or worn hardware—address these issues before installing new pads.
Step 4: Compressing The Caliper Piston
- To fit the new, thicker pads, the caliper piston must be compressed back into the caliper body.
- Place the old pad against the piston and use a C-clamp or caliper tool to slowly press the piston flush.
- Check the brake fluid reservoir under the hood—fluid may rise as you compress the piston. Remove excess if necessary to prevent overflow.
Some calipers, especially rear ones, require a special tool to rotate the piston back in. Consult your manual and never force the piston, as this can cause damage.
Step 5: Installing New Brake Pads
- Apply a thin layer of anti-squeal lubricant to the back of the new pads (avoid the friction surface).
- Install the new pads into the caliper bracket, ensuring they are seated properly.
- Reinstall any retaining clips or springs.
If your pads come with shims or wear sensors, install them according to the instructions. Double-check that pads are oriented correctly, as reversed pads can cause brake failure.
Step 6: Reassembling The Caliper
- Carefully slide the caliper over the new pads and onto the rotor.
- Reinstall and hand-tighten the caliper bolts. Use a torque wrench to tighten to the manufacturer’s specification (typically 20–35 ft-lbs).
- Double-check that all hardware is secure and nothing is pinched.
Torque specs can vary by vehicle, so always consult your manual. Under-tightened bolts can loosen, while over-tightened bolts can strip threads.
Step 7: Reinstalling The Wheel
- Reinstall the wheel and hand-tighten the lug nuts.
- Lower the vehicle until the tire contacts the ground, then use a torque wrench to tighten the lug nuts to spec in a star pattern.
A star pattern prevents warping the rotor and ensures even pressure. If your wheels have locking nuts, use the special key provided.
Step 8: Bedding-in New Brake Pads
Proper bedding ensures maximum performance and lifespan.
- Find a safe, empty road.
- Perform 5 moderate stops from 40 mph to 10 mph, allowing brakes to cool between each.
- Follow with 5 harder stops from 35 mph to 5 mph.
- Avoid full stops or holding the pedal down after braking during this process.
Bedding the pads transfers a thin layer of friction material onto the rotor, preventing uneven wear and minimizing noise. Avoid aggressive stops for the first 100 miles, and never slam on the brakes immediately after a pad change.
For in-depth bedding procedures, reference Akebono’s official bedding guide.

Credit: doylestownautoshop.com
Common Challenges And Troubleshooting
Even with careful preparation, you may encounter issues. Here’s how to address common challenges.
Caliper Won’t Retract
- Ensure the correct tool is used and the caliper isn’t seized.
- For rear brakes with an integrated parking brake, a special caliper wind-back tool may be required.
- If the piston is stuck, the caliper may need to be rebuilt or replaced.
Corrosion, worn seals, or debris can cause pistons to seize. If you can’t retract the piston after multiple attempts, professional service may be needed.
Uneven Pad Wear
- Check for sticking caliper slides, worn hardware, or rotor issues.
- Clean and lubricate all slide pins and contact points during reassembly.
If pads wear faster on one side, it could indicate a frozen caliper or misaligned hardware. Address these issues before installing new pads to avoid premature wear.
Noisy Brakes After Replacement
- Squealing is often caused by lack of anti-squeal lubricant, poor bedding, or using low-quality pads.
- Confirm all hardware is installed correctly and rotors are in good condition.
If noise persists, inspect the pads for glazing (shiny, hard surface) and sand lightly if needed. Some noise is normal during the bedding process but should fade after a few days.
Soft Or Spongy Brake Pedal
- Pump the brake pedal several times with the car off to seat the pads against the rotors.
- Check brake fluid level.
- If pedal remains soft, there may be air in the system requiring a brake bleed.
Bleeding brakes removes trapped air and restores pedal firmness. If you recently replaced pads and experience a soft pedal, air may have entered the system during piston compression.
Case Study: Troubleshooting Success
Mike, a Honda Accord owner, experienced persistent brake noise after DIY installation. Upon inspection, he found a missing anti-rattle clip and corrected it, resulting in quiet, smooth operation. This underscores the importance of careful reassembly and attention to detail.
DIYers often overlook small hardware, such as clips, shims, or pins. Always double-check your work before finishing the job.
Comparing Diy Vs. Professional Brake Pad Replacement
Understanding the trade-offs between doing it yourself and hiring a professional can help you make an informed decision.
| Aspect | DIY Replacement | Professional Service |
|---|---|---|
| Cost | $40–$150 per axle | $180–$400 per axle |
| Time | 1–3 hours (per axle) | 30–90 minutes |
| Skill Required | Moderate | None |
| Warranty | Parts only | Parts & labor |
| Peace of Mind | DIY confidence or uncertainty | Shop warranty and liability |
| Learning Value | High | Low |
DIY brake pad replacement offers significant savings and educational value. You gain firsthand experience, knowledge of your vehicle, and the confidence to handle future maintenance. However, mistakes can be costly or dangerous, so always prioritize safety and accuracy.
Professional service offers speed, convenience, and warranty coverage. Shops can quickly diagnose related issues, such as worn rotors or leaky brake lines, and provide comprehensive repairs. If your car is under warranty or you lack the tools and space, professional service is often preferable.
When To Call A Professional
- If you lack the necessary tools or workspace.
- If you encounter damaged brake lines, calipers, or rotors.
- If your vehicle has complex or electronic braking systems (e.g., electronic parking brakes).
- If you are unsure at any step of the process.
In addition, some modern vehicles require computer resets after brake service, especially those with electronic parking brakes or advanced driver assistance systems. In such cases, dealer or specialist service may be necessary.
For more on professional brake services, see Consumer Reports.
Maintenance Tips And Best Practices
Proper brake maintenance extends the life of your pads and ensures ongoing safety.
Inspecting Brake Fluid
- Check the brake fluid reservoir regularly.
- Top up with the correct type (DOT 3, DOT 4, or as specified in your manual).
- Dirty or dark fluid indicates it may be time for a brake fluid flush.
Brake fluid absorbs moisture over time, which can reduce braking efficiency and cause corrosion. Most manufacturers recommend flushing brake fluid every 30,000–50,000 miles or every two years. If you notice a drop in fluid level, check for leaks in the lines, calipers, or master cylinder.
Monitoring Rotor Condition
- Rotors should be smooth and free of grooves or scoring.
- Measure rotor thickness with a micrometer—replace if below minimum thickness (stamped on rotor or in manual).
- Resurface or replace rotors as needed to match new pads.
Warped or damaged rotors cause vibration, noise, and uneven pad wear. Some shops offer rotor resurfacing, but if rotors are too thin or heavily scored, replacement is the safest option.
Cleaning And Lubrication
- Use brake cleaner to remove dust and debris from all components.
- Lubricate caliper slides, pad backing plates, and hardware to ensure even movement and prevent squealing.
Proper lubrication prevents sticking and uneven wear. Avoid getting lubricant on the pad friction surface or rotor, as this can cause brake failure.
Rotating Pads And Preventing Uneven Wear
- Always replace brake pads in pairs (both front or both rear) for balanced braking.
- Rotate tires regularly to promote even pad wear.
Rotating tires every 5,000–8,000 miles helps maintain even pad and tire wear. Uneven wear can affect braking performance and vehicle handling.
Real-world Example: Routine Inspection
During a routine tire rotation, John noticed his pads were down to 2mm and his rotors were heavily scored. Early detection allowed him to replace both pads and rotors before experiencing brake failure or causing further damage.
Many drivers discover brake issues during unrelated maintenance, such as oil changes or tire rotations. Regular checks can prevent costly repairs and ensure safety.
Environmental And Legal Considerations
Proper handling and disposal of brake components protect both the environment and your community.
Disposing Old Brake Pads
- Many brake pads contain metals and other compounds that are harmful if not disposed of properly.
- Most auto parts stores and municipal recycling centers accept used brake pads.
- Never throw old pads in the regular trash.
Recycling prevents pollution and conserves resources. Some pads contain copper or other heavy metals that can contaminate water supplies if improperly discarded.
Handling Asbestos Risks
- Older vehicles (pre-1990s) may have asbestos in brake pads, which is hazardous.
- Wear a mask and avoid blowing brake dust; use wet cleaning methods or brake cleaner.
- For more, visit EPA’s Asbestos Safety Guide.
Asbestos exposure can cause serious health issues. If you suspect asbestos, consult a professional or use specialized containment procedures.
Staying Legal
- In some states, regulations require the use of low-copper or copper-free brake pads.
- Check local laws before purchasing pads, especially for newer or eco-friendly vehicles.
- For detailed legislation, see TireBuyer’s guide to brake pad laws.
California and Washington, for example, have strict regulations on copper content in brake pads to protect aquatic life. Always verify compliance to avoid fines and protect the environment.
Frequently Asked Questions
How Long Does It Take To Change Brake Pads Yourself?
For most vehicles, a first-time DIYer should allow 2–3 hours for a full axle (front or rear). With practice, this can drop to 1–1.5 hours. Complex vehicles or stuck components can add time.
If you’re working on your own for the first time, plan for extra time to read instructions and troubleshoot any unexpected issues. Preparation and organization can dramatically reduce the time needed.
What Tools Do I Absolutely Need To Change Brake Pads?
The essential tools are a jack and jack stands, lug wrench, socket set, C-clamp or caliper tool, and a torque wrench. Additional items like brake cleaner and anti-squeal lubricant are highly recommended for best results.
Having the right tools prevents frustration and ensures a safe, effective job. Specialty tools, such as a brake pad spreader or caliper wind-back tool, may be needed for some vehicles.
Can I Just Replace Brake Pads And Not Rotors?
Yes, if your rotors are in good condition (smooth, within thickness spec, not warped), you can replace just the pads. However, worn or damaged rotors should be resurfaced or replaced for optimal braking and pad life.
Inspect rotors carefully—if you feel grooves, scoring, or see excessive rust, replacement is the safest choice. Neglecting rotors can cause premature pad wear and compromised braking.
What Happens If You Don’t Bed In New Brake Pads?
Skipping the bedding-in process may lead to uneven pad material transfer, reduced stopping power, and premature noise or vibration. Always follow the recommended bedding procedure for best performance.
Improper bedding can also cause “hot spots” on rotors, leading to vibration, pulsation, or permanent rotor damage.
Are Ceramic Or Semi-metallic Brake Pads Better?
It depends on your needs. Ceramic pads are quiet, produce less dust, and last longer but cost more. Semi-metallic pads offer better heat resistance and stopping power, making them ideal for performance or heavy-duty applications. See Bridgestone’s brake pad guide for more details.
Research your driving style, climate, and vehicle requirements before choosing a pad. Performance vehicles, towing, or mountain driving often benefit from semi-metallic pads, while urban commuters may prefer ceramic for quiet operation.
Changing your car’s brake pads is a practical, empowering way to maintain your vehicle and save money. By following the comprehensive steps, tips, and best practices outlined above, you can ensure your brakes perform at their peak and keep you safe on the road.
Remember, attention to detail and a focus on safety are crucial—never hesitate to consult a professional when in doubt. Happy wrenching!
Products related to this article
Sponsored / affiliate links. As an Amazon Associate I earn from qualifying purchases. I may earn additional commission from eligible campaigns.