
Car Tire Won’T Go on Rim? Here’S How to Fix It Fast
Struggling with mounting a car tire onto the rim is a problem that can halt even the most experienced DIYers and mechanics in their tracks. Whether you’re replacing a flat, upgrading to new wheels, or rotating your own tires, discovering that your car tire won’t go on the rim can be deeply frustrating and time-consuming. Many drivers face this issue, and it can strike at the least convenient moments—leaving you stranded in your garage, driveway, or worse, on the side of the road. The good news? With the right knowledge, tools, and troubleshooting steps, you can solve this problem quickly and safely.
This guide unpacks the most common reasons why a tire refuses to seat on a rim, offers immediate step-by-step solutions, and shows you how to prevent this headache in the future. Drawing on real-world case studies, expert advice, and authoritative sources, you’ll learn how to confidently fix the problem—without damaging your wheels, tires, or your sanity.
Whether you’re a weekend DIYer or a seasoned mechanic looking for fresh insights, you’ll find actionable tips and data-driven comparisons to help you get back on the road faster.
Key Takeaways
- Tire mounting issues often stem from improper alignment, incompatible tire/rim sizes, damage, or lack of lubrication.
- Quick fixes include proper lubrication, repositioning, using the right tools, and checking for rim or tire defects.
- Safety should never be compromised—always use the correct equipment and procedures to avoid injury or damage.
- Preventative steps like correct tire sizing, routine inspection, and professional help for stubborn cases can save time and money.
- Understanding the most common mistakes and solutions can make tire mounting a straightforward process for most drivers.
Credit: www.duallywheels.com
Common Reasons A Car Tire Won’t Go On The Rim
Understanding why a car tire won’t seat on the rim is key to solving the problem efficiently. Several factors can cause this headache, and each requires a slightly different approach.
Incorrect Tire Or Rim Size
One of the most frequent culprits is a mismatch in tire and rim sizes. Tires and rims come in a range of widths and diameters, and even a small discrepancy can prevent proper mounting. Always verify that your tire’s diameter and width match the rim’s specifications. For example, trying to fit a 16-inch tire onto a 17-inch rim is impossible and potentially dangerous.
Debris, Rust, Or Corrosion On The Rim
Rust, corrosion, and debris can create uneven surfaces or sharp edges that block the tire bead from sliding over the rim. Even minor oxidation can prevent a good seal and make installation nearly impossible. Thoroughly inspect and clean the rim before attempting to mount a new tire.
Stiff Or Aged Tire Beads
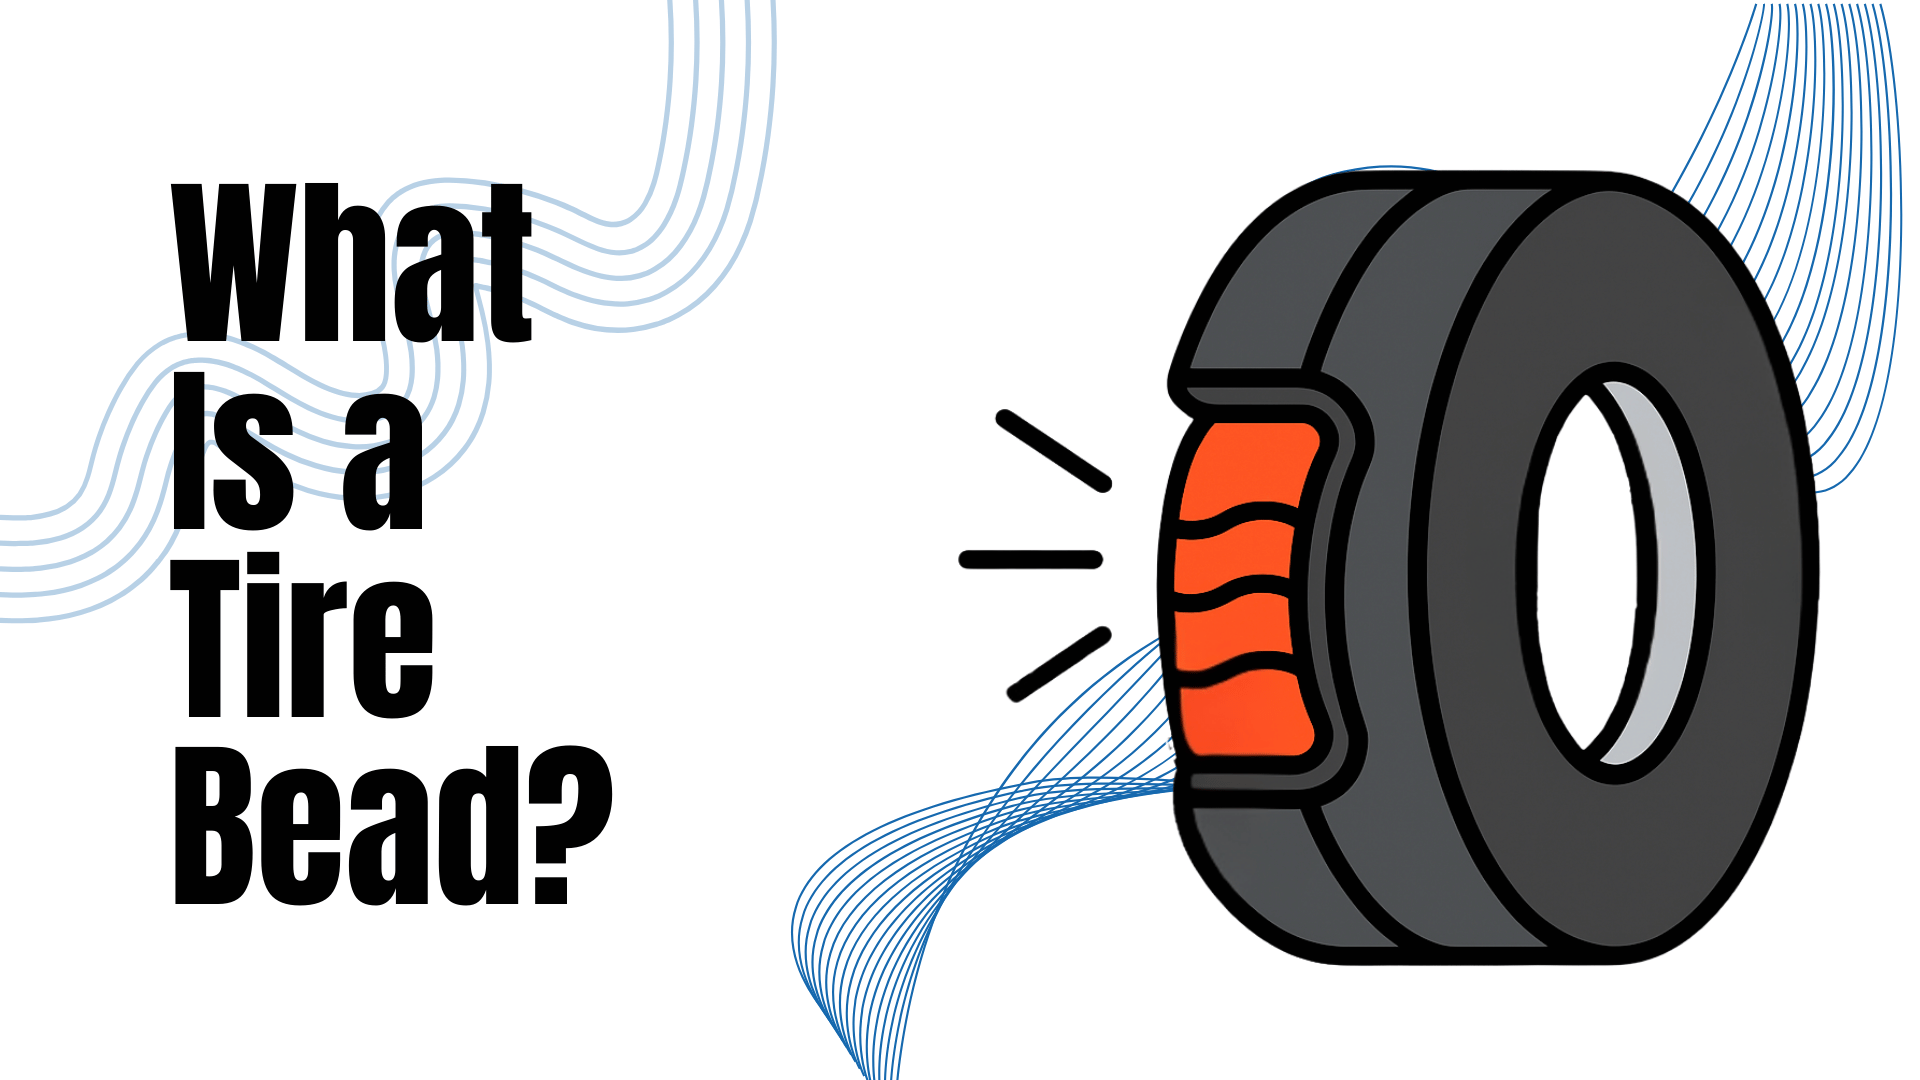
The bead is the inner edge of the tire that sits on the rim. If the tire is old, has been stored improperly, or is exceptionally stiff (as with certain low-profile or run-flat tires), the bead may not flex enough to pop over the rim’s edge. This is especially common with performance tires and can require extra muscle or professional equipment.
Insufficient Lubrication
Without the right lubricant, the bead can stick to the rim and resist seating, especially on dry or hot days. Using an appropriate tire mounting lubricant is essential for a smooth installation. Avoid petroleum-based products, as these can degrade rubber over time.
Damaged Rim Or Tire
A bent rim or damaged tire bead can make mounting impossible or unsafe. Look for visible dents, cracks, or flat spots on the wheel, and inspect the tire bead for cuts or deformities. Attempting to force a tire onto a damaged rim can lead to catastrophic tire failure down the road.
Improper Mounting Technique
Using the wrong tools or failing to follow proper mounting procedures can easily result in a stuck tire. Forcing the tire, using screwdrivers, or skipping steps can damage both tire and rim, setting you back further.
Credit: us.gooloo.com
Step-by-step Solutions For Fast Tire Mounting
When your car tire won’t go on the rim, following a systematic troubleshooting process can save time and effort. Here’s a detailed, actionable workflow to get you back on track.
1. Double-check Tire And Rim Compatibility
- Read tire and rim markings carefully: The rim diameter (e.g., 17”) must match the tire’s inner diameter.
- Check width compatibility: Mismatched widths can cause bead seating issues, even if the diameter matches.
- Use reference charts or manufacturer guides if unsure.
2. Inspect And Clean The Rim
- Remove dirt, grease, and rust: Use a wire brush and mild cleaner.
- Check for rim damage: Look for bends, cracks, or sharp edges. Minor imperfections may be smoothed with sandpaper, but major damage requires rim replacement.
- Dry thoroughly before proceeding to avoid lubricant dilution.
3. Prepare The Tire
- Inspect the bead for tears, deformities, or excessive stiffness.
- Soften stubborn beads: Gently warm the tire (room temperature or slightly higher) to make the rubber more pliable, but avoid direct heat sources which can damage the compound.
4. Apply Proper Lubrication
- Use a tire mounting paste or professional-grade lubricant: Apply liberally to both the rim edge and the tire bead.
- Avoid household lubricants: Products like WD-40 or petroleum jelly can degrade rubber over time.
5. Position The Tire Correctly
- Align the tire bead with the drop center of the rim, the deepest part, to make mounting easier.
- Start opposite the valve stem to avoid damaging it during installation.
6. Use The Right Tools
- Manual tire irons: For most DIYers, these are sufficient for standard passenger tires.
- Bead seating tools or specialized clamps: For stubborn tires, these can provide extra leverage and control.
- Professional tire changers: For low-profile, run-flat, or performance tires, consider visiting a shop equipped with hydraulic or pneumatic machines.
7. Mount The Tire
- Work progressively around the rim, pressing the bead into the drop center and leveraging with tire irons as needed.
- Avoid pinching or tearing the bead—this can cause future leaks or blowouts.
8. Inflate And Check For Bead Seating
- Inflate gradually, watching for the bead to pop into place.
- Listen for two pops—one for each bead seating.
- Never exceed the maximum pressure listed on the tire sidewall.
9. Inspect For Leaks Or Imperfections
- Check for visible gaps between tire and rim.
- Spray soapy water around the bead and look for bubbles indicating air leaks.

Credit: www.gogrit.us
Real-world Examples And Case Studies
Learning from practical experiences can make troubleshooting easier and more relatable. Here are three real-world scenarios that highlight common issues and solutions.
Example 1: Stubborn All-terrain Tire On A Corroded Rim
A DIY enthusiast in Colorado reported struggling to mount a new all-terrain tire on his truck’s rim. Closer inspection revealed significant corrosion, especially on the inner flange. After cleaning the rim with a wire brush and applying a commercial tire lubricant, the tire seated smoothly with moderate effort.
Example 2: Low-profile Performance Tire Refuses To Mount
A performance car owner in Florida had trouble getting a low-profile tire onto an aftermarket alloy rim. The tire bead was particularly stiff, and typical manual irons weren’t enough. The solution involved warming the tire in the sun for 30 minutes, using bead seating clamps, and applying extra mounting paste. The tire finally popped on after careful, gradual pressure.
Example 3: Mismatched Tire Size Discovered Mid-installation
A mechanic in Texas discovered a customer had purchased tires with a slightly smaller diameter than the rims. The tires simply wouldn’t stretch over the edge. After checking the sidewall, it became clear the wrong size had been ordered. The correct tires fit perfectly, underscoring the importance of size verification before starting any mounting job.
Comparison Table: Common Tire Mounting Issues And Solutions
Understanding the symptoms and best fixes for common problems helps you act quickly. The following table summarizes typical scenarios and the most effective solutions:
| Problem | Symptoms | Recommended Solution |
|---|---|---|
| Incorrect tire or rim size | Tire won’t fit over rim, visible size mismatch | Verify and match tire/rim dimensions before mounting |
| Debris/corrosion on rim | Rough mounting, bead won’t seat | Thoroughly clean and inspect rim before mounting |
| Stiff or aged tire bead | Bead won’t flex, excessive force needed | Warm tire, use bead seating tools, extra lubricant |
| Improper lubrication | Bead sticks, tire squeaks or resists movement | Apply professional tire mounting paste liberally |
| Damaged rim/tire | Visible deformities, air leaks | Repair or replace damaged components |
Tools And Products That Make Tire Mounting Easier
Having the right equipment can make the difference between a smooth tire change and hours of frustration. Here’s a breakdown of essential and advanced tools for tire mounting.
Essential Diy Tools
- Tire irons or spoons: Basic lever tools for prying the bead over the rim.
- Rubber mallet: Helps seat the bead without damaging the rim.
- Bead lubricant: Reduces friction and risk of bead damage.
- Air compressor: Provides controlled inflation and bead seating.
Advanced And Professional Tools
- Bead seating tools/clamps: Hold the bead in place while you work around the rim.
- Hydraulic or pneumatic tire changers: Found in professional shops, these machines make quick work of stubborn tires.
- Bead blaster or air cannon: Rapidly delivers a burst of air to seat the bead, especially useful for tubeless tires or large truck tires.
Product Comparison Table: Lubricants And Tire Mounting Tools
| Product | Type | Best For | Average Price |
|---|---|---|---|
| Rema Tip Top Mounting Paste | Professional lubricant | All tire types | $15 (1 kg tub) |
| Harbor Freight Tire Irons | Manual tool | DIYers, standard tires | $10–$20 (per set) |
| Coats Rim Clamp Machine | Hydraulic machine | Shops, performance/low-profile tires | $2,000–$5,000 |
| Bead Seater Air Blaster | Air cannon | Large truck/agricultural tires | $100–$200 |
Where To Buy Quality Tools
Most automotive supply stores and online retailers, such as AutoZone and Tire Rack, offer a wide range of tire mounting tools and lubricants. For professional-grade equipment, check specialized suppliers like Coats Garage.
Safety Considerations When Mounting Tires
While speed is important, safety should always come first when dealing with tires and rims. Improper procedures can result in injury, property damage, or catastrophic tire failure on the road.
Personal Protective Equipment
- Gloves: Prevent cuts and abrasions.
- Safety glasses: Protect eyes from debris and sudden bead seating.
- Steel-toed boots: Shield feet from dropped tools or wheels.
Safe Mounting Procedures
- Never overinflate to seat a bead. Always follow the tire’s maximum pressure rating.
- Avoid makeshift tools: Using screwdrivers or pry bars not designed for tires can slip and cause injuries.
- Secure the wheel: Use a non-slip surface or secure the rim in a tire mounting stand.
Bead Seating Precautions
- Keep hands and face away from the bead area during inflation—if the bead snaps into place suddenly, it can cause serious harm.
- Inflate in short bursts and check frequently for proper seating.
Know When To Seek Professional Help
If you encounter excessive resistance, visible damage, or an unfamiliar tire/rim combination, it’s wise to consult a professional. Tire shops have specialized equipment and experience to handle tricky jobs safely and efficiently.
Preventing Tire Mounting Problems In The Future
A little preparation goes a long way toward avoiding the frustration of a tire that won’t go on the rim. Here’s how to minimize future headaches.
Verify Sizes Before Purchase
- Double-check tire and rim specs before buying. Use manufacturer fitment guides or consult with tire experts.
- Keep a record of your vehicle’s recommended tire and wheel sizes.
Maintain Clean, Damage-free Rims
- Regularly inspect rims for corrosion, cracks, or bends.
- Clean rims thoroughly before mounting new tires to ensure a smooth, even surface for the bead.
Store Tires Properly
- Avoid prolonged exposure to sunlight, ozone, or extreme temperatures. Store tires upright in a cool, dry place.
- Rotate stock: Use older tires first to prevent excessive bead hardening.
Use Proper Mounting Techniques
- Follow manufacturer guidelines for both tires and mounting equipment.
- Apply the correct lubricant and avoid shortcuts or makeshift tools.
Schedule Professional Inspections
- Have your tire and wheel assemblies inspected during routine maintenance. Professionals can spot minor issues before they turn into major problems.
Data-driven Insights: Tire And Rim Compatibility Issues
Tire mounting problems are more common than most drivers realize. According to a 2026 study by the National Highway Traffic Safety Administration (NHTSA), 15% of tire-related roadside assistance calls involved improper mounting or size mismatch. The study also found that low-profile and run-flat tires accounted for nearly half of all cases where tires would not seat on rims, due to their stiffer beads and tighter tolerances.
A survey by the Tire Industry Association found that over 30% of DIY tire installations encounter at least one mounting difficulty, most commonly caused by lack of lubrication or improper technique. This data highlights the importance of using proper tools, following correct procedures, and ensuring size compatibility.
For more on tire safety and mounting best practices, see the NHTSA Tire Safety Guide and the Tire Industry Association website.
Troubleshooting Checklist: What To Do When A Tire Won’t Go On The Rim
If you’re facing resistance, use this step-by-step troubleshooting checklist to identify and solve the problem:
- Check that tire and rim sizes match.
- Inspect rim for damage, rust, or debris. Clean thoroughly.
- Inspect the tire bead for stiffness or damage. Warm if needed.
- Apply generous bead lubricant to both the rim and tire.
- Align the tire correctly, starting opposite the valve stem.
- Use proper tire irons or bead seating tools—avoid makeshift tools.
- Mount the tire gradually, using even pressure around the rim.
- Inflate slowly and watch for the bead to seat.
- Check for leaks or gaps after mounting.
- If problems persist, consult a professional.
By following this workflow, most tire mounting issues can be resolved quickly and safely.
Frequently Asked Questions
What Should I Do If My Tire Still Won’t Seat After Following All The Steps?
If your tire still won’t seat, double-check that the sizes match and that the bead and rim are both undamaged and clean. Try warming the tire and using extra lubricant. If the bead remains stubborn, it’s safest to visit a professional tire shop—specialized machines and techniques may be needed.
Can I Use Wd-40 Or Dish Soap As A Tire Lubricant?
While some DIYers use WD-40 or dish soap, these are not recommended. WD-40 is petroleum-based and can degrade rubber, while dish soap can leave a residue that affects bead sealing. Use a professional tire mounting paste or lubricant instead, as recommended by the U.S. Tire Manufacturers Association.
Is It Dangerous To Overinflate A Tire To Seat The Bead?
Yes, overinflating a tire is extremely dangerous. Never exceed the maximum pressure rating on the tire sidewall. Overinflation can cause the tire to explode, resulting in serious injury or damage. If the bead won’t seat at normal pressures, seek professional help.
Why Are Low-profile Tires Harder To Mount Than Standard Ones?
Low-profile tires have shorter, stiffer sidewalls, making their beads harder to flex over the rim. This design improves performance but increases mounting difficulty. Specialized tools and extra lubrication are often required for successful installation.
How Do I Know If My Rim Is Too Damaged To Reuse?
Look for visible cracks, severe bends, or excessive corrosion on the rim. If you see any of these, the rim may not hold a tire securely and could cause a blowout. When in doubt, have the rim inspected by a professional or consider replacement.
Mounting a car tire onto a rim doesn’t have to be a daunting or frustrating task. By understanding the common causes of mounting difficulties and using the right tools, techniques, and safety precautions, you can resolve most problems quickly and confidently. Remember to verify tire and rim compatibility, keep both components clean and undamaged, and don’t hesitate to seek professional assistance for tricky cases. With these best practices, you’ll spend less time wrestling with stubborn tires and more time on the road. For deeper technical guidance, consult resources like the Wikipedia Tire Guide and your vehicle manufacturer’s manual.
Products related to this article
Sponsored / affiliate links. As an Amazon Associate I earn from qualifying purchases. I may earn additional commission from eligible campaigns.