
How to Replace a Worn Accelerator Pedal Pad
Replace only the pedal pad if the rubber cover is cracked, loose, or worn and the pedal arm and sensor mount are intact; replace the full pedal assembly if the pad is molded on, the arm appears bent, or the pedal sensor is damaged. A poor fit can slip underfoot or change pedal feel. This guide shows how to check which part you need, match the correct part number, and install it with the clips fully seated.
What a worn pedal pad looks like


A worn accelerator pedal pad usually shows smoothing, cracking, tearing, or a loose edge where the foot contact surface no longer grips well. If wear stays on the tread surface and the pedal arm is straight, a pad-only swap is often enough.
When the pad is polished smooth in the center, your shoe can slide more easily. When the rubber splits at the corners or the plastic face is broken, the pad can shift or separate from the pedal. That is a fitment and safety issue, not a cosmetic one.
When wear is only cosmetic
If the pad still locks firmly to the pedal and the arm, mount, and sensor area are intact, the problem may be limited to the tread surface. A faded logo or shallow surface scuffs do not usually require the full accelerator pedal assembly.
When wear points to deeper damage
If the pad rocks, the pedal binds, or the mounting surface is cracked, stop treating it as a pad-only job. A damaged pedal arm or sensor mount can change pedal return feel, which is a stronger reason to replace the assembly.
What you’ll need
- Replacement accelerator pedal pad with the correct part number
- Trim tool or small flat tool for the retainer
- Socket or screwdriver if the pedal assembly needs access
- Flashlight for checking the mounting points and clips
- Clean cloth for wiping debris from the pedal area
- Vehicle owner’s manual or parts catalog for fitment confirmation
Replacement pad and part number
Buy by part number, not by shape alone. Accelerator pedal pads are vehicle-specific, and many depend on model year, trim, left-hand drive or right-hand drive layout, and whether the tread face is rubber or plastic. OEM parts usually cost more, but aftermarket versions can fit well only when the listing matches the exact vehicle application.
Safety checks before you start
Turn the ignition off, remove the key, and keep your foot off the pedal while parts are out. On many vehicles, the accelerator pedal assembly includes an electronic pedal position sensor, so contamination, impact, or forced movement can create a new fault.
Do you need the whole pedal assembly?
Use a pad-only replacement when the tread surface is worn but the pedal arm, mounting points, and sensor mount are straight and secure. Replace the full accelerator pedal assembly when the pad is molded in, the clip system is damaged, the arm is bent, or the sensor area is compromised. That is the safer repair when the part cannot be separated cleanly.
When pad-only replacement is enough
If the retainer is reusable, the pad comes off without damage, and the pedal returns freely by hand, a separate pad is usually the right fix. This is the common path for cracked, smoothed, or torn pads with no structural damage underneath.
When the assembly is the safer fix
If the pedal face is molded to the arm or the locking tabs break during removal, stop and compare the cost of a new pad with the cost of the complete assembly. A bent arm, cracked mount, or damaged sensor makes assembly replacement the better choice.
Sensor damage and mounting wear
The accelerator pedal position sensor is an electronic throttle input component and is sensitive to contamination and damage. If the sensor housing is loose, the wiring is stressed, or the pedal sticks partway through travel, the issue goes beyond the pad and may need assembly replacement.
How do I replace a worn accelerator pedal pad?
Remove the old pad carefully, match the new pad by part number and drive side, then seat and lock it fully on the pedal. Finish by checking free travel, return feel, and floor-mat clearance. If the pedal binds or the pad sits loose, stop and check the retainer and mounting surface before driving.
- Turn off the ignition, remove the key, and move the floor mat away from the pedal area.
- Inspect the retainer style at the back or side of the pad so you know whether it snaps on, hooks over the top edge, peels off a rear lip, or releases from tabs behind the pedal face.
- Use a trim tool or small flat tool to release the locking tabs without twisting the pedal arm.
- Lift the pad straight off and avoid pressing the pedal while the cover is detached.
- Check the pedal arm, mounting points, and sensor housing for cracks, looseness, or contamination.
- Match the replacement pad part number to the vehicle year, trim, and drive side before fitting it.
- Seat the pad fully until the clips click or the pull-on lip sits evenly around the pedal face.
- Pull lightly on the pad to confirm it is secure, then with the ignition off press the pedal by hand to verify smooth return.
Suppose a right-hand-drive hatchback uses a different pad than the left-hand-drive version. The tread may look the same, but the clip position can be mirrored. Ordering by appearance alone can leave you with a pad that will not lock in place.
Say the old pad has one broken locking tab and the new one fits loosely. The correct next step is not extra force; it is to verify the part number and inspect the pedal face for damage. A loose pad can slip underfoot if it is not secured correctly.
If that didn’t work
- Check the retainer orientation and compare the new pad with the old one side by side.
- Confirm the pedal arm is not bent and the mounting surface is flat.
- Inspect the pedal position sensor connector for looseness or damage.
- If the pedal still binds or will not lock, replace the complete assembly instead of forcing the pad.
What should I do if the new pedal pad feels loose?
A loose pad usually means the retainer is not fully seated, the wrong part was ordered, or the pedal face is worn enough that the clip cannot hold. Do not drive until the pad is secure, because a shifting cover can change foot placement and pedal feel.
- Remove the pad and compare its clip layout to the original pad.
- Verify the part number, model year, and left-hand drive or right-hand drive listing.
- Inspect the pedal arm for cracks, missing material, or a distorted lip where the pad locks.
- Reinstall the pad and press around the edges until it sits flush.
Pedal pad replacement checklist
Use this checklist before ordering and after installation. It separates simple pad wear from problems that point to the full pedal assembly or a fitment error.
| Symptom | Likely cause | Recommended action |
|---|---|---|
| Center surface smooth or polished | Normal tread wear | Replace the pad if the arm and mount are sound |
| Cracks, tearing, or missing edges | Pad material failure | Replace the pad and inspect the clip points |
| Pad feels loose or rotates | Broken retainer or wrong part number | Check the fit, then replace pad or assembly as needed |
| Pedal binds or returns slowly | Arm wear, debris, or mounting damage | Inspect the pedal arm and floor area before driving |
| Warning light or erratic throttle input | Sensor issue or damaged connector | Inspect the accelerator pedal position sensor and assembly |
| Pedal contact changed after a mat swap | Floor-mat interference | Remove the mat, secure it properly, and retest travel |
OEM vs aftermarket fitment checks
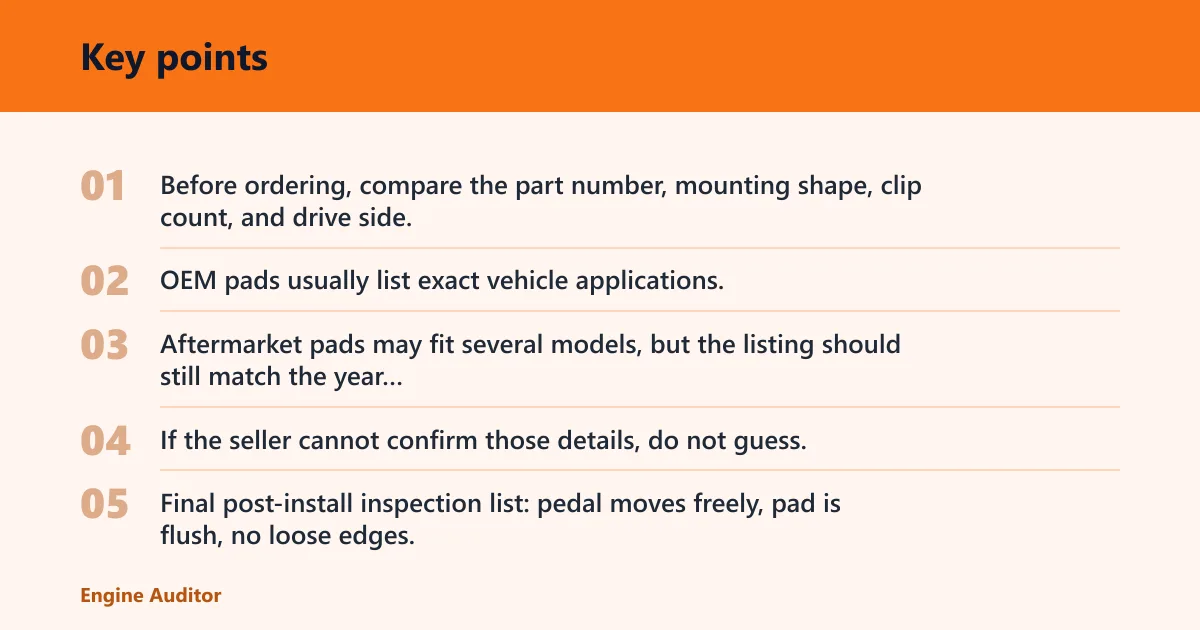
Before ordering, compare the part number, mounting shape, clip count, and drive side. OEM pads usually list exact vehicle applications. Aftermarket pads may fit several models, but the listing should still match the year range and steering side. If the seller cannot confirm those details, do not guess.
Final post-install inspection list: pedal moves freely, pad is flush, no loose edges, no binding, no floor-mat contact, and no warning light after start-up. If the vehicle uses sensor relearn after pedal work, follow the service information for that model before returning it to service.
Common mistakes
Forcing a clip or locking tab is the fastest way to break a reusable retainer. A cracked tab often means the pad will not stay secure. If the retainer resists, stop and inspect the release direction instead of prying harder.
Ignoring floor-mat interference is another common miss. A thick mat can make a good pedal feel sticky or short-stroke. Check clearance with the mat removed first, then reinstall it only if it stays anchored away from the pedal.
Skipping sensor and binding checks can hide a deeper fault. If the pedal feels gritty, sticks, or sets a fault light, the issue is beyond the tread surface and may call for assembly replacement.
Frequently asked questions
How do I know if the pad is worn enough to replace?
Replace it when the tread is smoothed, cracked, torn, or loose enough that your foot can shift. A pad that no longer grips cleanly is worth replacing even if the rest of the pedal still works, because the contact surface is what controls traction underfoot.
Do I need to remove the whole pedal assembly to replace the pad?
Not usually. If the pad is a separate part with snap-on or pull-off retention, you can replace only the cover. If the pad is molded to the pedal or the arm and sensor area are damaged, the full assembly is the safer repair.
What tools do I need to replace an accelerator pedal pad?
Most jobs need only a trim tool or small flat tool. If you must reach the pedal assembly or remove a lower trim panel, add the correct socket or screwdriver for that vehicle. Use only enough force to release the retainer.
Can I replace an accelerator pedal pad without coding or calibration?
Often yes, but it depends on the vehicle. If the job stays at the pad level and the sensor was not disturbed, no coding is common. If the pedal position sensor was removed, unplugged, or replaced, follow the service procedure for that model.
Are accelerator pedal pads universal or vehicle-specific?
They are vehicle-specific. Match the part number, model year, and left-hand drive or right-hand drive listing before you order. Two pads can look similar and still have different clips, offsets, or tread shapes that prevent a secure fit.
Products related to this article
Sponsored / affiliate links. As an Amazon Associate I earn from qualifying purchases. I may earn additional commission from eligible campaigns.