How to Fix a Pedal Position Sensor (Step-By-Step Guide)
A failing pedal position sensor can turn a smooth drive into a frustrating ordeal. Whether you’re a seasoned DIYer or a car owner looking to avoid dealership costs, understanding how to fix a pedal position sensor is invaluable. These sensors are pivotal for modern drive-by-wire systems, translating your foot’s pressure into electronic signals that control your throttle response.
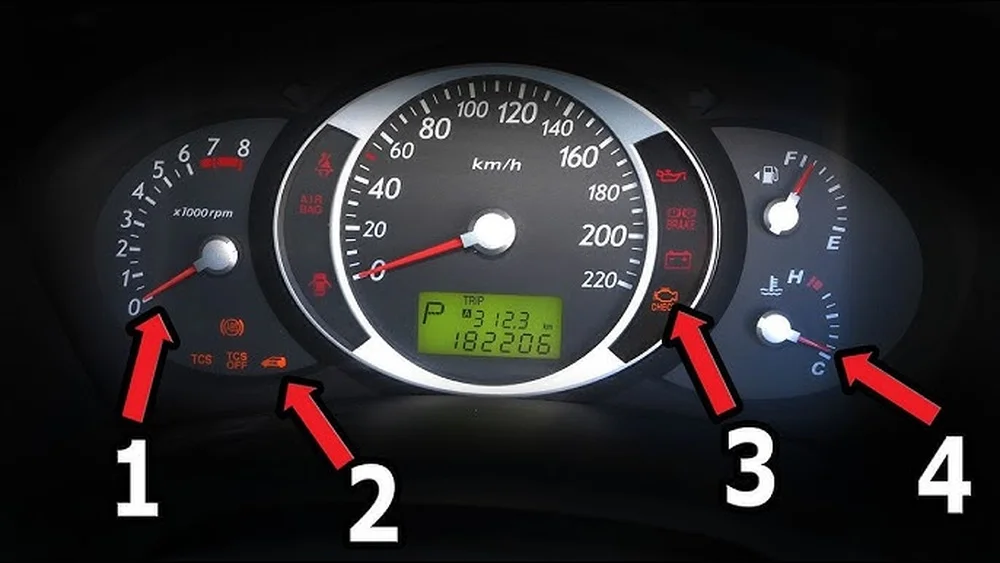
When they malfunction, you’ll experience symptoms like poor acceleration, rough idling, or the dreaded check engine light.
Ignoring a faulty pedal position sensor isn’t just inconvenient—it can be dangerous, leading to unpredictable engine behavior or even limp mode. Fortunately, fixing this component is more accessible than you might think. With the right knowledge, tools, and a systematic approach, you can restore your car’s responsiveness and safety.
This comprehensive, step-by-step guide demystifies the process, empowering you to diagnose, repair, and maintain your pedal position sensor like a pro.
Key Takeaways
- Pedal position sensors are crucial for throttle control in modern vehicles.
- Common symptoms of failure include poor acceleration, engine hesitation, and illuminated check engine light.
- With basic tools and safety precautions, most car owners can diagnose and replace a faulty sensor at home.
- Proper diagnosis is essential to avoid unnecessary part replacements and costs.
- Resetting the ECU and performing a post-repair test drive ensure the fix is complete.
- Regular maintenance and early detection can prevent sensor failure and further engine issues.
Credit: www.ievilenergy.com
Understanding The Pedal Position Sensor
A thorough grasp of what a pedal position sensor does, where it’s located, and how it functions is the foundation for a successful repair.
What Is A Pedal Position Sensor?
The pedal position sensor (PPS), often called the accelerator pedal position sensor (APPS), is an electronic device that detects the position of the accelerator pedal. It sends voltage signals to the vehicle’s engine control unit (ECU), which then adjusts the throttle body accordingly.
Modern cars use “drive-by-wire” systems, where mechanical linkages are replaced with electronic signals. This makes the PPS essential for smooth acceleration, fuel efficiency, and emission control. In these systems, the physical cable that used to connect the pedal directly to the throttle body is replaced with a combination of sensors, wiring, and actuators.
This shift allows for more precise control of engine performance and enables features like traction control, adaptive cruise control, and advanced stability systems.
How The Sensor Works
When you press the accelerator, the sensor converts the pedal’s position into an electrical signal. The ECU interprets this signal to regulate the throttle plate, manage air-fuel mixture, and control engine speed. The sensor typically uses either a potentiometer or a Hall-effect mechanism.
A potentiometer-based sensor relies on a sliding contact moving across a resistive element. As the pedal moves, the resistance changes, altering the voltage output to the ECU. Over time, the mechanical parts can wear, leading to intermittent signals or complete failure.
A Hall-effect sensor uses a magnetic field to generate a voltage proportional to the pedal position. These are typically more reliable, as they have fewer moving parts and are less prone to wear. Some modern vehicles incorporate dual or even triple sensors for redundancy; if one fails, the ECU can fall back on the others, improving safety.
Common Locations
- Mounted on the accelerator pedal assembly (most common in cars post-2000)
- Integrated within the throttle body (in older or specific vehicle models)
- Occasionally found as a separate unit near the firewall
The location can slightly vary based on vehicle make and model. Some vehicles position the sensor in a way that requires removing trim panels or even the lower dashboard for access. Always consult your specific service manual for the exact location, as blindly searching can lead to damaged clips or wiring.
Symptoms Of A Failing Sensor
Identifying a faulty pedal position sensor early can prevent further engine or transmission issues. Key symptoms include:
- Erratic acceleration or loss of power: You may notice surging, hesitation, or a delay between pressing the pedal and the engine’s response.
- Engine hesitation or stalling: The sensor may send incorrect signals, causing the ECU to mismanage fuel and air delivery.
- Check engine light illumination: The ECU will flag a malfunction in the sensor or signal circuit, triggering a warning.
- Limp mode activation (limited speed/power): Many vehicles enter a safe mode, restricting throttle input to prevent damage.
- Unresponsive pedal: In severe cases, pressing the pedal may have little or no effect on engine speed.
Other less obvious symptoms can include increased emissions (due to improper air-fuel mixture), rough idle, or even transmission shifting problems, as some automatic transmissions use throttle input to determine shift points.
Why Timely Repair Matters
Delaying pedal position sensor repairs can result in:
- Poor fuel economy
- Increased emissions
- Engine or transmission damage
- Unsafe driving conditions
Ignoring sensor issues can also stress other engine management components, like the throttle actuator or the ECU itself. In the worst-case scenario, a failed sensor could cause sudden loss of power while overtaking or merging, putting you and others at risk.
For more technical insights, refer to the official Wikipedia page on throttle position sensors.
Diagnosing Pedal Position Sensor Issues
Accurate diagnosis is crucial before replacing any sensor. This section covers the tools, techniques, and best practices for identifying pedal position sensor faults.
Tools Needed For Diagnosis
- OBD-II scanner (for reading trouble codes)
- Digital multimeter (for voltage/resistance checks)
- Service manual (vehicle-specific wiring diagrams)
- Basic hand tools (screwdrivers, sockets)
- Flashlight (for under-dash inspection)
- Scan tool with live data (optional, for advanced diagnostics)
Step 1: Scan For Diagnostic Trouble Codes (dtcs)
Connect an OBD-II scanner to your vehicle’s diagnostic port, typically found under the dashboard. Common codes related to pedal position sensor issues include:
- P0120–P0124: Throttle/Pedal Position Sensor/Switch errors
- P2135: Throttle/Pedal Position Sensor/Switch A/B Voltage Correlation
Record any codes and consult your service manual or OBD code reference sites for details. Some vehicles may store manufacturer-specific codes or provide additional freeze-frame data, showing the conditions present at the time of fault detection. Pay attention to whether the codes are “active” or “pending,” as intermittent issues may not set a permanent code right away.
Step 2: Visual Inspection
- Inspect the accelerator pedal assembly for physical damage or loose connectors.
- Check for corroded, damaged, or unplugged wiring.
- Look for moisture or contamination around the sensor housing.
- Wiggle the connector gently with the ignition on; if the engine stumbles or the check engine light flickers, you may have a bad connection.
- Inspect the pedal itself for unusual play, binding, or debris that could interfere with sensor movement.
Thoroughly examining the wiring harness can reveal issues like rodent damage (chewed wires), pinched cables, or poor-quality previous repairs. Even small amounts of corrosion or oxidation on the connector pins can cause erratic sensor readings.
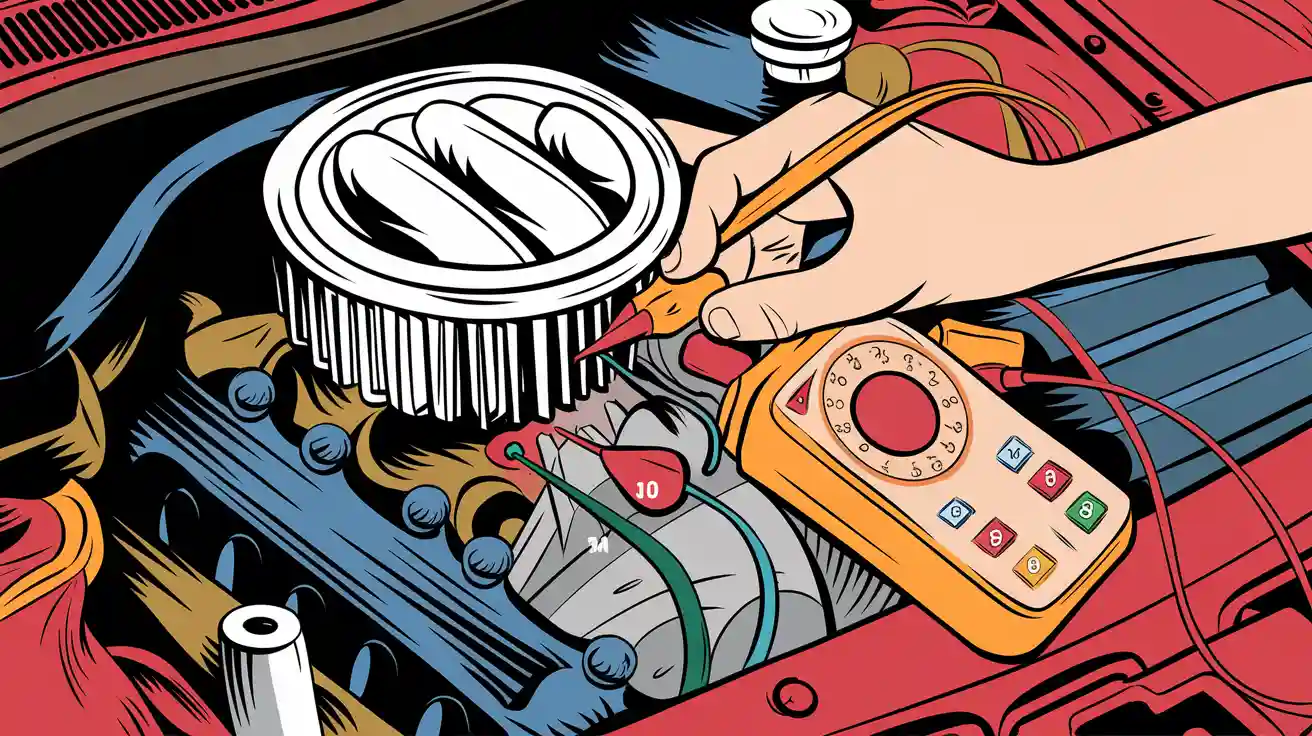
Step 3: Electrical Testing
Use a digital multimeter to test sensor voltage and continuity:
- With the ignition ON (engine off), back-probe the sensor wires.
- Slowly depress the accelerator pedal.
- The voltage should rise smoothly from around 0.5V (idle) to 4.5V (full throttle).
- Any sudden jumps, drops, or dead spots indicate a faulty sensor.
Compare the readings to your service manual’s specifications. Some sensors will have more than three wires—these may include redundant signal wires, ground, and a reference voltage. Always identify each wire before testing to avoid accidental shorts.
If you notice inconsistent or erratic voltage readings, it could also indicate a wiring issue rather than a failed sensor. Check for continuity and proper resistance on the wiring harness.
Step 4: Compare Live Data
Advanced OBD-II scanners can display real-time pedal position data. Compare live readings with specifications in your service manual. Inconsistent or stuck readings confirm sensor malfunction.
Use the scan tool to monitor both the “accelerator pedal position” and “throttle position” (if available) as you press the pedal. The values should increase proportionally. A mismatch or lag between these readings may indicate a problem with the sensor or its circuit.
Step 5: Rule Out Related Issues
Sometimes, throttle body or ECU problems can mimic sensor faults. Eliminate these by:
- Checking throttle body operation for sticking or carbon buildup
- Inspecting ECU connections and fuses for corrosion or looseness
- Ensuring related grounds are clean and secure
If the sensor tests good but symptoms persist, consider checking for software updates or technical service bulletins (TSBs) related to your vehicle’s drive-by-wire system.
For step-by-step diagnostic videos, visit the EricTheCarGuy YouTube channel.
Credit: www.origin-ic.com
Step-by-step Guide To Fixing A Pedal Position Sensor
Ready to tackle the repair? This section provides a structured approach for DIYers and professionals alike.
Tools And Materials Required
- Replacement pedal position sensor (OEM recommended)
- Socket and screwdriver set
- Torque wrench
- Dielectric grease (optional, for connectors)
- Safety gloves and glasses
- Flashlight (for improved visibility)
- Trim removal tools (if applicable)
Step 1: Safety First
- Park on a flat surface and engage the parking brake.
- Disconnect the negative battery terminal to prevent accidental airbag deployment or electrical shorts.
- If your vehicle is equipped with a push-button start, ensure the key fob is removed from the vehicle.
Step 2: Locate The Sensor
- Consult your vehicle’s manual for the exact location.
- Most commonly, it’s attached directly to the accelerator pedal or just above it.
- Remove any lower dash panels or trim that obstruct access, taking care to store screws and clips safely.
Step 3: Remove The Old Sensor
- Unplug the electrical connector from the sensor. Use a small pick or flat-blade screwdriver to release stubborn tabs.
- Remove any retaining bolts or clips (usually 2–3). Use appropriate sockets to avoid stripping fasteners.
- Carefully slide the sensor out, avoiding wire strain. Take note of the sensor’s orientation for reinstallation.
If your vehicle uses an integrated pedal and sensor assembly, you may need to remove the entire pedal unit. In that case, make sure to support the pedal and take care not to kink or stress any attached wiring.
Step 4: Compare Old Vs New Sensor
Before installation, compare the original and replacement sensors for:
- Connector type: Ensure the pin configuration and connector keying match exactly.
- Mounting hole alignment: The new sensor should mount without forcing or modifying.
- Part numbers: Cross-reference the part numbers with your service manual or parts supplier.
Some sensors may look similar but have different internal calibrations or connector shapes. Installing the wrong part can lead to immediate failure or unpredictable throttle behavior.
Step 5: Install The New Sensor
- Align the new sensor on the pedal assembly.
- Reinstall bolts or clips and torque to manufacturer specs. Over-tightening can crack the housing, while under-tightening may cause vibration or movement.
- Apply a thin layer of dielectric grease to the connector (optional) to prevent future corrosion.
- Plug in the electrical connector until it clicks. Tug gently to confirm it’s secure.
If you removed any trim panels, reinstall them carefully, ensuring no wires are pinched or misrouted.
Step 6: Reconnect Battery And Reset Ecu
- Reconnect the negative battery terminal.
- Some vehicles require an ECU reset—either automatically or via OBD-II scanner.
- For vehicles needing a pedal or throttle adaptation, follow the procedure in your manual (this may involve turning the ignition on and off several times or using the scan tool).
Step 7: Test And Verify
- Turn the ignition to ON (engine off) and observe the dashboard for warning lights.
- Start the engine and gently press the accelerator. Confirm that the engine responds smoothly and predictably.
- Use your OBD-II scanner to clear any remaining codes and recheck for new faults.
- If your scan tool supports it, monitor live data to confirm that the new sensor outputs correct and stable values throughout the pedal travel.
Step 8: Road Test
Drive the vehicle under various conditions:
- Idle: Verify smooth idle without surging or stalling.
- Gentle acceleration: Check for hesitation or lag.
- Full throttle: Confirm maximum throttle response and observe for warning lights.
Listen and feel for any unusual vibrations, noises, or pedal resistance. If issues persist, double-check all connections and torque values, and ensure the correct part was installed.
For vehicle-specific instructions, reference the AutoZone accelerator pedal sensor replacement guide.

Credit: www.youtube.com
Real-world Examples And Case Studies
Understanding how these repairs play out in real life can boost your confidence and highlight key lessons.
Example 1: Toyota Camry Hesitation
A 2010 Toyota Camry owner experienced erratic acceleration and a check engine light. OBD-II codes P2122 and P2127 pointed to a pedal position sensor issue. After confirming with a multimeter, the sensor was replaced in 30 minutes, restoring normal throttle response. The owner later reported a slight improvement in fuel economy and smoother shifting, underscoring the sensor’s impact on multiple vehicle systems.
Example 2: Ford F-150 Limp Mode
A 2015 Ford F-150 entered limp mode while towing. The truck displayed codes P2135 and P2101. Diagnosis revealed a faulty pedal position sensor—likely due to water ingress. After replacement and waterproofing the connector with dielectric grease, the issue was resolved. The owner also sealed a damaged grommet in the firewall to prevent future water entry, demonstrating the importance of addressing root causes, not just symptoms.
Example 3: Volkswagen Jetta No Acceleration
A 2012 Jetta had no throttle response after a battery swap. No codes were found, but live data showed the sensor output stuck at 0%. Replacing the pedal position sensor and performing a throttle adaptation procedure fixed the problem. The case highlights that even without stored codes, sensor faults can cause major drivability issues, and that some repairs require ECU relearning.
Example 4: Honda Civic Intermittent Stalling
A 2008 Honda Civic began stalling unexpectedly, especially during stop-and-go traffic. The check engine light was intermittent and displayed a P0122 code. Inspection revealed corrosion on the sensor connector due to a small water leak from the windshield. Cleaning the connector, sealing the leak, and replacing the sensor restored reliability.
Lessons Learned
- Always test the sensor before replacement to avoid misdiagnosis.
- Environmental factors (water, dust) can accelerate sensor failure.
- Some vehicles require a relearn procedure or ECU reset.
- Address underlying issues such as water leaks or wiring damage to prevent recurrence.
- Even intermittent symptoms can indicate early sensor failure—proactive repairs can prevent roadside breakdowns.
Comparison: Oem Vs Aftermarket Pedal Position Sensors
Choosing the right replacement sensor is crucial for long-term reliability. Use this comparison to make an informed decision.
| Feature | OEM Sensor | Aftermarket Sensor |
|---|---|---|
| Price | Higher ($50–$150) | Lower ($20–$80) |
| Fit & Compatibility | Guaranteed | Varies (risk of misfit) |
| Warranty | Usually 1–3 years | 6 months–1 year |
| Quality Control | Stringent (meets OEM standards) | Inconsistent (depends on brand) |
| Availability | Dealer and authorized retailers | Auto parts stores, online |
| Sensor Calibration | Pre-set to vehicle specs | May require adaptation |
| Technical Support | Available from manufacturer | Limited or none |
Tip: When in doubt, opt for OEM to avoid compatibility headaches. For more advice, check the Consumer Reports guide on OEM vs aftermarket parts.
Some reputable aftermarket brands offer high-quality sensors, but always check user reviews, brand reputation, and ensure the part meets or exceeds OEM specifications. Avoid unbranded or suspiciously cheap options, as these may fail prematurely or cause unpredictable throttle response.
Preventing Pedal Position Sensor Failure
Prevention is better than cure. Extend sensor life with these best practices.
Keep Connections Clean
- Periodically check the pedal sensor connector for corrosion, dirt, or moisture.
- Use electrical contact cleaner and apply dielectric grease for added protection.
- Visually inspect the connector during routine maintenance or if you notice any unusual pedal response.
Avoid Water Intrusion
- Ensure interior carpet and firewall grommets are intact.
- After deep cleaning or flooding, inspect under-dash components for water damage.
- If you live in a wet climate or frequently drive through deep puddles, consider additional waterproofing of connectors.
Follow Maintenance Intervals
- Adhere to manufacturer-recommended inspection schedules.
- Replace sensors proactively at 100,000–150,000 miles or as advised. Some vehicles specify inspection or replacement intervals in the maintenance schedule.
- Use this opportunity to inspect related components, such as throttle body cleanliness and wiring harness condition.
Address Warning Signs Early
- Don’t ignore check engine lights or sudden throttle issues.
- Early diagnosis can prevent breakdowns and expensive repairs.
- Investigate even intermittent symptoms, as these can signal a developing problem.
Vehicle Usage Habits
- Avoid aggressive pedal inputs that can strain electronic components. Smooth acceleration reduces wear.
- Maintain battery health to reduce voltage spikes, which can damage sensitive electronics.
- If you often drive in dusty or humid environments, increase the frequency of electrical inspections.
For more preventive tips, visit the NHTSA electronics safety page.
Cost Analysis: Diy Vs Professional Repair
Is it worth fixing a pedal position sensor yourself, or should you leave it to the pros? Here’s a breakdown.
| Repair Option | Average Cost | Time Required | Warranty |
|---|---|---|---|
| DIY (Parts Only) | $30–$120 | 30–90 minutes | Parts warranty only |
| Independent Shop | $120–$250 | 1–2 hours | 12 months/12,000 miles |
| Dealership | $180–$350 | 1–2 hours | 12–24 months |
Key Considerations:
- DIY saves on labor but requires confidence and proper tools.
- Shops offer peace of mind with labor warranties.
- Dealers use only OEM parts but at a premium cost.
- Some vehicles (especially luxury brands) may require software updates or special tools, increasing professional repair costs.
- If your vehicle is under warranty or recall, repairs may be covered at no cost.
For additional cost benchmarks, see the RepairPal cost estimator.
Common Mistakes To Avoid
Even experienced DIYers can make errors during pedal position sensor replacement. Learn from these pitfalls.
Skipping Diagnosis
- Replacing the sensor without confirming it’s faulty can waste time and money.
- Always test with a multimeter and OBD-II scanner first.
- Misdiagnosis is common, as symptoms can overlap with throttle body or ECU issues.
Forcing Connectors
- Forcing electrical connectors can bend pins or break plastic tabs.
- Gently wiggle and press release tabs as designed.
- If a connector is stuck, use a small amount of dielectric grease to ease future removal.
Ignoring Battery Disconnect
- Failing to disconnect the battery can cause ECU errors or even airbag deployment.
- Always remove the negative terminal before beginning work.
- Skipping this step may also erase fault codes, complicating post-repair diagnostics.
Not Resetting The Ecu
- Some vehicles require a throttle or pedal position relearn procedure.
- Skipping this can leave the check engine light on or cause driveability issues.
- Follow all steps in your service manual, and use an OBD-II scanner if needed.
Using Cheap Aftermarket Parts
- Low-quality sensors may not last or function correctly.
- Stick to reputable brands or OEM replacements.
- Poorly made sensors can cause unpredictable throttle behavior, compromising safety.
Neglecting Test Drive
- Always verify repairs with a thorough road test under different conditions.
- Monitor for warning lights, unusual pedal feel, or new error codes.
- If issues persist, double-check wiring, connector security, and sensor compatibility.
For a checklist of common mistakes, refer to the Family Handyman repair guide.
Frequently Asked Questions
What Does A Pedal Position Sensor Do?
The pedal position sensor detects the position of the accelerator pedal and sends this information to the engine control unit (ECU). The ECU uses these signals to control throttle opening, fuel injection, and engine speed, ensuring smooth and responsive acceleration.
How Do I Know If My Pedal Position Sensor Is Bad?
Common signs include poor acceleration, engine hesitation, erratic idle, limp mode activation, and the check engine light. Diagnostic trouble codes (DTCs) like P0120–P0124 or P2135 often confirm the issue. Testing with a multimeter or OBD-II scanner can provide further evidence.
Can I Drive With A Faulty Pedal Position Sensor?
Driving with a faulty sensor is not recommended. You may experience reduced power, unpredictable acceleration, or your vehicle may enter limp mode. Continued driving can lead to unsafe situations or additional engine damage. In certain cases, the car may even become undrivable if the sensor fails completely.
How Long Does It Take To Replace A Pedal Position Sensor?
On most vehicles, replacing the pedal position sensor takes 30–90 minutes with basic tools. Some models may require additional steps, such as throttle adaptation or ECU reset, which can extend the process. Vehicles with integrated pedal assemblies may require more time due to additional disassembly.
Do I Need To Reset The Ecu After Replacing The Sensor?
In many cases, yes. Resetting the ECU clears stored error codes and ensures the new sensor is properly calibrated. This can be done by disconnecting the battery for a few minutes or using an OBD-II scanner’s reset function. Some vehicles require a specific relearn procedure—consult your service manual.
Are Pedal Position Sensors The Same As Throttle Position Sensors?
No, but they are closely related. The pedal position sensor measures the position of the accelerator pedal, while the throttle position sensor (TPS) monitors the position of the throttle plate. In drive-by-wire systems, the ECU uses both sensors to manage throttle response and ensure safety.
Can A Bad Pedal Position Sensor Cause Transmission Problems?
Yes. Many automatic transmissions rely on throttle input for shift timing and pressure control. A faulty sensor can cause harsh or delayed shifts, slipping, or unexpected downshifts.
How Often Should A Pedal Position Sensor Be Replaced?
There is no set replacement interval, but most sensors last between 100,000 and 150,000 miles. Replace the sensor if you notice symptoms or as part of preventive maintenance if you drive in harsh conditions.
Replacing a pedal position sensor is a manageable task for many car owners and can restore lost performance, fuel economy, and peace of mind. By following this step-by-step guide, you’ll avoid common pitfalls, make informed choices on parts, and keep your vehicle running safely and efficiently.
Don’t hesitate to consult your vehicle’s service manual or seek professional help if you’re unsure about any step. With preventive care and prompt repairs, your throttle system will deliver many more miles of reliable service.