How to Know If Your Brake Rotors Can Be Resurfaced
A brake rotor can be resurfaced only if machining leaves it above the manufacturer’s minimum thickness and the disc shows no cracks, heavy heat spots, or severe runout; if either check fails, replace it. Cutting below specification can contribute to weak braking, pedal pulsation, and overheating. This guide covers the measurements, visual checks, and failure cases that tell you which call to make.
Can it be resurfaced? Yes/No
Yes only if the thinnest measured point minus the expected total cut must stay above discard thickness, and the rotor has no cracks, heavy heat damage, or excessive runout. No if any of those conditions fail.
Brake rotor basics


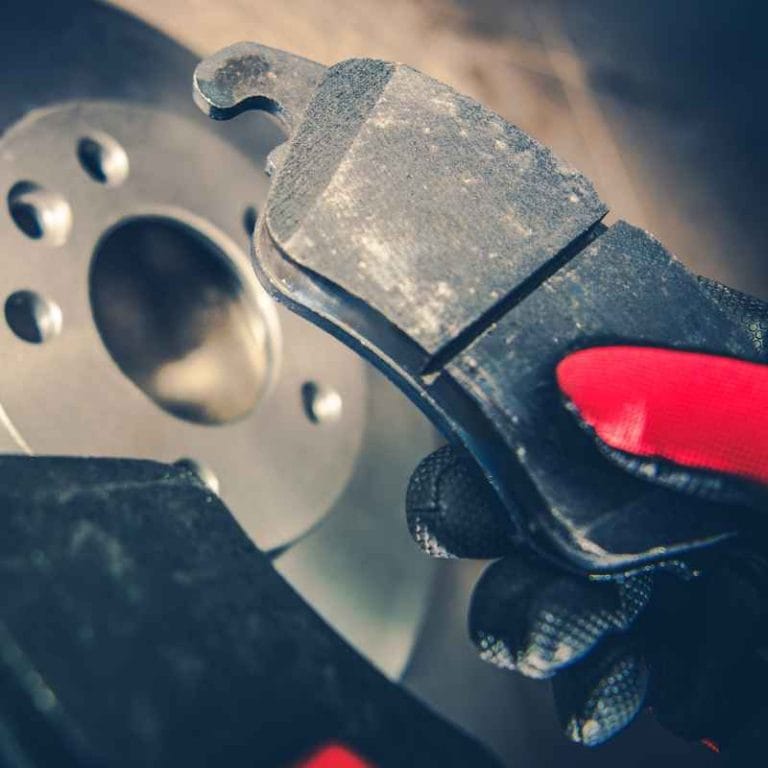
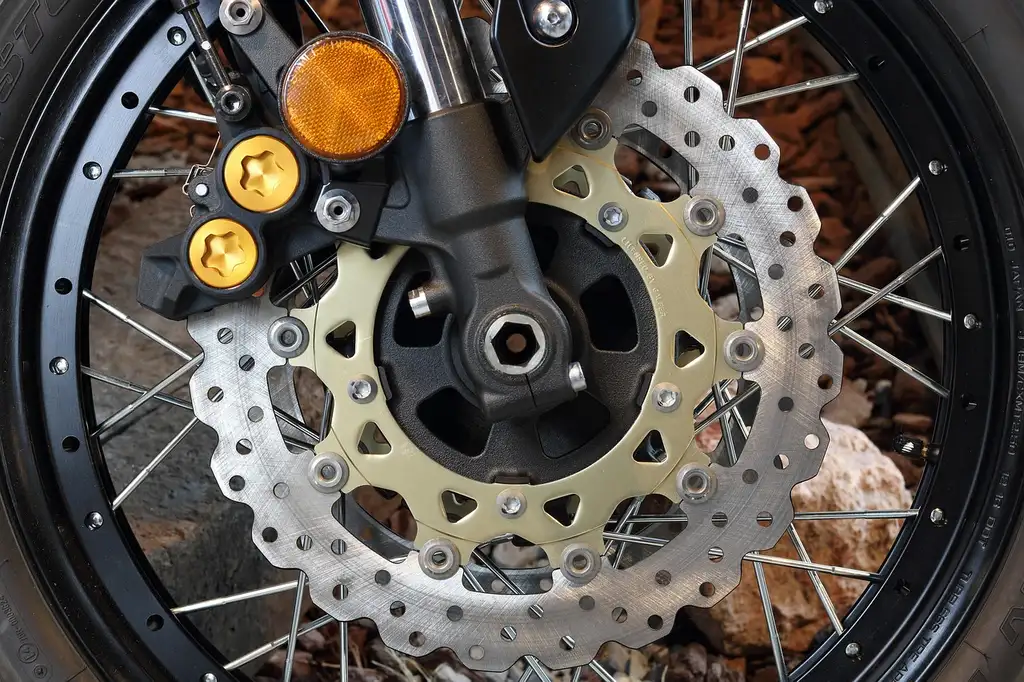
Brake rotors are the flat metal discs that the pads clamp to slow the vehicle. Resurfacing removes a thin layer of metal to smooth grooves, scoring, glazing, and deposits. It does not restore lost thickness, and it cannot cure every vibration complaint.
Each rotor has a manufacturer-set minimum thickness, often called discard thickness. That number is the first check before machining, and it is typically published in the vehicle service information or on the rotor itself (Brembo technical guidance on brake disc thickness). If the rotor is already at or below that limit, resurfacing is off the table.
What resurfacing can and cannot fix
Some rotors can be resurfaced one or more times to extend service life. That only works when enough metal remains after the cut. A rotor that is thin, cracked, heat-damaged, or badly out of true should usually be replaced instead of machined.
Many modern rotors leave only limited room for machining. A rotor may look usable on the car and still fail the thickness check once you measure it. That is why symptoms alone are never enough.
What symptoms point to rotor trouble?
Vibration, squeal, and grinding can point to rotor trouble, but they do not prove it. Brake judder may come from disc thickness variation, or DTV, and heat-related rotor problems can also trace back to pad transfer, runout, or hub contamination. The job is to match the symptom to the likely cause, then confirm with measurement.
Uneven pad contact can also follow poor pad wear patterns or contaminated mounting surfaces; if that is the concern, see brake-pad wear and how it can feed back into rotor complaints.
Pedal pulsation and brake judder
Pedal pulsation often points to disc thickness variation, or DTV. DTV means the rotor has measurable differences in thickness around the braking surface. That condition can create a shudder even when the rotor is not visibly bent; trusted brake references note that DTV, pad deposition, and runout can all produce the same driver feel (TRW aftermarket guidance on disc thickness variation; Bosch Aftermarket on brake judder causes).
Vibrations or a jittery braking feel can mean the rotors are warped, but the same feel can come from DTV, uneven pad deposits, or runout from the hub. Do not assume resurfacing is the cure until you know which condition is present.
Steering wheel vibration at speed
Steering wheel vibration during braking can come from lateral runout. Lateral runout is side-to-side movement of the rotor as it rotates. It can create uneven pad contact, which then develops DTV over time; brake-system references commonly tie excessive rotor runout to DTV and pedal shake (Pro-Cut guidance on rotor runout and DTV; TE Equipment on brake rotor runout).
A common first-timer mistake is to blame the rotor when the hub face is dirty, rusty, or contaminated. That extra material can tilt the rotor slightly and create a runout problem that resurfacing alone will not solve; many brake-service references recommend cleaning and indexing the hub before condemning the disc (Hunter Engineering on runout and brake judder).
Squeal, grinding, and pad wear indicators
A high-pitched screeching sound can indicate pads are worn metal-to-metal against the rotor. That is a pad warning, not a rotor-only diagnosis. If the pads have worn that far, the rotor may already have damage that makes machining pointless.
Grinding usually means the pad backing or worn hardware is contacting the rotor. That level of noise is a replacement warning for the pad set and often the rotor too, especially if the surface is deeply marked.
Measure rotor thickness before you decide
Use a micrometer or caliper-quality measurement, not guesswork. Compare the current thickness to the discard spec, then subtract the amount the machine shop or brake lathe will remove. If the post-cut thickness falls at or below spec, the rotor should be replaced.
How to take a real thickness reading
- Remove the wheel if needed so the rotor faces are fully accessible.
- Measure the rotor on the braking surface, not on the outer lip.
- Take readings at several points around the disc.
- Look for the thinnest reading, not the average.
- Compare that lowest reading to the manufacturer’s minimum thickness.
- Subtract the expected machining cut before approving resurfacing.
You can inspect pad condition, visible scoring, blue heat marks, and some outer-edge wear with the wheel on. You cannot get a trustworthy thickness reading, DTV check, or full hub-surface inspection without wheel-off access.
How much material a cut can remove?
The amount removed depends on the rotor condition, the lathe setup, and how much metal is needed to clean up both faces. Brake-lathe guidance from machine manufacturers emphasizes taking the minimum cut needed to produce an acceptable finish rather than assuming a fixed number for every rotor (Pro-Cut rotor resurfacing basics; Bosch Aftermarket brake lathe setup guidance).
For illustration only, some machining passes can remove about 0.4 to 0.5 mm per side, or 0.8 to 1.0 mm total. On a thin rotor, that can consume nearly all of the remaining wear allowance.
Suppose a rotor measures 21 mm and the discard thickness is 20 mm. A single machining pass that removes 0.8 to 1.0 mm total would leave the rotor at or below the discard limit. In that case, resurfacing is not a safe option.
Rotor resurfacing decision table
| Symptom | Likely cause | Measurement needed | Resurfacing okay if… | Replace immediately if… | Final yes/no decision rule |
|---|---|---|---|---|---|
| Pedal pulsation | DTV, runout, or pad deposits | Rotor thickness at several points; runout check if available | Thick enough after the expected cut, no cracks, no heavy heat damage | Below discard thickness, excessive runout, or heat checking | Yes only if post-cut thickness stays above discard |
| Steering wheel vibration during braking | Lateral runout from hub or rotor | Thickness plus hub and rotor mounting condition | Runout is corrected by cleaning or proper mounting and thickness remains safe | Runout remains excessive or the rotor is near minimum thickness | No if the hub or rotor cannot be brought true within spec |
| High-pitched squeal | Pad wear indicators or worn pads | Pad thickness; rotor surface inspection | Pads are the main problem and rotor surface is still within limits | Metal-to-metal contact has scored the rotor deeply | No if pad wear has already damaged the rotor face |
| Grinding noise | Severe pad wear or debris | Rotor groove depth and remaining thickness | Grooves are shallow and enough material remains | Deep grooves, cracks, or thin rotor | Usually no unless the rotor stays well above discard after cutting |
| Visible grooves or scoring | Worn pads or foreign debris | Depth of scoring and rotor thickness | Grooves are shallow and machining will keep the rotor above discard | Grooves are deep enough to threaten minimum thickness | Yes only if the cut leaves a safe margin |
Here is the practical rule in plain terms: measure current thickness, estimate the cut, then compare the result to discard thickness. If the answer is tight, stop and replace the rotor. Do not hope the final cut will come out smaller than planned.
Say your front rotor is 22 mm new, 20 mm discard, and 21.2 mm measured today. If the lathe will remove 0.8 mm total, the rotor would end at 20.4 mm, which is still above discard but leaves little margin. If the same rotor measures 20.7 mm, the cut would push it below spec, so replacement is the right call.
Can you resurface brake rotors at home?
Most DIY drivers can inspect rotors at home, but actual resurfacing usually requires proper machining equipment. You can check pads, look for scoring, spot blue heat marks, and measure thickness with the wheel off. You cannot safely machine a rotor with improvised tools and still expect accurate thickness control.
If you have a brake lathe and know how to set it up, home resurfacing is technically possible on some vehicles. The risk is the measurement, not the concept. A small error can put a rotor at or below discard thickness after the cut.
Picture a 2010 Ford Focus rotor with a new thickness of 22 mm and a discard thickness of 20 mm. That leaves only 2 mm of total wear allowance. After you subtract the expected machining cut, there may be too little room left to justify resurfacing at all.
When resurfacing is the wrong fix
A rotor can be above minimum thickness and still need replacement if it has cracks, heavy heat damage, or excessive runout. Heat checking, blue spots, and repeated hot spots point to a rotor that has been stressed beyond what a light cut can solve. In those cases, machining may hide the surface problem for a short time and leave the cause untouched.
Cracks, heat checking, and blue spots
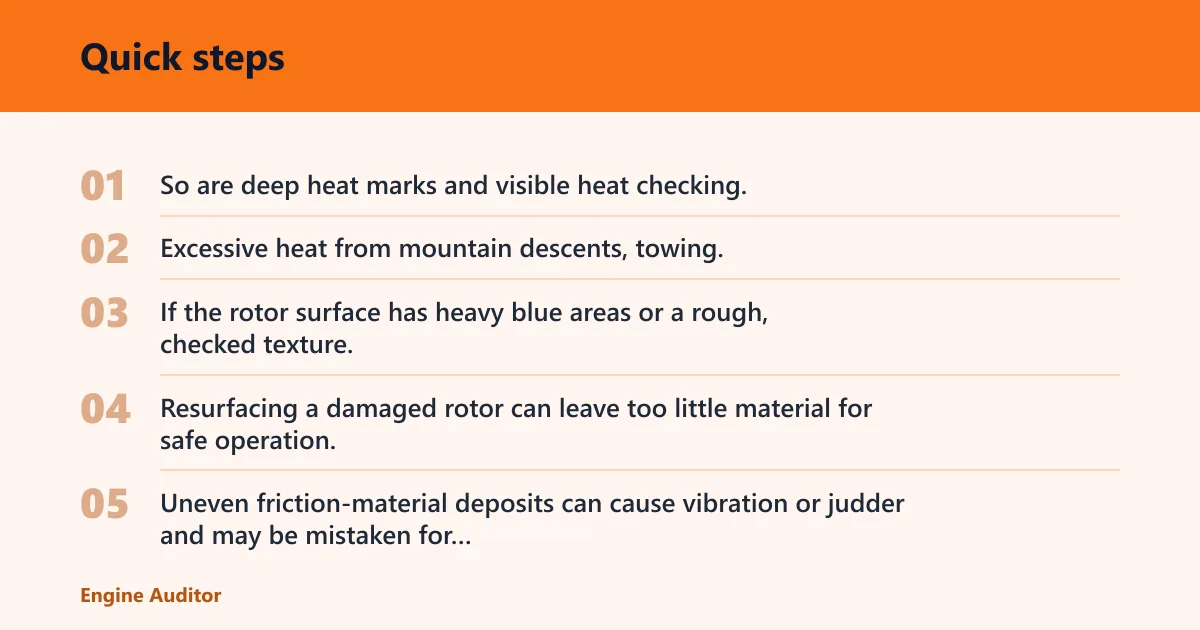
Cracks are a replacement call. So are deep heat marks and visible heat checking. Excessive heat from mountain descents, towing, or repeated hard braking can contribute to rotor problems, and a thin cut does not reverse that damage.
If the rotor surface has heavy blue areas or a rough, checked texture, the issue is not just a cosmetic finish. The metal has already been stressed. Resurfacing a damaged rotor can leave too little material for safe operation.
Uneven deposits and runout
Uneven friction-material deposits can cause vibration or judder and may be mistaken for rotor warp. That problem often comes from pad transfer, not a bent disc. A cut may help if the rotor still has enough thickness, but you also need to fix the cause or the symptoms can return.
Lateral runout can come from hub mounting issues or contamination. If the hub face is rusty or dirty, resurfacing the rotor without correcting the mounting surface can waste the repair. The new cut may run true on the lathe and still shake on the car.
Grooves, scoring, and thin modern rotors
Grooves can sometimes be resurfaced away if they do not exceed minimum thickness limits. Deep grooves are different. If the cut needed to erase them would push the rotor to discard thickness, replacement is the safer choice.
Many modern rotors are simply too thin to machine safely. That is why the spec matters more than the visible wear. A rotor that still looks decent can fail the math once you include the expected cut.
Is resurfacing worth it versus replacing?
Resurfacing is worth it only when the rotor has enough remaining material, the surface damage is mild, and the labor to machine it is cheaper than replacement on a per-axle basis. If the rotor is thin, badly grooved, or likely to need another repair soon, new rotors often make more sense.
Per-axle cost matters because you need matched left and right rotors. If one rotor is too thin and the other is barely serviceable, the better move is often to replace both and avoid paying for machining that still leaves little margin. A mechanic should verify the measurement when the result is close.
Do not frame resurfacing as automatically cheaper. Once you add labor, shop time, and the chance that thin rotors need replacement anyway, the price gap can shrink quickly. The math should follow the thickness check, not replace it.
Frequently asked questions
How do you determine if a brake rotor can be resurfaced?
Measure the rotor with a micrometer or caliper-quality tool, then compare the reading to the manufacturer’s minimum thickness. Add the expected machining removal before deciding. If the rotor stays above discard thickness after the cut and has no cracks or heavy heat damage, resurfacing can be acceptable.
Can you resurface brake rotors at home: you can inspect and measure?
You can inspect and measure rotors at home, but actual resurfacing usually needs proper brake-lathe equipment and accurate setup. Without controlled machining, it is hard to hold thickness and finish within spec. For many DIY drivers, home measurement is realistic; home machining is less so.
Do brake rotors need to be resurfaced?
No. Rotors do not need to be resurfaced every time pads are changed. If the surface is smooth, thickness is within spec, and there is no judder or scoring, replacement or reuse may be the correct choice. Only damage or measurement results should trigger machining.
What minimum thickness means a rotor must be replaced
The minimum thickness, or discard thickness, is the lowest safe dimension the manufacturer allows. If a measured rotor is below that number, or if the expected cut would bring it below that number, it must be replaced. That rule applies even if the surface looks usable.
What if my rotors are grooved but still above minimum thickness?
Shallow grooves can sometimes be machined away if the rotor remains above discard thickness after the cut. Deep grooves are different. If removing them would leave too little material, or if the rotor has heat damage or runout, replacement is the safer call.
Products related to this article
Sponsored / affiliate links. As an Amazon Associate I earn from qualifying purchases. I may earn additional commission from eligible campaigns.