How to Fix Car Brake Squeal Fast Without Replacing Pads
Car brake squeal is one of the most frustrating noises a vehicle owner can experience. That high-pitched, persistent screech can turn a peaceful drive into a source of stress and anxiety. Worse, it often makes drivers worry that something is seriously wrong with their car or that they’ll face an expensive repair bill. But here’s the good news: not all brake squeals mean your pads need replacement. In many cases, you can fix brake squeal quickly, safely, and inexpensively—without changing your brake pads.
Modern disc brake systems are engineered for optimal performance, but they’re also susceptible to minor issues that cause annoying noises. Dust, moisture, lack of lubrication, or even harmless vibration can all lead to brake squeal. Understanding the science and practical solutions behind brake noise can save you time, money, and unnecessary trips to the mechanic.
This article explores proven methods to silence squeaky brakes fast, how to identify the root causes, and when professional intervention is truly necessary.
Key Takeaways
- Brake squeal often results from vibration, contamination, or minor wear—not always from worn-out pads.
- There are multiple DIY fixes available that can eliminate squeal without replacing brake pads.
- Proper cleaning, lubrication, and adjustment are crucial to long-term noise-free braking.
- Routine maintenance and inspection are the best ways to prevent brake squeal from returning.
- Understanding the difference between harmless squeal and safety-related issues is essential to responsible vehicle care.
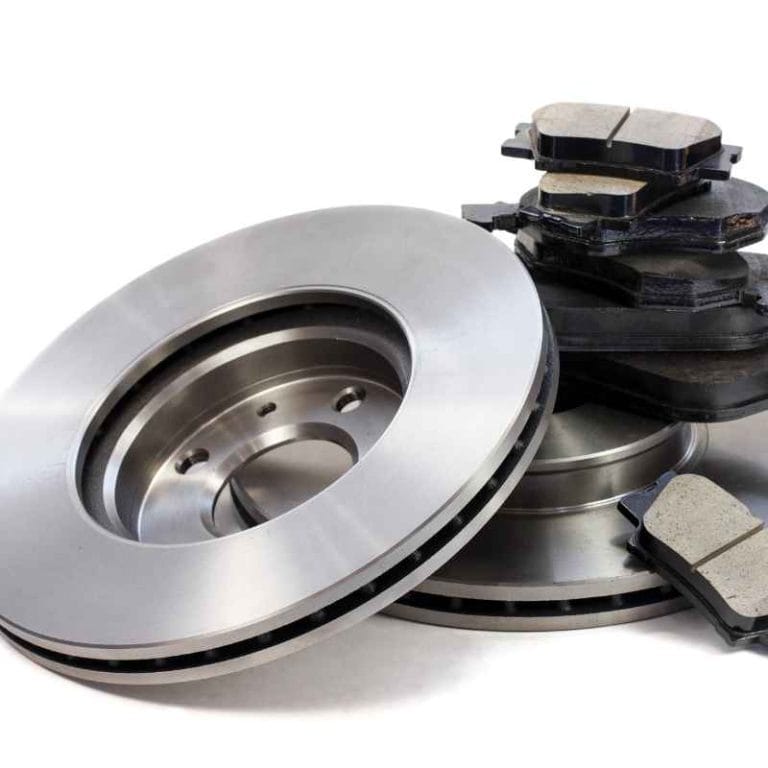
Credit: thetrackahead.com
Understanding Car Brake Squeal: Causes And Myths
What Causes Brake Squeal?
Brake squeal is typically a high-frequency noise that occurs when the brake pad vibrates against the rotor. This vibration is amplified by the caliper and other brake components. The most common causes include:
- Pad vibration: The friction material resonates at certain speeds or pressures, causing a high-pitched sound that can be amplified by the brake system’s metal components. The composition of the pad material, particularly in semi-metallic or ceramic pads, can also influence the likelihood of vibration-induced noise.
- Dust and debris: Accumulation on the pads or rotors can create a squealing sound. Even a thin layer of road grime, brake dust, or environmental contaminants can disrupt the normal contact between pad and rotor, leading to noise.
- Lack of lubrication: Dry contact points between pad backing plates and calipers increase noise. These points are designed to allow for slight movement, but without lubrication, friction and vibration result in squeal.
- Glazed pads or rotors: Overheating can harden pad surfaces, causing noise. Glazing creates a smooth, glassy surface that doesn’t allow the pad to “bite” the rotor properly, increasing the chance of high-frequency vibrations.
Additionally, certain brake pad compositions are inherently more prone to squeal. For example, performance-oriented metallic pads may provide excellent stopping power but are noisier under light braking conditions compared to softer, organic pads. Environmental factors—such as humidity, temperature changes, and road salt—can also temporarily alter the brake surface and lead to intermittent squeal.
Common Myths About Brake Squeal
There are numerous misconceptions about brake squeal:
- Myth 1: All brake squeals mean your pads are worn out.
*Reality:* Many squeals occur even when pads have plenty of life left. For instance, brand-new pads can squeal if not properly “bedded in” or if dust accumulates during installation.
- Myth 2: Squealing brakes are always dangerous.
*Reality:* While some noises indicate issues, many are harmless and easily fixable. A light squeal that happens only at low speeds is often due to harmless pad vibration and does not affect safety.
- Myth 3: Only old cars squeal.
*Reality:* Even new vehicles can develop brake squeal due to environmental factors or manufacturing tolerances. In fact, some high-end sports cars are notorious for squeaky brakes because of their aggressive pad compounds.
Some drivers also believe that using water to clean brakes will always stop squeal. In reality, while removing dust can help, water can also create temporary squeal if not dried properly. Others think that switching to “ceramic” pads always fixes the issue, but even ceramics can squeal if not installed or maintained correctly.
When To Worry: Squeal Vs. Safety
It’s critical to distinguish between harmless squeal and noises that require urgent attention. Squeal that disappears after a few stops or in wet conditions is usually benign. However, grinding, scraping, or a squeal that persists with reduced braking performance can indicate:
- Severely worn pads that have reached their wear indicators, which can scratch the rotor.
- Rotor damage, such as deep grooves, warping, or excessive rust, which can compromise braking efficiency.
- Caliper malfunction, where a stuck caliper doesn’t allow the pad to retract, causing continuous contact and overheating.
Additional warning signs include pulsating brake pedals, which may signal warped rotors, or a soft pedal, which could be a symptom of hydraulic issues. Always prioritize safety—if there’s any doubt about the source or severity of the noise, consult a certified technician or refer to the National Highway Traffic Safety Administration’s brake safety guidelines.
Real-world Example: New Car, Old Noise
A 2026 Toyota Camry owner reported a persistent brake squeal at low speeds. Despite the vehicle having under 10,000 miles, the dealer found no worn components. A simple cleaning and lubrication solved the issue—proving that even new cars can develop harmless, fixable squeal. This scenario is common: vehicle manufacturers may use harder pad materials for longevity, which are more susceptible to minor vibration and squeal, especially before the pads have fully bedded into the rotor.

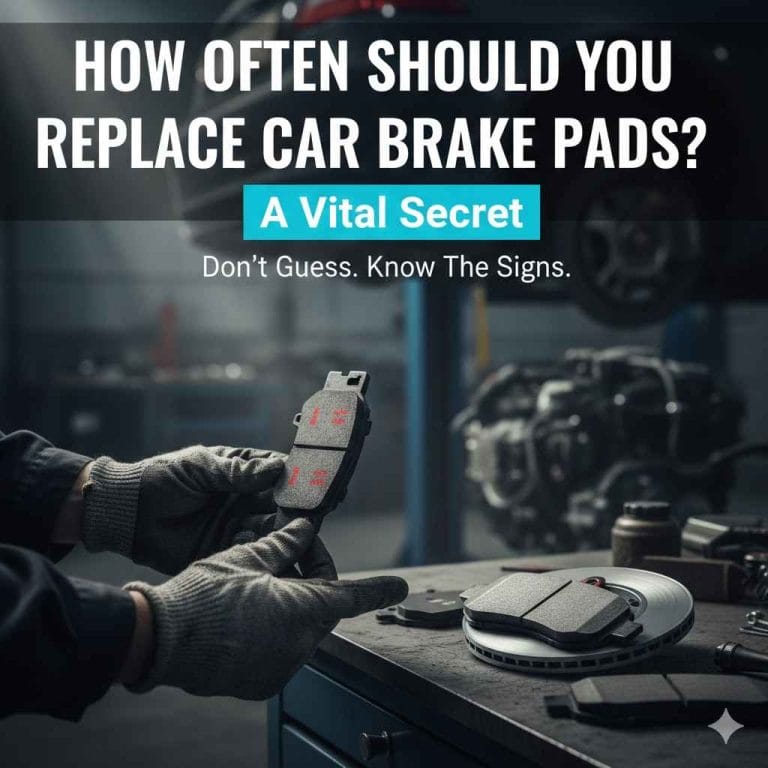
Credit: www.robertbrogdenshaysgmc.com
Diagnosing The Source Of Brake Squeal
Visual Inspection
Start by performing a careful visual inspection of your brake components:
- Check pad thickness: Pads should be at least 3mm thick. If below this, replacement is recommended for safety, even if the squeal isn’t caused by wear.
- Examine rotors: Look for grooves, rust, or glazing. Surface rust is common, especially after rain, but it should clear up after a few stops. Deep grooves or blue discoloration indicate excess heat or wear.
- Inspect shims and clips: Ensure hardware is secure and free of corrosion. Missing or damaged shims are a frequent source of noise.
If you’re unsure how to safely remove the wheel or access the brakes, consult your car’s manual or a professional resource like Haynes’ brake noise guide. Look for any signs of uneven wear, as this could suggest caliper sticking or alignment issues.
Listening For Clues
The type and timing of the squeal can offer diagnostic clues:
- Squeal at low speed: Often due to dust or minor vibration. It’s typically harmless but can be irritating.
- Squeal after rain: Moisture buildup can cause temporary noise, especially with certain pad materials.
- Squeal only when braking: Usually pad or rotor related, but if the squeal continues after releasing the pedal, a stuck caliper could be to blame.
Pay attention to whether the sound changes as the brakes warm up, or if it’s louder when turning, which may suggest hardware contact issues.
Testing Under Different Conditions
Drive your vehicle in a safe area and test:
- Braking at different speeds: Note if the noise changes. Squeal that increases with speed could indicate rotor issues, while noise only at low speed is often dust or hardware related.
- Braking in reverse: Sometimes reveals hardware issues, as the pads shift slightly in the opposite direction.
- Braking after washing the car: Listen for water-induced squeal, which should disappear after a few stops.
Test both light and moderate braking—sometimes, only gentle pedal pressure will produce the squeal if it’s vibration-related.
Identifying Contaminants
Dirt, oil, or even cleaning products can contaminate brake surfaces. Shine a flashlight on the rotor and pad—look for:
- Oily residue, often from leaking axle seals or excessive use of spray lubricants.
- Metal shavings, which may indicate pad or rotor deterioration.
- Excessive dust, especially if you drive in construction zones or on gravel roads.
Contaminants not only cause noise but can reduce braking effectiveness, so address them promptly.
Case Study: Dust-induced Squeal
A rideshare driver experienced brake squeal on a 2018 Honda Accord after driving on unpaved roads. Inspection revealed a thick layer of dust on pads and rotors. Thorough cleaning eliminated the noise, highlighting the importance of keeping brakes clean. The driver adopted a regular cleaning schedule and reported no further squeal over the next six months.
Fast Diy Fixes For Brake Squeal Without Pad Replacement
Clean Brake Components Thoroughly
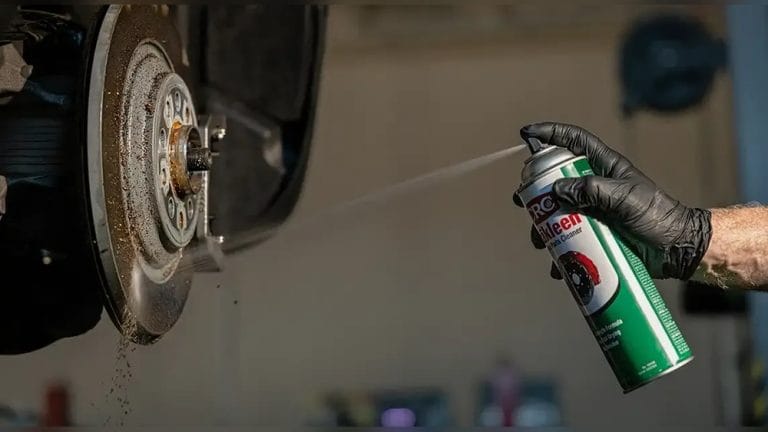
Dirt and debris are leading culprits in brake noise. Follow these steps:
- Remove the wheel to access the brake assembly. Always use proper safety stands and block the wheels.
- Spray the rotor and pads with a quality brake cleaner. Choose non-chlorinated formulas for better environmental safety.
- Use a soft brush to dislodge stubborn dust or grime, paying attention to the edges of the pads and rotor vents.
- Wipe down surfaces with a lint-free cloth to avoid leaving fibers that can attract further dust.
Make sure to let all components dry completely before reassembly. Avoid using compressed air, as it can spread hazardous brake dust. Proper cleaning can resolve up to 70% of squeal cases related to contamination.
Apply Brake Lubricant To Contact Points
Proper lubrication can drastically reduce vibration and noise:
- Apply synthetic brake grease to the back of the brake pads (not the friction surface). This helps isolate vibration between the pad and caliper piston.
- Lubricate caliper pins, slides, and abutment clips. These areas allow the caliper and pads to move smoothly.
- Avoid petroleum-based products, which can damage rubber seals and attract dirt.
Always use lubricants rated for high-temperature applications, as brakes can exceed 400°F during operation. Reapply after each major cleaning or if you notice increased noise.
Install Or Replace Anti-squeal Shims
Anti-squeal shims are thin metal or rubber layers installed between the pad and caliper. If your vehicle’s shims are missing, damaged, or corroded, replace them with new ones. Many aftermarket kits provide upgraded shims specifically designed to eliminate noise. Some high-performance shims feature adhesive or multilayer construction to further dampen vibration.
When installing shims, ensure they fit snugly and do not shift during brake application. Improperly seated shims can actually worsen noise or lead to uneven pad wear.
Tighten And Align Brake Hardware
Loose or misaligned brake hardware can cause vibration and squeal. Check:
- Caliper mounting bolts for proper torque. Use a torque wrench to match manufacturer specifications.
- Pad clips and abutment hardware for secure fitment. Rust or corrosion can cause these parts to lose tension.
- Rotor alignment on the hub. Clean the hub face before reinstalling the rotor to prevent lateral runout.
Hardware issues are common on older vehicles, especially those exposed to road salt or infrequent maintenance.
De-glaze Pads And Rotors
Glazing occurs when pads or rotors overheat, creating a hard, shiny surface. If you notice glazing:
- Remove the pads and lightly scuff the friction surface with medium-grit sandpaper. A crosshatch pattern ensures even wear and restores friction.
- Repeat the process on the rotor face (if necessary), being careful not to remove too much material.
- Clean all dust and debris before reinstalling.
De-glazing is particularly effective if you’ve recently descended a long hill or towed a trailer, as heavy use can quickly overheat brakes.
Comparison Table: Fast Diy Fixes And Effectiveness
| DIY Fix | Typical Time Required | Average Cost | Effectiveness (1-5) | Best For |
|---|---|---|---|---|
| Cleaning Components | 30-45 min | $8–$15 | 5 | Dust, dirt, light squeal |
| Lubricating Contact Points | 30 min | $6–$12 | 4 | Vibration, dry hardware |
| Replacing/Installing Shims | 40-60 min | $10–$25 | 4 | Missing/damaged shims |
| De-glazing Pads/Rotors | 30-45 min | $0–$5 | 3 | Overheated brakes |
| Tightening Hardware | 20 min | $0 | 3 | Loose/misaligned parts |
Real-world Example: Weekend Mechanic Success
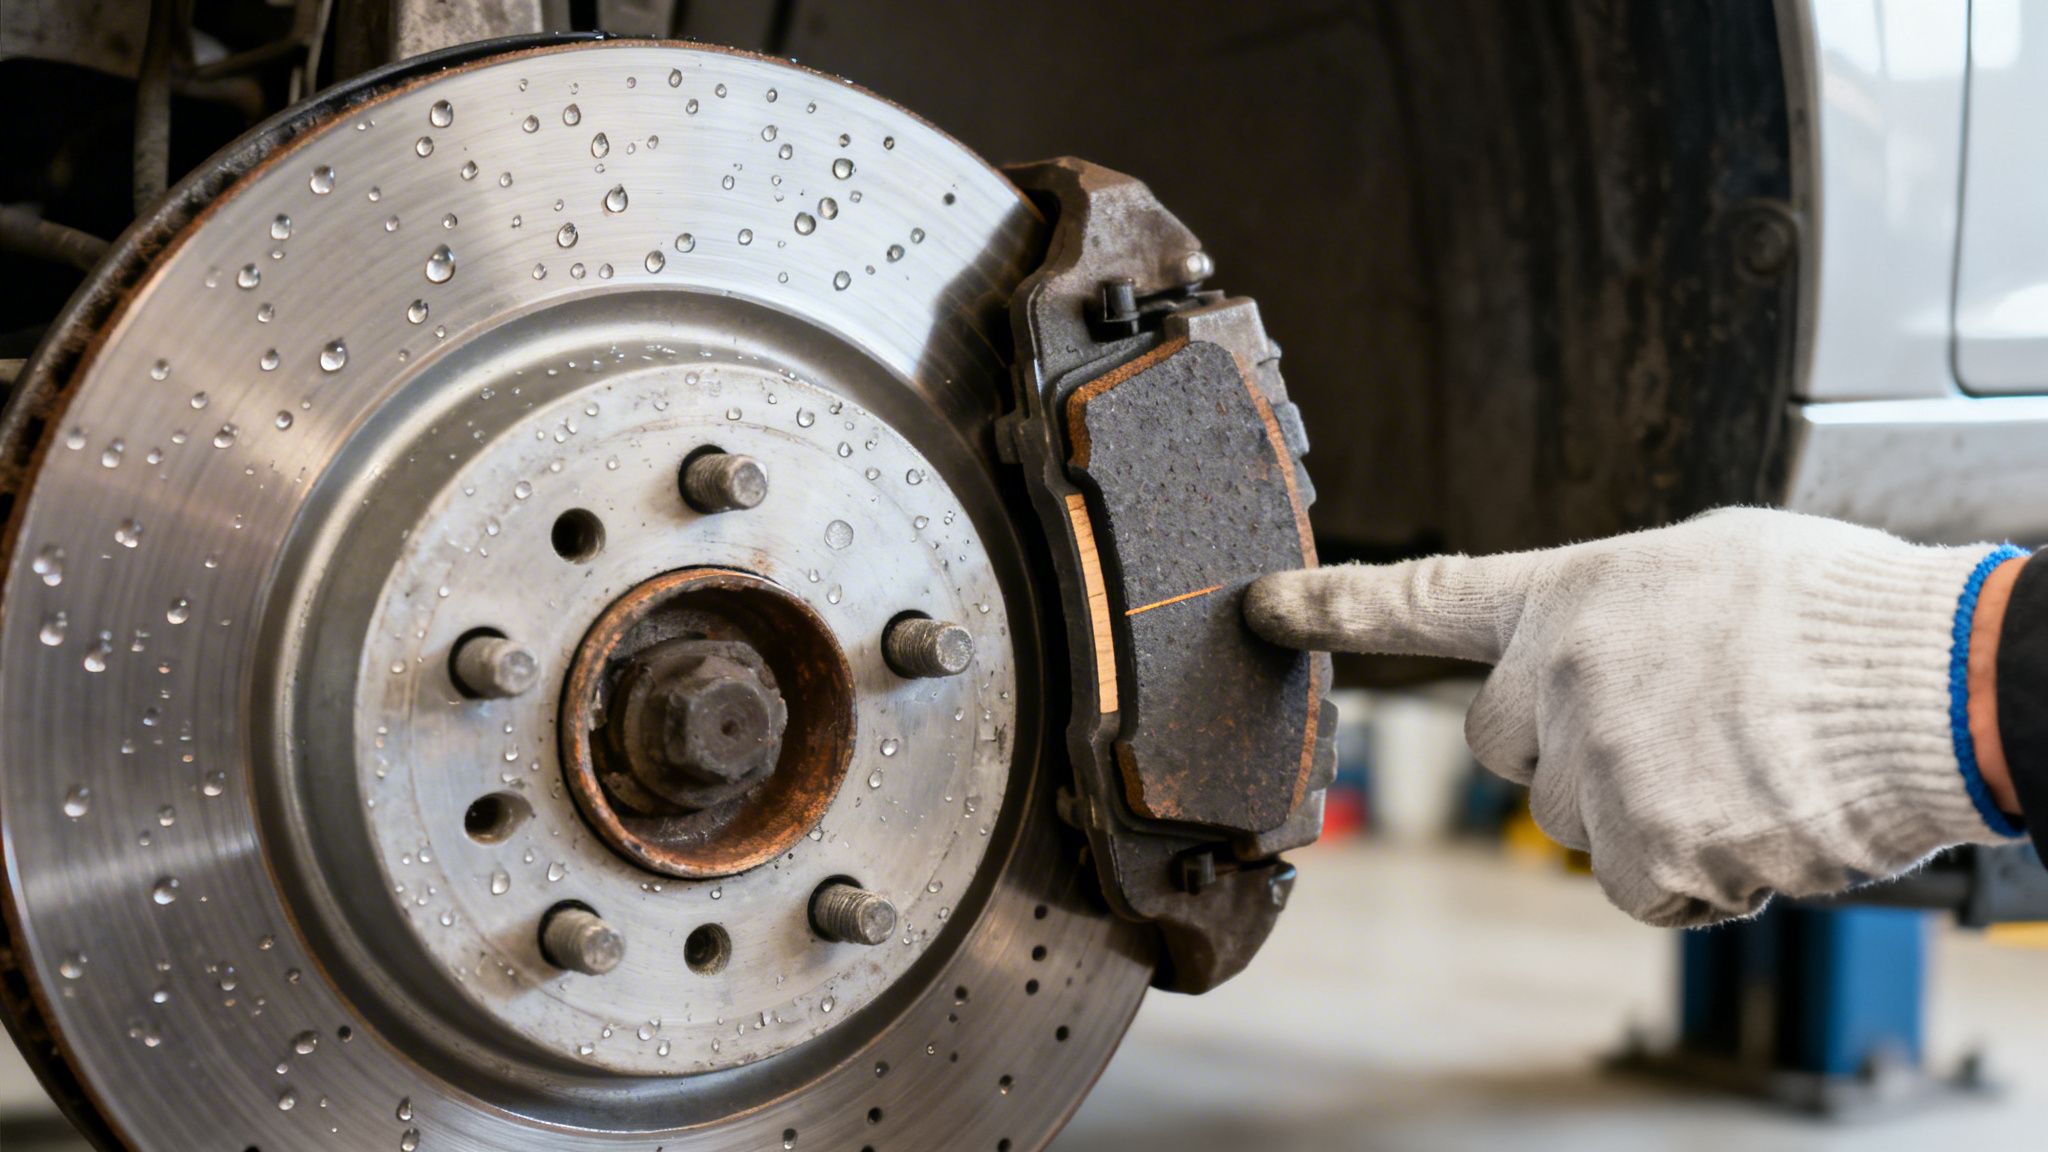
A DIY enthusiast reported a persistent squeal on a 2016 Ford Escape. After cleaning, lubricating, and tightening the brake hardware, the noise disappeared. No pad replacement was required, saving over $150 in parts and labor. The owner also noted improved pedal feel and smoother stopping.
Credit: carmedicsautowerks.com
Preventing Brake Squeal: Long-term Strategies
Use Quality Pads And Rotors
Low-quality brake pads are more prone to squeal. While you may not need to replace pads to stop existing noise, choosing premium parts for future maintenance helps prevent recurrence.
- Choose pads with integral shims or noise-dampening layers. These are often found on higher-end or OEM replacement pads.
- Opt for rotors with anti-rust coatings to minimize corrosion-related squeal, especially if you live in a humid or coastal region.
- Refer to the Consumer Reports brake pad buying guide for unbiased recommendations.
When replacing pads, always “bed in” new components by gradually increasing braking force during the first 200 miles. This allows for optimal pad-rotor contact and reduces the risk of future squeal.
Maintain Clean And Lubricated Hardware
Schedule regular brake inspections—ideally at every oil change. Remove accumulated dust, check for corrosion, and reapply lubricant as needed. In regions with heavy road salt use, more frequent cleaning may be necessary to avoid rust buildup that leads to noise.
Hardware maintenance extends beyond just the pads and rotors. Replace worn anti-rattle clips, check caliper boots for tears, and keep hardware free of debris.
Avoid Aggressive Braking Habits
Hard, sudden braking generates heat and accelerates pad glazing. Practice smooth, gradual stops to extend component life and minimize noise. If you frequently drive in mountainous terrain or tow heavy loads, consider upgrading to pads and rotors rated for high heat resistance.
Additionally, avoid “riding the brakes” on long descents—use lower gears to control speed when possible, and allow brakes to cool between heavy stops.
Protect Brakes From Environmental Factors
If you live in a region with frequent rain or snow, consider:
- Parking in a garage to minimize moisture exposure. This reduces the risk of overnight rust formation on rotors, which can cause morning squeal.
- Driving gently for the first few minutes after startup to allow rotors to dry. Short, light applications of the brakes help clear water and surface rust without overheating the pads.
In coastal areas, regular washing of the wheels and brake assemblies helps remove corrosive salt and sand.
Case Study: Fleet Vehicle Maintenance
A delivery company adopted a routine of monthly brake cleaning and lubrication for their fleet. Brake squeal incidents dropped by 70%, and pad life increased by 25%, according to internal maintenance logs. The reduced downtime and fewer emergency repairs led to significant cost savings over the course of a year.
When To Seek Professional Help
Persistent Or Worsening Squeal
If noise persists after all DIY fixes, it may indicate:
- Warped rotors, which can cause both noise and pedal pulsation.
- Sticking calipers, which may not retract fully and cause continuous pad contact.
- Worn-out hardware such as abutment clips or caliper slides that cannot be adequately fixed with cleaning or lubrication.
These issues require specialized tools and expertise. Attempting to fix them without proper training can lead to safety hazards.
Safety And Warranty Considerations
Attempting repairs on newer vehicles may void warranties or trigger safety recalls. Always check your vehicle’s warranty status and consult with authorized service centers if unsure. Some makes and models have specific procedures for brake service, and failure to follow them can result in denied warranty claims.
Signs Of Serious Brake Problems
Seek immediate help if you notice:
- Grinding or scraping noises, which can mean metal-on-metal contact.
- Reduced braking power, longer stopping distances, or a sinking brake pedal.
- Brake warning lights on the dashboard.
Use resources like the U.S. Department of Transportation’s SaferCar.gov for more information on brake safety alerts. Ignoring these symptoms can lead to costly repairs or even accidents.
How To Choose A Reliable Brake Specialist
Look for:
- ASE certification, indicating a high level of technical training.
- Positive online reviews and recommendations from local drivers.
- Transparent pricing and warranties on both parts and labor.
Check the National Institute for Automotive Service Excellence for certified professionals in your area. Ask for a written estimate before authorizing repairs, and ensure you receive a detailed explanation of any work performed.
Cost Comparison Table: Diy Vs. Professional Brake Squeal Repair
| Service | DIY Cost | Professional Cost | Average Time Required | Warranty |
|---|---|---|---|---|
| Cleaning & Lubrication | $15–$30 | $60–$120 | 1–1.5 hours | Typically none |
| Shim Replacement | $10–$25 | $50–$90 | 0.5–1 hour | 30–90 days |
| Pad/Hardware Inspection | $0 (self-inspect) | $30–$60 | 0.5 hour | Varies |
Real-world Example: Professional Diagnosis
A 2019 Subaru Outback owner tried multiple DIY fixes with no success. A certified mechanic identified a sticking caliper—an issue that would not have been resolved without professional intervention. Timely repair prevented further damage and ensured safe operation. The owner noted improved fuel economy and braking confidence after the fix.
Advanced Tips And Products For Stubborn Brake Squeal
Use High-temperature Anti-squeal Compounds
Specialized anti-squeal pastes are designed to absorb vibration and prevent noise. Apply a thin layer to the back of brake pads and let it cure as directed.
- Products like Permatex Disc Brake Quiet are widely recommended by professionals and can be found at most auto parts stores.
- Avoid getting any compound on pad friction surfaces or rotors, as this can reduce braking efficiency.
Some compounds change color as they cure, making it easy to see if the application is complete.
Upgrade To Noise-reducing Hardware
Consider aftermarket solutions such as:
- Damping shims with advanced multilayer construction that better isolate pad vibration.
- Spring clips designed to maintain pad tension and prevent rattle.
- Rotor dampers for high-performance vehicles or those with oversized brake systems.
These upgrades are particularly useful on cars with large, exposed brakes, such as trucks, SUVs, or sports sedans.
Refer to manufacturer specifications to ensure compatibility, and consider professional installation for complex upgrades.
Check For Tsbs (technical Service Bulletins)
Some manufacturers issue Technical Service Bulletins for known brake noise issues. These may recommend specific fixes or upgraded parts. Check with your dealer or search the NHTSA recalls database. TSBs can provide valuable information and may even entitle you to free repairs if your car is affected.
Professional-grade Cleaning Tools
For persistent contamination, consider:
- Rotary cleaning brushes to remove stubborn rust and deposits from the rotor face.
- Ultrasonic brake cleaners that use high-frequency sound waves to dislodge dirt from hard-to-reach areas.
- Non-abrasive pads for gentle rotor cleaning without removing excessive material.
These tools are available at specialty auto parts stores or through professional suppliers. They’re especially useful for restoring older or high-mileage brake systems.
Example: High-performance Brake Squeal Solution
A sports car enthusiast with a 2017 BMW M3 struggled with squeal after installing performance pads. Switching to high-end shims and using a dedicated anti-squeal compound eliminated the noise, even under aggressive driving conditions. This highlights the importance of matching pad compounds and hardware to your driving style and vehicle application.
Safety Precautions And Best Practices
Wear Protective Equipment
Brake dust can be hazardous. Always use:
- Nitrile gloves to protect your skin from chemicals and debris.
- Dust masks or respirators to avoid inhaling fine particles.
- Safety goggles to shield your eyes from dust and splashes.
Dispose of used rags and cleaning materials responsibly, as brake dust may contain heavy metals.
Avoid Contaminating Friction Surfaces
Never apply lubricant, cleaner, or anti-squeal compound to the pad’s friction surface or the rotor face. Doing so can drastically reduce braking performance and pose a safety risk. Always mask off these areas or use precision applicators to avoid accidental contamination.
Follow Manufacturer Instructions
Every brake system is slightly different. Always:
- Consult your vehicle’s manual for specific procedures and torque values.
- Use products recommended for your specific make and model.
- Observe proper break-in (bedding) procedures for new pads and rotors.
Failure to follow these guidelines can void warranties or lead to improper function.
Maintain A Clean Workspace
Brake repairs generate dust and debris. Keep your workspace organized to prevent contamination and improve safety. Use disposable mats or trays to catch falling debris, and clean up thoroughly after each job.
Example: Mistake To Avoid
A DIYer accidentally sprayed brake lubricant onto the rotor, resulting in poor braking and a return trip to the mechanic. Always mask off friction surfaces or use precision applicators. Double-check all components before reassembly to ensure safety.
Frequently Asked Questions
What Causes My Brakes To Squeal Even With New Pads?
New pads can squeal due to dust, lack of lubrication, misaligned hardware, or poor pad material. Even fresh installations may require cleaning, lubrication, or shim adjustment to eliminate noise. In some cases, new pads need time to “bed in” to the rotor—this process can take several hundred miles.
Is It Safe To Drive With Squealing Brakes?
Most brake squeal is harmless, especially if braking performance is unaffected. However, persistent or worsening noises, grinding, or reduced stopping power require immediate inspection by a professional. Always err on the side of caution when it comes to brake safety.
How Often Should I Clean Or Lubricate My Brakes?
For most vehicles, cleaning and lubricating brake components every 6–12 months or at each tire rotation is sufficient. More frequent maintenance may be necessary in dusty or wet environments, or if you notice recurring noise.
Can I Use Any Grease For Brake Lubrication?
No. Only use high-temperature synthetic brake grease designed for caliper hardware and backing plates. Regular greases can break down under heat and damage brake components. Look for products specifically labeled for brake use.
Are There Brake Pads Guaranteed Not To Squeal?
No pad is 100% squeal-proof, but premium pads with integrated shims and noise-dampening layers are less likely to make noise. Quality installation and regular maintenance are equally important. Following proper bedding procedures also helps minimize the chance of squeal.
Fixing brake squeal fast without replacing pads is not only possible but often straightforward with the right knowledge and tools. By understanding the root causes, applying proven DIY fixes, and practicing routine maintenance, you can enjoy quiet, reliable braking without unnecessary expense.
Always prioritize safety, and don’t hesitate to seek professional help if the noise persists or you notice changes in braking performance. With a proactive approach, you can keep your vehicle running smoothly—and silently—for miles to come.
Related Reading
- When Do Car Brake Pads Need Replacing? Signs To Watch
- Best Place to Buy Car Brake Pads Online & In-Store
- How Long Do Car Brake Pads Last? A Complete Guide
Products related to this article
Sponsored / affiliate links. As an Amazon Associate I earn from qualifying purchases. I may earn additional commission from eligible campaigns.